Crafts by Courtney

How-to Crafts and DIY Parties

  • Home
  • How-to Crafts
    • Home Crafts
      • Holiday
      • Seasonal
      • DIY Decor
    • Kids Crafts
      • Holiday
      • Seasonal
      • Educational
      • Clean
      • Messy
  • DIY Parties
    • Birthdays
    • Just for Fun
    • Holidays
  • Blog
    • My Thoughts
    • Hubby’s Corner
  • About
  • Contact

Backsplash Makeover with Smart Tiles

September 14, 2016 by Courtney Sanchez Leave a Comment

Backsplash Makeover with Smart Tiles

Sponsored Post: Financial compensation was not received for this post. A sample product was gifted from Smart Tiles. Opinions expressed here are our own. 

Hey everyone!!

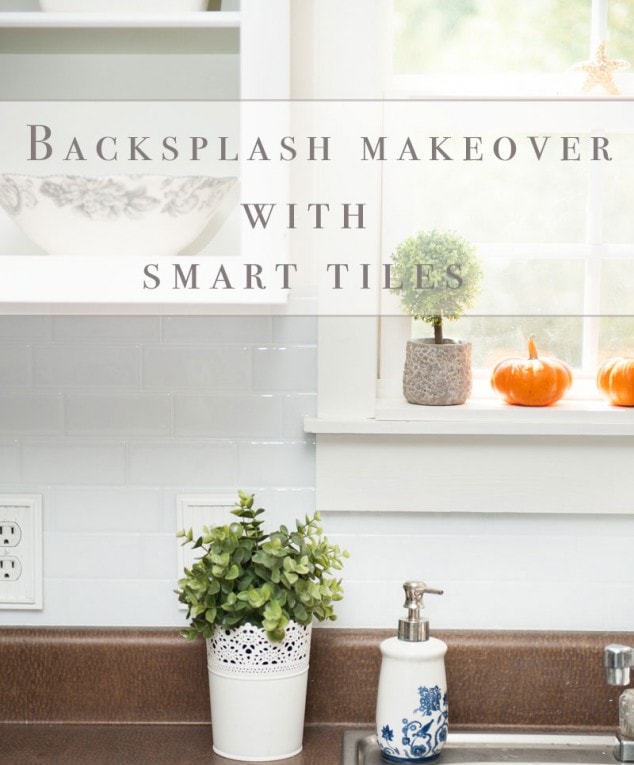
I’ve really been working hard on giving my kitchen a makeover, I’ve painted the walls and cabinets, and added molding around the windows. Next, I wanted to give the kitchen a backsplash. BUT I didn’t want to add tile. First it’s a big project and second, we don’t have all the tools needed.  So while searching “backsplash makeovers” I came across a post from The Little House of Four and her backsplash.  She used Smart Tiles, and I just loved the look, it’s exactly what I wanted to achieve but without all the hassle.

Here’s some fun facts about Smart Tiles:

The Original, Made inNorth America, do-it-yourself peel and stick Smart Tiles are made of an adhesive substrate topped with a gel component called Gel-O™ (giving a 3-dimensional effect).

We guarantee that our product will stick without adding extra glue and that our patented clear Gel-O™ component will never yellow or crack over time.

The tiles are lightweight, easy to handle, cut and maintain, and will remain on your walls for as long as you wish them to. The tiles can be installed in minutes over a clean and sleek surface without any mess or specialized tools.

Especially designed for kitchen and bathroom environments (i.e.: backsplashes), the tiles are resistant to the heat of stovetops and the humidity of bathrooms (do not use in shower).

So I contacted them about working together.  They let me pick which peel and stick tile I wanted to use which was the Metro Blanco.  It was the exact kind of tile I was wanting to use.  So a couple days later I received my goodie package in the mail!!

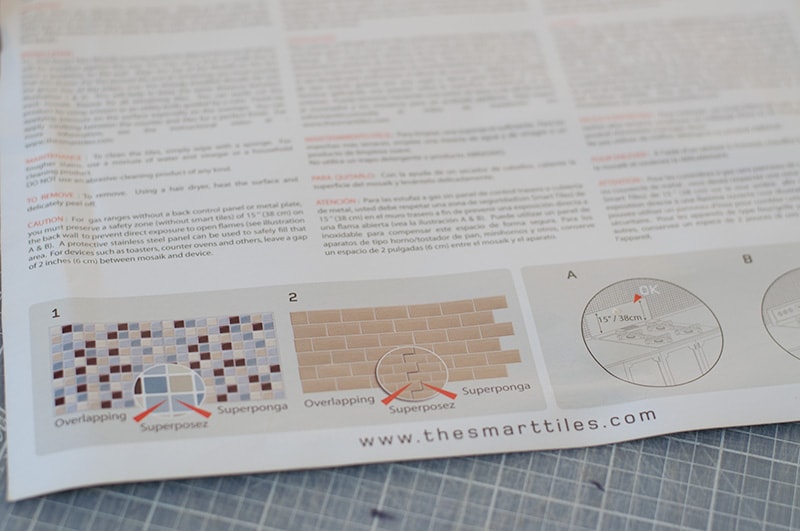
They came with some easy instructions to follow and I also watched a video tutorial which was really helpful.

Backsplash Makeover with Smart Tiles

Supplies you’ll need for the backsplash:

  • Smart Tiles
  • X-Acto Knife
  • Metal ruler
  • Cutting mat
  • Level (if needed)

I already had a cutting board and X-Acto knife on hand.  The X-Acto knife worked great for cutting the tile.

Step 1 – Cut Tile

I pulled out my “Handy” metal ruler to help me cut the edge of the tile.  This piece was for the corner of the wall. The other side I had to cut for the electrical outlet. I measured them out and cut again with the X-Acto knife.

Backsplash Makeover with Smart Tiles

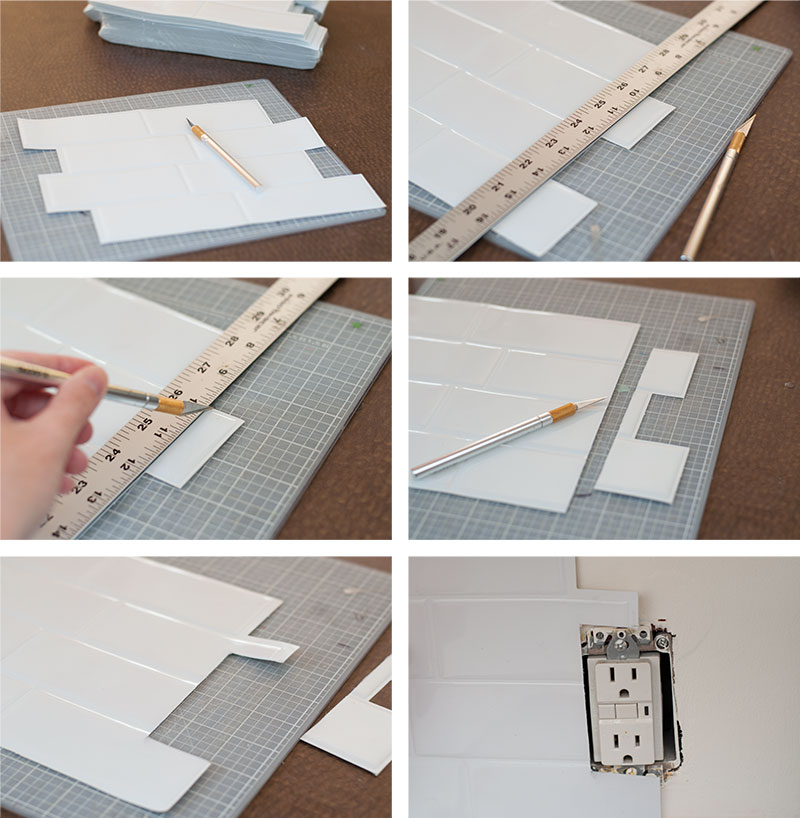
Step 2 – Add Tile to Wall

Now it’s time to add our tile!! YAY!!

I pulled the protective paper off (make sure not to touch the adhesive) and gently placed on the wall. I went over the entire bottom half of the wall. I have seen where some bloggers have used a level, but I didn’t need to use one.  As long as the first piece is straight, you should be fine. There is an area on the (right side) that tells you where to overlap your tile pieces.

Backsplash Makeover with Smart Tiles

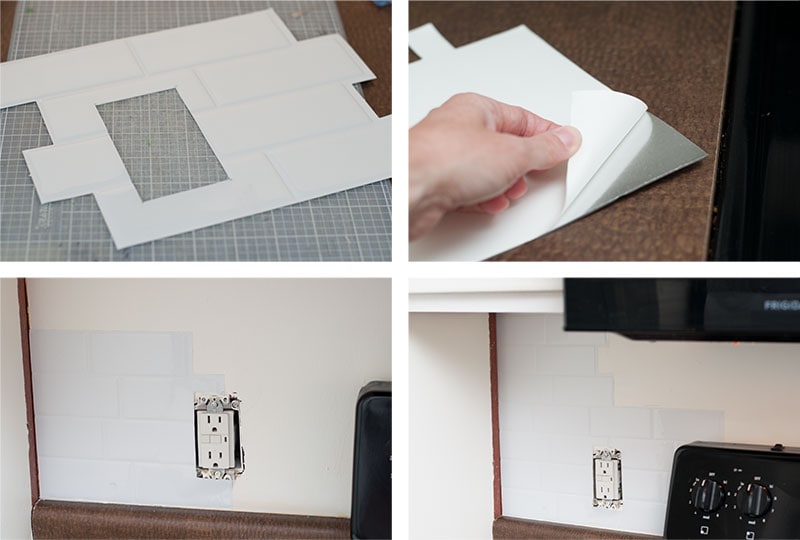
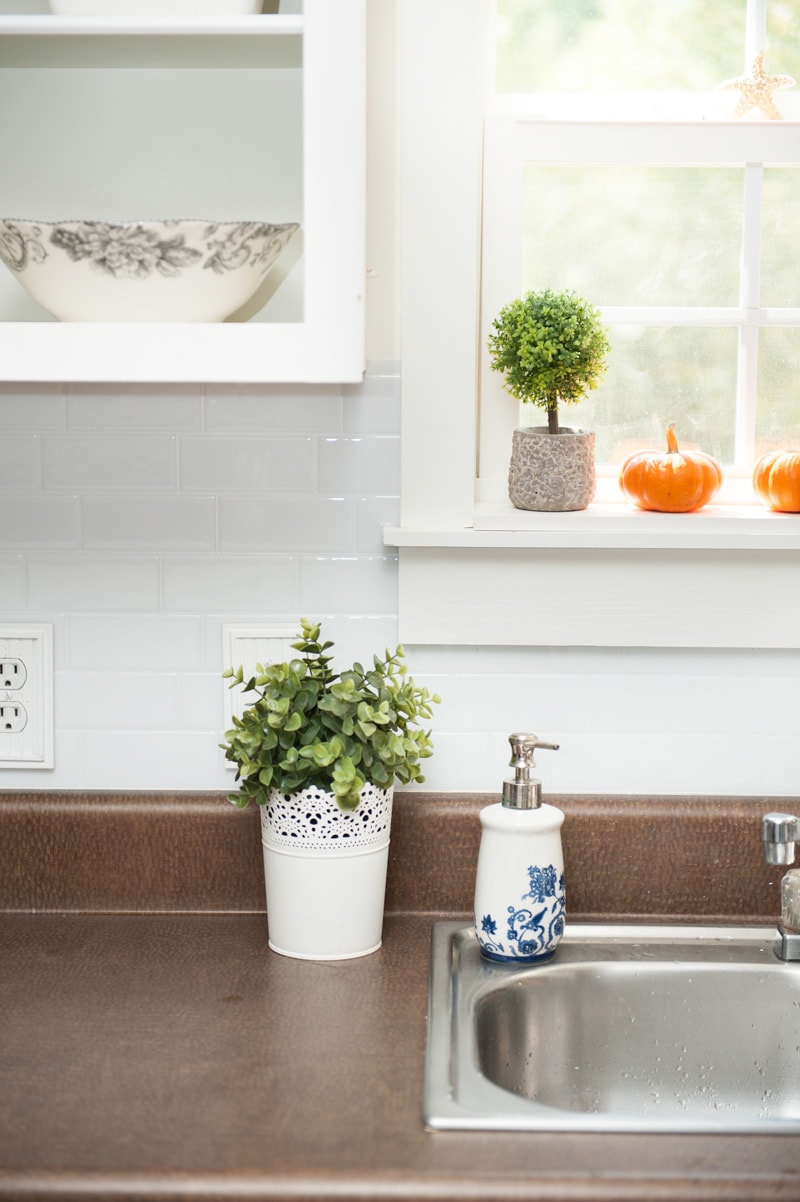
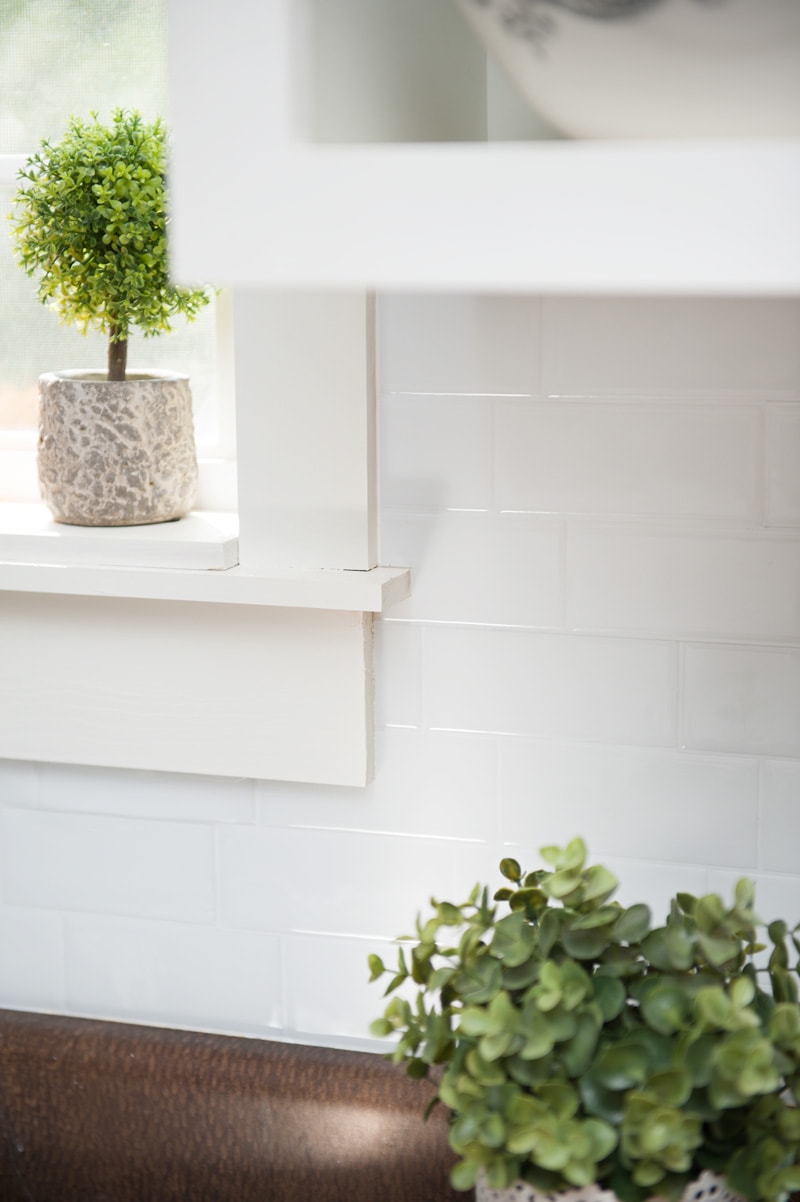
After I did the bottom half, I started on the top.  You have to measure it out and cut across the top. The hardest part is adding it around the window seal, but it’s easier than cutting a real piece of tile.  I gave this job to my husband. He did a great job measuring all the cuts.  They fit perfect around the window.

After

So here’s the after!!  What a dramatic different, make’s it feel so much fresher and bright! Don’t’ you agree?!

Backsplash Makeover with Smart Tiles

Backsplash Makeover with Smart Tiles

Backsplash Makeover with Smart Tiles

Backsplash Makeover with Smart Tiles

Backsplash Makeover with Smart Tiles

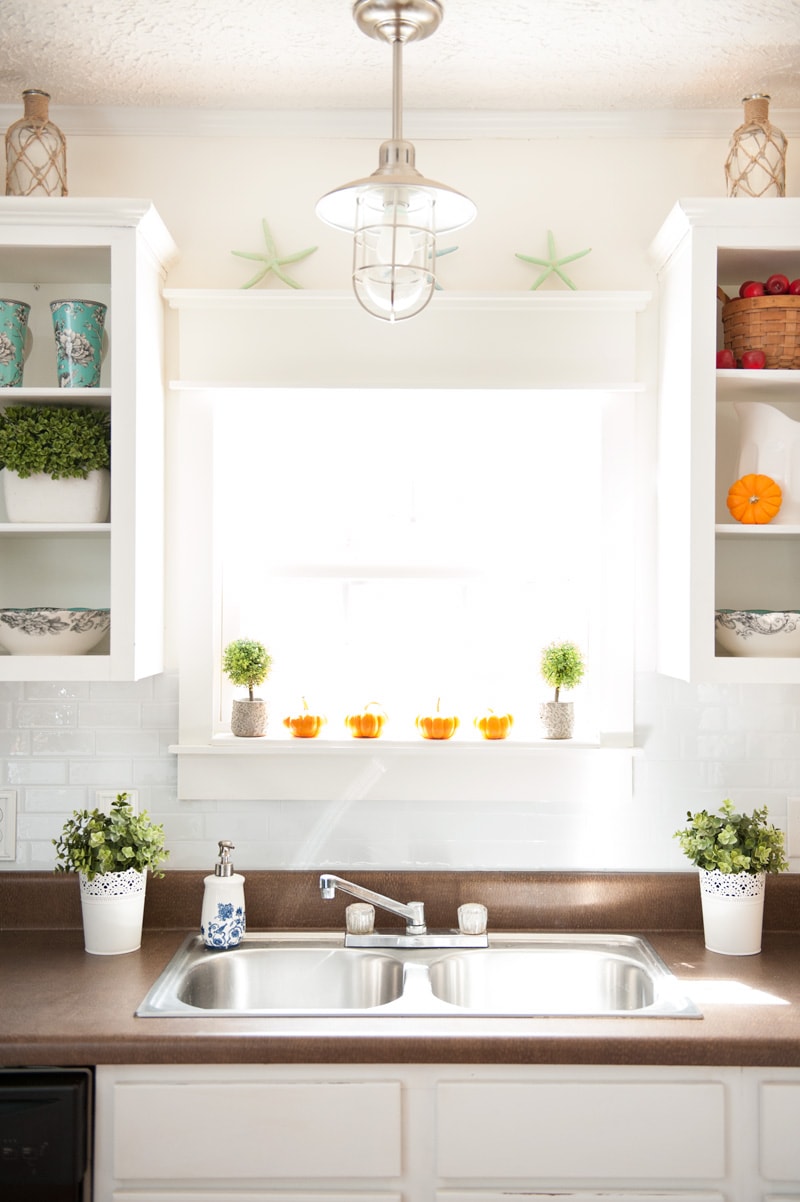
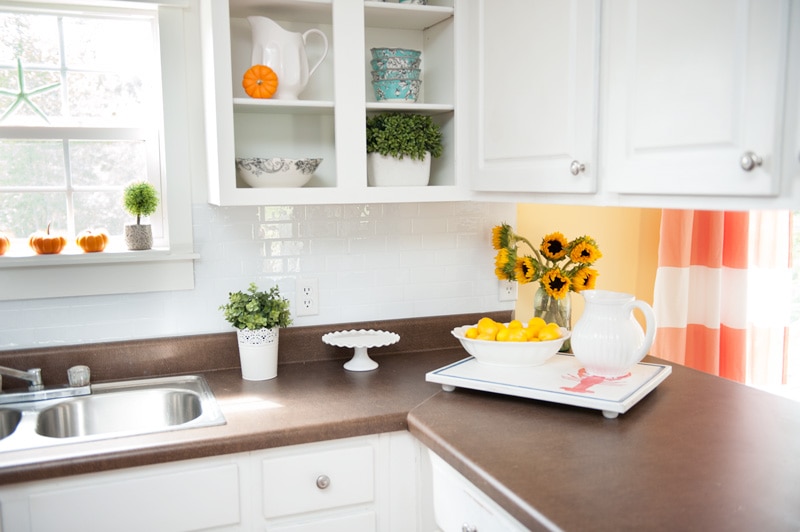
My next task is to replace the sink and faucet.  That will make a huge difference in my kitchen.
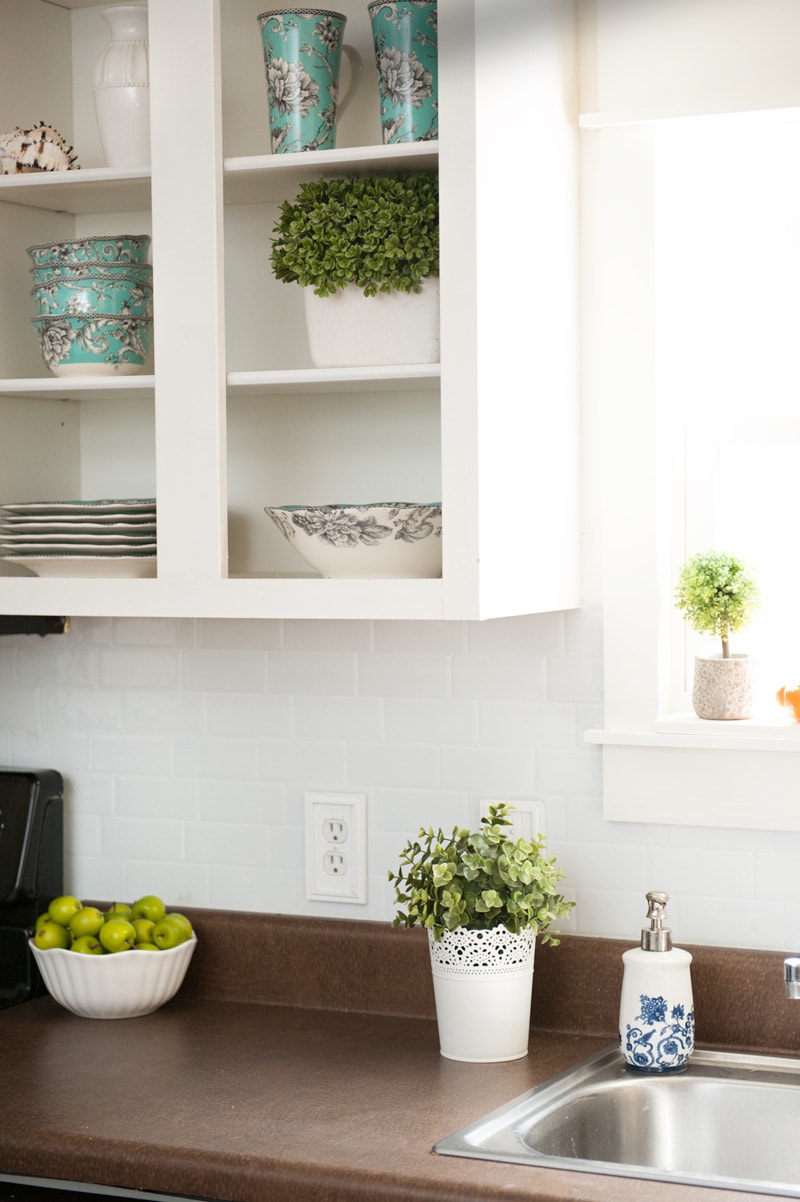
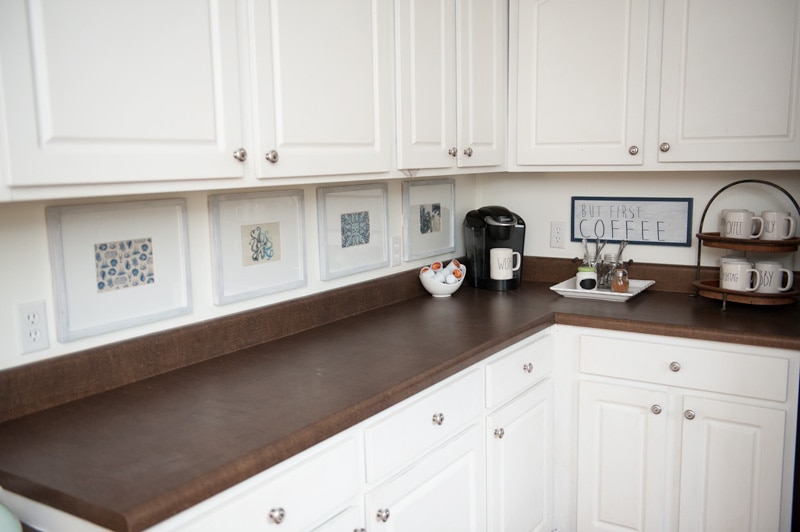
The other side

Here’s a look at the other side of the kitchen, I will be adding the peel and stick tile to this wall next.

Backsplash Makeover with Smart Tiles

A BIG thank you to Smart Tiles for sending me some great product.  I can’t wait to finish this kitchen up!  This Peel and Stick tile is a perfect option to do a kitchen backsplash makeover.

Love, Courtney

Filed Under: Blog, Crafts, Home Crafts, My Thoughts

About Courtney Sanchez

Hi, I'm Courtney and I LOVE crafting! I am a mommy to 3 awesome boys (who keep me very busy) and wife to a loving husband. Crafts by Courtney is where I like to hang out ;)

Leave a Reply

Courtney Sanchez

Hi, I'm Courtney!

Welcome. Here is where I share the fun how-to crafts I've done with my kids and for my home. I also really love DIY parties too! Read More…

My Socials

  • Facebook
  • Instagram
  • Pinterest

Newsletter

Subscribe to my email newsletter for more craft ideas, tips and valuable resources.

The TOP 4

  • 33 Awesome Birthday Party Ideas for Boys33 Awesome Birthday Party Ideas for Boys
  • Cardboard Box Craft - DIY DollhouseCardboard Box Craft – DIY Dollhouse
  • Terra Cotta Pot DIY Lighthouse Garden ProjectTerra Cotta Pot DIY Lighthouse Garden Project
  • STEM Project Idea: How to Make a DIY Popsicle Stick CatapultSTEM Project Idea: How to Make a DIY Popsicle Stick Catapult

Looking for more?

Over on Instagram

craftsbycourt

In honor of #NationalGoldenRetrieverDay, here some In honor of #NationalGoldenRetrieverDay, here some of my favorite pictures of my sweet goldens! These pups bring so much joy to our family.
.
.
.
.
#goldenretriever #goldensofig #dogsofig #goldensofinstagram #dogsofinstagram #dogsofinsta #dogsofinstaworld #dogsoftoronto #dogoftheday #dogsofontario #dogsofcanada #canadiandogs #torontolife #toronto #goodboy #goodboyclub #dogoftheday #torontodogs #nationalgoldenretrieverday #petphotography #petportrait #studiophotography #photography #animalphotography #goldenretrievertoday #weratedogs #goldenretrieversofinstagram #goldenboy
Sharing how to make this simple DIY Succulent Wrea Sharing how to make this simple DIY Succulent Wreath for Valentines using all @dollartree supplies!! 💗💗 Head over to the blog for full tutorial and more details and tips!Link below 👇👇
.
.
.
#valentines #valentinesday #valentinesdaycraft #valentinesdaycrafts #crafts #diy #valentinesdecor #valentinesdecorations #succulents #succulentcrafts #succulentlove #heart #wreath #wreathcraft #homedecor #countryliving #farmhousedecor #farmhousedecorating
After 24 years, I’m still chasing him! 💗💗 After 24 years, I’m still chasing him! 💗💗
It’s was an amazing year! It’s was an amazing year!
One thing all my boys started this year was skateb One thing all my boys started this year was skateboarding.  It’s amazing to see how confident they have become on the board and how much growth they’ve made since spring.
What a fun and memorable year we had! Looking for What a fun and memorable year we had!  Looking forward to the many memories made in 2023.
Follow on Instagram

Who I Work With

Crafts by Courtney   ·   Copyright © 2013 - 2023