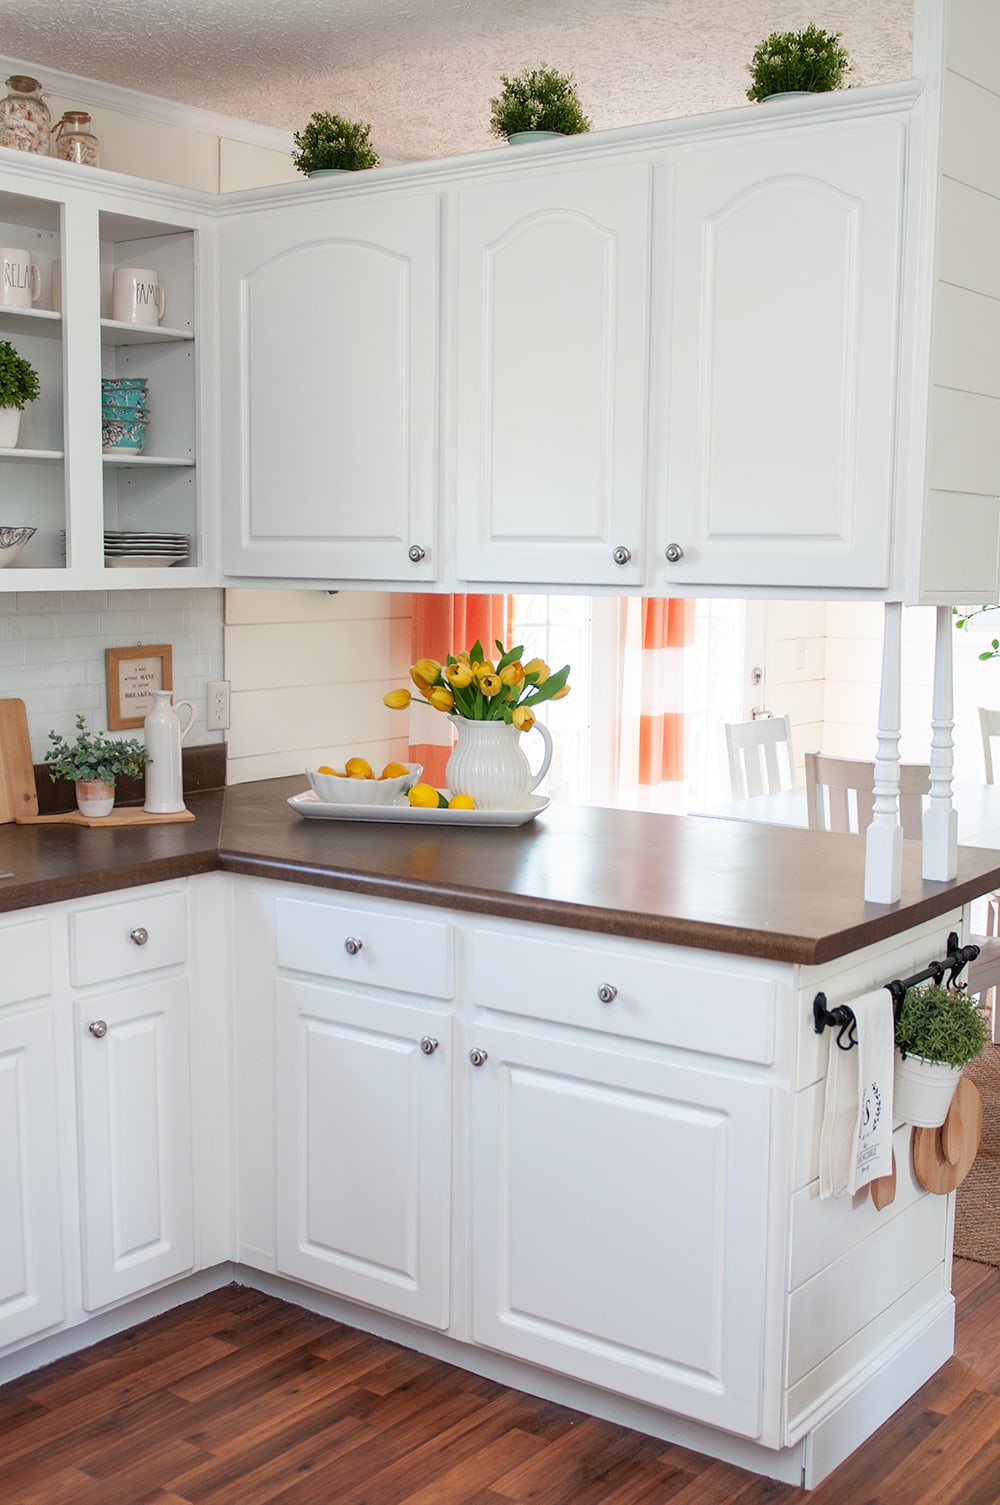
Hello all, thanks for stopping by and checking out my latest post! Today I’m teaming up with Duck Tape® to share a Cabinet & Drawer Liner makeover with you all! Recently I repainted all my kitchen cabinets and walls. After I did that I really wanted to get the inside of the cabinets and drawers in order.
I contacted Duck Tape to see if they wanted to collaborate again on a new post! Last month we worked together on an Easter Bunny Post using their patterned Duck Tape.
Duck Tape is obviously everyones first choice when getting your cabinets and drawers lined. So lets get started!
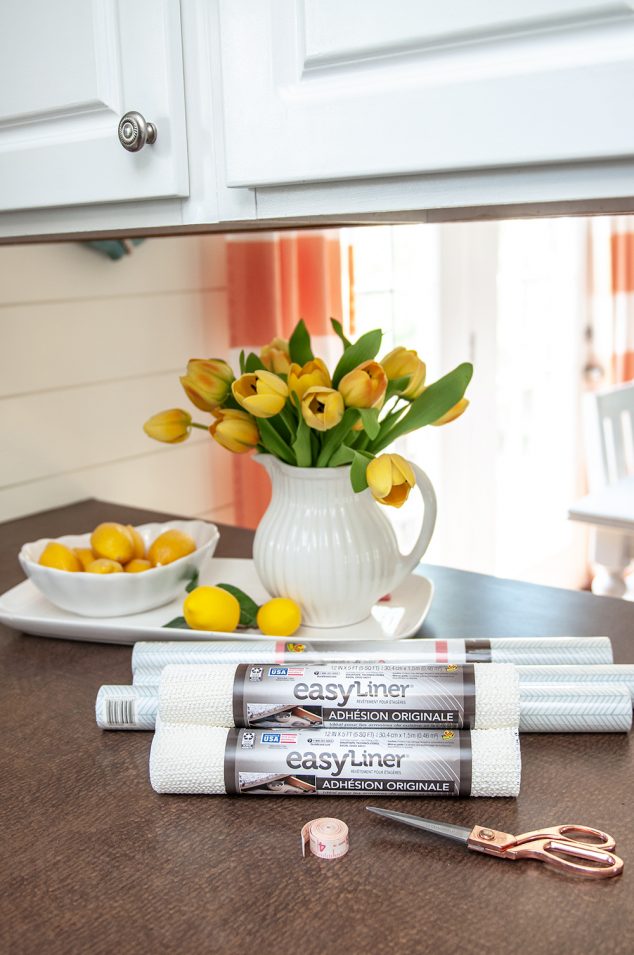
Supplies Needed:
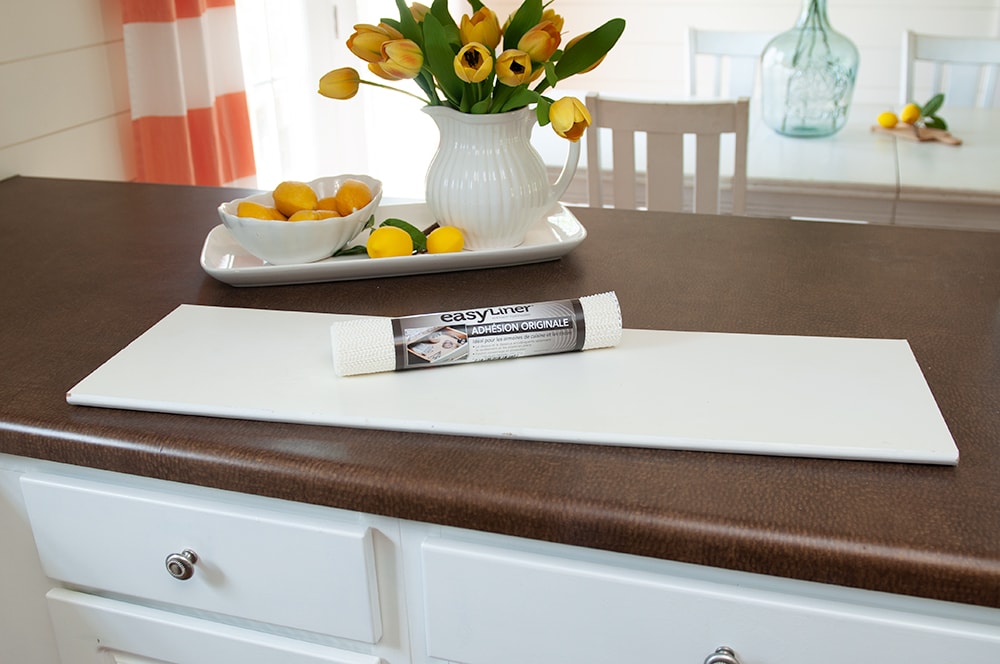
- Original Grip Easy Liner
- Easy Liner Adhesive Shelf Print Liner
- Tape Measurer
- Scissors
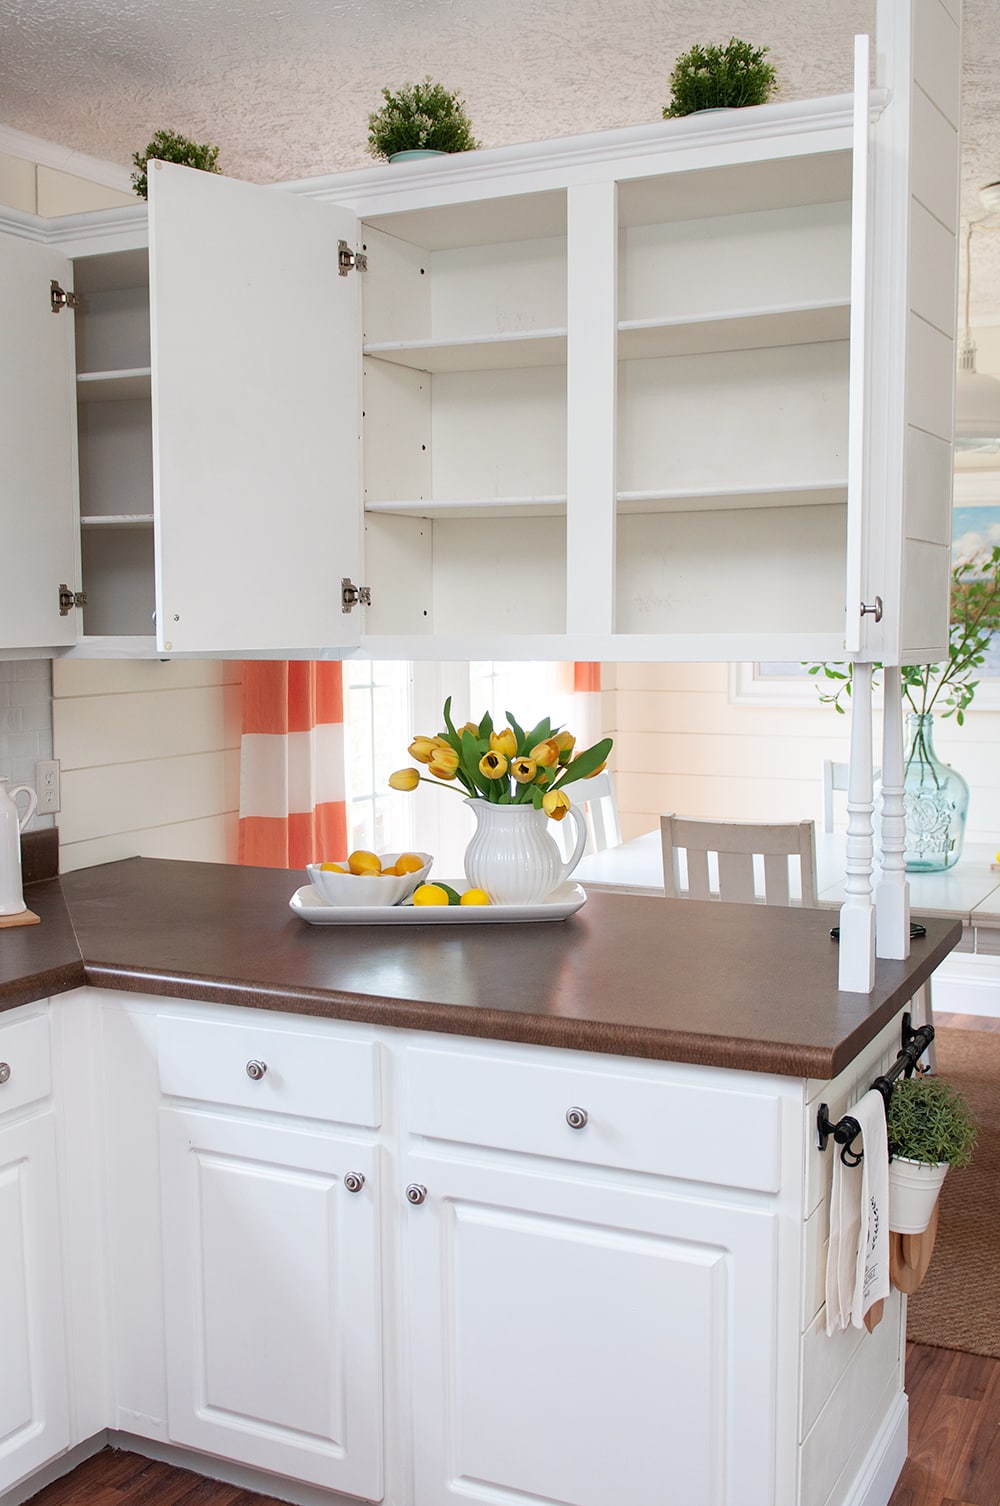
The Kitchen
As you can see I have quite a few cabinets and drawers in the kitchen. Since I recently gave them a fresh coat of paint, I wanted to keep the insides protected. I noticed that all the drawers and cabinets shelves have been getting scratched up over the last 4 years.

Drawers
So the first step was to tackle the drawers!
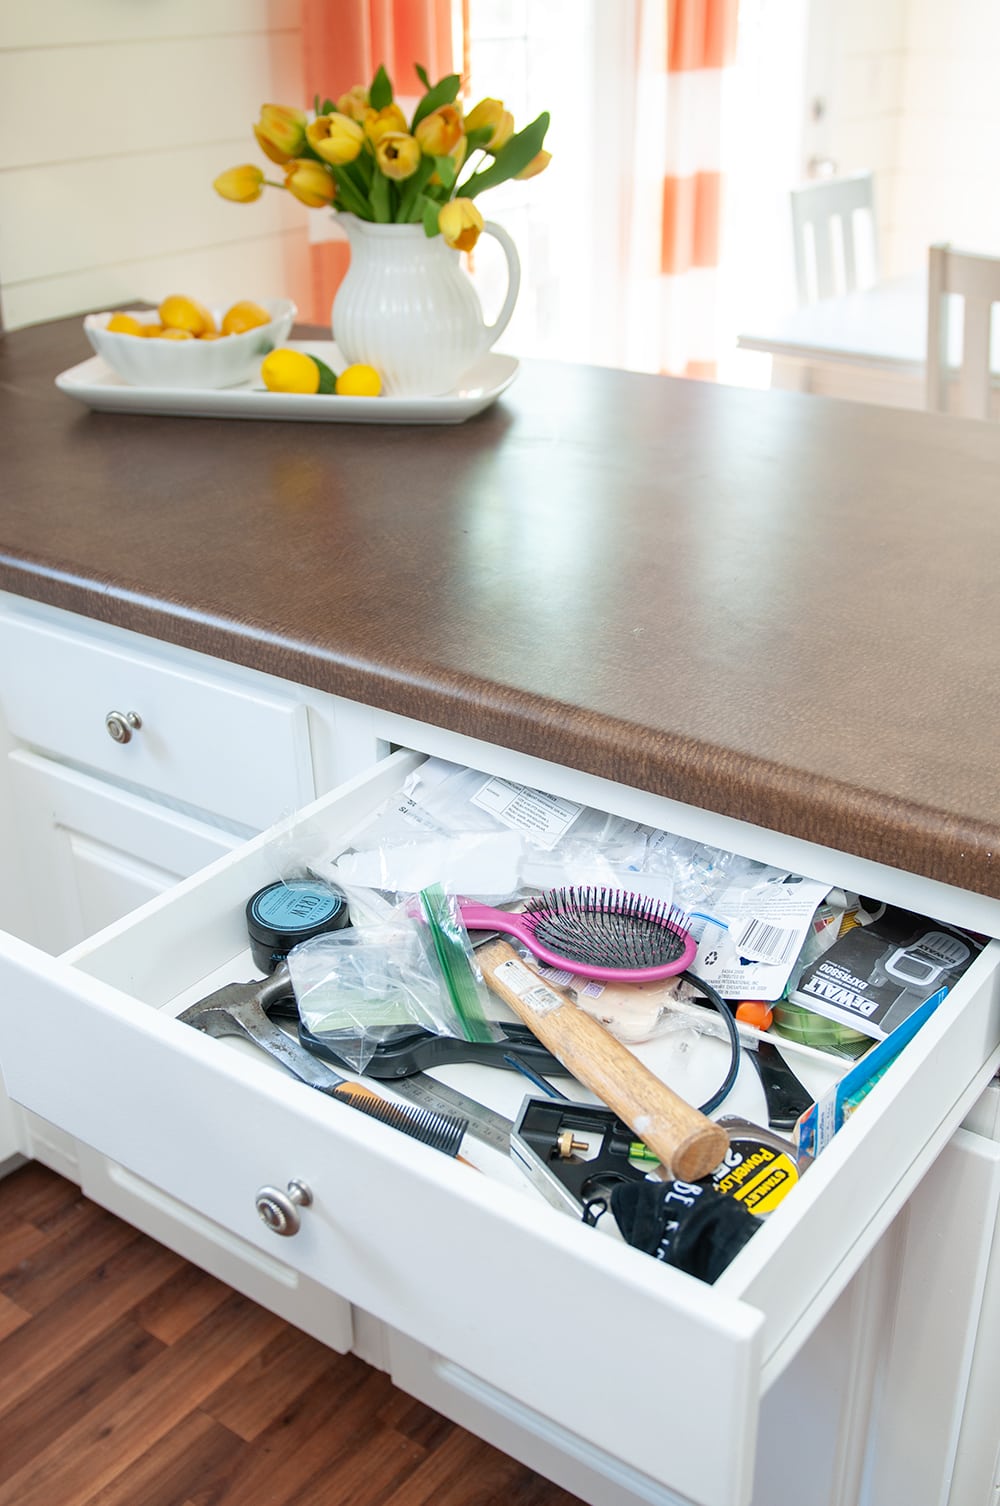
I pulled out everything from inside all the drawers. It was a perfect time to toss half of the stuff that has been sitting in those drawers not used in years.
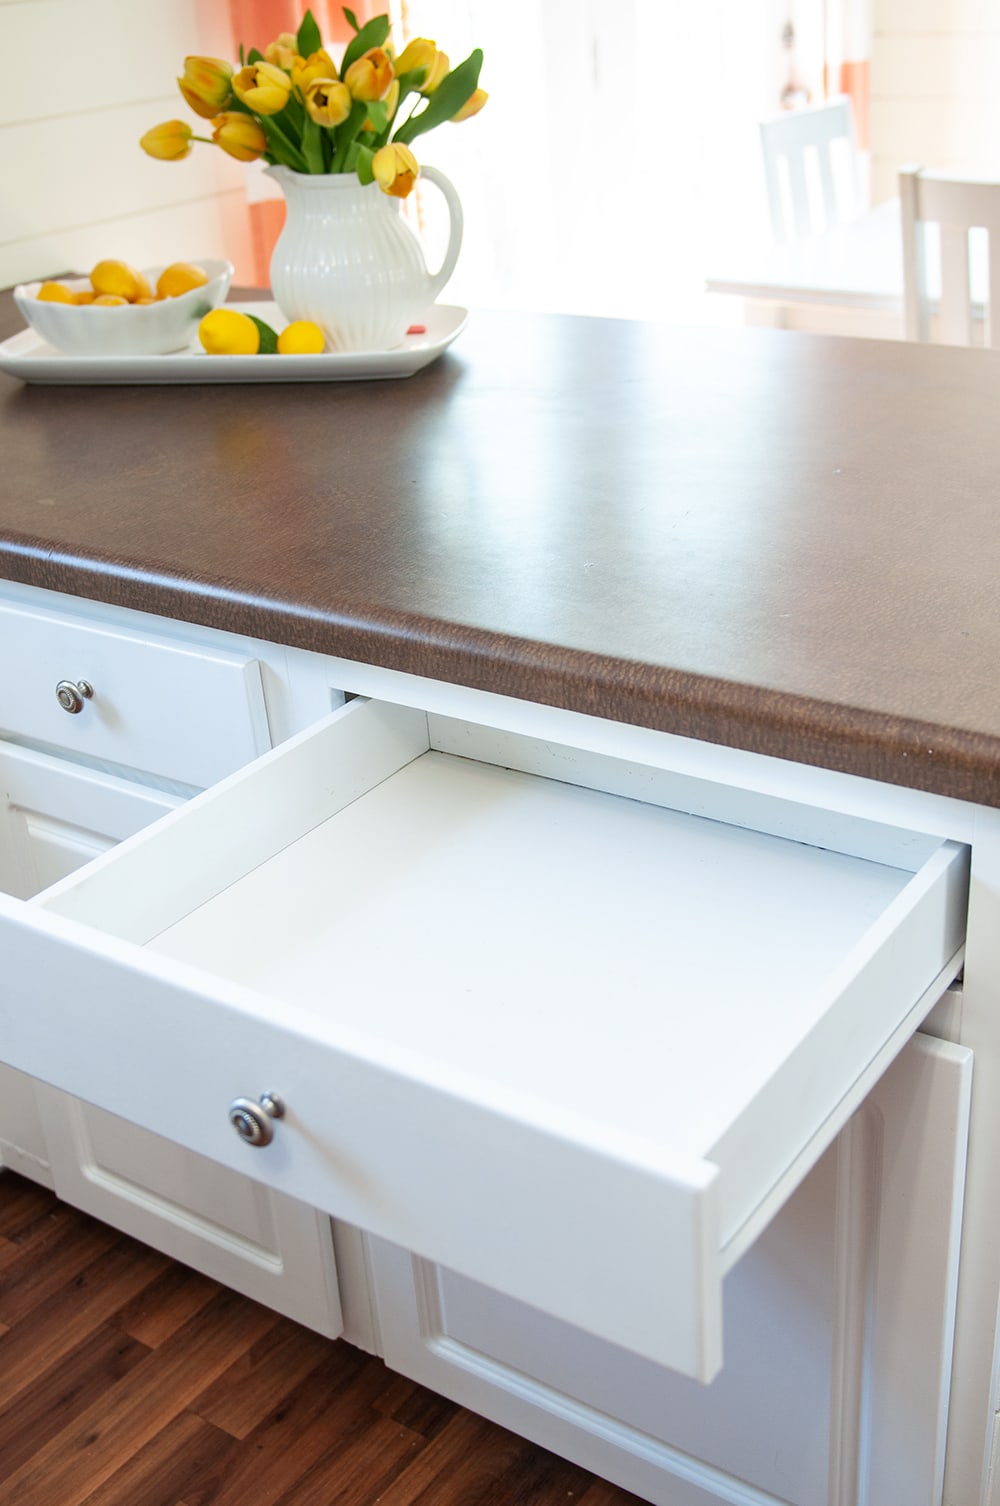
Then I wiped down all the insides of the drawers with a Clorox wipe.
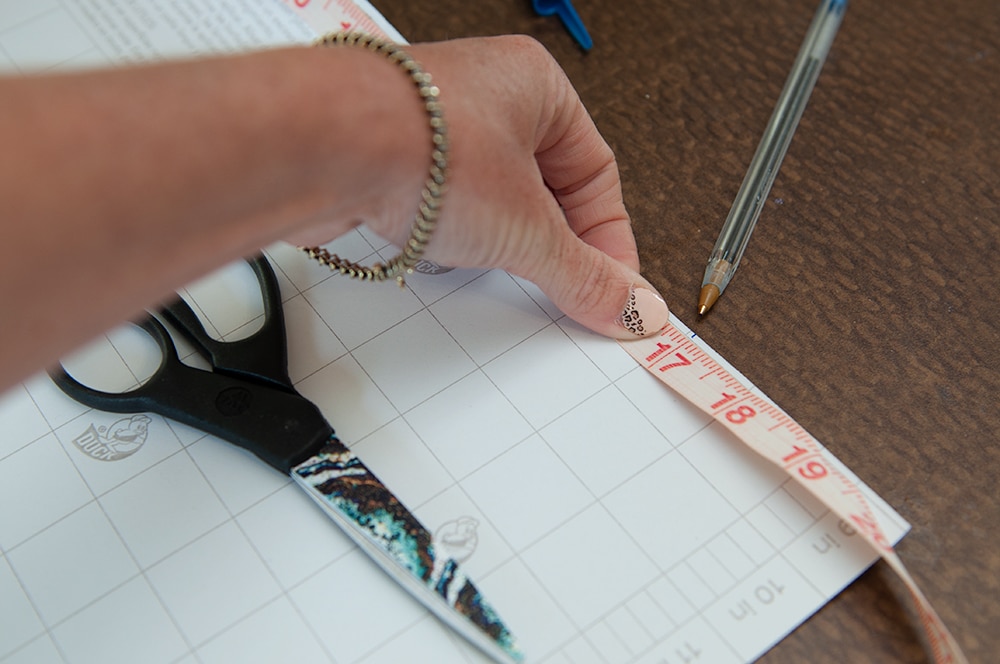
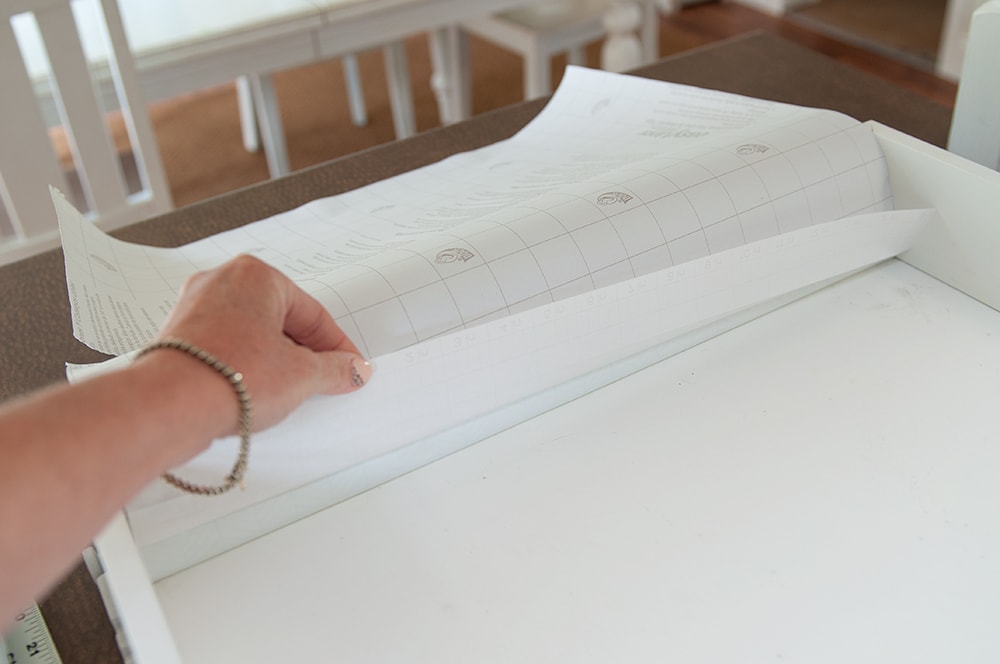
Next it’s time to measure the size we need for the inside of each drawer. I pulled out my “Handy Dandy” measuring tape and got started.
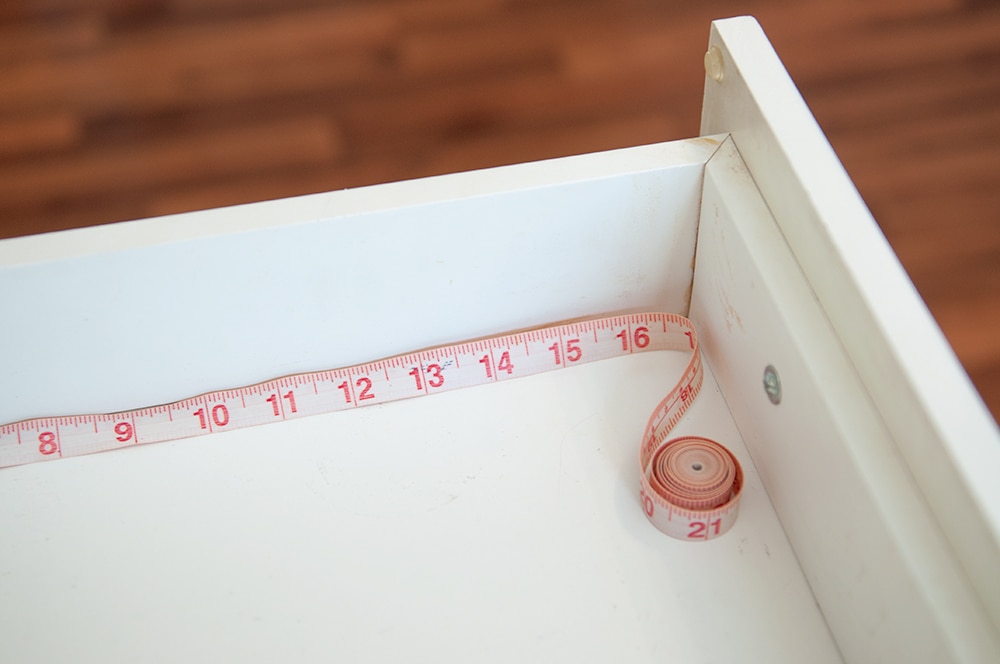
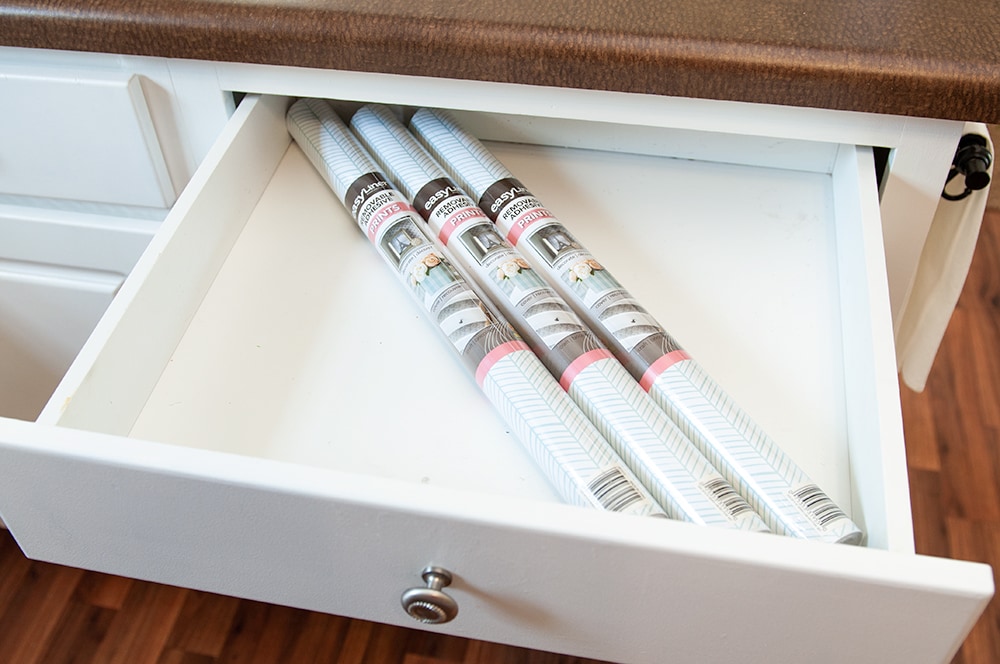
Once I measured the inside I marked it off on the adhesive drawer liner.
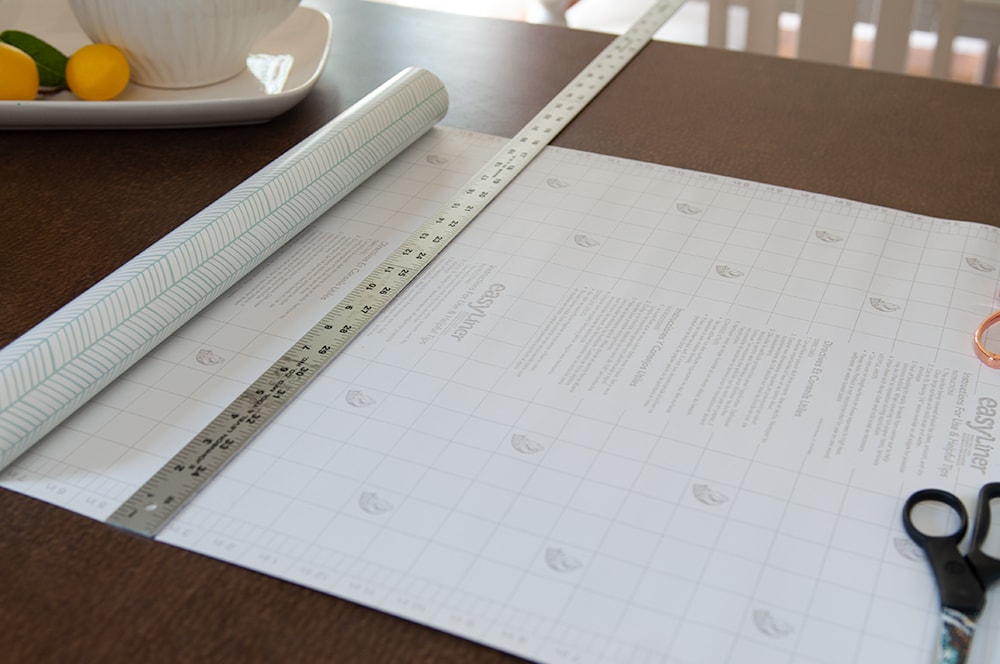
I used a long ruler that I had on hand to help keep all my lines even.
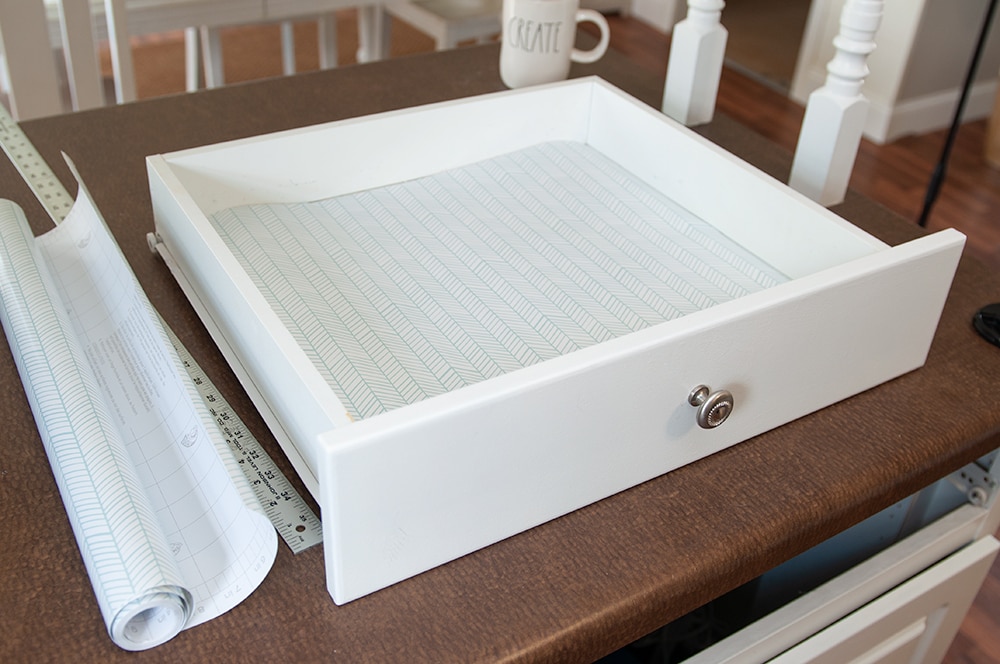
Once I cut it out I laid it inside to see if it was the perfect fit. IT WAS!
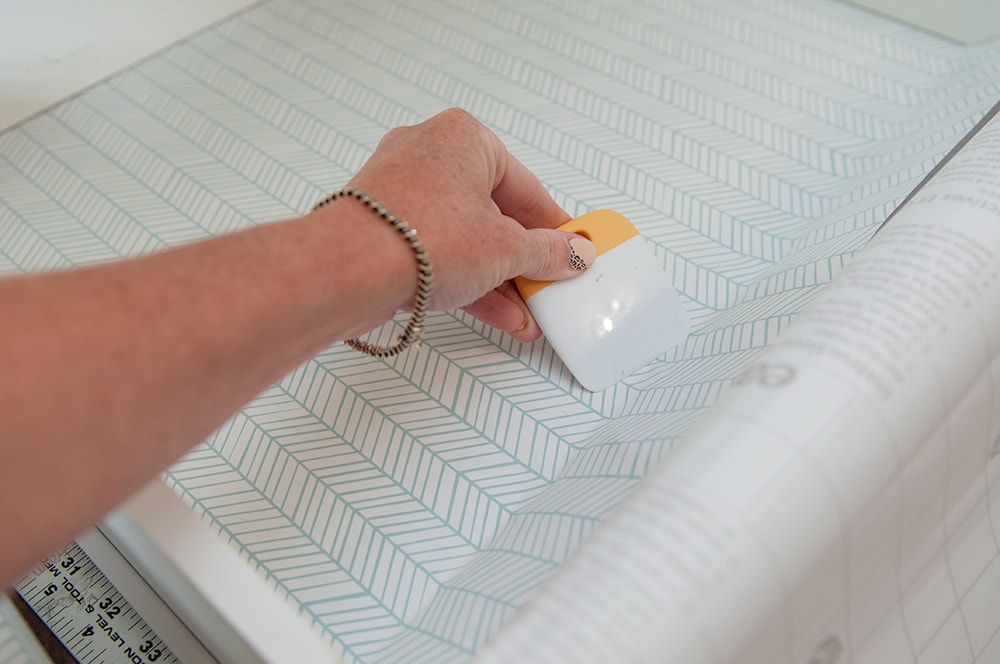
Next I peeled the the top half down and lined it up at the back of the drawer. I used a scraper I had on hand to smooth the top part down. You can use a hard card to do this part if you don’t have a scraper on hand.
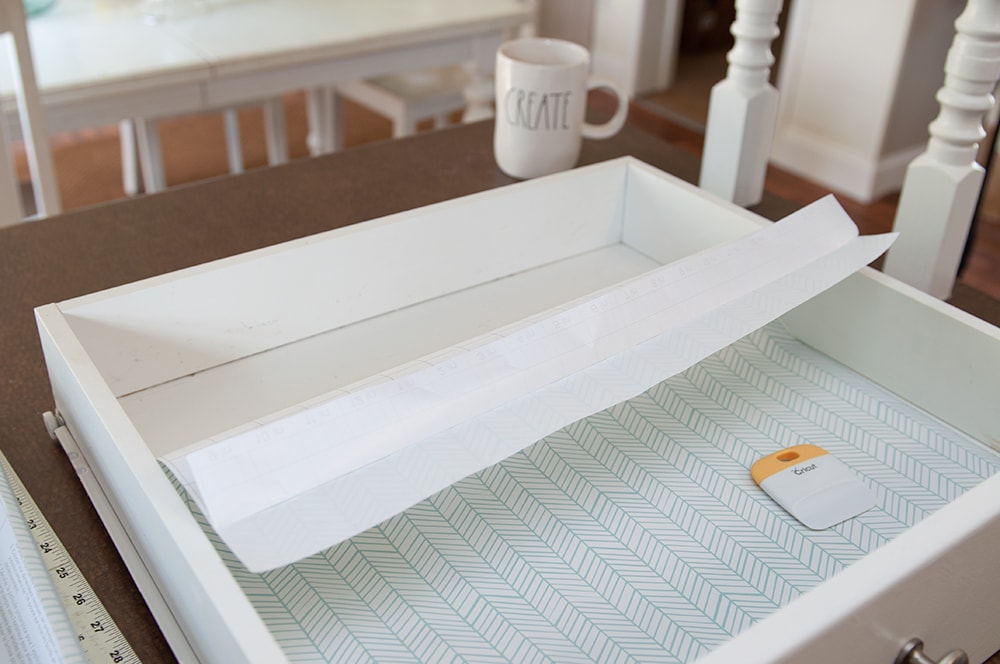
Then I slowly started pulling the bottom piece back, just a little at a time. All while using my scraper to keep it smooth and keeping out any air bubbles.
See no bubbles popping up!
Wow that looks AMAZING! I’m so happy that I picked this pattern for the drawers.
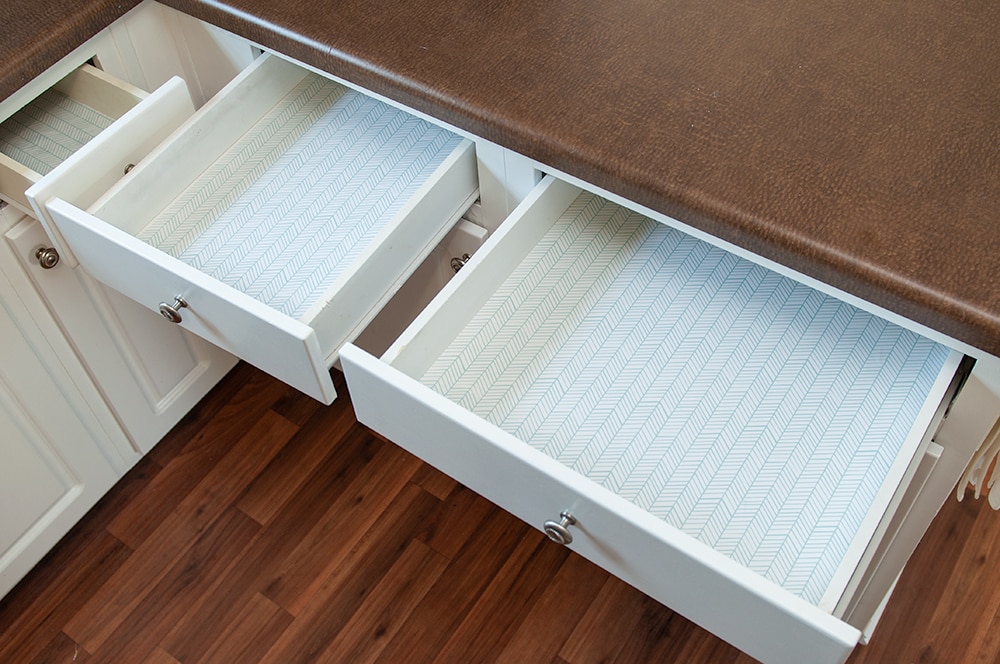
Now Its time to get these drawers a little more organized!

These adhesive liners will keep these drawers safe and protected now from any scratches. This is perfect if your ever planning on selling your house or if you live in a rental house to keep those drawers looking new. Our cabinets were brand new and over the past 4 years the insides have gotten pretty banged up.
Cabinets
Now the 2nd step of the cabinet makeover adding liner to the cabinet shelves!
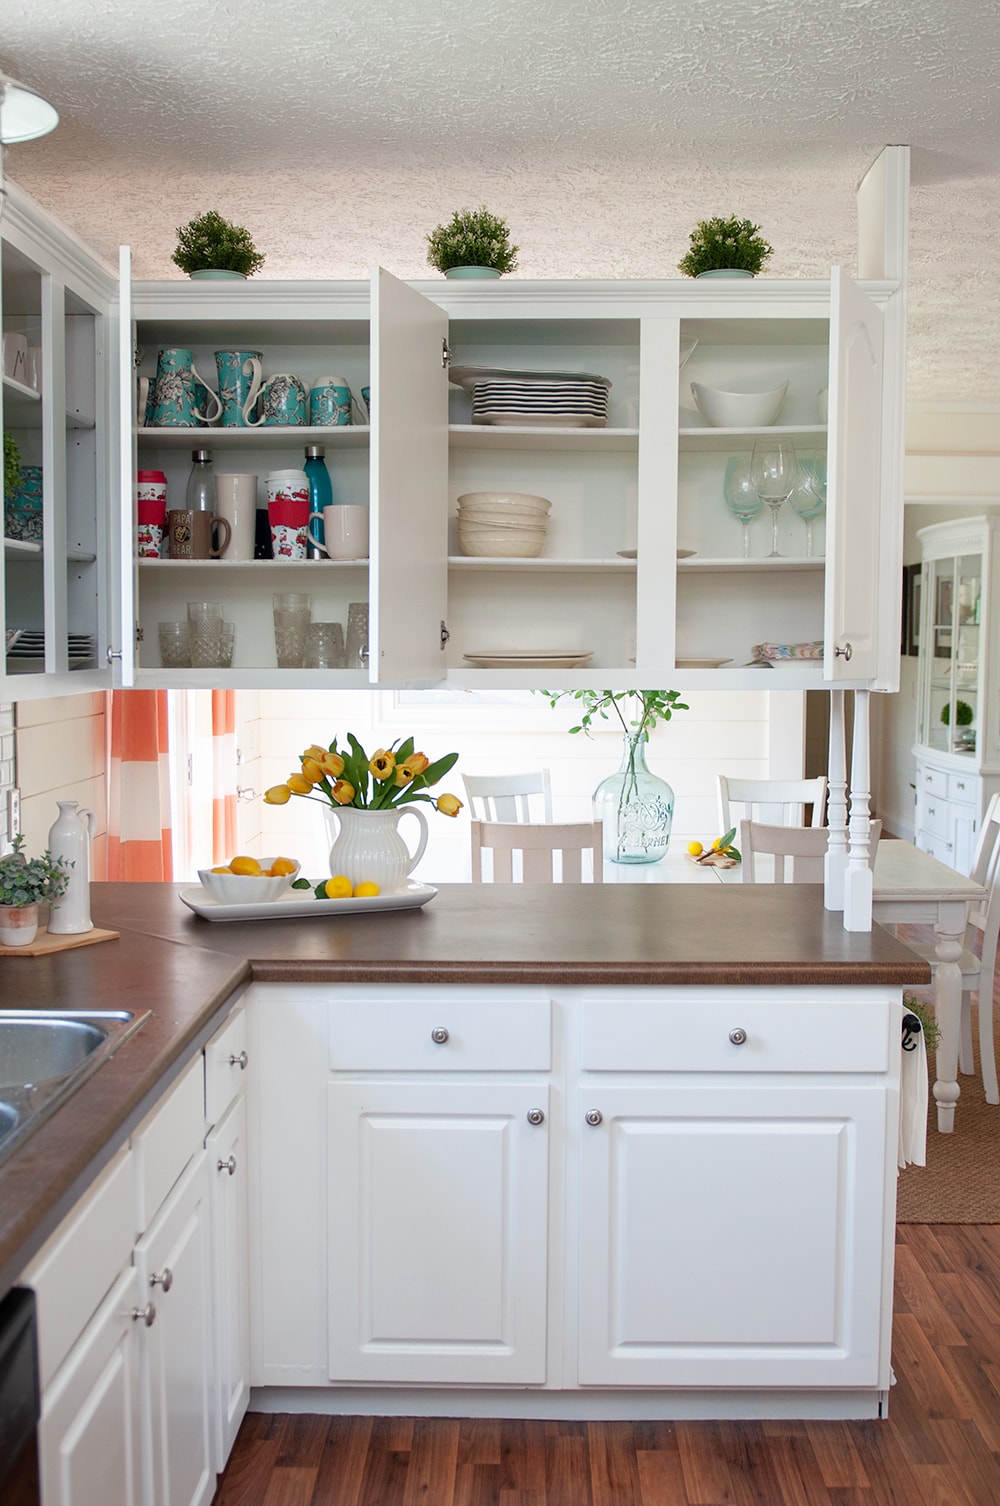
This is truly an embarrassing photo of the inside of my cabinets. But this is my real life!
I cleaned out all the cabinets and wiped everything down with a Clorox wipe.
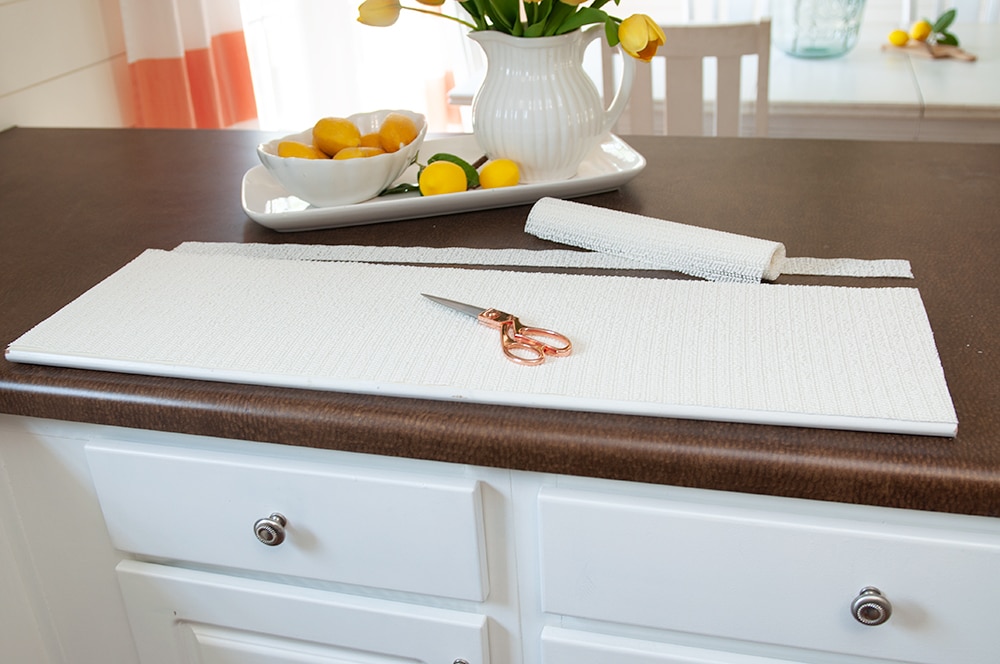
For this part I just pulled out a shelf and rolled out my Easy Liner on top and cut around it. It was the perfect size for all three shelves in the cabinet.
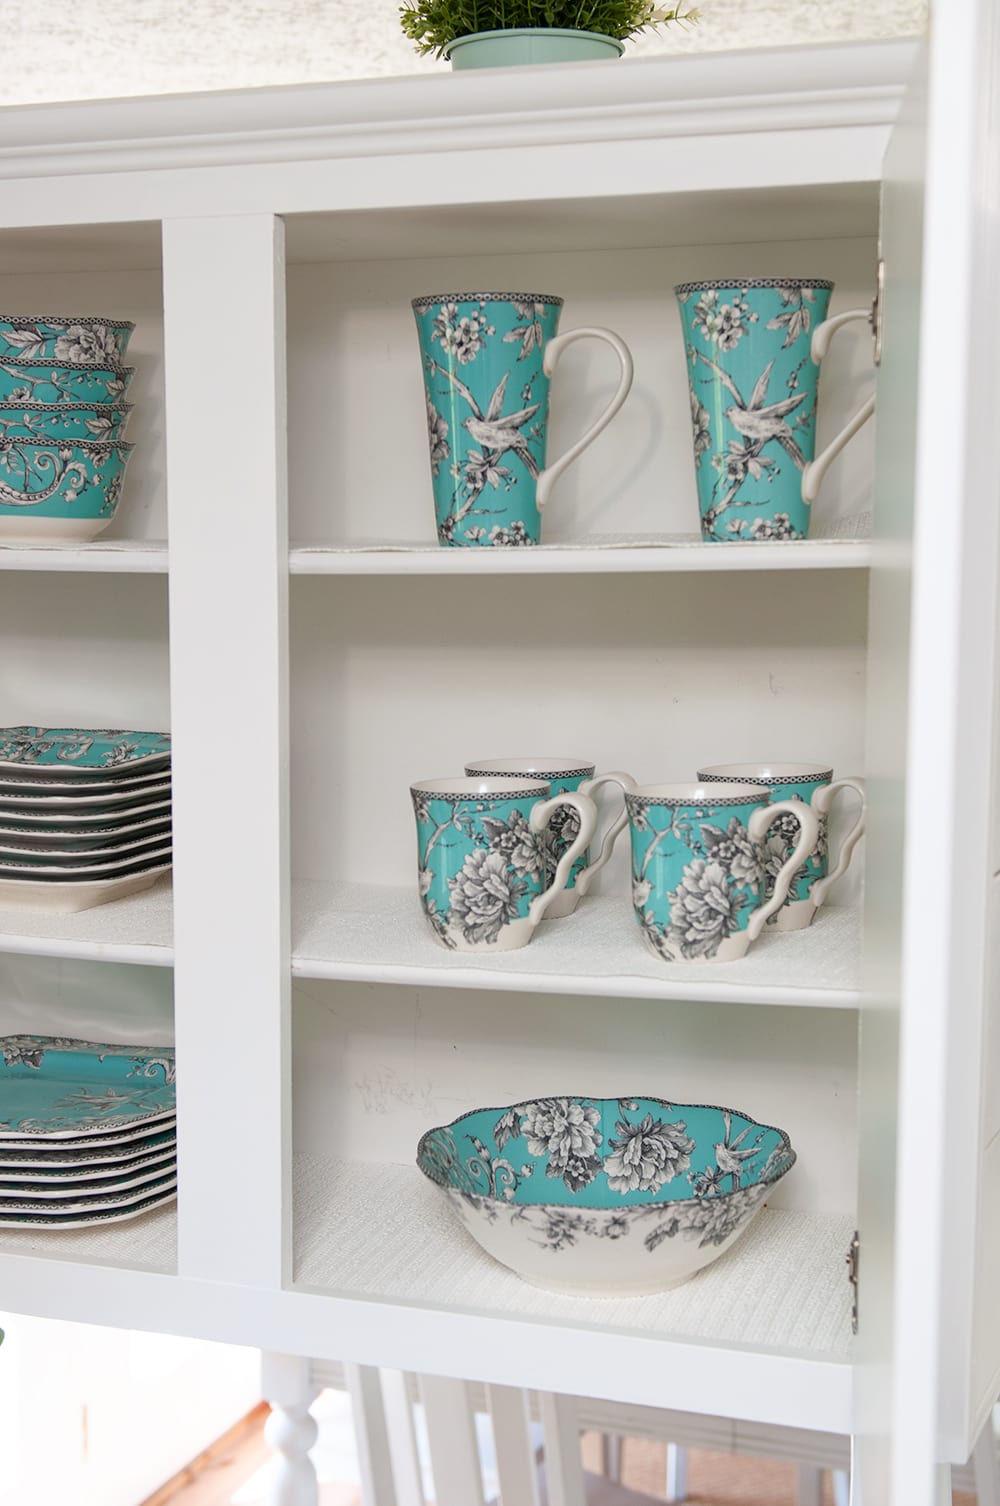
See How perfect they fit!
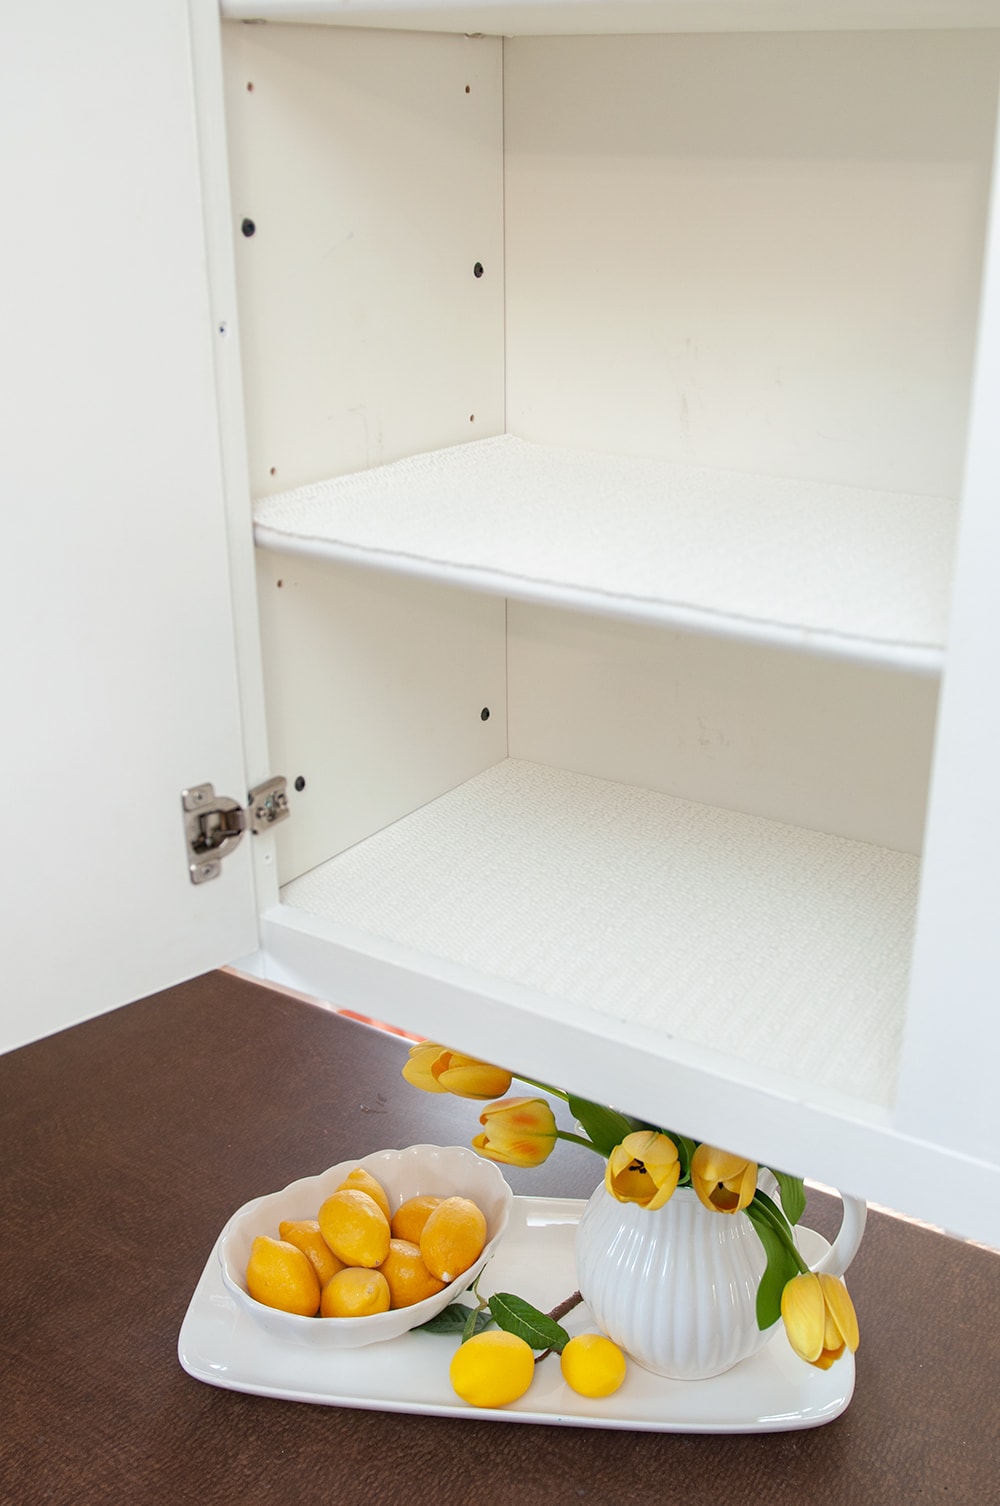
Just add your dishes back and your finished! Only took a couple minutes to do these cabinets, now onto the rest of them!
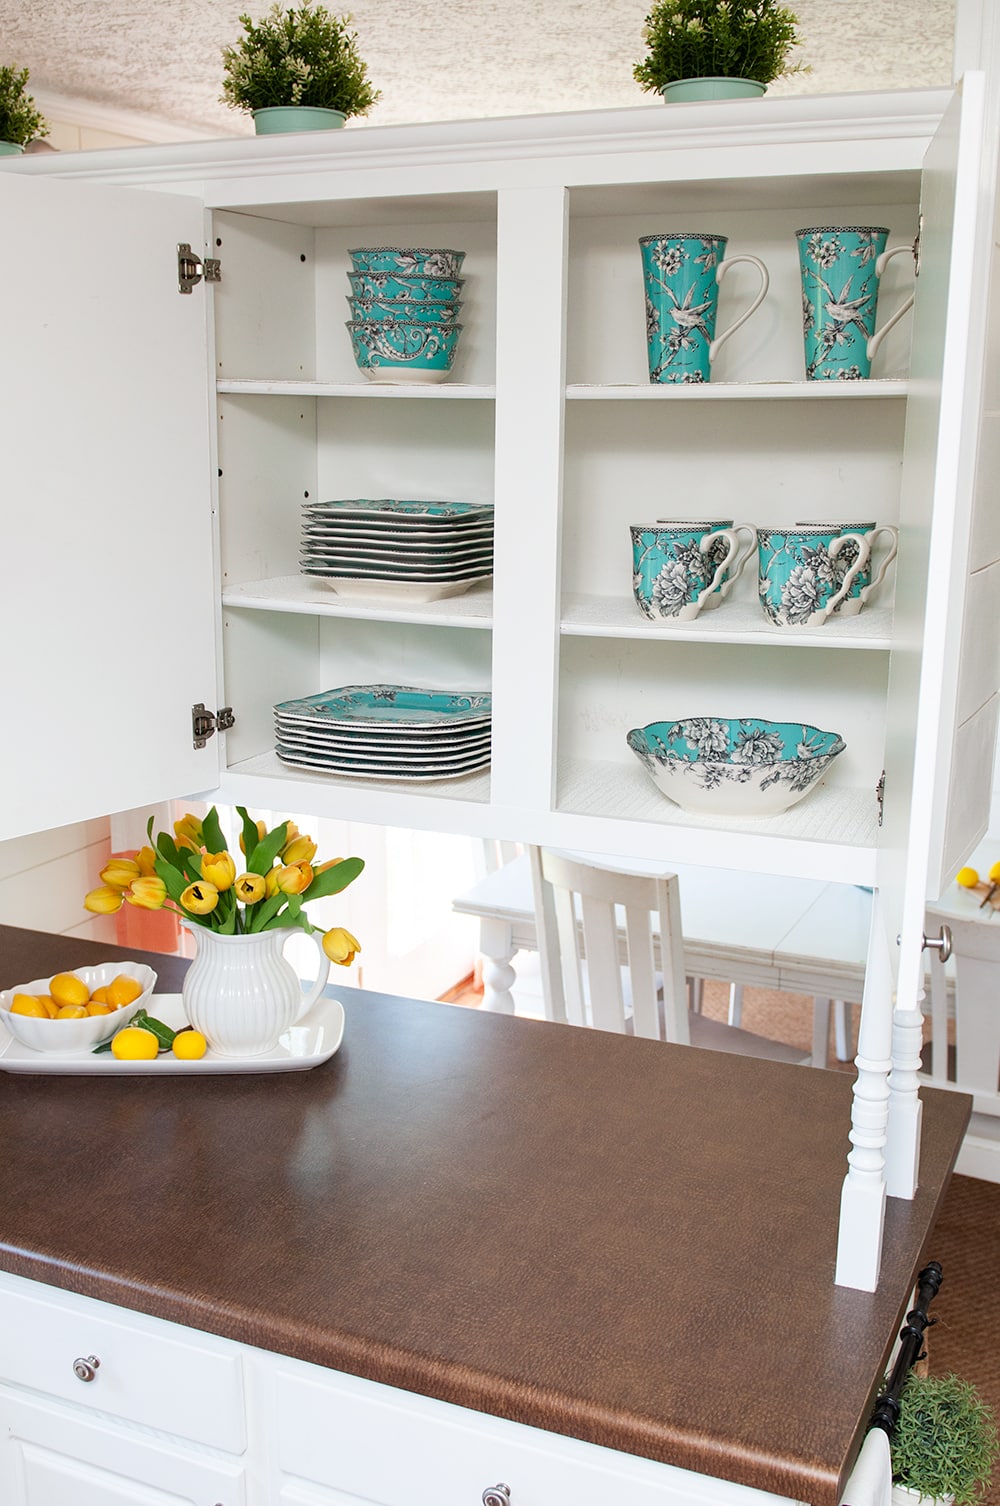
When my boys put the dishes away now, these liners will keep the cabinets from being scratched up.
As always thanks for stopping by! I hope this post inspires you to get your cabinets and drawers lined and protected. Please let me know if you have any questioned regarding adding the liners or the liners themselves.
Love, Courtney