I’m at it again teaming up with Silhouette to unbox and setup the NEW Alta Plus!! I was very excited to get the opportunity to work on a project like this. I’ve never done anything with 3D printing before, so this was a little out of my crafting comfort zone. But sometimes we gotta try something new, right?!
So let’s get started and set this machine up!
Some Facts:
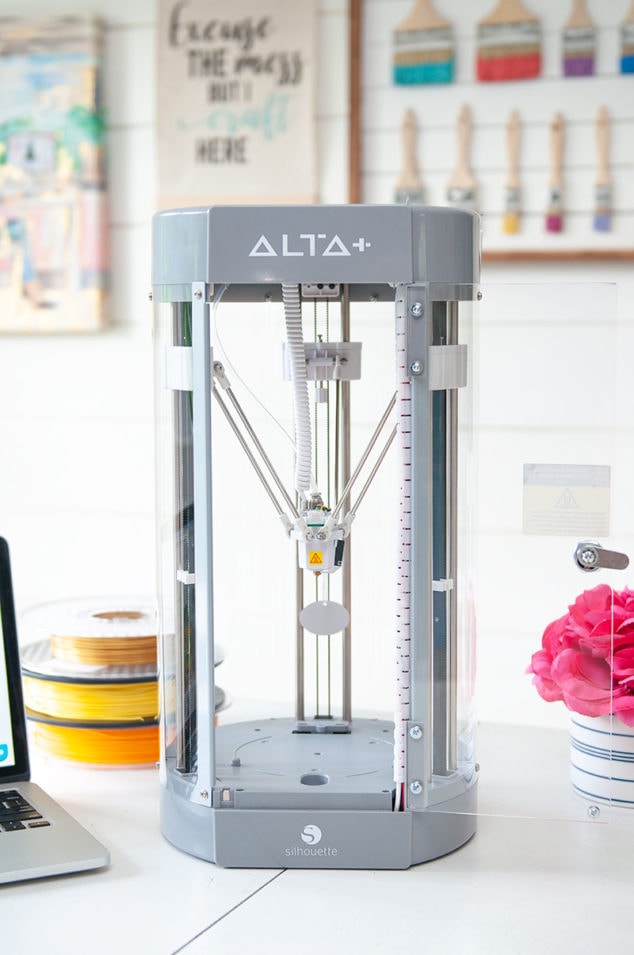
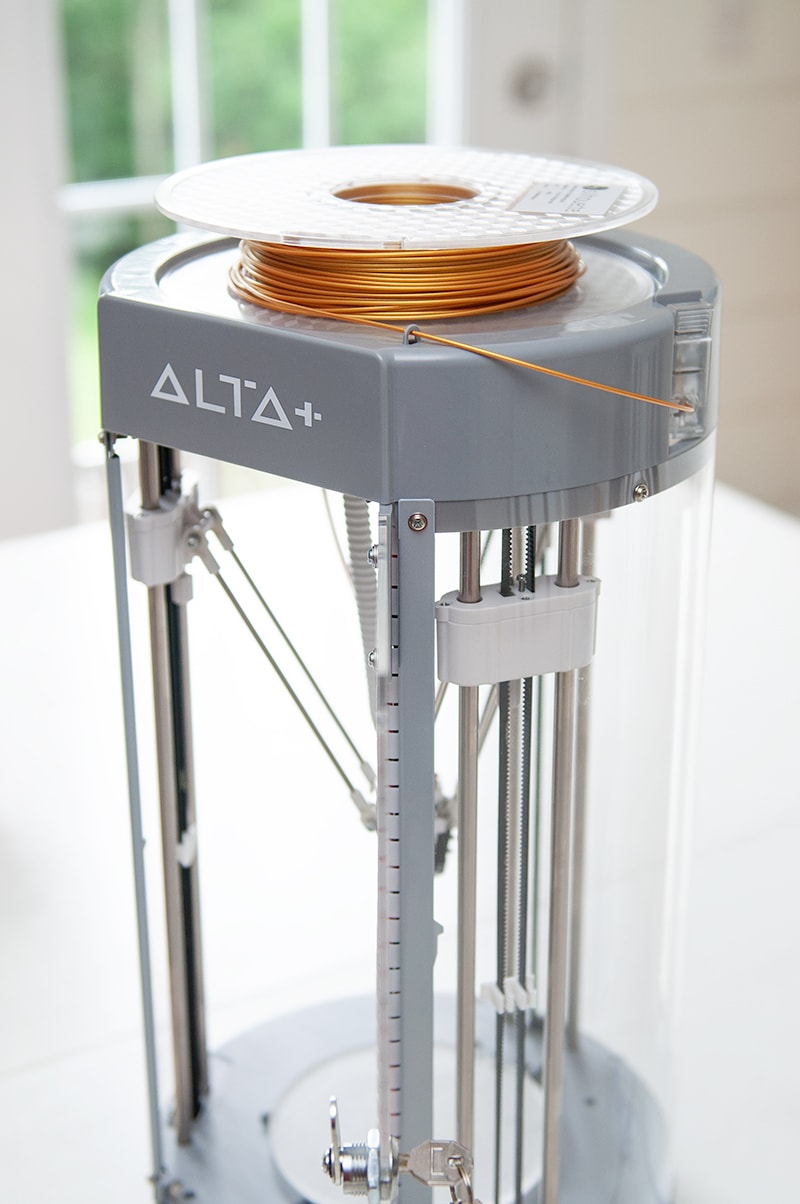
The Silhouette Alta® Plus is a 3D printer that is perfect for beginners and experts alike. This printer can create a variety of 3D models using PLA filament (1.75 mm) and is compatible with Silhouette’s standard filament and specialty filament. Make everything from custom cookie cutters and keychains to cake toppers and jewelry pieces.
Getting Started
You’ll need to go to the Silhouette Setup link. If you have not already setup up an account this is where you will do that. If you have an existing account you will just need to log in.
https://www.silhouetteamerica.com/setup
Step 1- Register Machine
On the back of the machine you can find the serial number there.

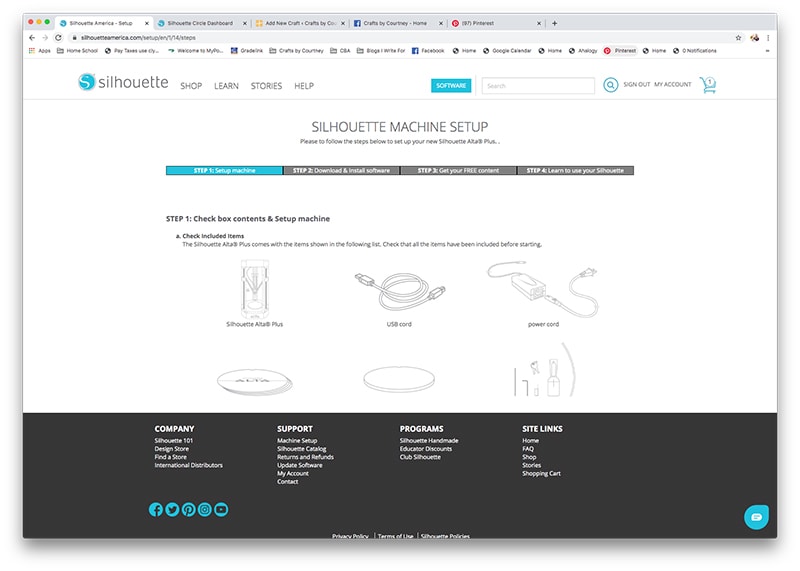
Step 2 – Machine Setup
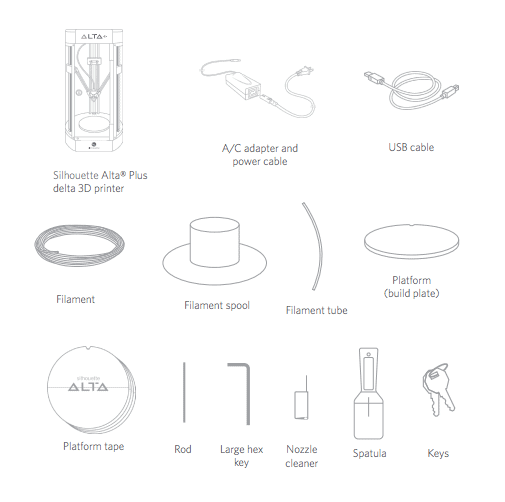
Next go over all the content in the box to see if you have everything. Here is a list of what will be in your box when you open it.
Contains:
- Silhouette Alta® Plus 3D printer
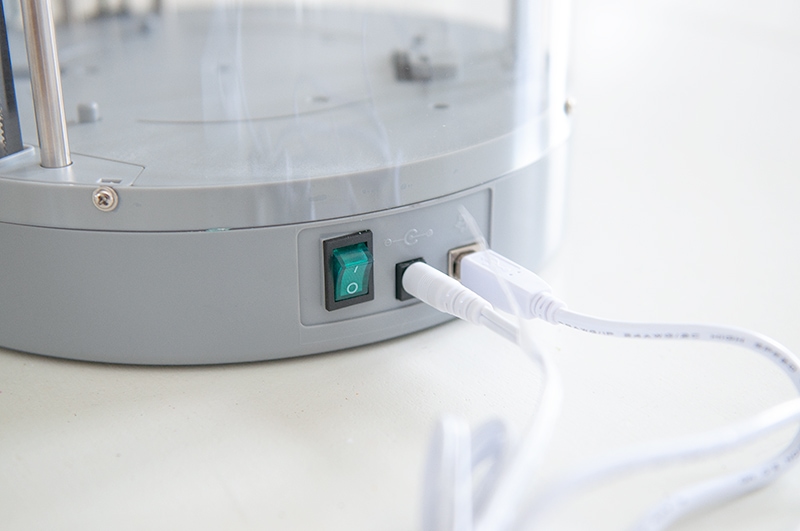
- Power cable and USB cable
- Loose filament spool (color: white, approximately 60 grams)
- Filament spool holder
- Platform (with applied Platform Tape Sheet)
- Replacement Platform Tape Sheets (5)
- Hex key (for machine adjustments)
- Rod (for filament adjustments)
- Nozzle cleaner tool
- Keys (to lock/unlock the case)
- Silhouette 3D™ software (download)
- 25 exclusive designs (download)
- 1-month Silhouette Design Store subscription ($25 credit value) (available after tool registration)

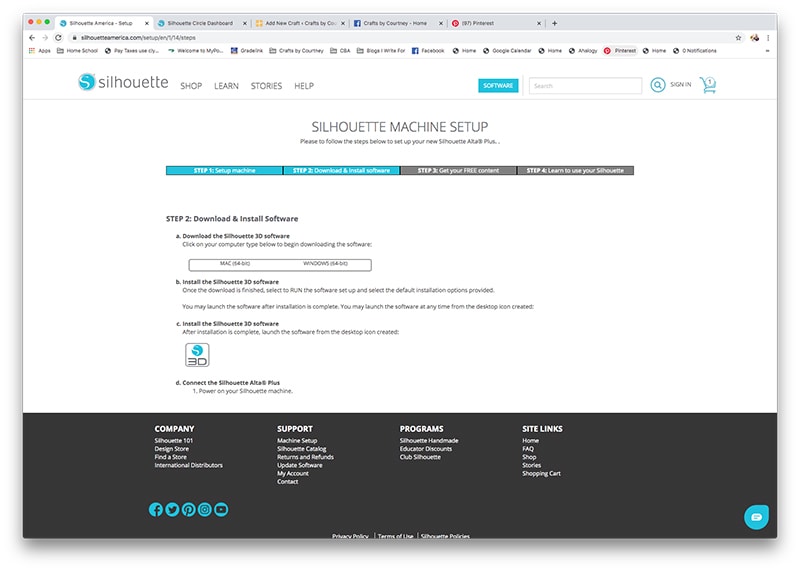
Step 3 – Download Software
With Alta Plus you will need to download a different software other then your Silhouette Studio. Silhouette 3D and Silhouette Studio work together.
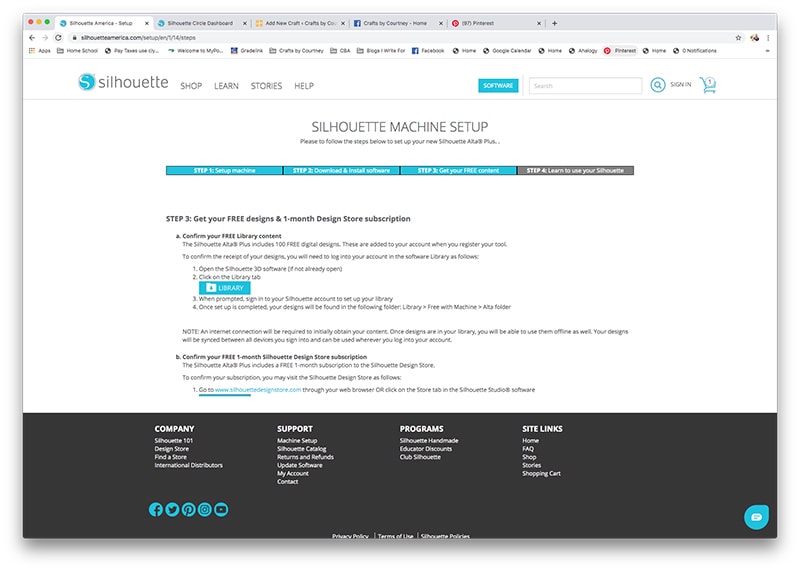
Step 4 – Get Your Free Content
When you sign up you get a 1 month free subscription and a $25 credit to start experimenting with your machine!
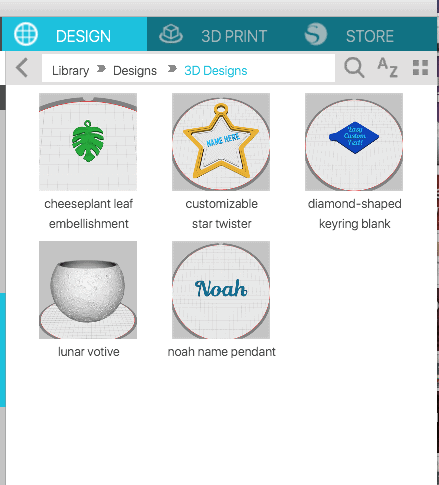
Here are a couple examples of designs I purchased.
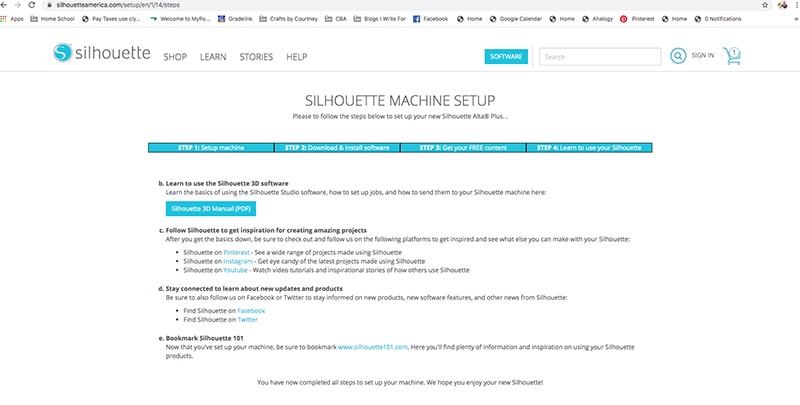
Step 5 – Learn to use Machine
Now it’s time to learn about the machine! There is a PDF to learn about the software and the machine, I highly suggest reading both.
When I do my next post and first project I will go into more detail and show you how to add the filament, tape to platform, etc. I will make sure to update this post and add the link.
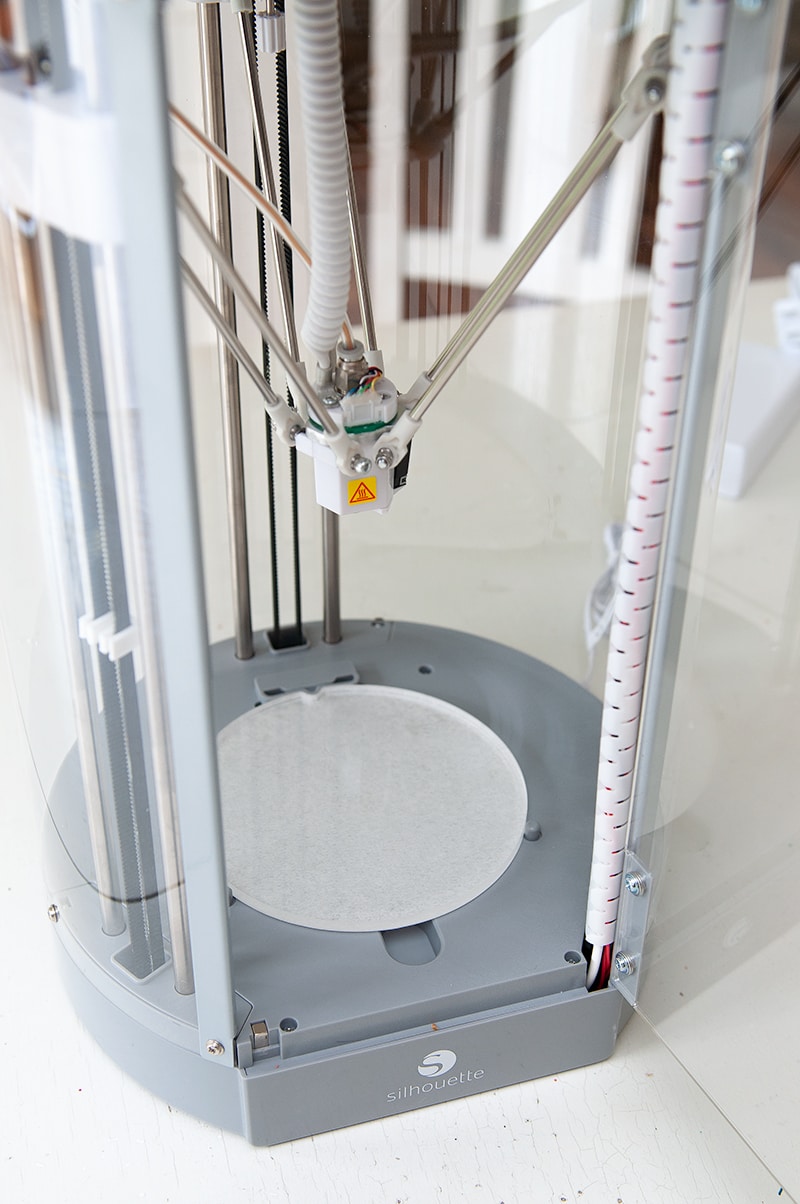
Here are a couple quick pictures from my next post!
As always thanks for stopping by, I hope this post has gotten you excited about the new Alta Plus machine. Stay tuned for my next post where we will make our first project.
Love, Courtney