Since we love fruit stamping crafts here…
I thought I would add apple stamping to the list. I think now we have stamped every fruit and vegetable you can (besides okra, which I would love to do).
Getting Started
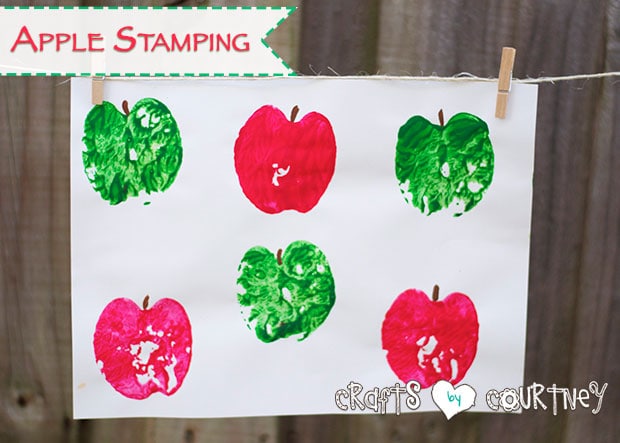
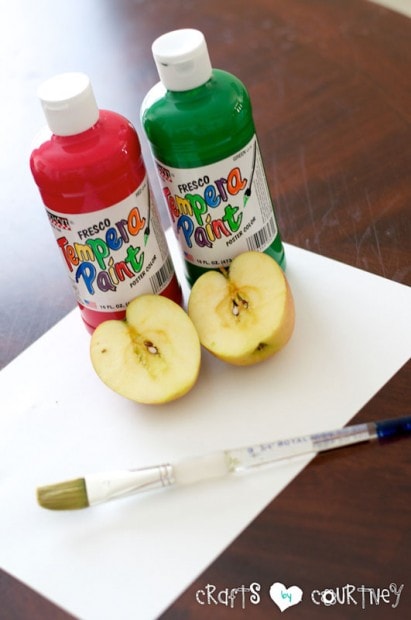
I cut the apple in half and decided to go with our basic apple colors. We have red paint for our Macintosh apple and green paint for our Granny apple.
Step 1 – Create Your Apple Stamps
I poured the green and red paint onto a paper plate and had my son firmly press his apple into the paint. Once the apple was completely covered, I then had him firmly press the apple onto our paper and gently pull up.
Voila a perfect apple shape.
The silly little guy chased me around with his apple trying to get me (what a goof ball).
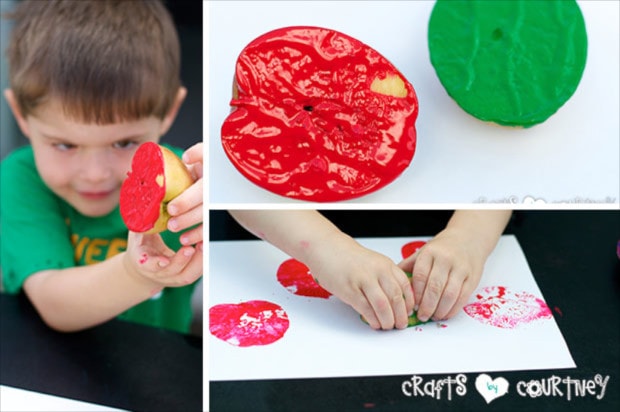
Quick Tip: When apple stamping, stick a fork in the back of the apple. It becomes easier to stamp and not get paint everywhere.
Step 2 – Finishing Touches
I went back over his apples with some brown paint and added a stem to the apples. If I would have thought about it, I might have even added some seeds to the apples.
Hmm…that’s a good idea for another craft project (see a crafters mind is always spinning).
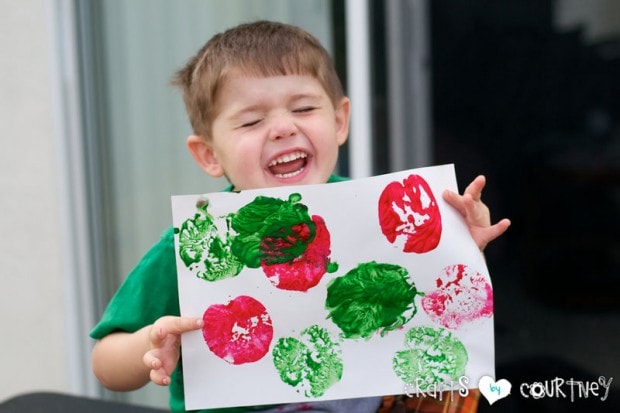
He was pretty excited about his apples…as you can see!
Apple Stamping is so easy right?!
What an easy craft you can do with your kids. The only thing I hate is wasting a perfectly good apple, but hey, that’s a sacrifice us crafters have to make ;)
More Stamping Crafts
Love, Courtney