School has officially started for us here in the Sanchez house. My boys go to year round school so we start way earlier then everyone else. Since back to school time is here I decided to make a back to school project.
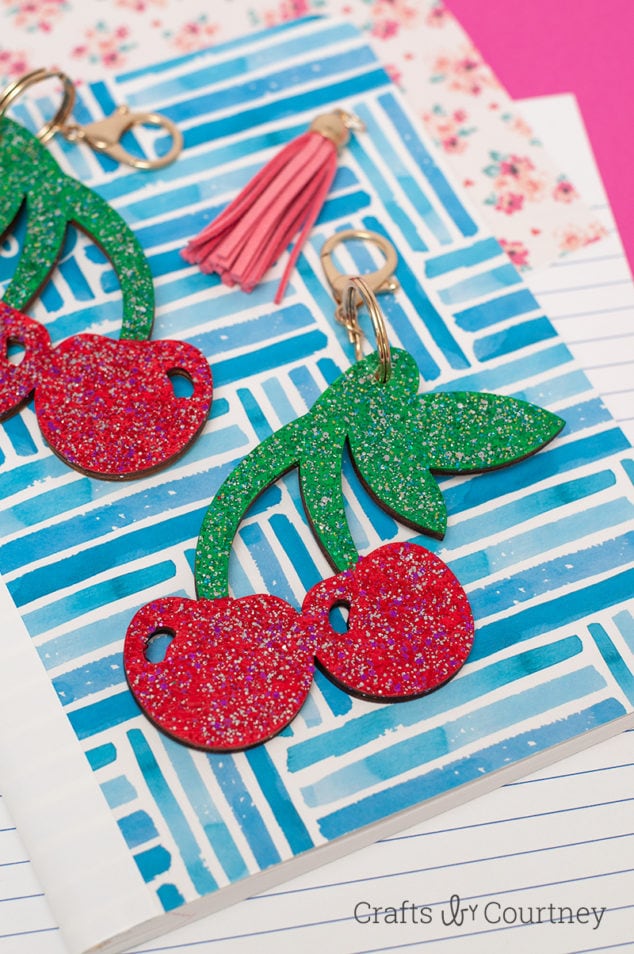
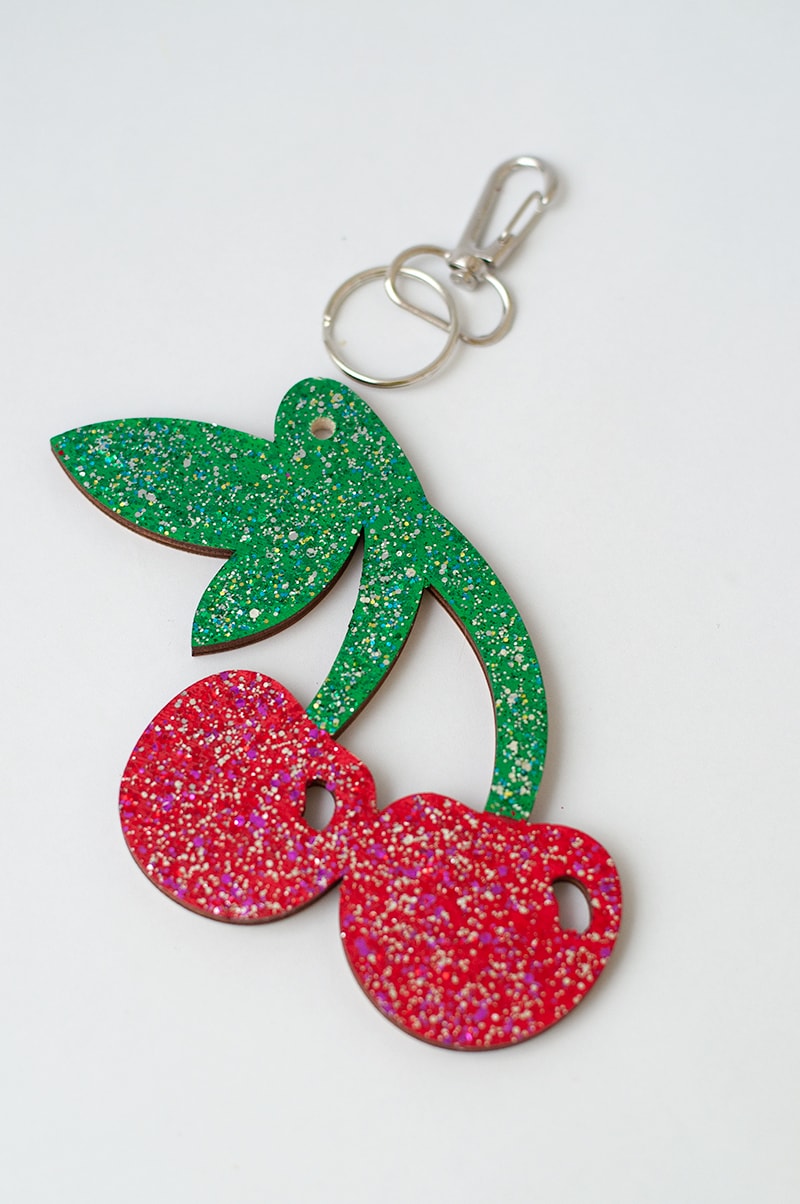
A DIY Keychain. Obviously this is not for my boys, but it would be a fun project to make with your preteen who may be starting school this year and letting themselves into the house. It’s a great way to help keep track of their keys (in style) and also a cool project for them to work on!
As you all know I’m apart of the core blogger team for DecoArt. Every month we have a fun challenge to create a project using a DecoArt product. This month our challenge was doing a fun Back to School project.
Let’s get started!
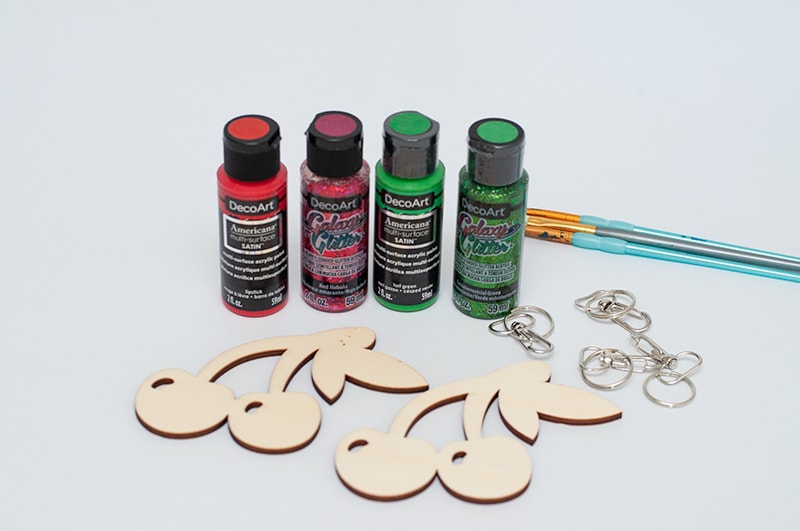
DIY Keychain Supplies Needed:
- Americana Multi-Surface Satin Acrylics 2oz – Lipstick
- Americana Multi-Surface Satin Acrylics 2oz – Turf Green
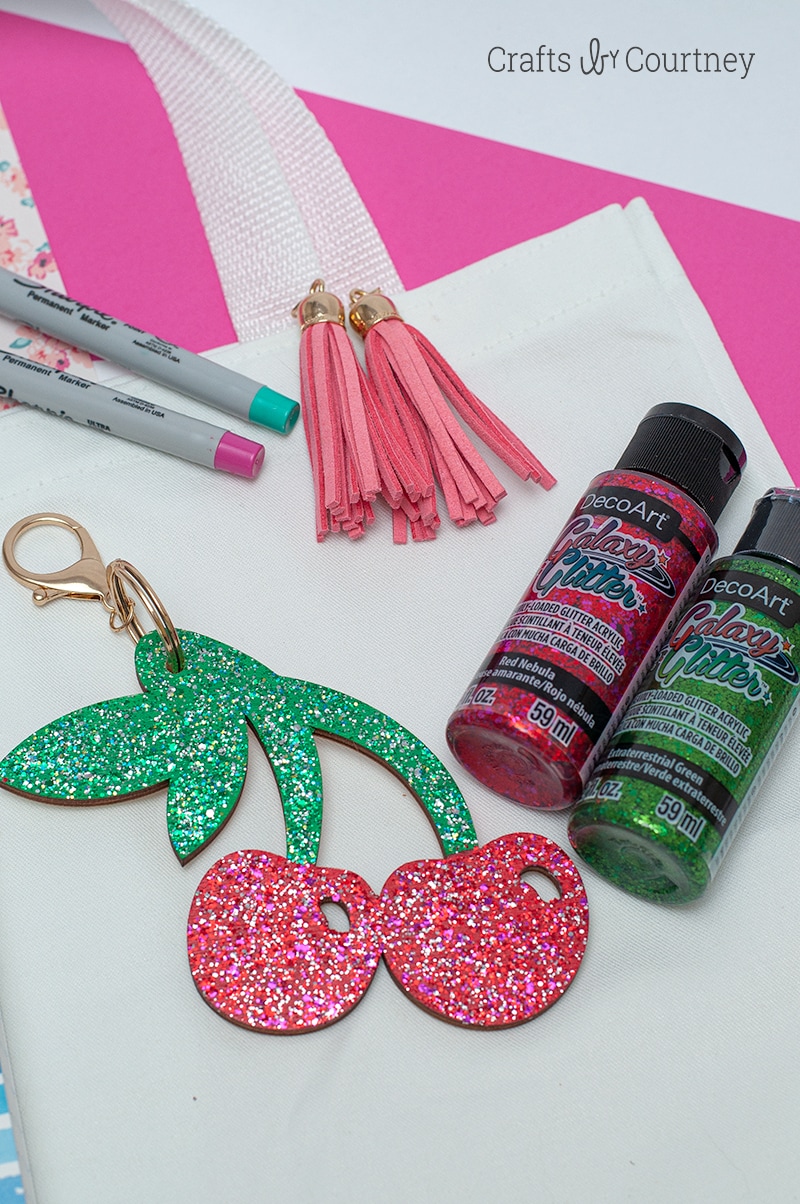
- Galaxy Glitter 2 oz – Red Nebula
- Galaxy Glitter 2 oz – Extraterrestrial Green
- Wooden Cutouts
- Keychain
- Drill
- Paint Brush
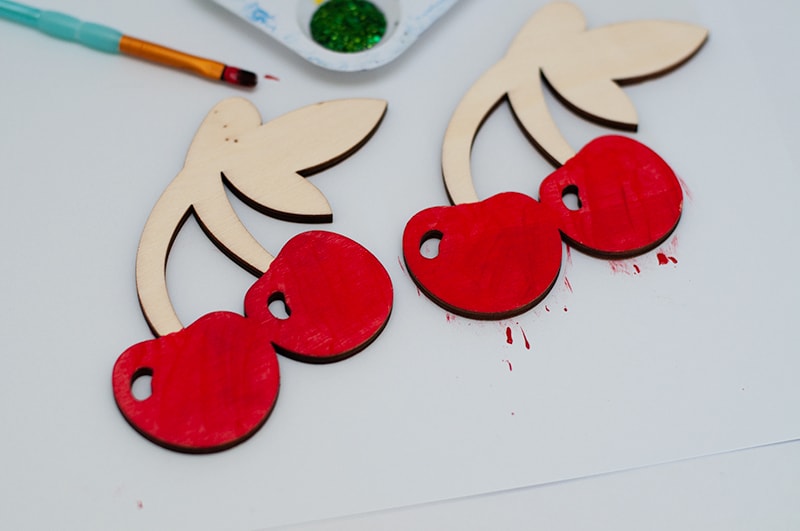
Step 1 – Paint Bottom of Cherry
I picked out the perfect color for the bottom of my cherries, lipstick! I did a total of two coats, letting each coat dry 5 minutes.
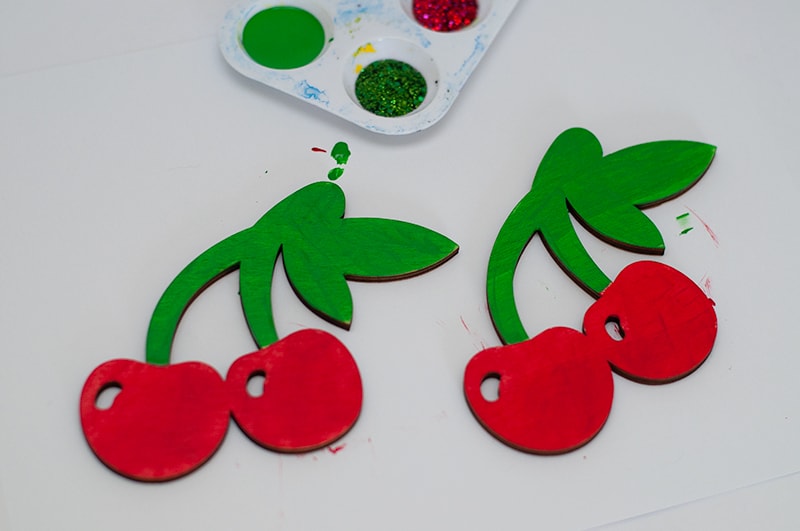
Step 2 – Paint Tops of Cherries
Next, I painted the tops of my cherrie with the turf green paint color. Same as before, let each coat dry 5 minutes.
Step 3 – Add Glitter Paint
Now the fun part, adding our Galaxy Glitter Paint!! I did this part in sections. I started off painting the bottom of the cherries first.
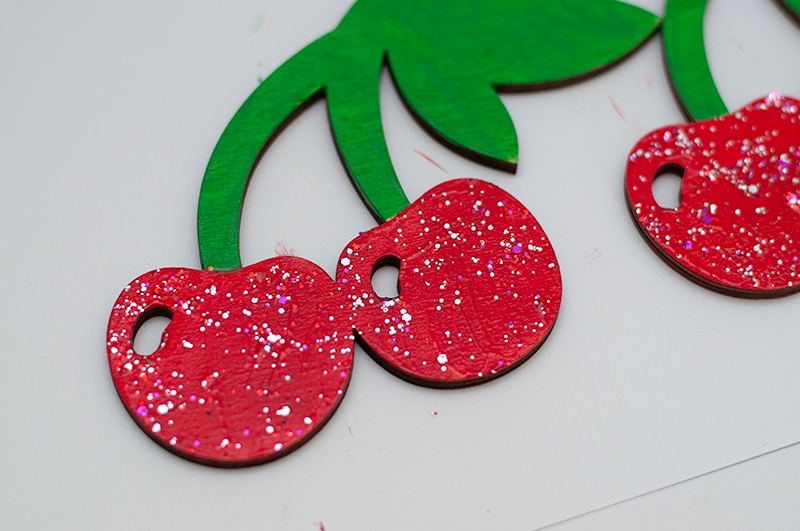
Then I painted the top section.
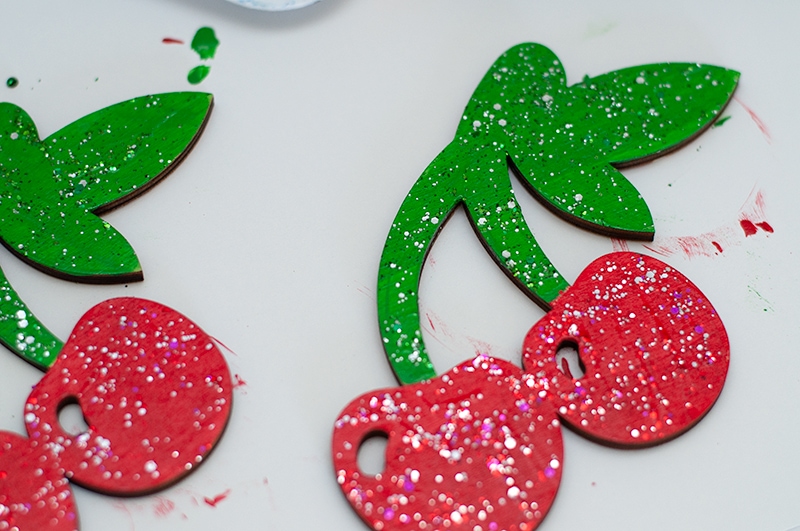
I did a total of 5 coats of glitter paint for each section. It dries pretty fast, so I just touched it to make sure it felt dry before I added another coat. Otherwise the glitter is not going to stick.
I’m seriously obsessed with this Galaxy Glitter! Do you know how hard it is for me not to add glitter to everything! Here’s is a DIY Pizza Craft I made a couple months ago, this was my first project using the Galaxy Glitter.
Step 4 – Drill Hole into Cherry
I pulled out my handy dandy drill and drilled a hole into the wooden cherry.
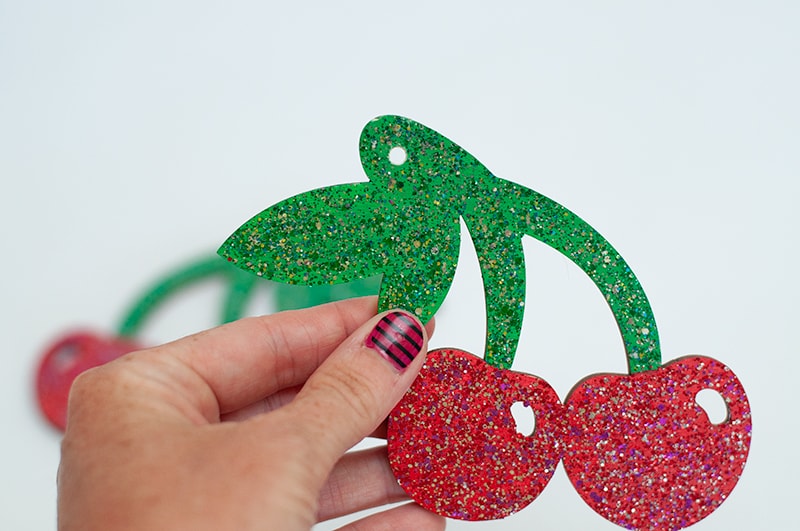
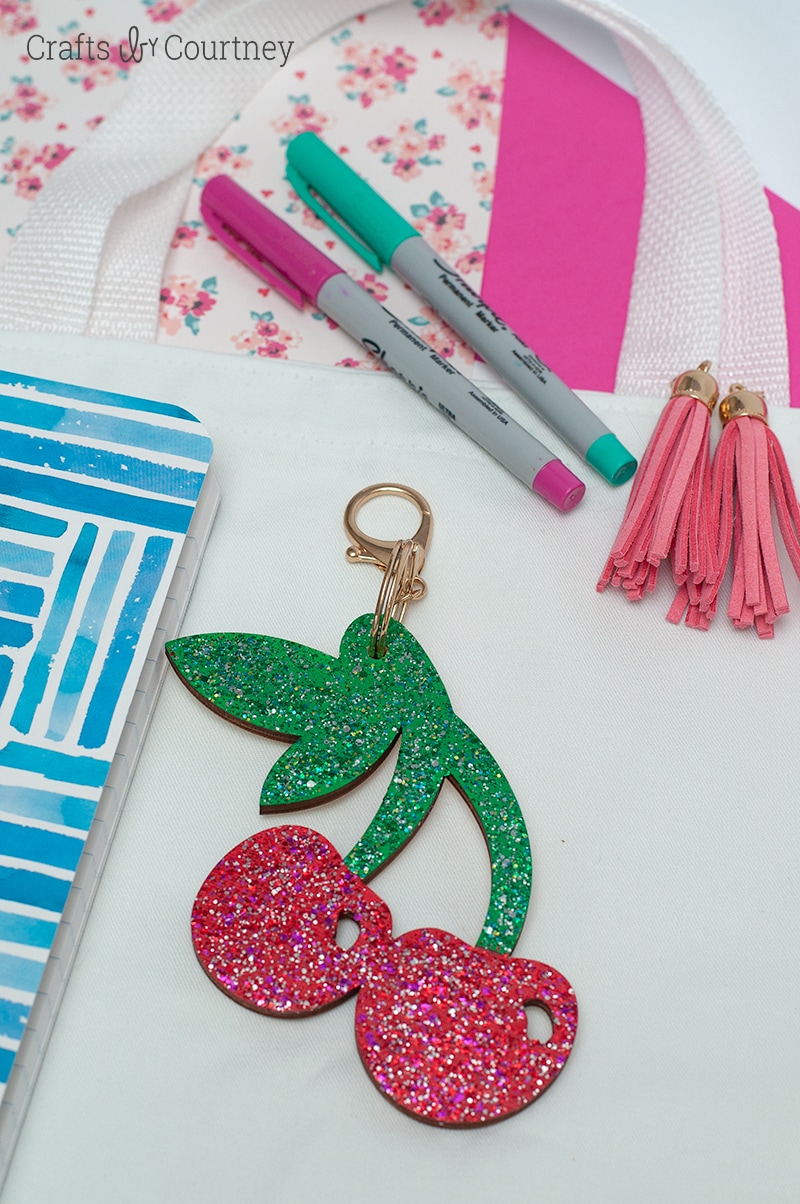
Step 5 – Add Keychain
Now I needed to add my keychain! I decided on a different keychain in the final photos.
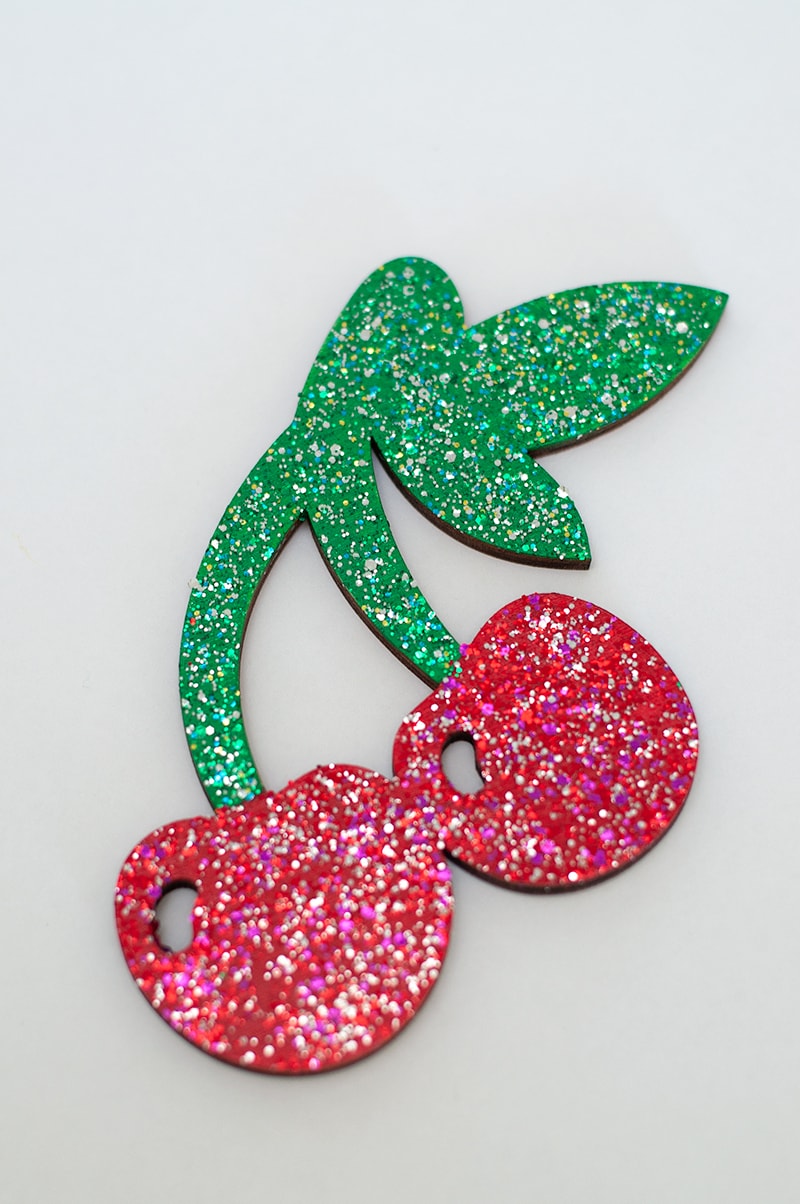
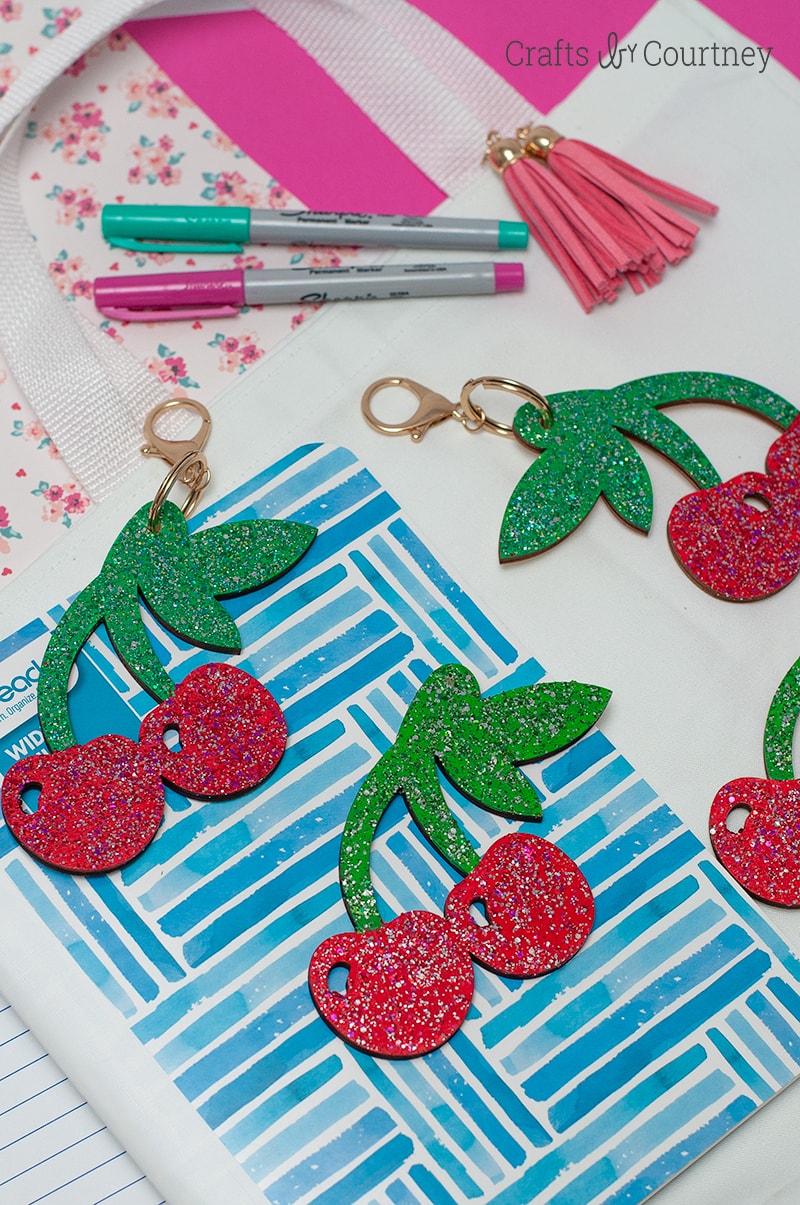
Finishing Touches
Now they can keep track of their house keys in style!
This is my first attempt at a cherry craft AND a keychain craft, so I’m pretty pleased with how it turned out!
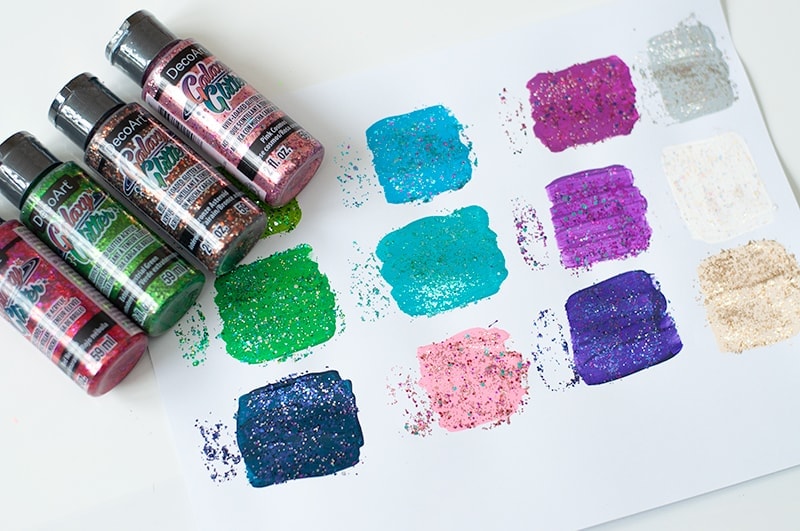
I was testing the paints around before I used them, here are some examples of the galaxy glitters.
If your loving this glitter craft as much as I am, then head over and check out this Mermaid Inspired Wreath I made last month.
As always, thanks for stopping by and checking out this simple Back to School DIY Keychain!
Love, Courtney