Hi friends, welcome back! I have a new post for ya, a Back to School Homework Space! Of course, I had to team up with Duck Tape® again to create this fun and useful space using their printed duct tape.
My boys have year round school so they’ll start school on July 22nd this year. I wanted to get started early on a homework space for them. It’s one less thing I have to do before they start school. Believe me I have a TON I have to do before then so it’ll be nice to check something off my to-do list.
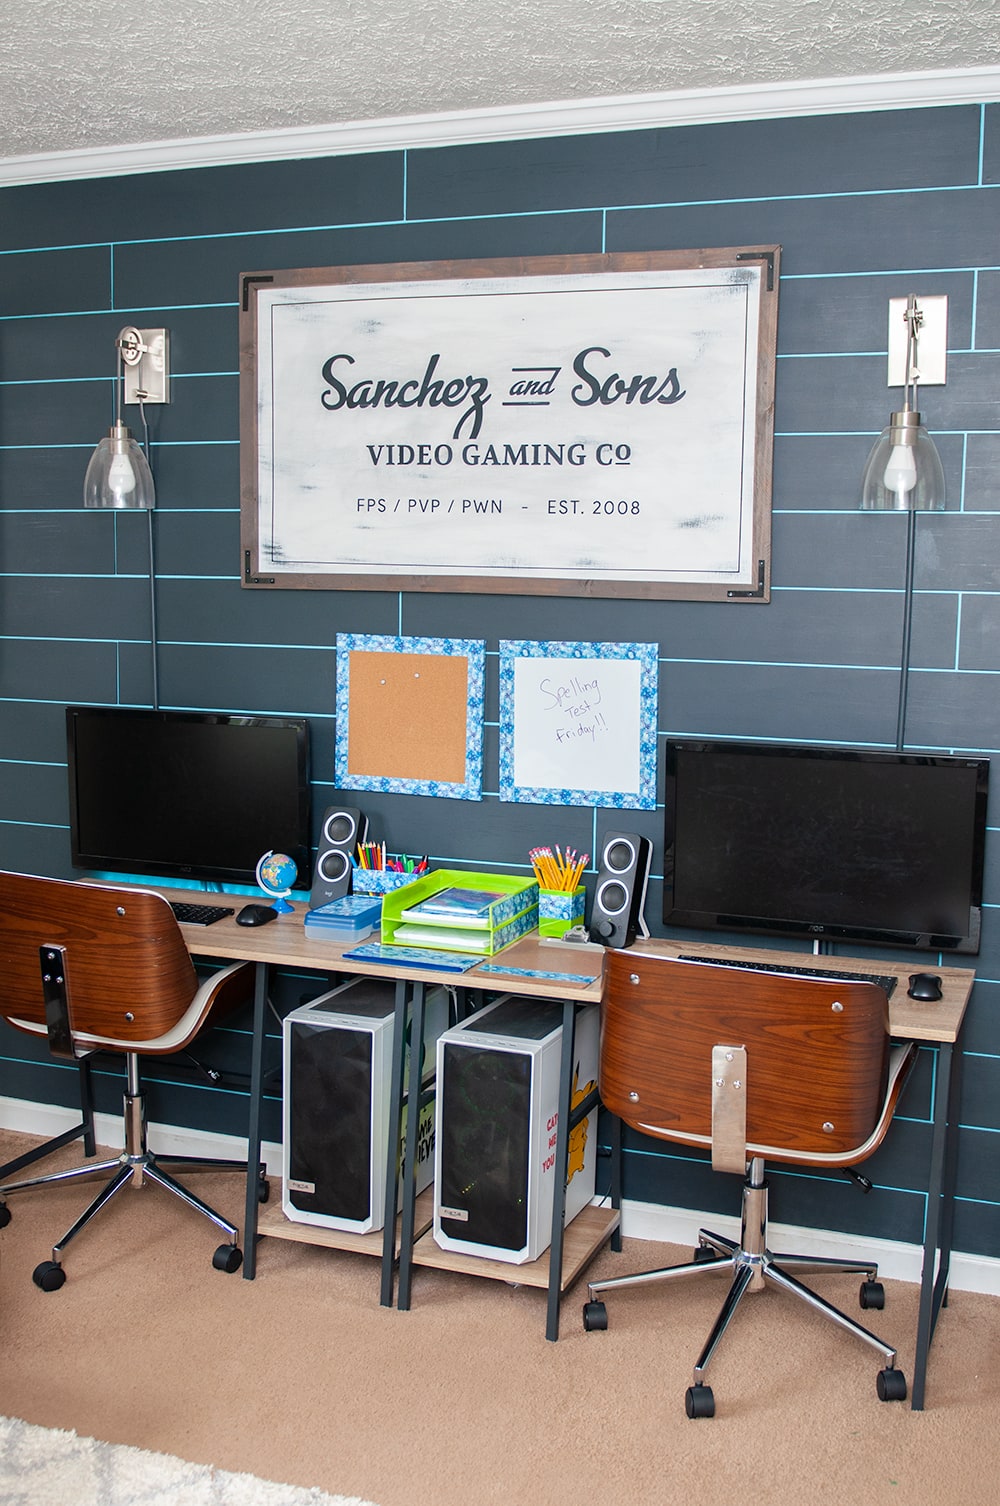
Last year we created this fun game room for our three boys so they had a place to play their online games, watch tv and just hang. Now they need to have a space to do homework as well.
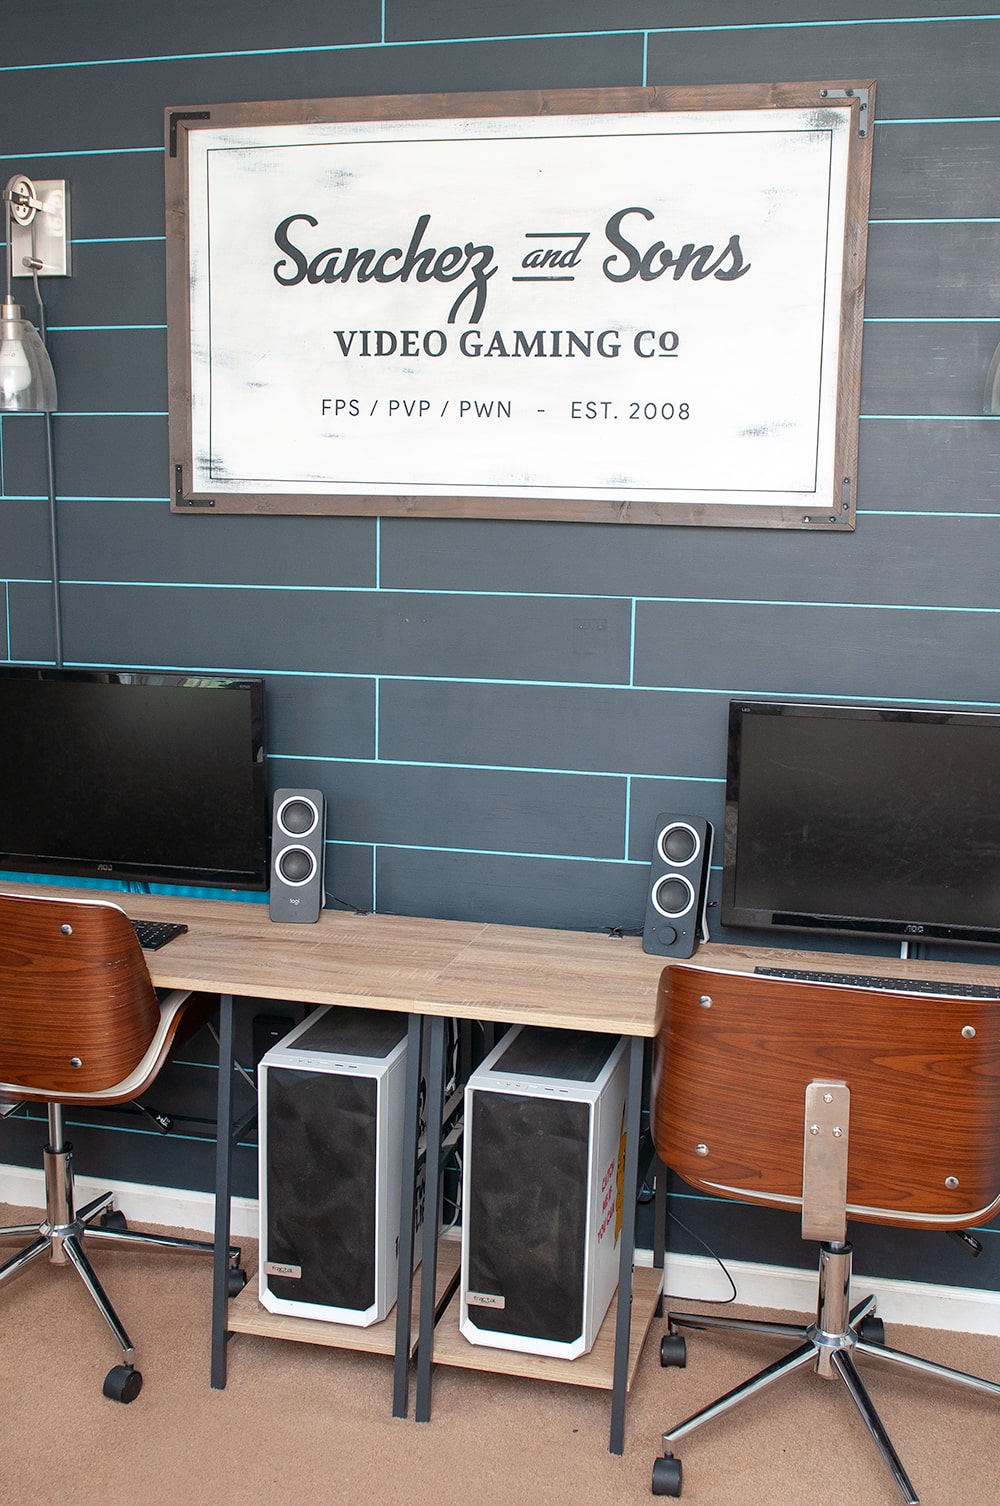
BEFORE
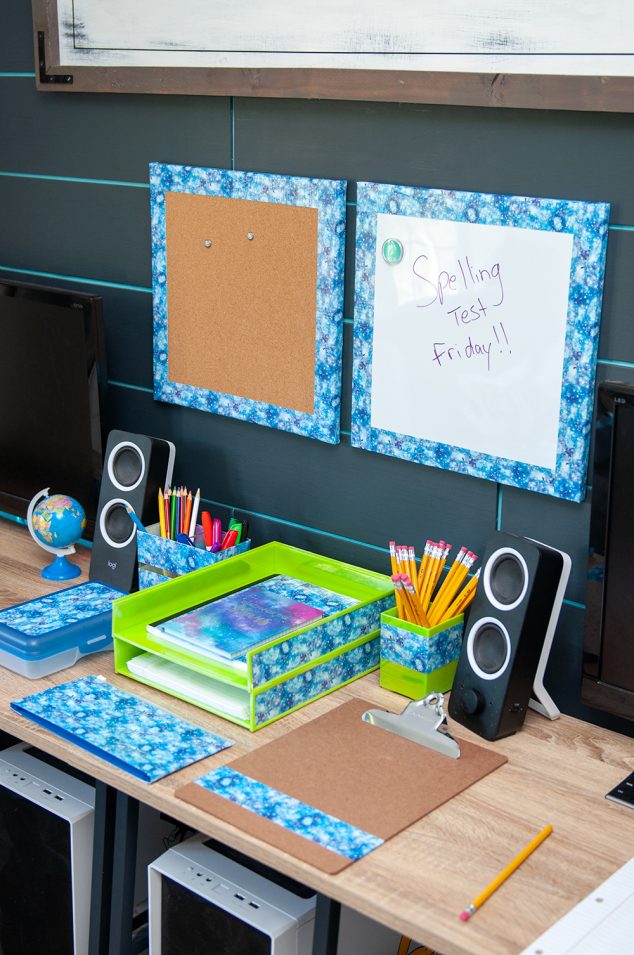
I love this wall but we needed to add an area for them to do their homework and have the supplies accessible to them to use.
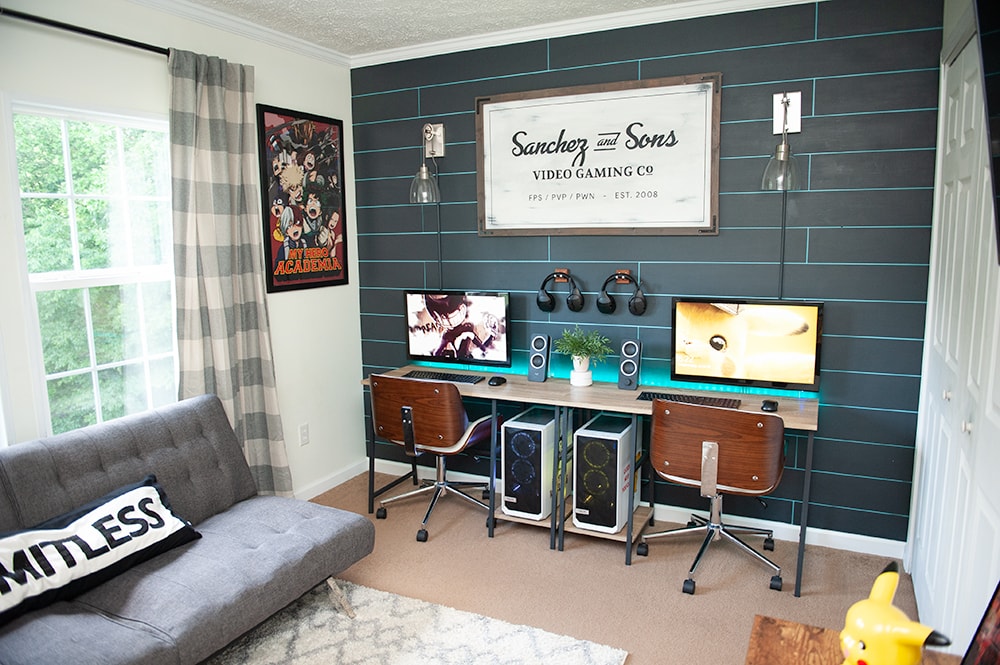
We moved their headphones so that we can use the space between the monitors to add the homework station. Now we have a clean slate to work with!
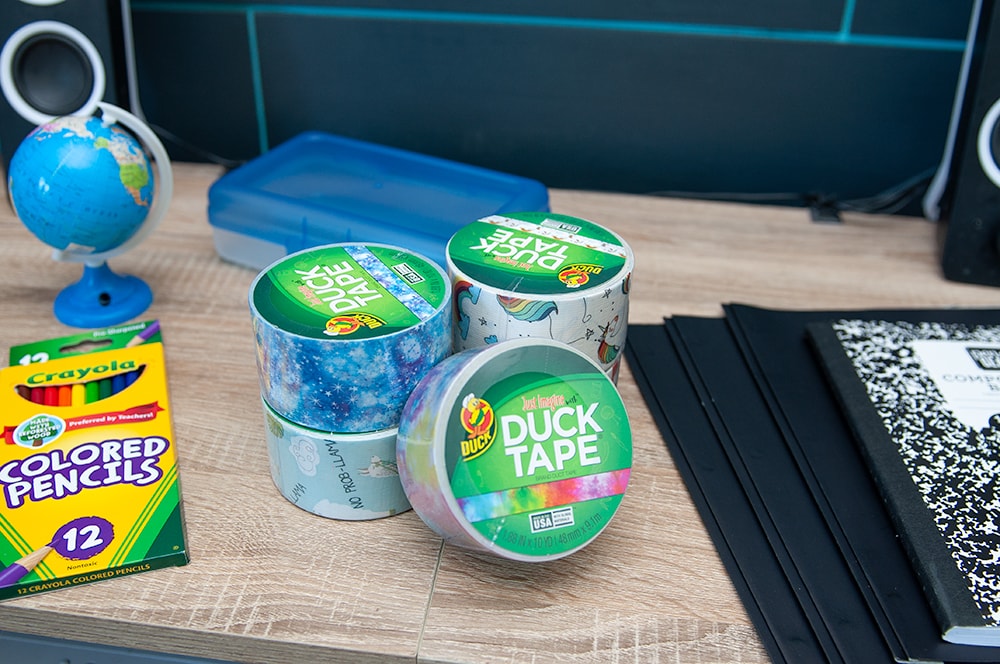
Supplies Needed
- Printed Duck Tape® Brand Duct Tape – Starry Galaxy
- Paper Tray
- Pencil Holder
- Pencil Bag
- Notebook
- Clipboard
- Folder
- Cork Board
- Dry Erase Board
Getting Started
I made a trip to the Dollar Tree and Wal-Mart to gather up some supplies for the homework station.
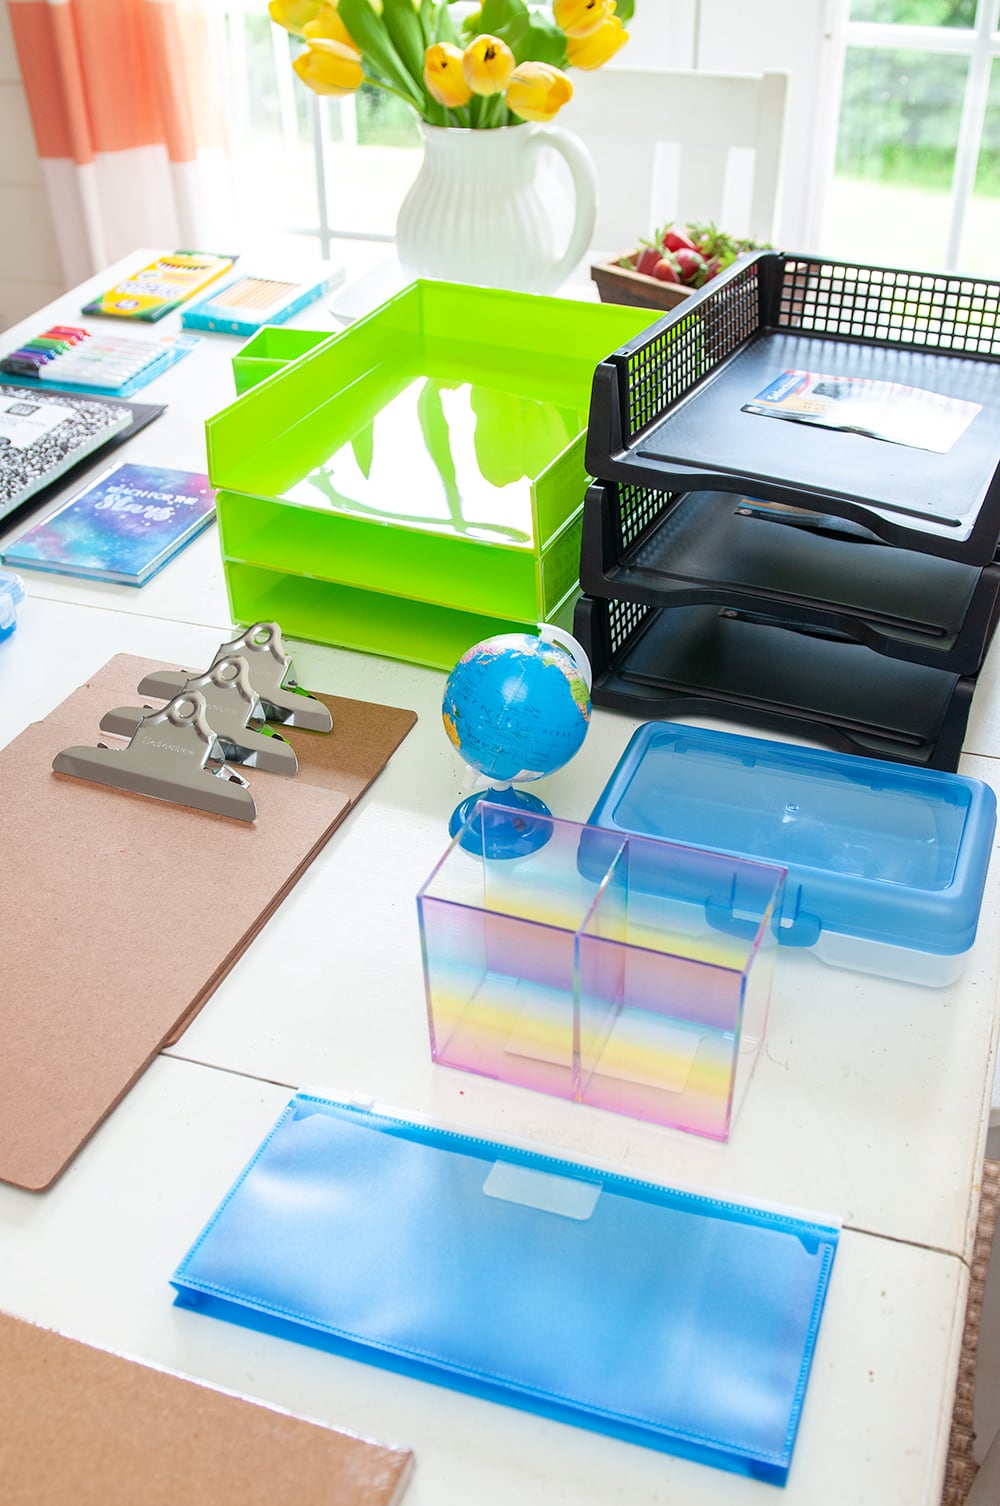
I had some great print options to choose from for this project, but I went with Starry Galaxy. I thought it would match the best with our focal wall in that room.
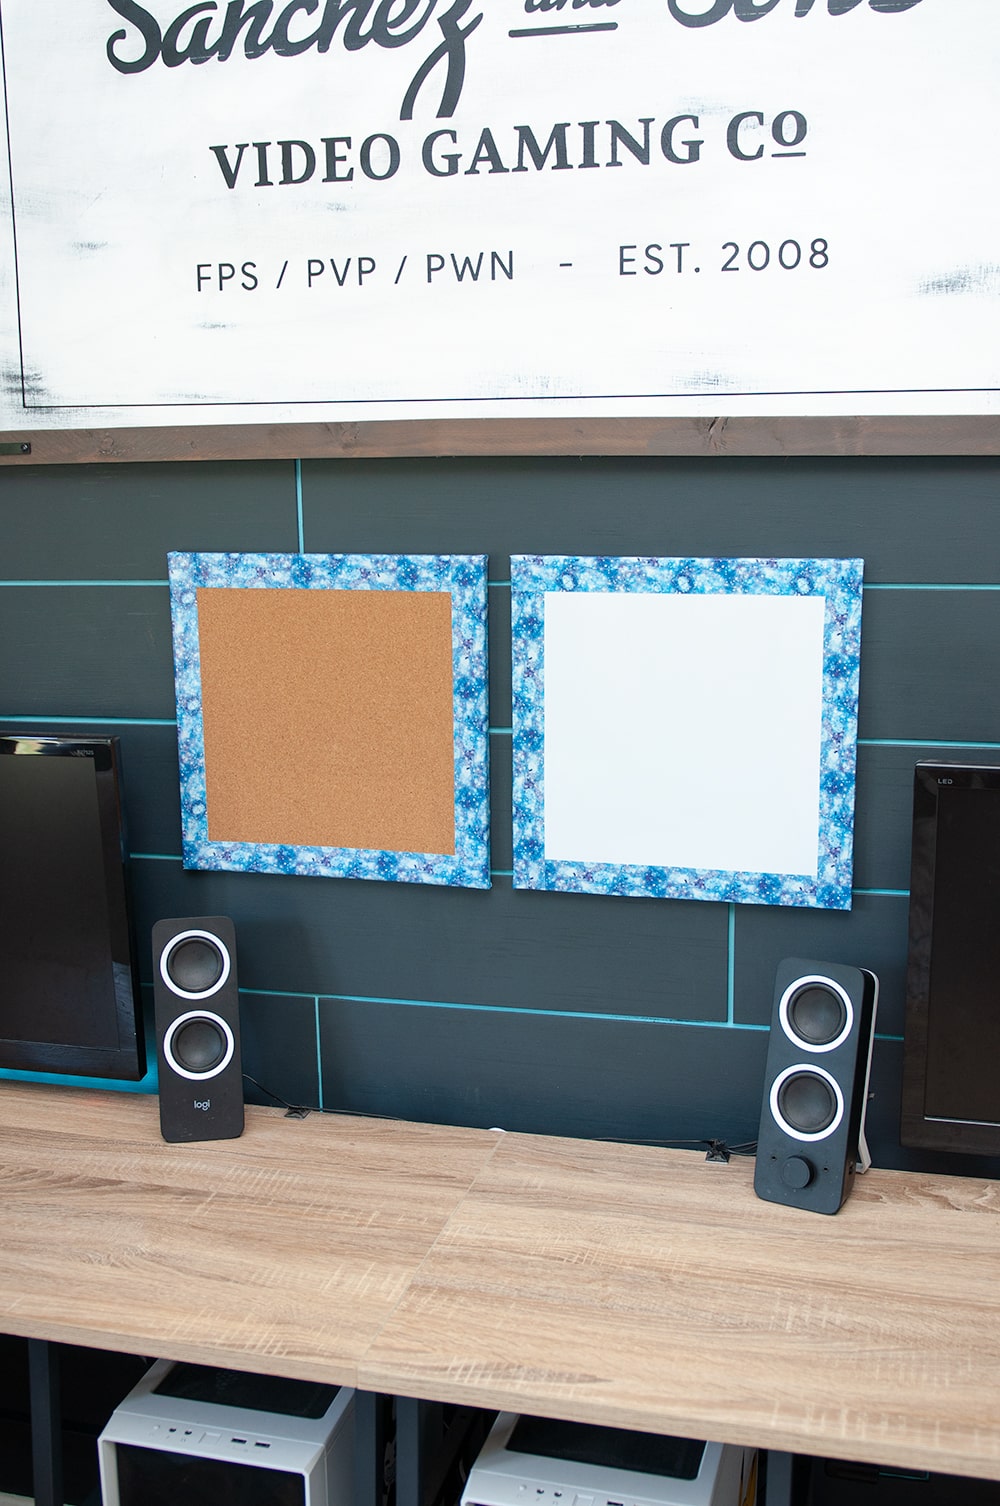
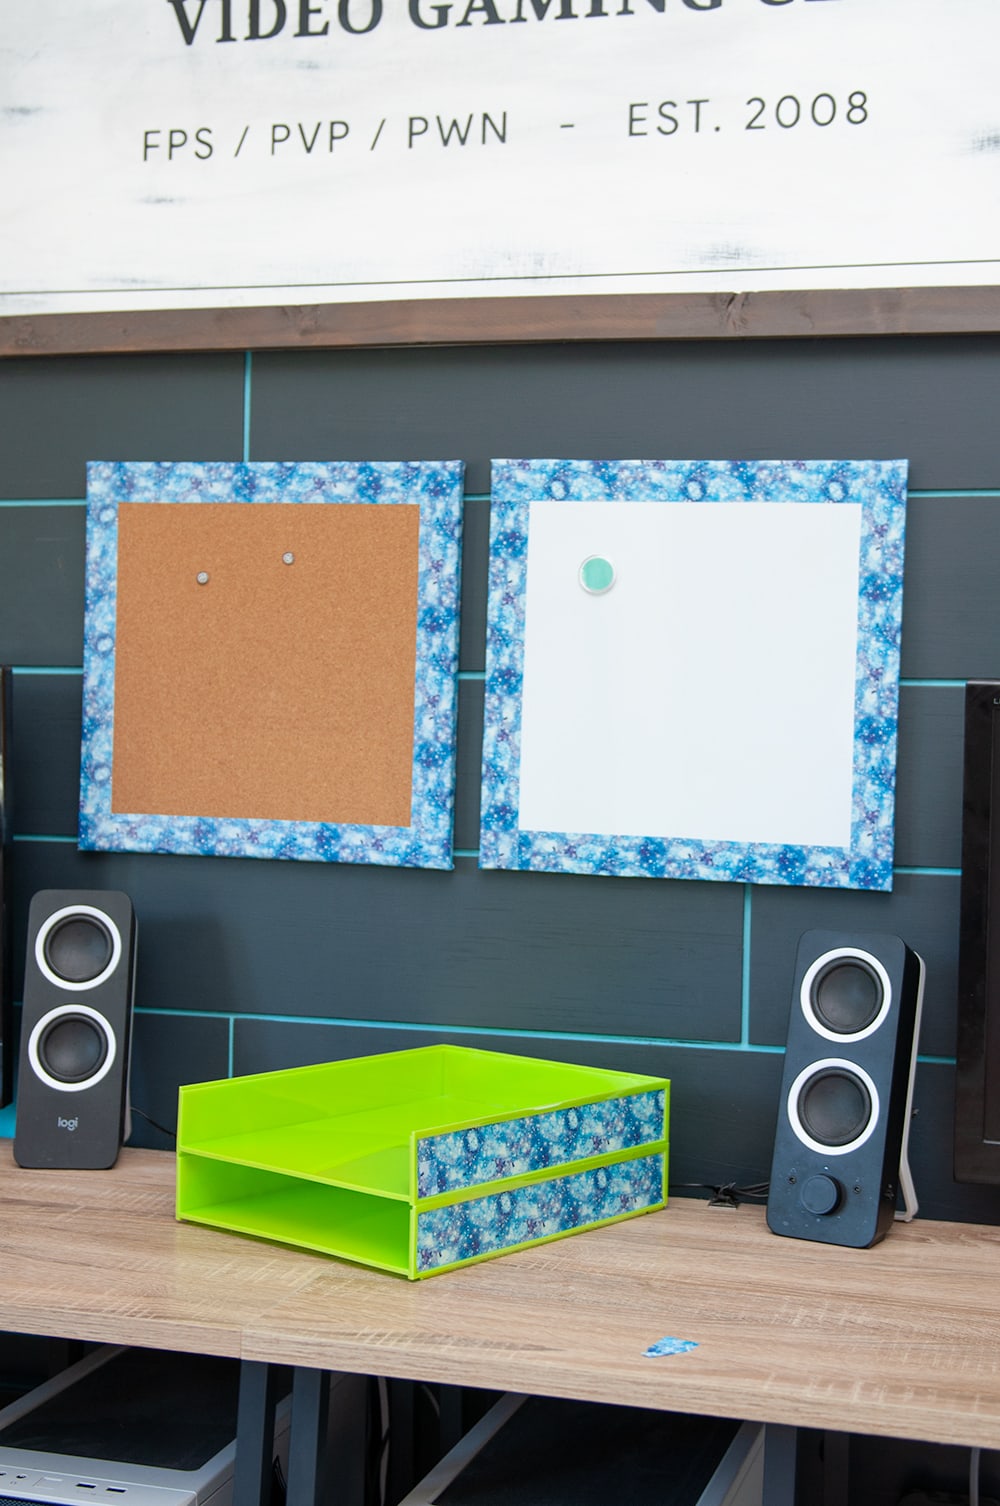
Step 1 – Cork Board and Dry Erase Board
First project is the cork board and dry erase board. This is where they can add their spelling words, bible verses or any review sheets they need to study.
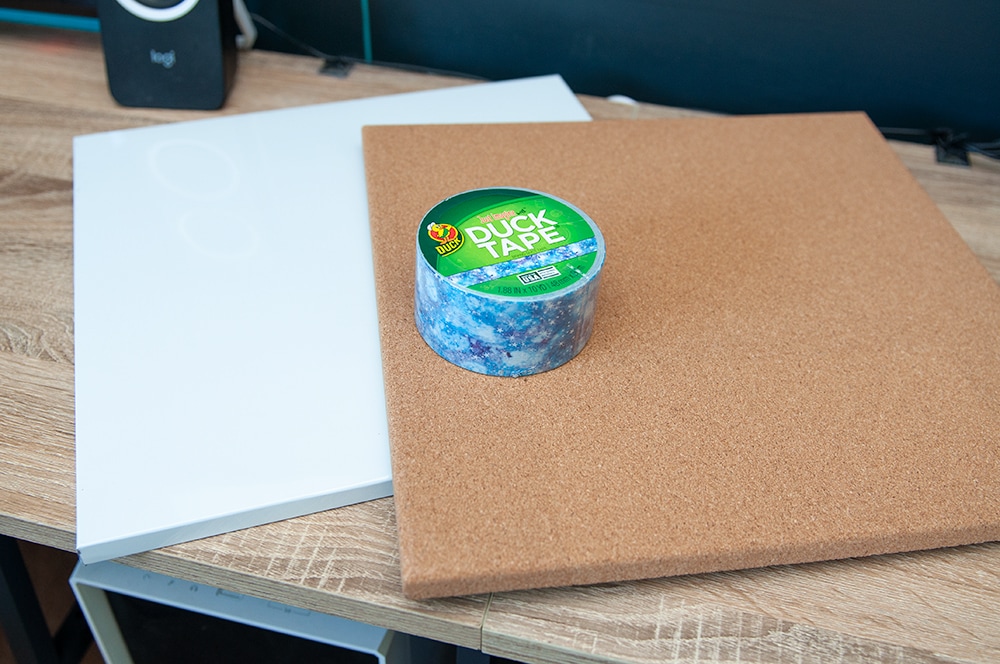
For this project, I just wrapped this sides in Duck tape to add a little POP to the boards!
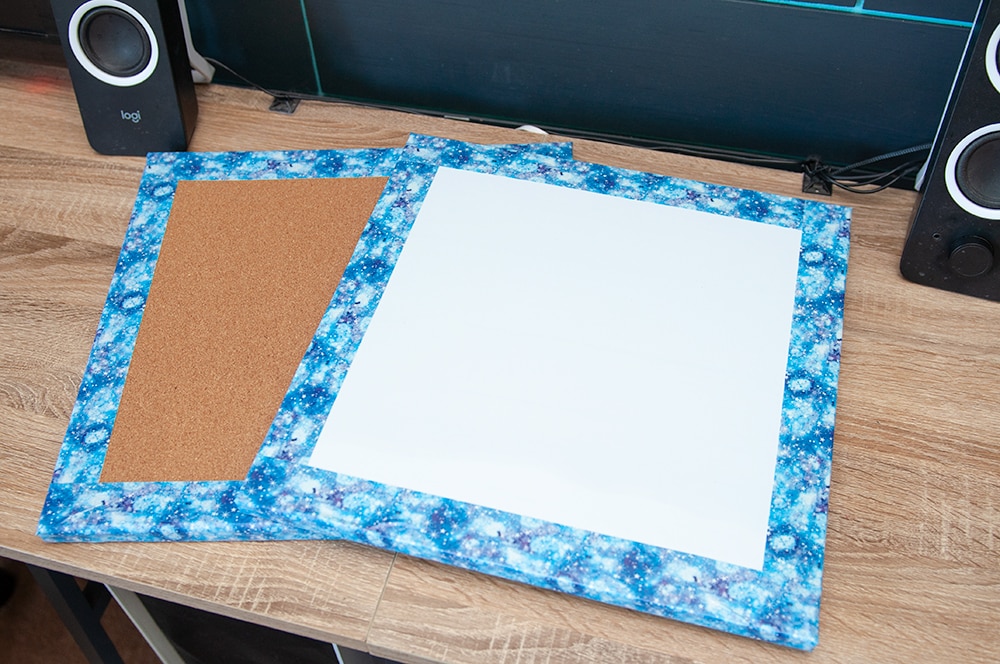
I used some “handy dandy” commands strips to hang on the wall.
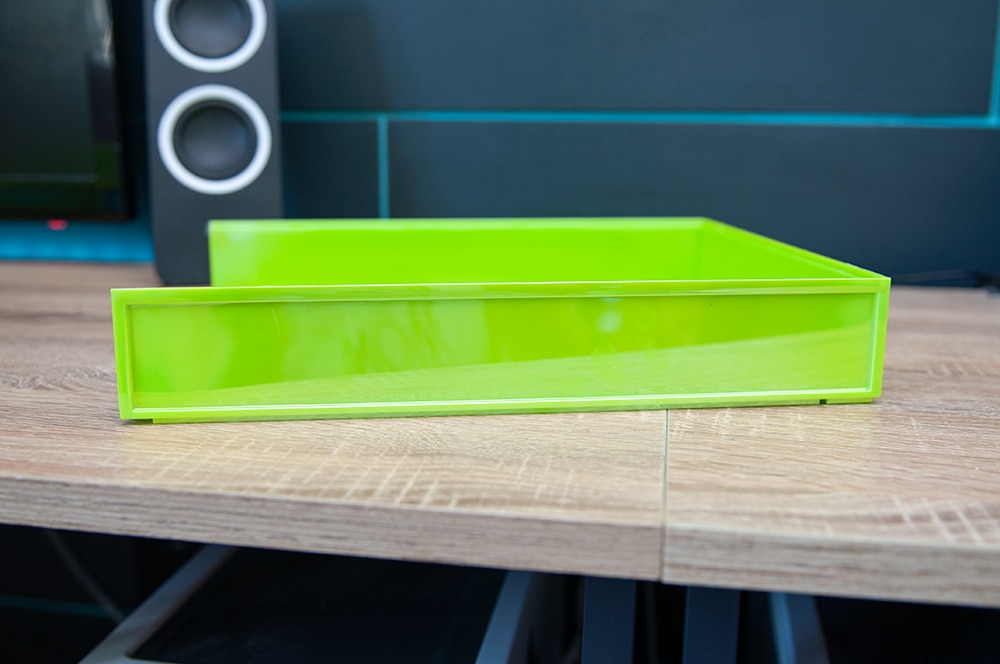
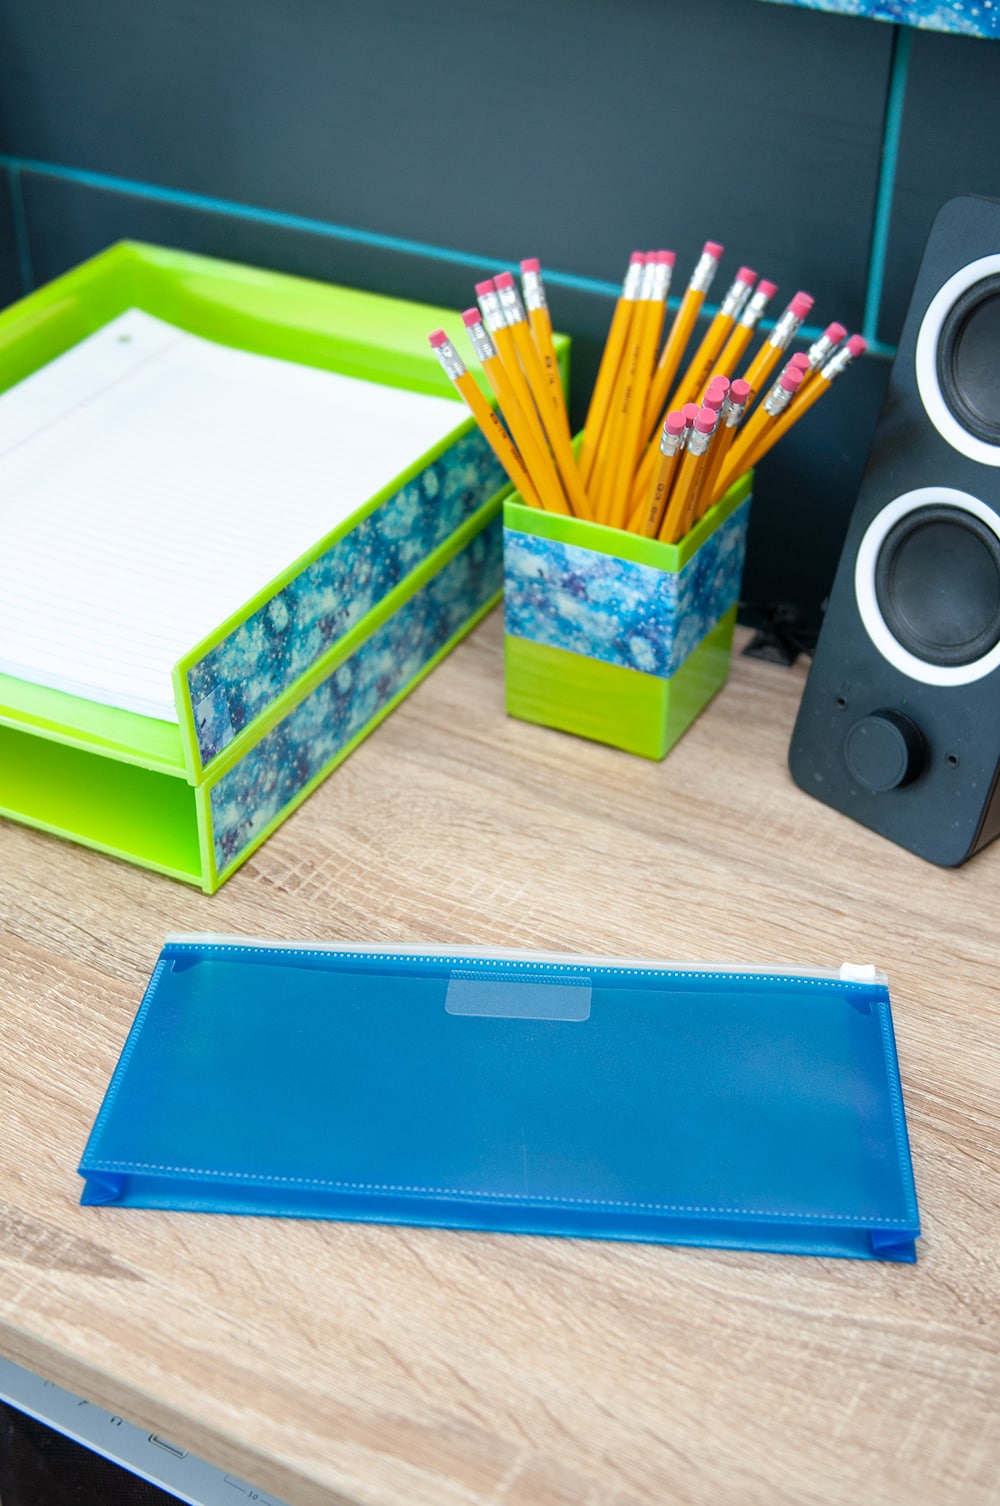
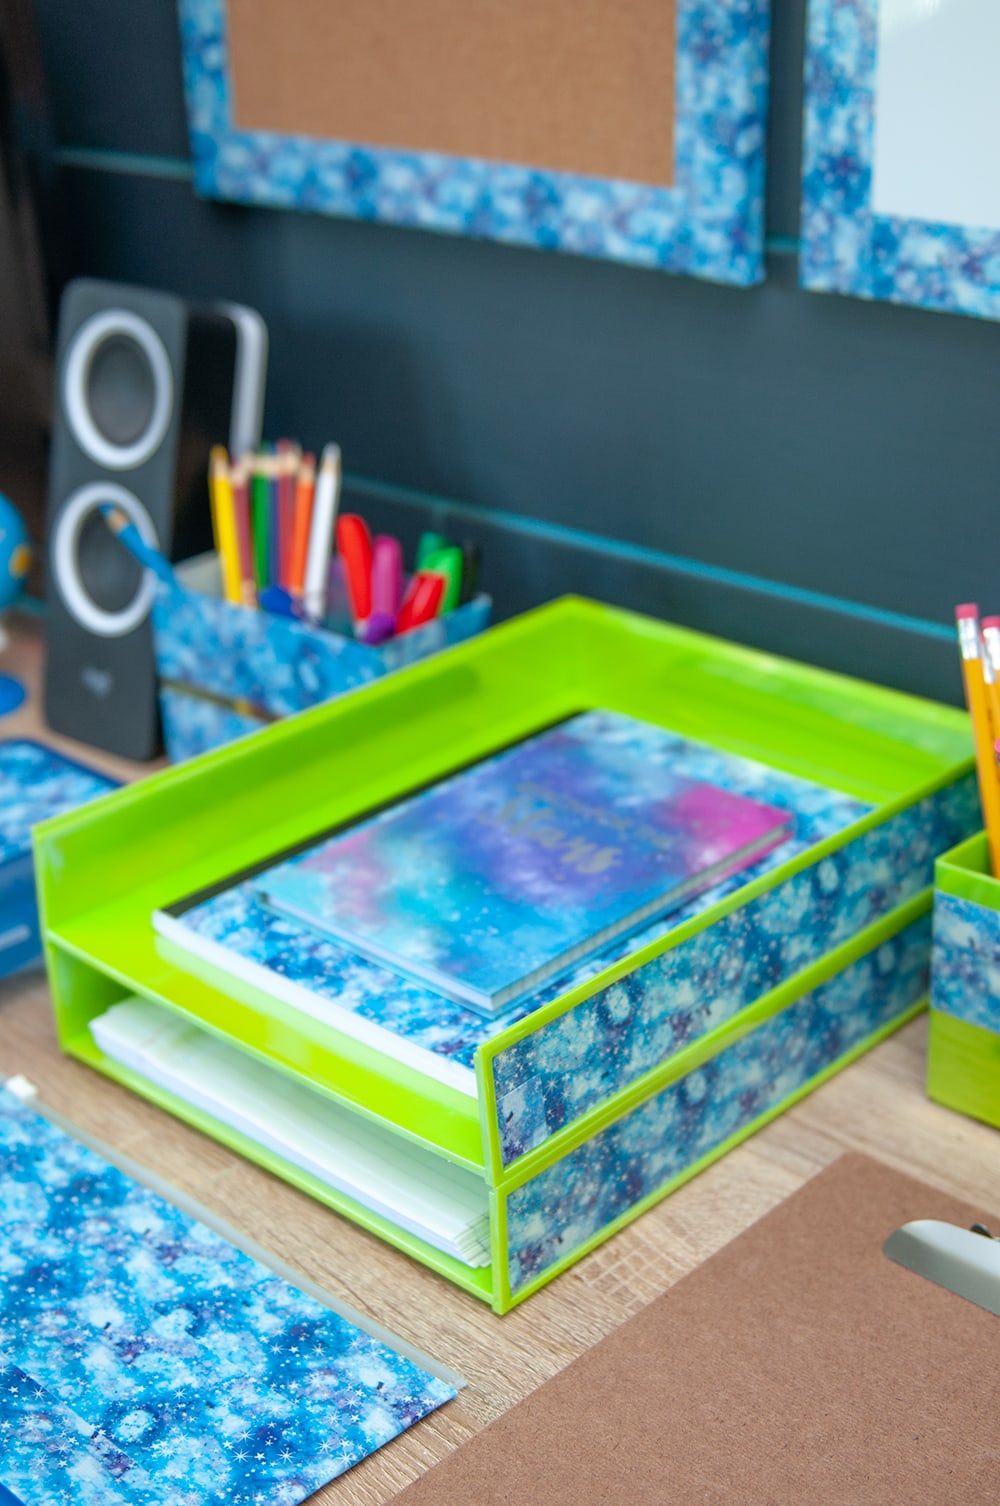
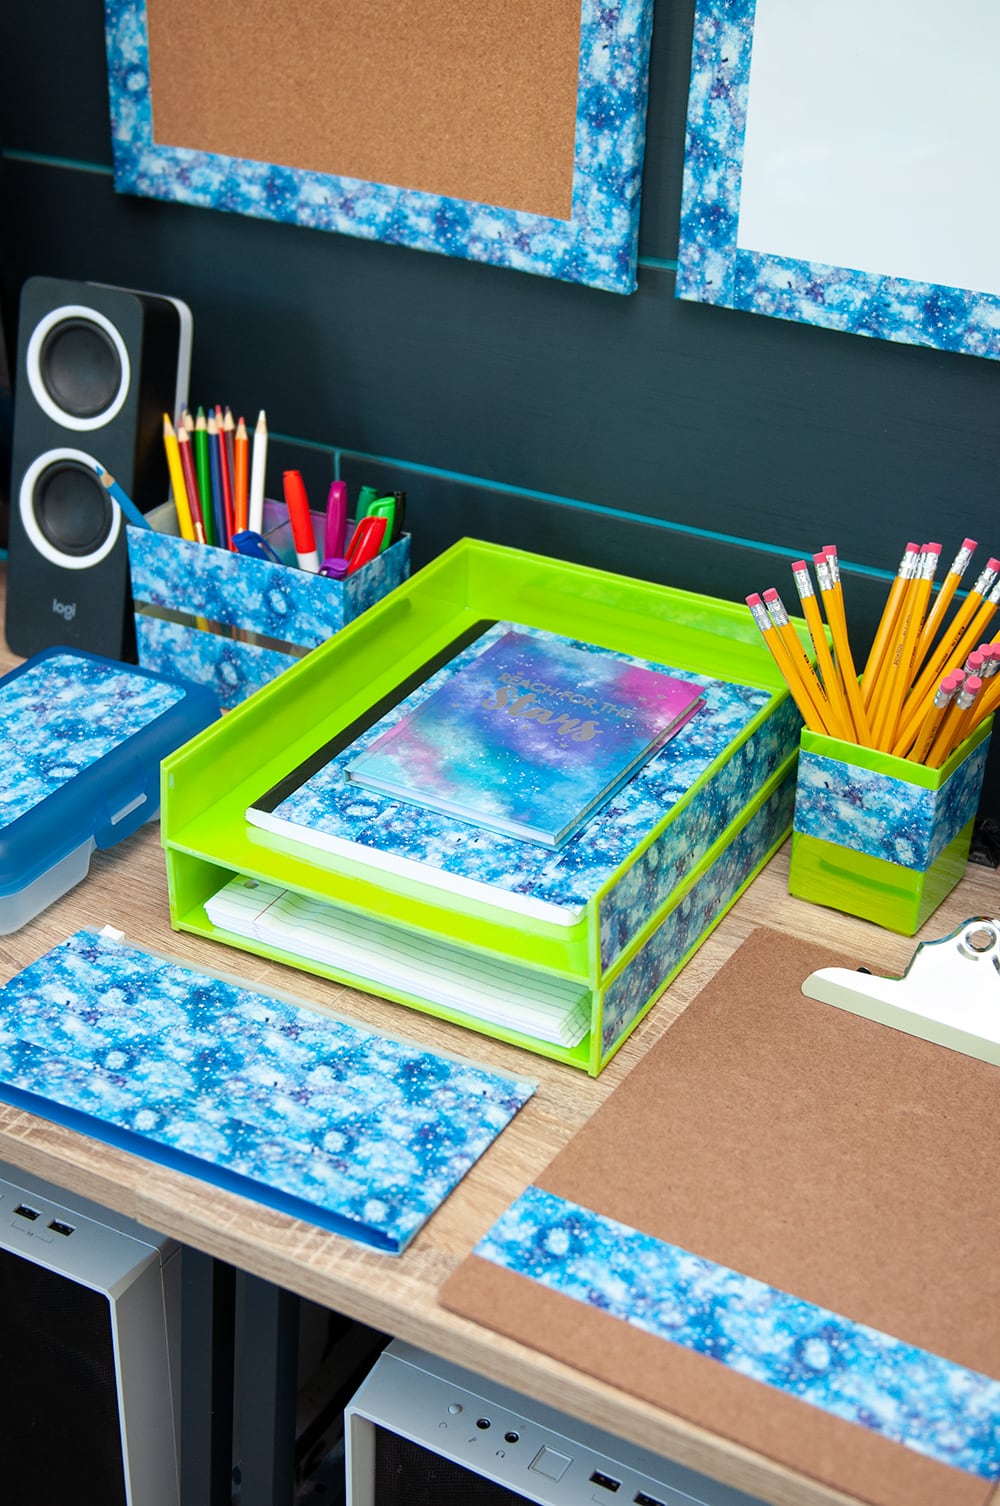
Step 2 – Paper Tray
Now let’s makeover this paper tray! I wanted them to be able to have loose leaf paper here for homework , add their review sheets or homework papers for me to look over.
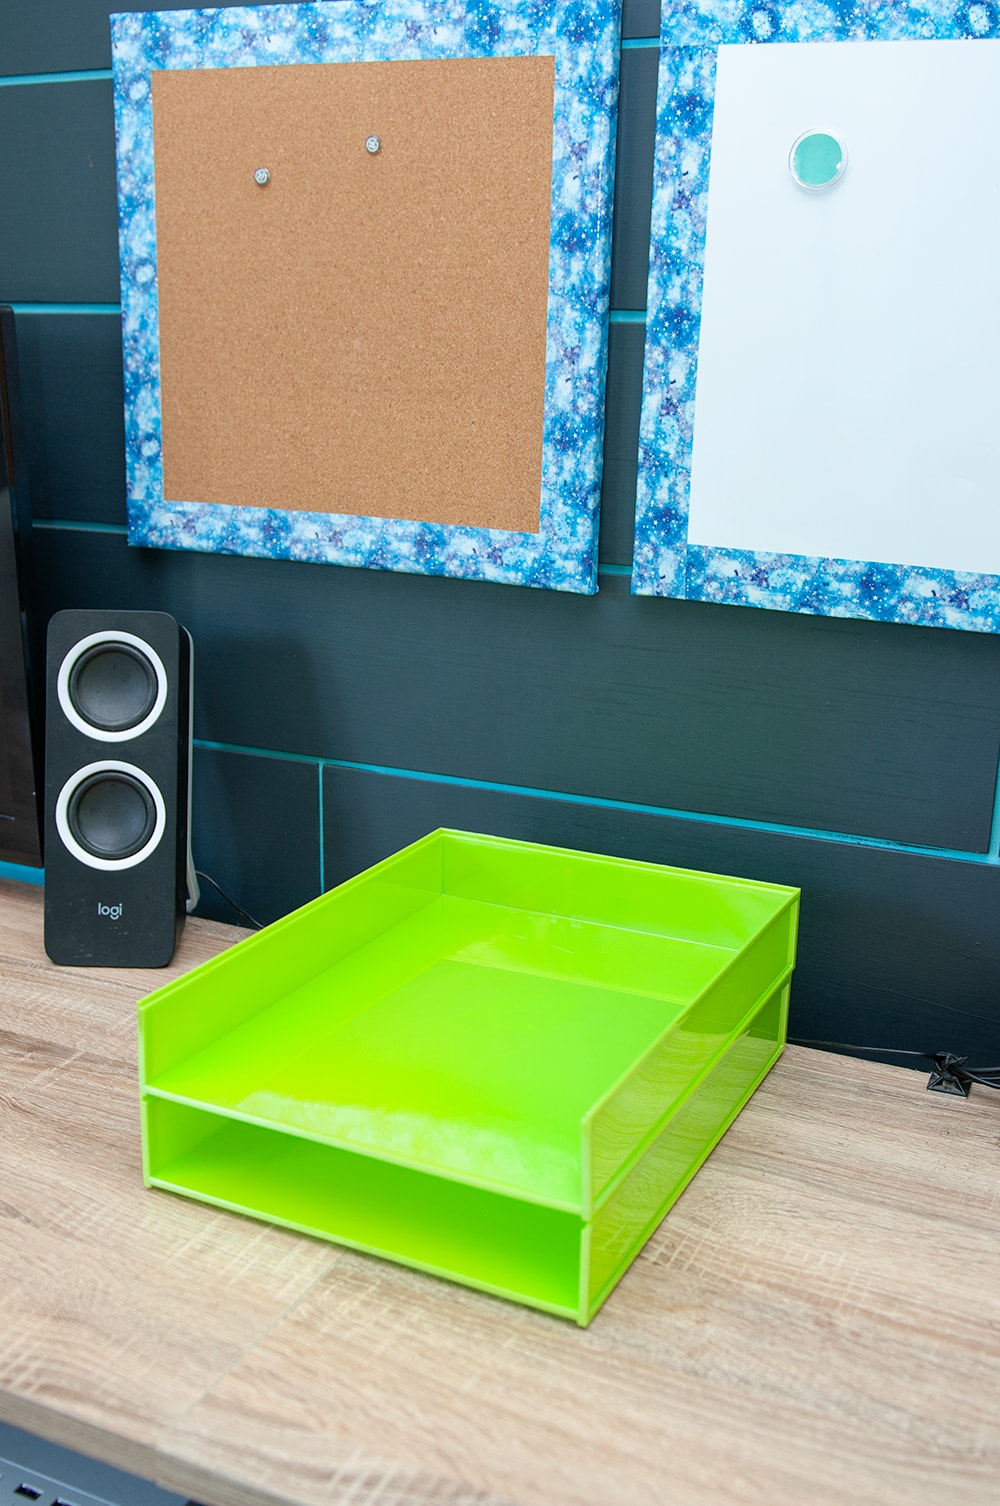
When I saw the sides on this paper tray at the Dollar Tree, I knew it was a perfect spot to add duck tape.
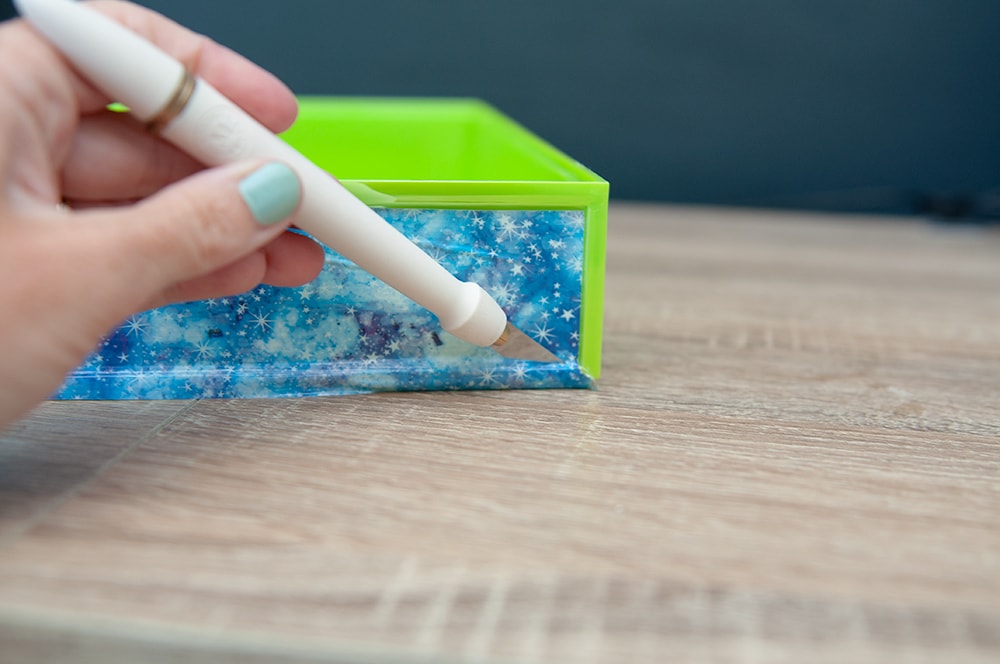
Add your suck tape to the side. You can leave a little to hang over.
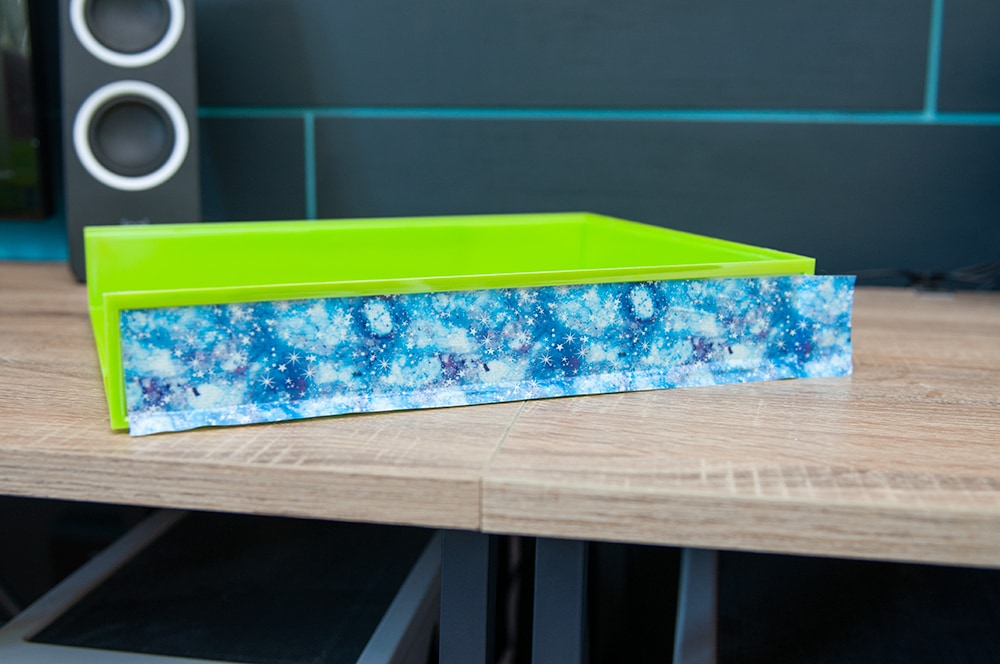
Pull out your “trusty” X-Acto knife and cut off the excess on the end.

Now cut off the excess at the bottom. The X-Acto knife makes it easy to just glide across the bottom.
It looks perfect and give inexpensive trays and new fresh look!
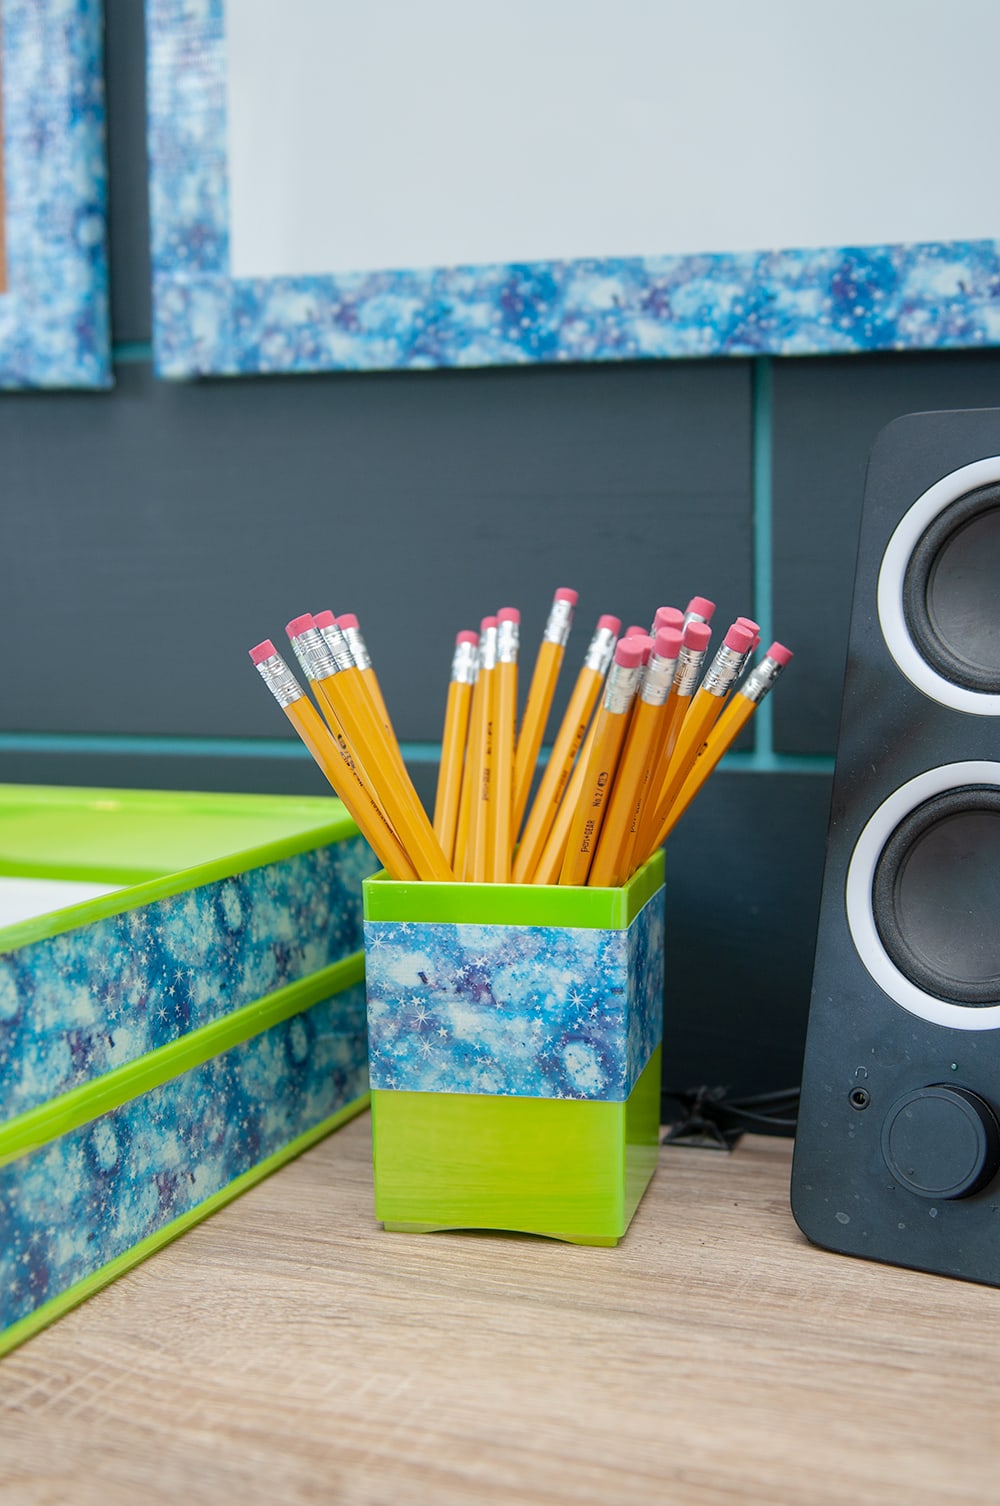
Step 3 – Pencil Holder
Of course you’ll need a pencil holder for any homework station, right!
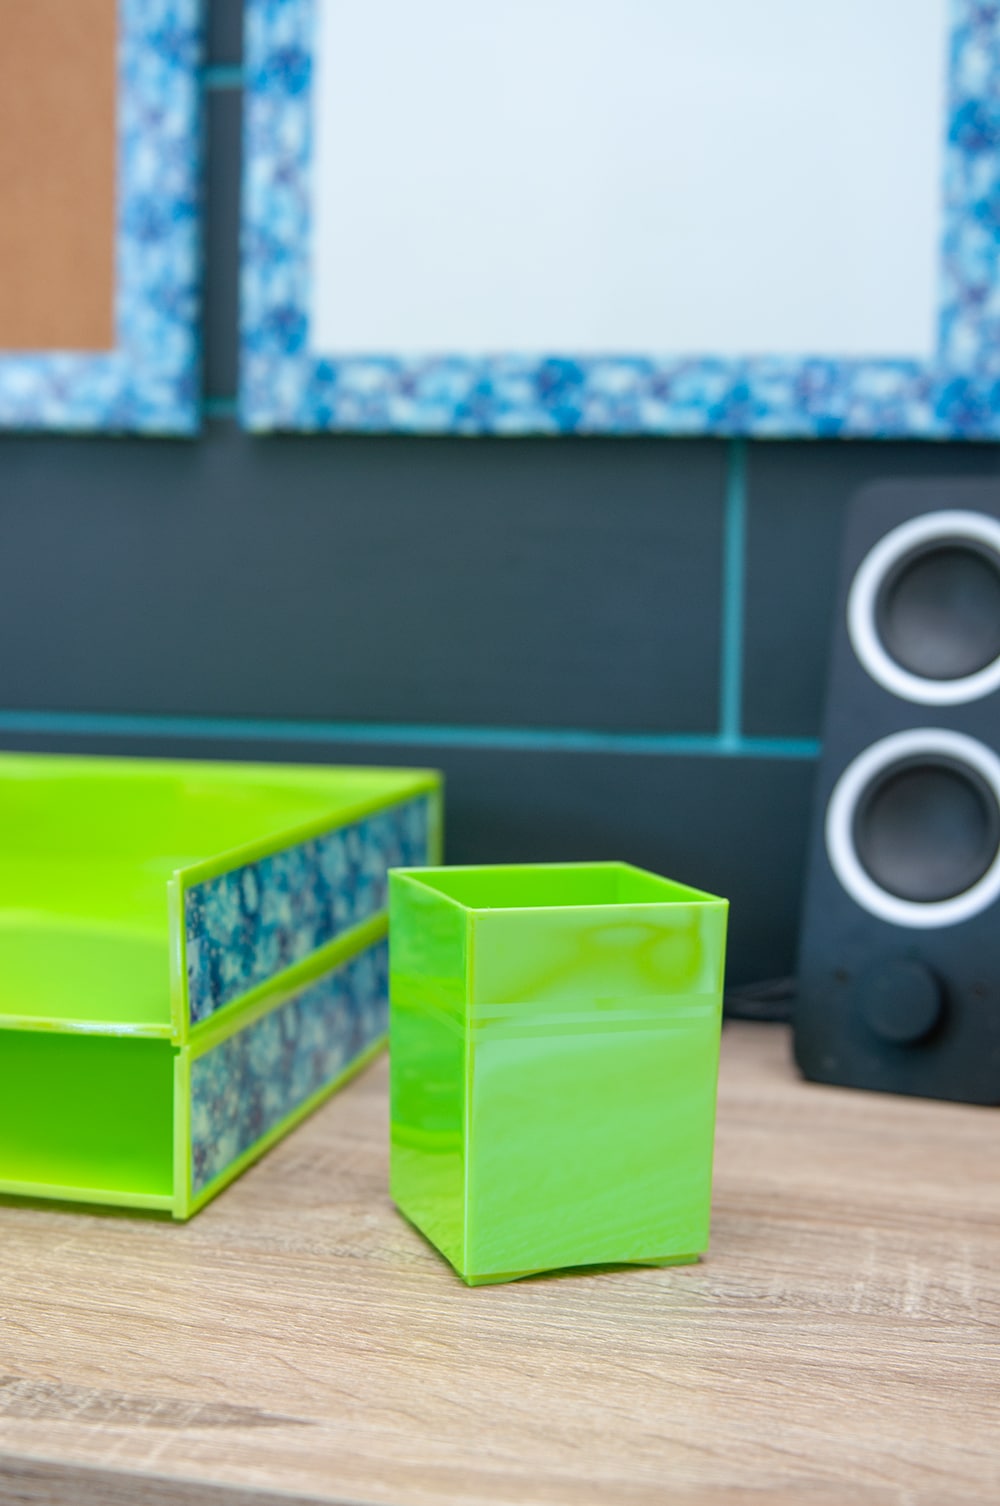
I went simple with the pencil holder. Just added a strip around the middle. That’s it!
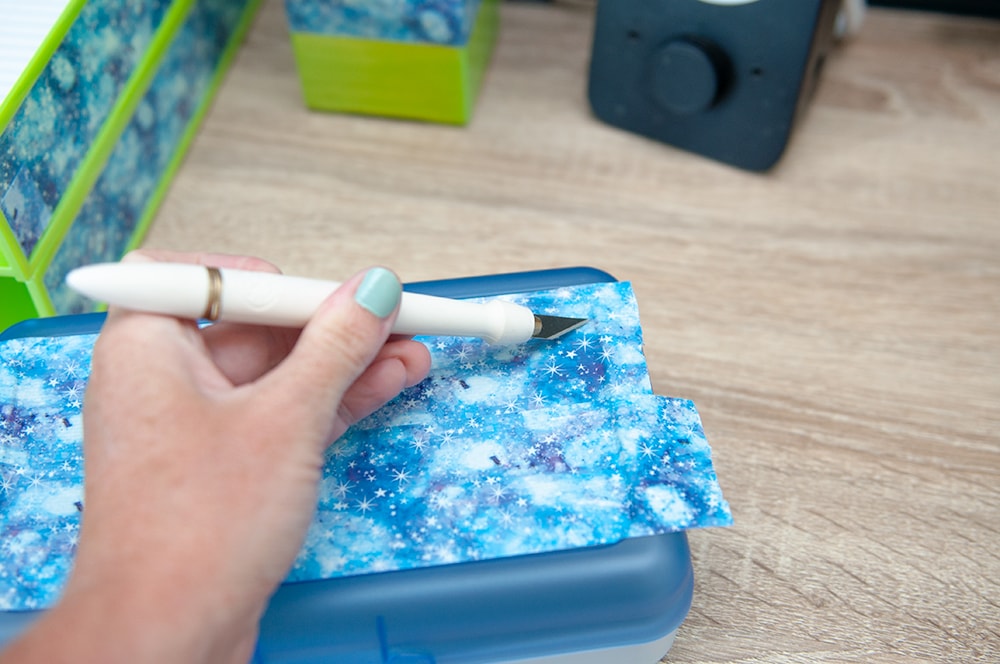
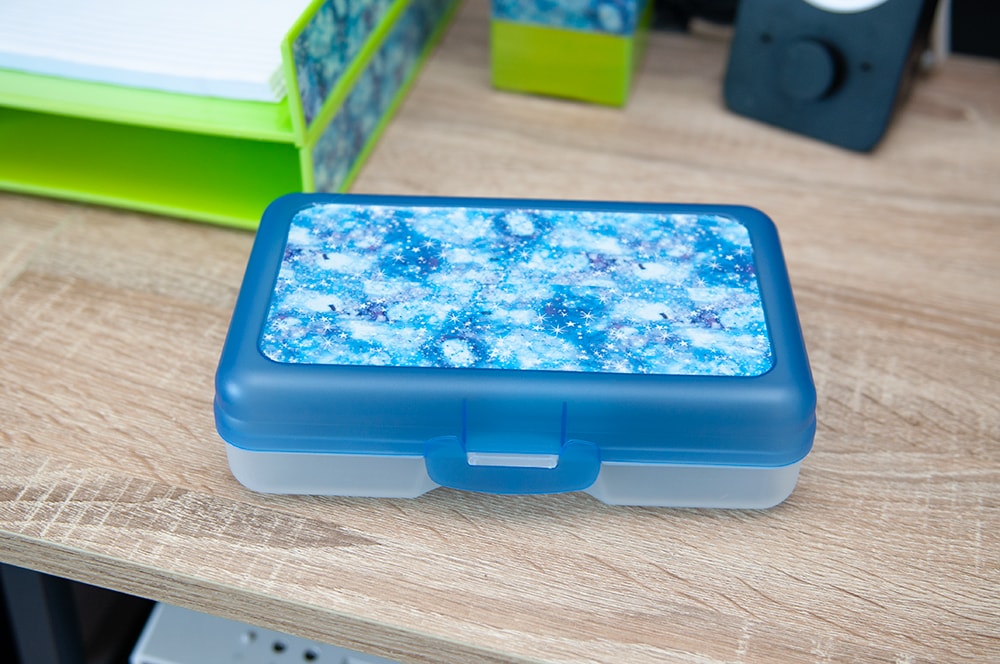
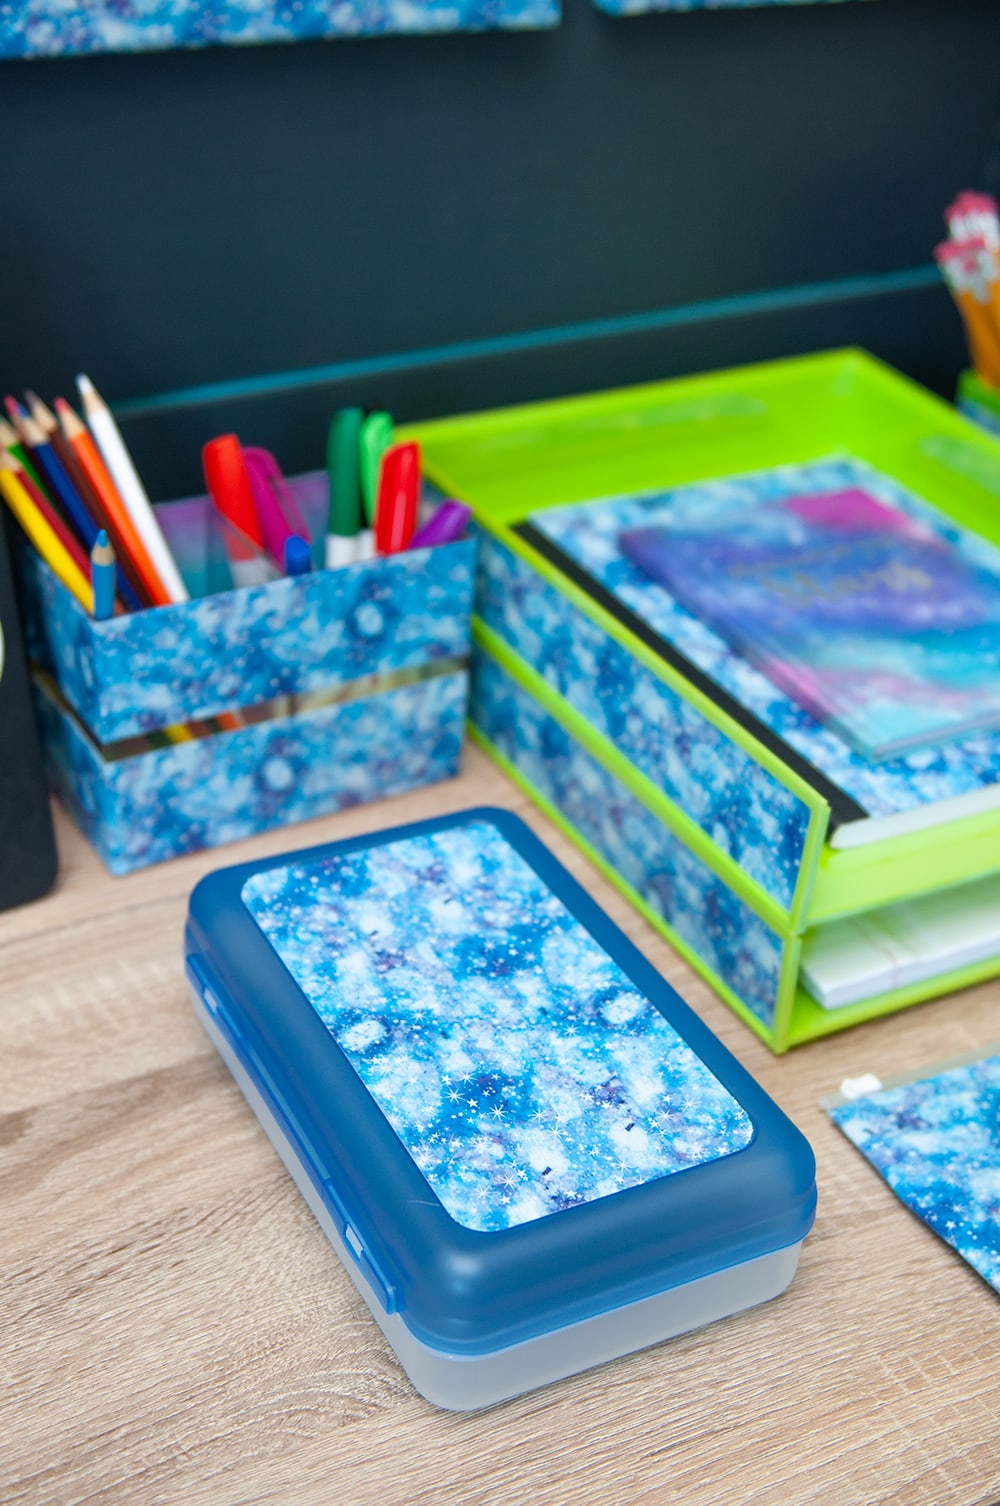
Step 4 – Pencil Box
Here’s another fun makeover, this pencil box.
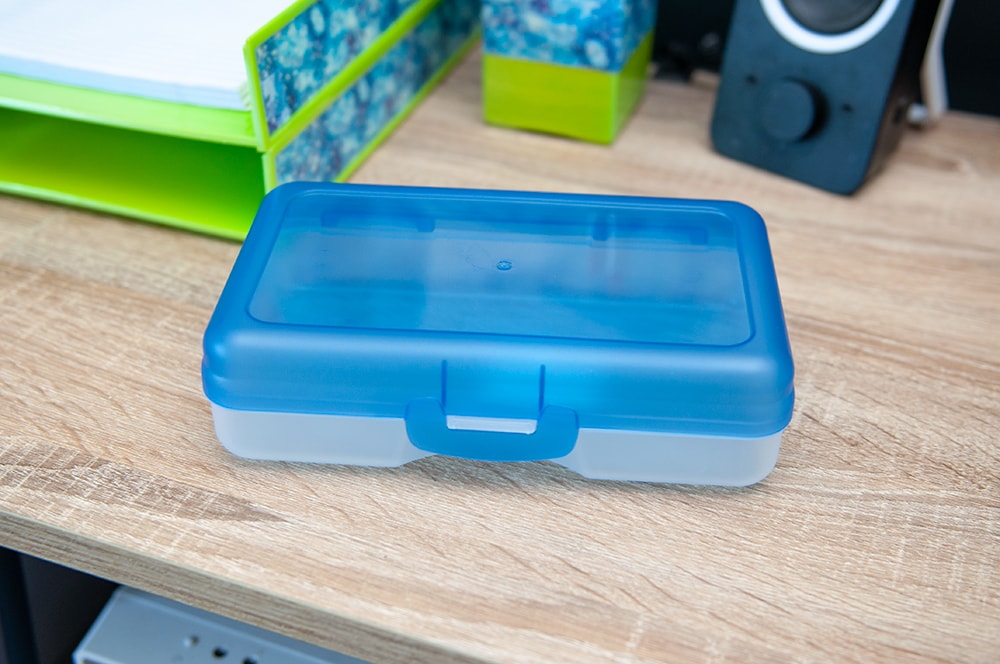
I basically did the same thing to the top of this pencil box as I did for the paper tray. I added the tape to the top, letting some hang over the edge.

Then I went around the top with the X-Acto knife and cut off the access.
Looks great!
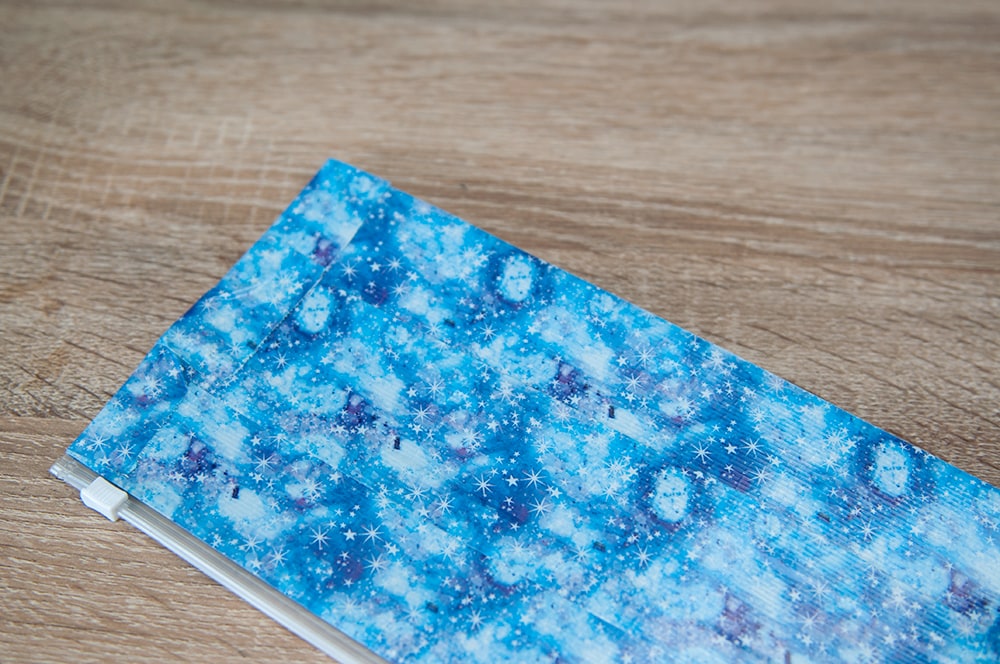
Step 5 – Pencil Pouch
I saw this pencil pouch and thought it would be a cute addition to the homework station. But it did look a little too plan, so I had to pizzazz it up!
Add three strips of duck tape across the front. Flip over and wrap the edges around the back.
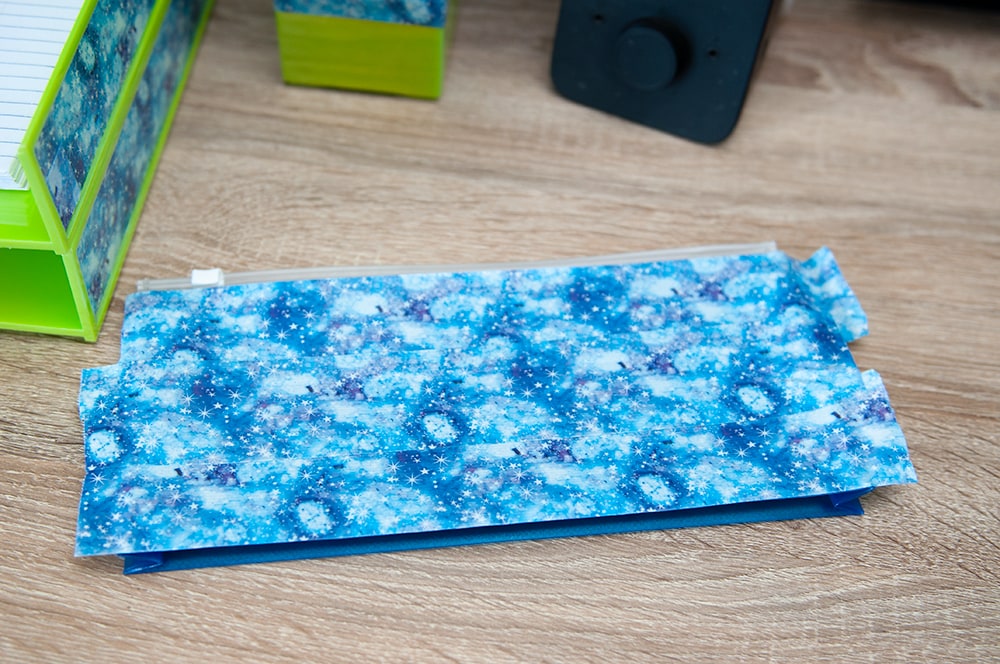
Then repeat the process on the other side.
Now that’s more like it, right!??!
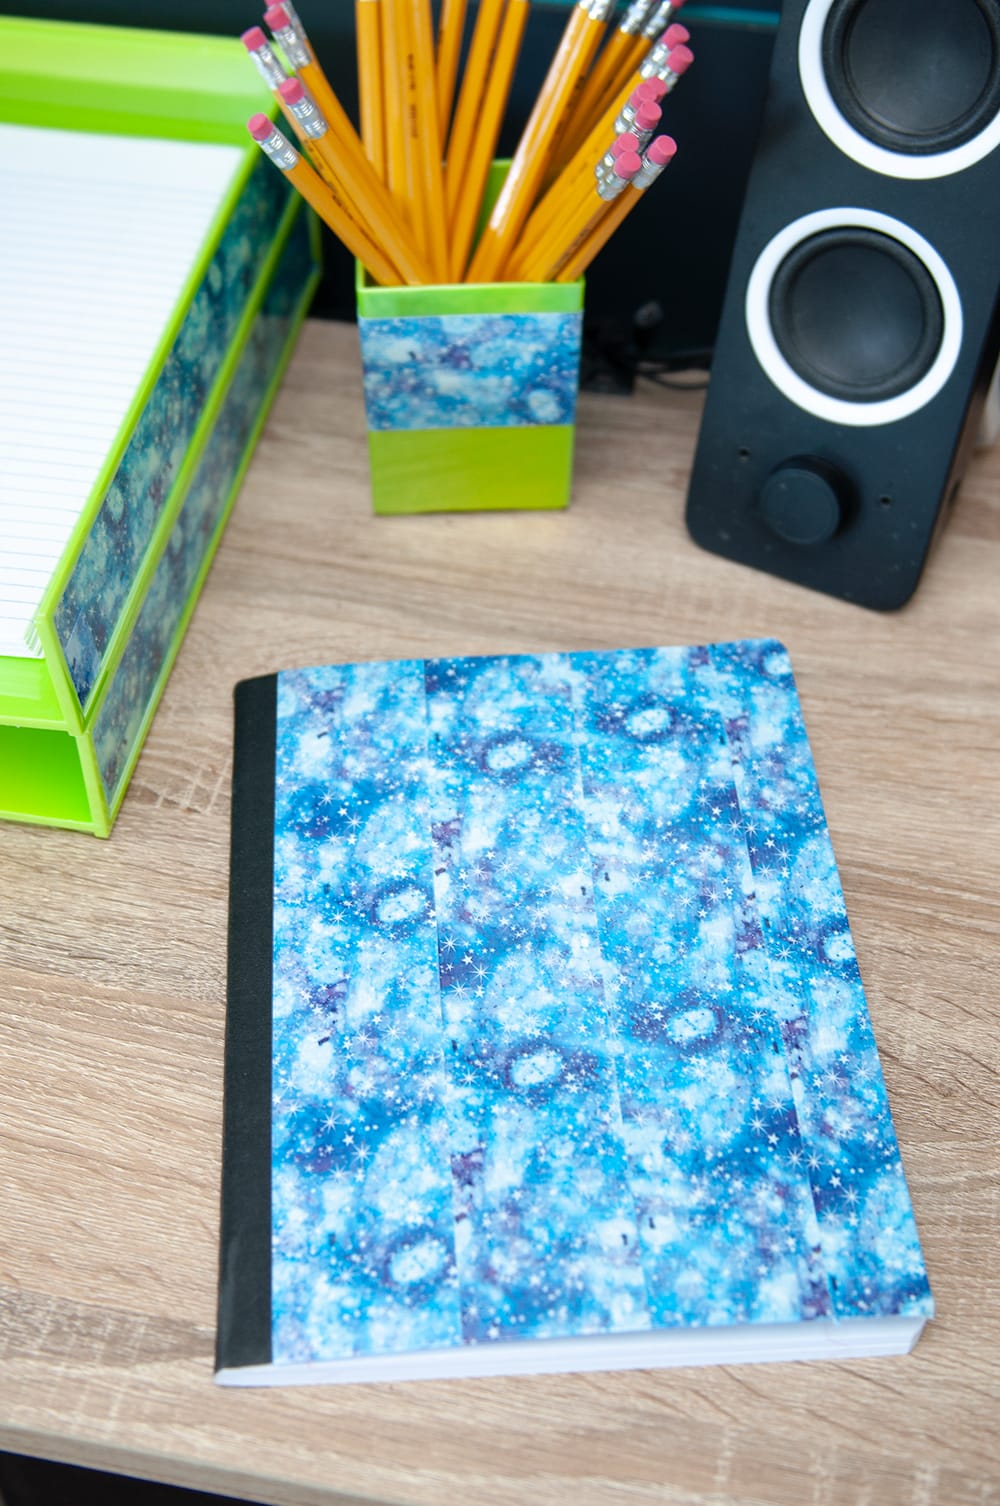
Step 6 – Notebook
Finally lets give this composition notebook a new look. Just like the other projects, I added my strips down the front leaving extra hanging over.
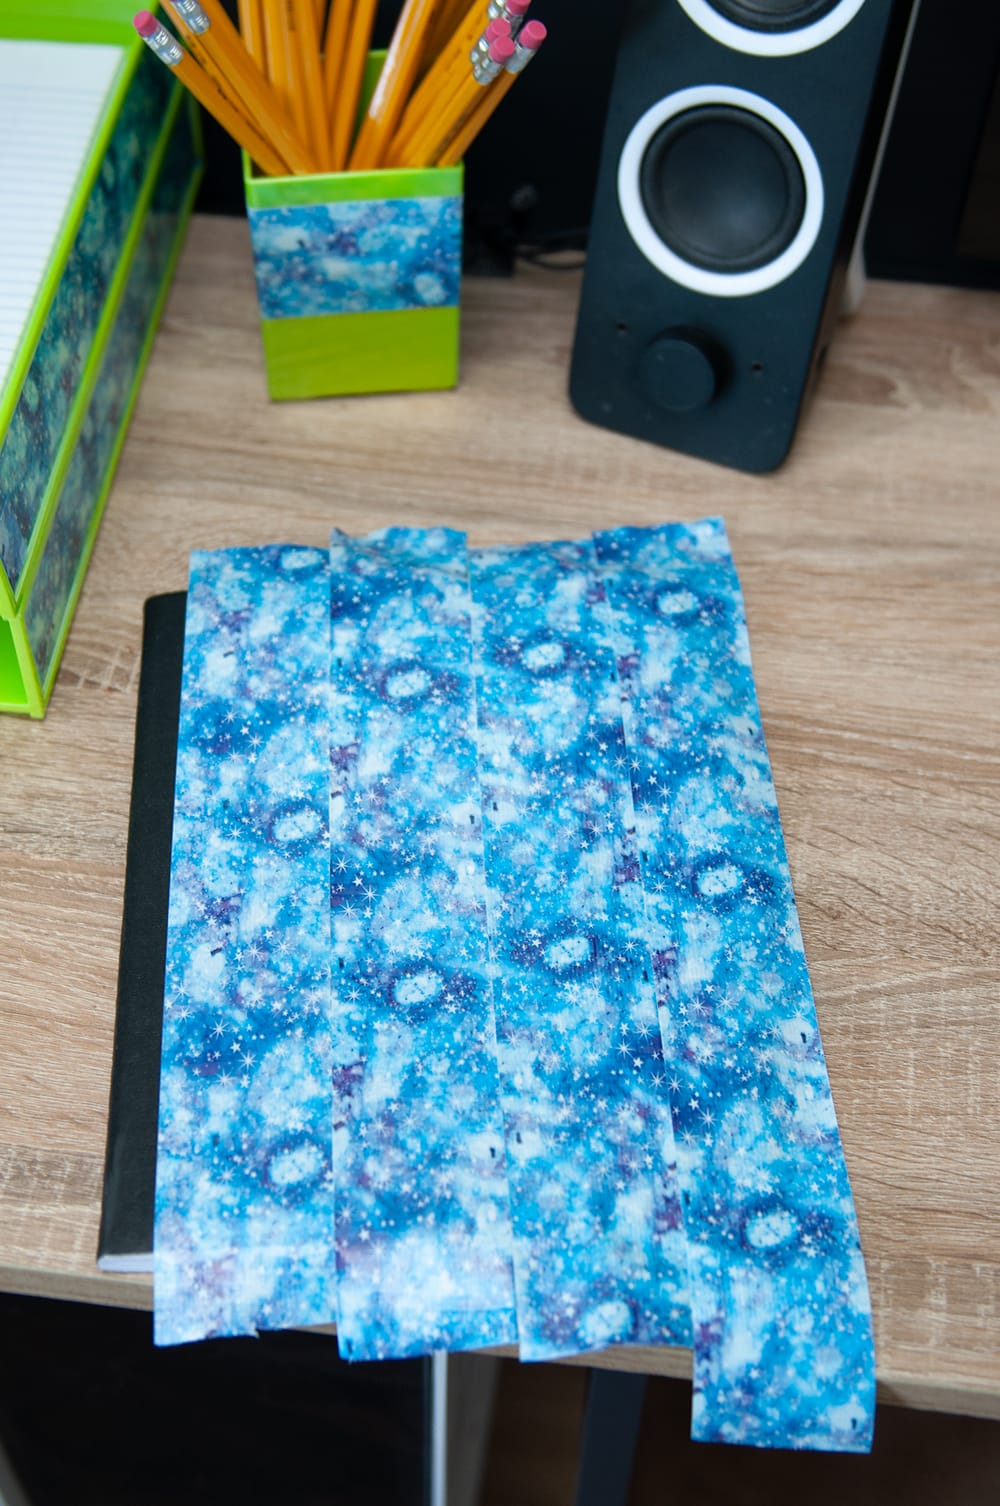

Then I folded the excess over on the inside.

Simple as that!
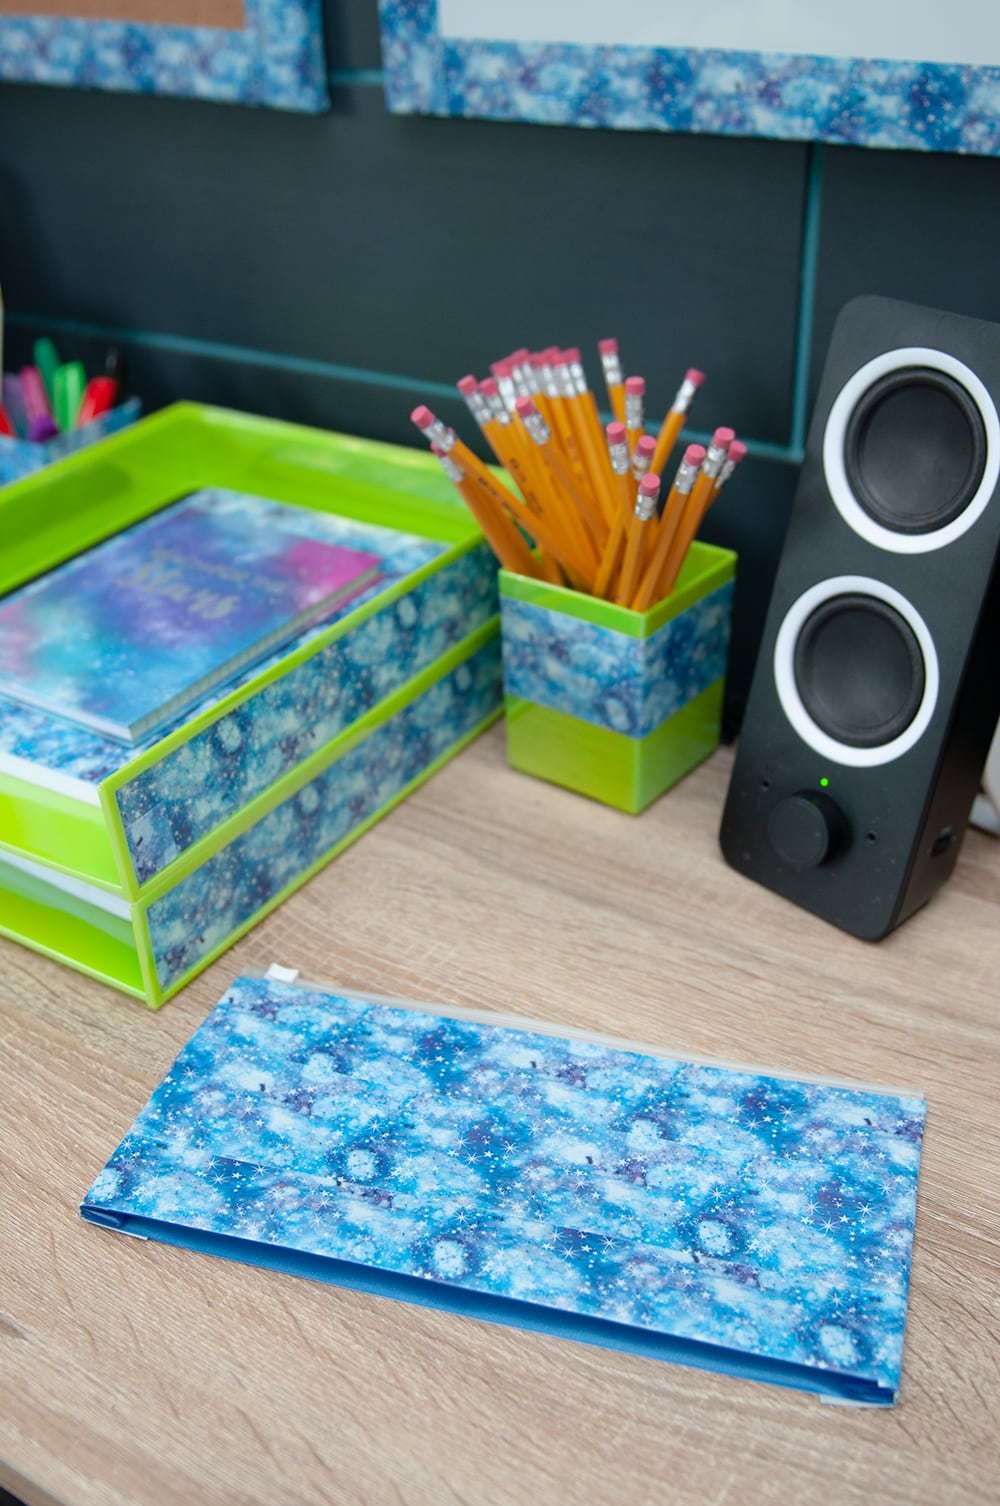
Finishing Touches
Now let’s add it all together. This space looks great, if I do say so myself!
I added a couple more projects, to this space like the clipboard and larger pencil holder.
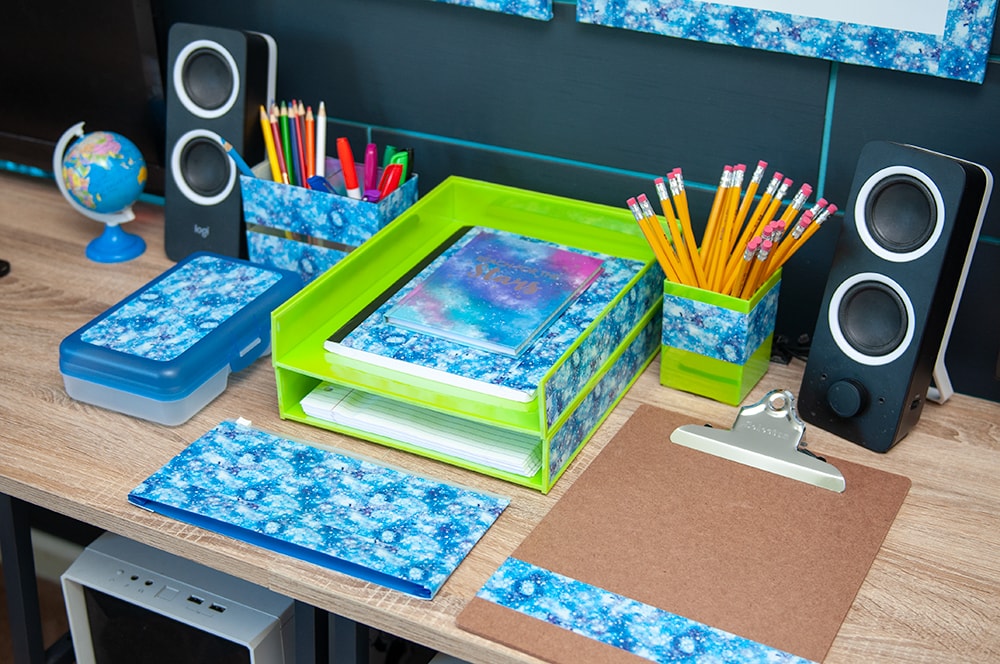
This Starry Galaxy Duct Tape was such a great addition to this whole project.
Mr. B is ready to get started on some homework (or he wants me to leave so he can start playing his computer game).

For this space I probably spent about $20 on supplies, so this whole space was done on a budget. That’s my kinda of project!
As always thanks for stopping by, please let me know if you have any questions!
Love, Courtney