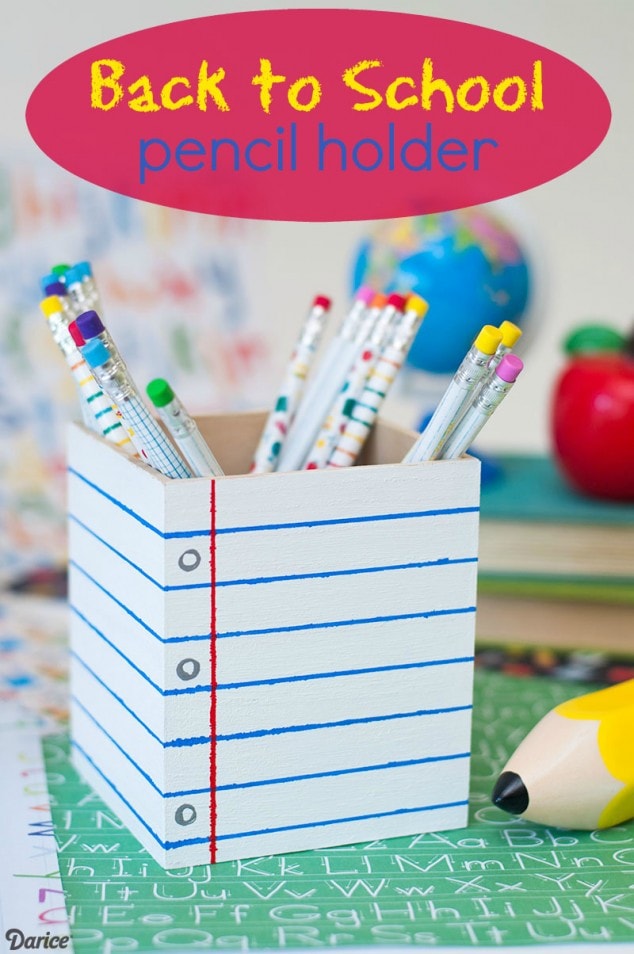
A couple months ago I made a Back to School Pencil Holder project for my kids. But I think this is a project you can do anytime of the year. It’s easy, fun and so cute!
Since we’re taping off all our lines, it makes it super easy for the kids to work on too. Let’s get started shall we?
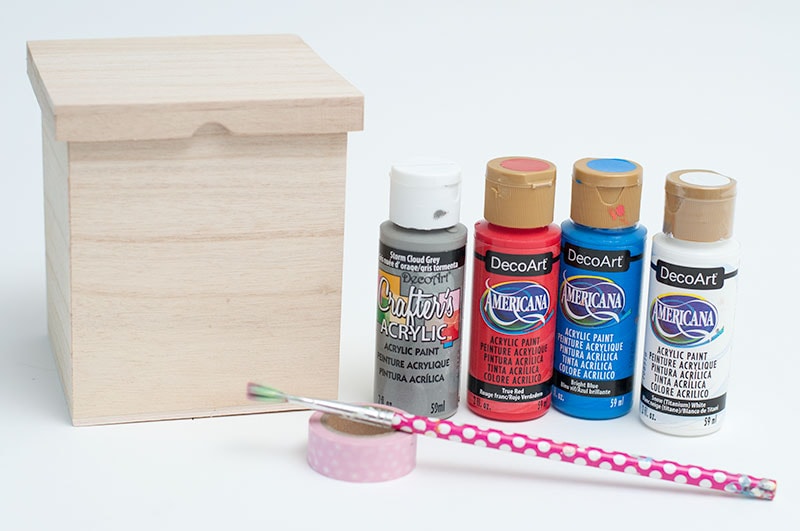
PENCIL HOLDER DIY SUPPLIES:
- Unfinished Wood Box (found at craft store)
- Craft Paint (Blue, Red, White and Gray)
- Washi Tape
- Paint Brush
Back to School Pencil Holder
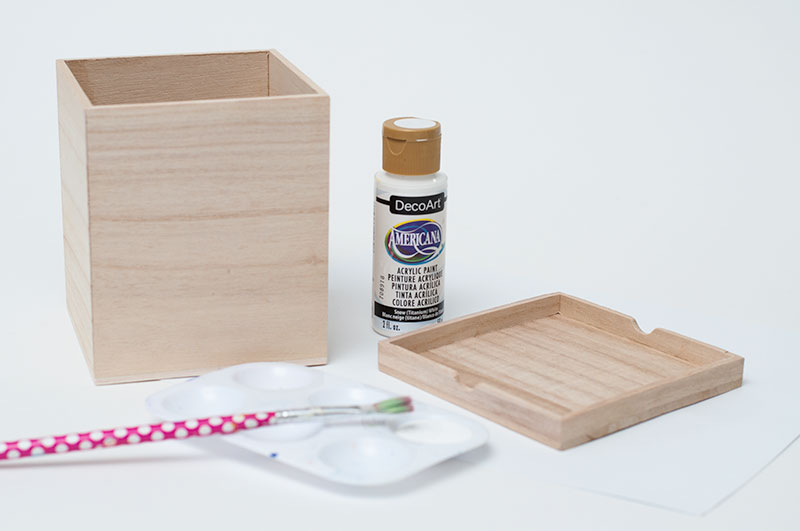
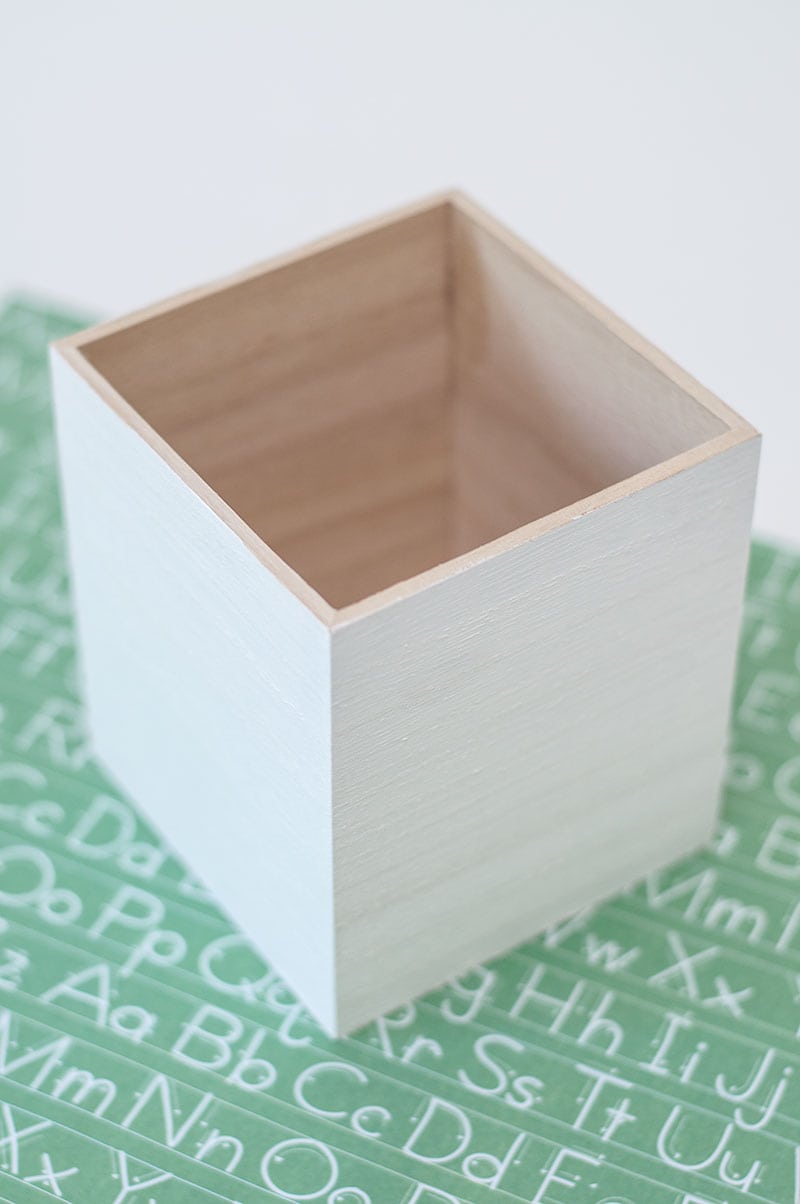
Step 1 – Paint Box
Start by having the kids paint the box white. I did a total of two coats for this step.
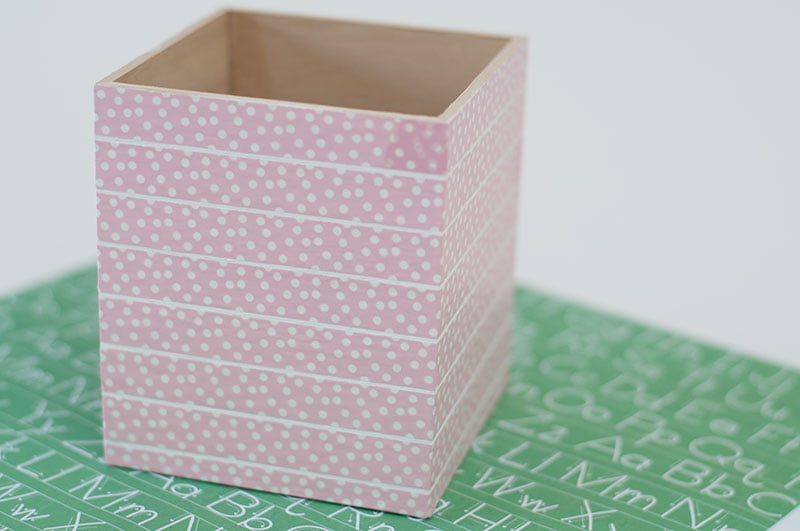
Step 2 – Add Washi Tape
If the kids are younger, an adult will need to help with this step. We added some washi tape around the box to help create our lines.
Step 3 – Paint Lines
I found the perfect shade of blue for my lines. Lightly fill in the gaps between the washi tape. If you make sure to smooth your washi tape out then you should have crisp lines when you’re finished.

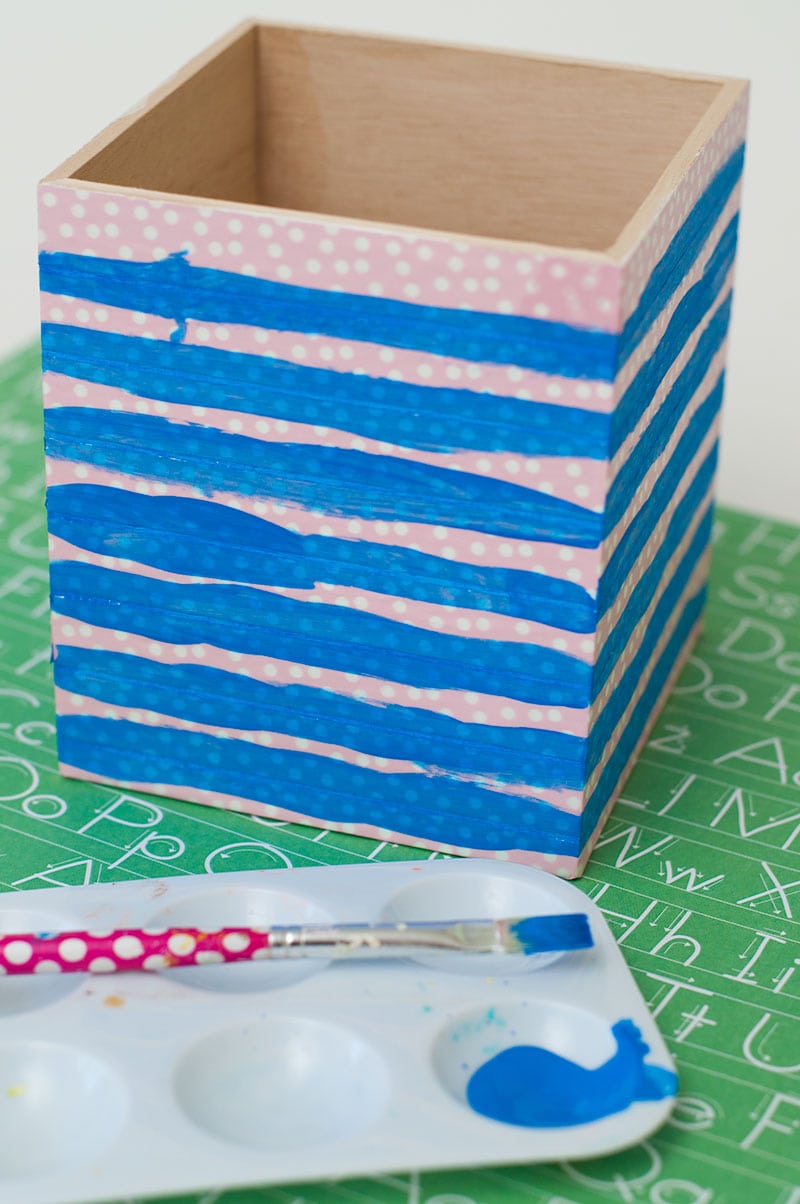
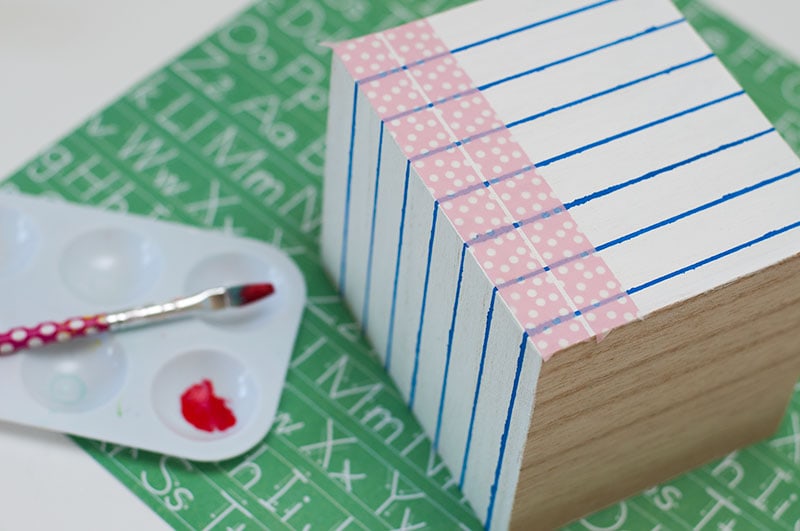
Once the paint has dried you can remove the washi tape.

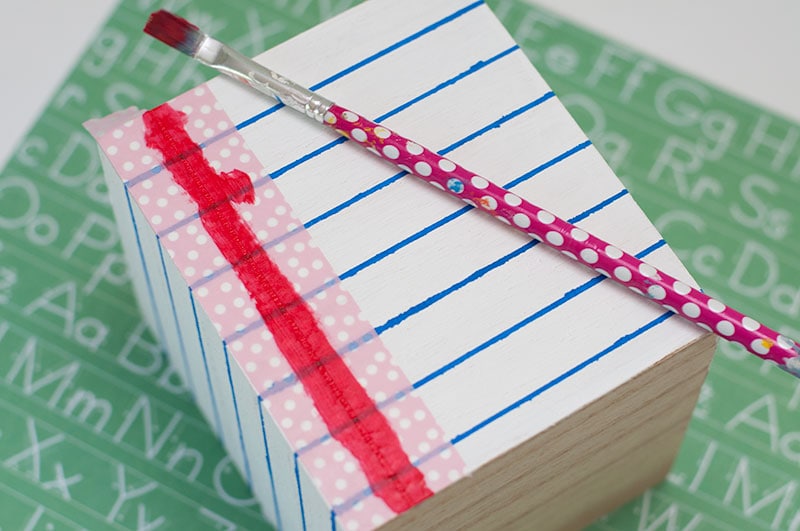
Step 4 – Add Red Line
Now let’s add our red line!! Once again I just added some washi tape to create my lines and then fill in with some red paint.
Step 5 – Finishing Touches
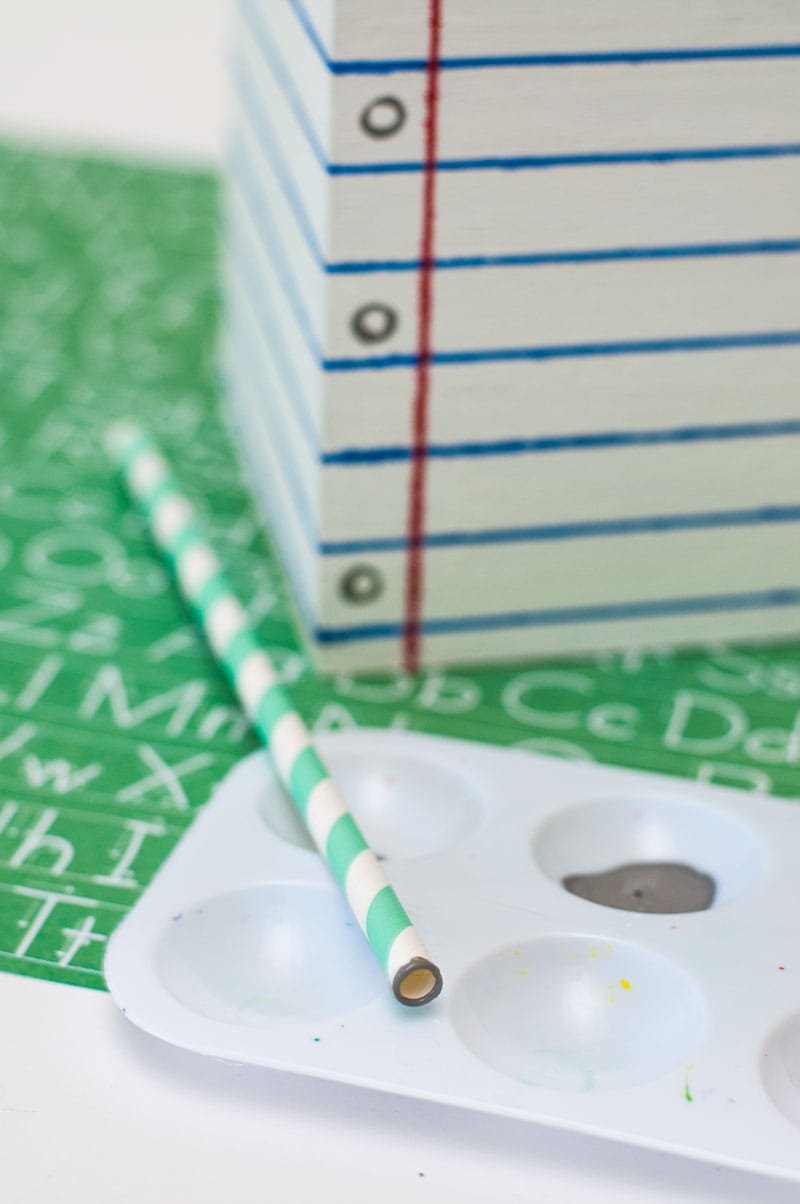
Finally we need to add our “punch holes” for our paper. So we used a paper straw for this step.
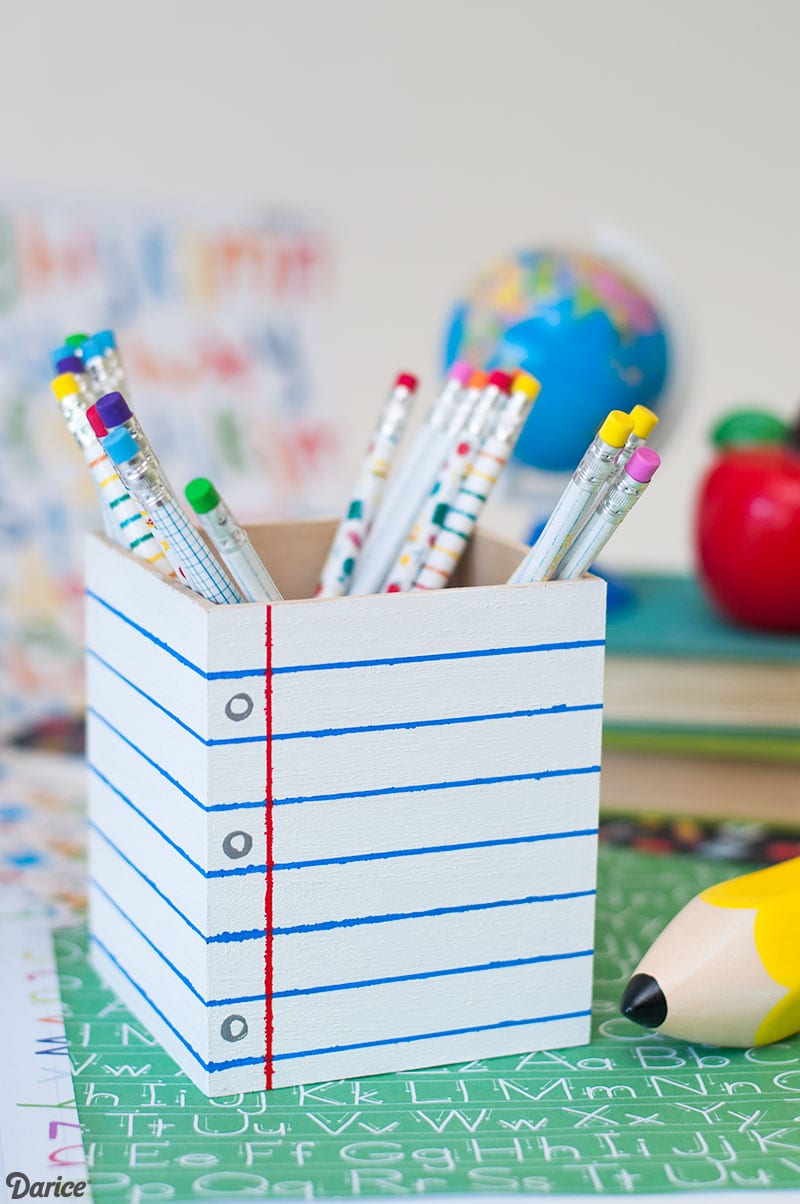
See how easy this fun back to school craft was to make!! I just LOVE how this pencil holder DIY turned out. I was debating on doing all four sides, that part can be up to you! You can even add a name going across the front!
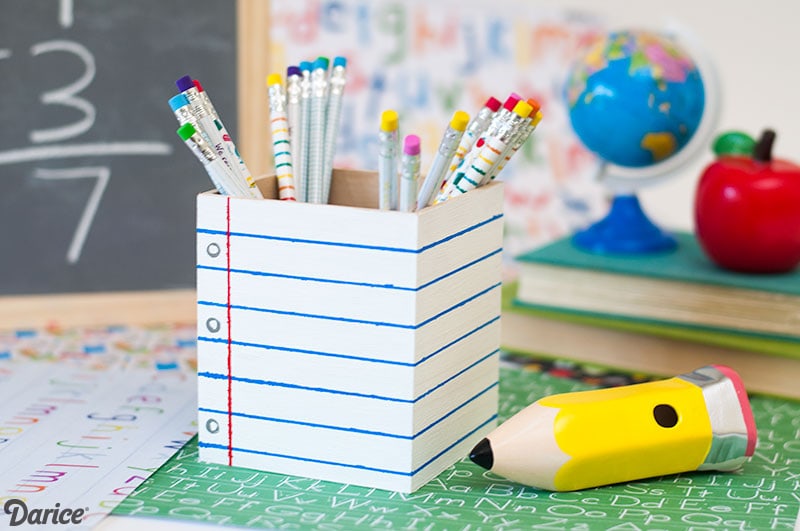
So cute, right? Once the kids are finished with this pencil holder DIY project, they can fill it up with pencils, highlighters, pens, etc! They will be too excited to give it to their teacher the first day of school!
Here’s another DIY pencil holder idea that your teacher will love!
Love, Courtney