Aww Fall is here. The seasons are changing from Summer to Fall and the leaves are turning. Well.. Maybe not here in Florida. We don’t get too much of a weather change here. If it’s in the 70’s we’re all bundled up complaining it’s too cold.
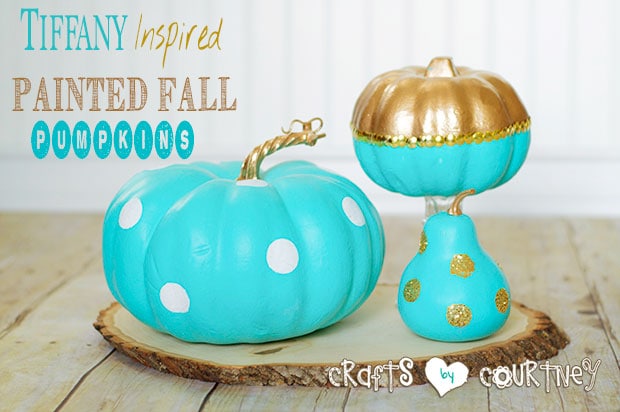
Since I live in Florida I really wanted to go with a non traditional color for my Fall decor this year. I still have some of my Beach decor up and I really wanted to incorporate the two.
This is one of my favorite colors and I was really happy with how my pumpkins turned out.
Getting Started
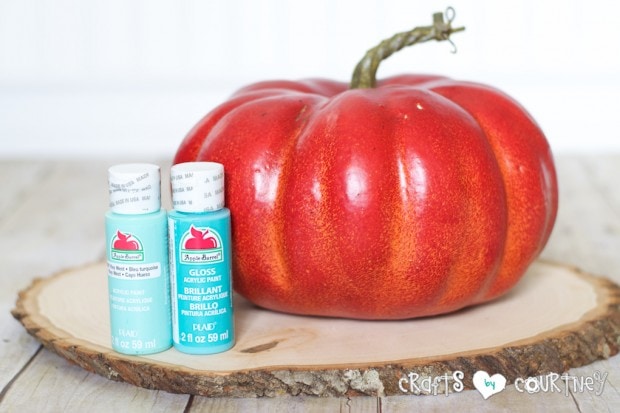
I grabbed a pumpkin I had around the house and some I got from the Dollar Tree. Then I got my paint colors and spray paint and was ready to get crafting!

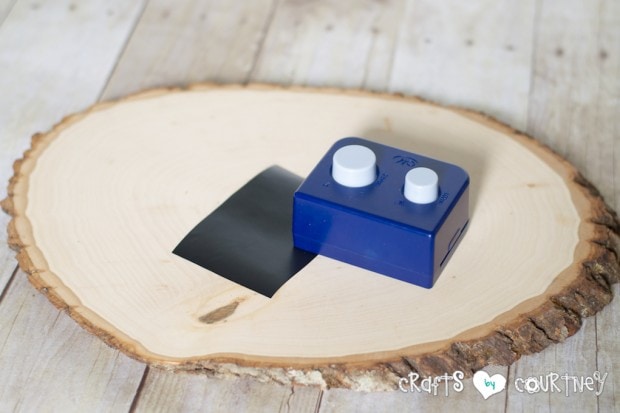
I didn’t end up using the round form brush in this picture. I couldn’t get a solid circle from it. I ended up using a stencil I made.
Step 1 – Paint Your Pumpkin
I ended up mixing two paint colors together to get this color. If you want you can add and little Plaster of Paris to your mix to create a chalk paint effect.
I ended up adding a “sprinkle” of it to my paint mix. You don’t need much at all. I painted two costs on my pumpkin and let dry for half an hour.
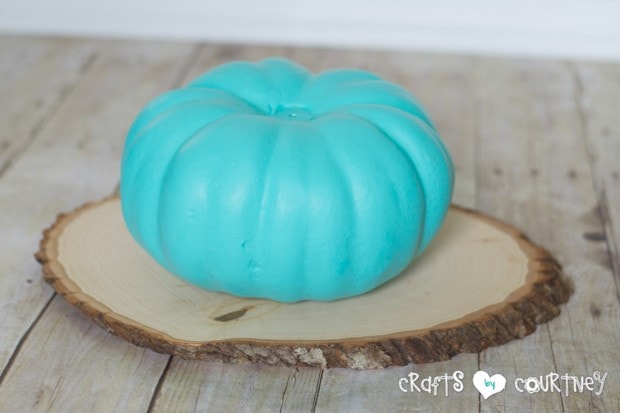
Quick Tip: Make sure you remove your stem before painting your pumpkin.
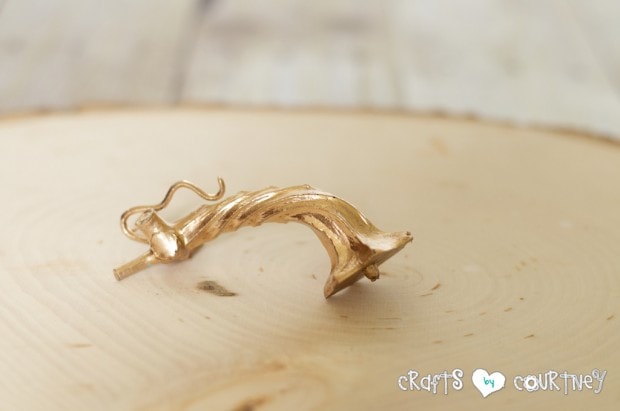
Step 2 – Spray Paint Your Stem
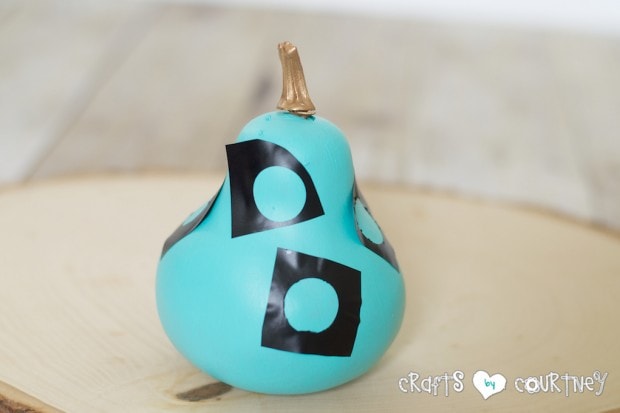
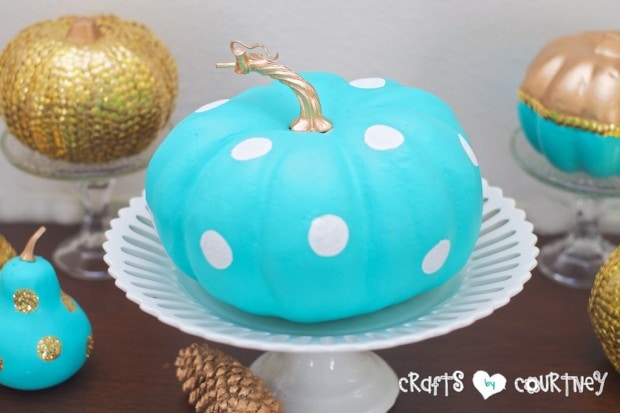
While my pumpkin was drying I took my stem outside and spray painted it gold. I thought the gold would look really nice against the color of my pumpkin.
Step 3 – Cutout Your Polka Dots
When I started making my polka dots I used the round form brush that was in the getting started picture. Unfortunately I wasn’t getting the results I wanted.
I ended up pulling out my “Trusty” circle punch and some vinyl. I punched my circles, and firmly placed it on the pumpkin.

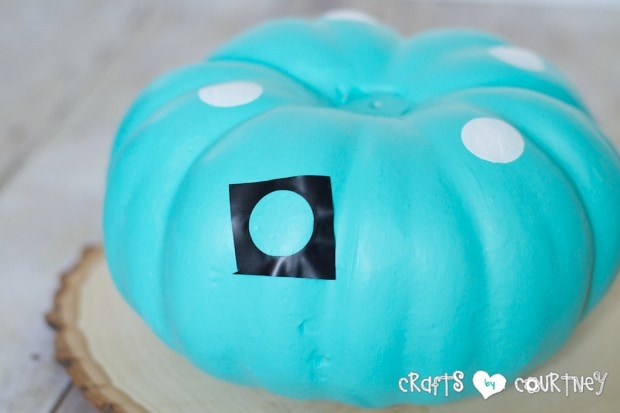
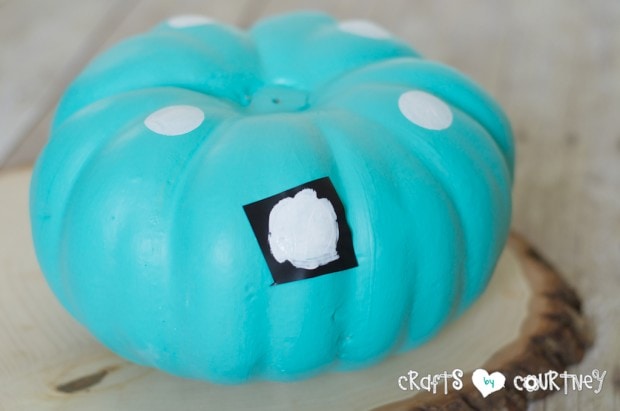
Step 4 – Paint Your Polka Dots
I went over my circles with white paint and a form brush. I only needed to cut 4 of the vinyl circles. The paint dries pretty fast so I was able to reuse them.
Step 5 – Finishing Touches
Once I was done painting my polka dots I got my gold stem and hot glued it to the top of the pumpkin! Voila a whole new look for my Fall pumpkin.
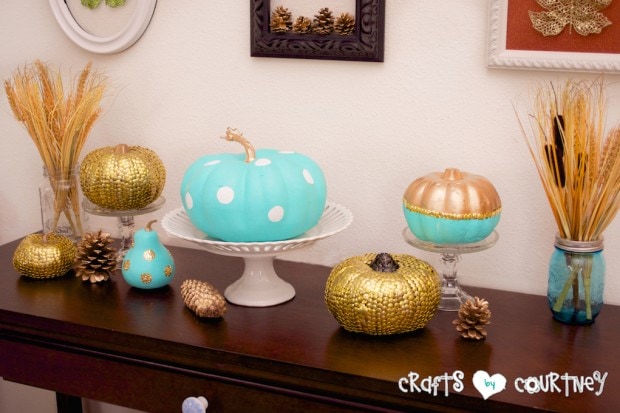
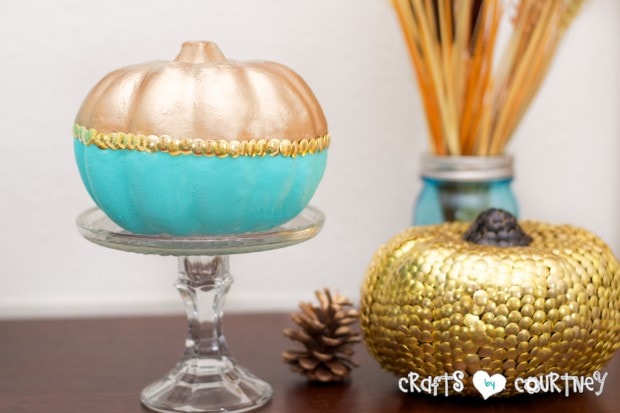
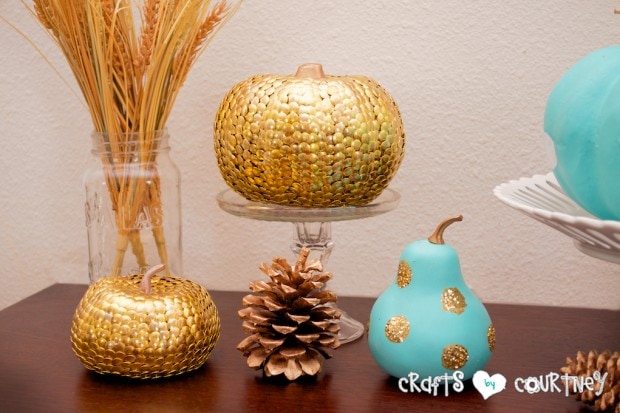
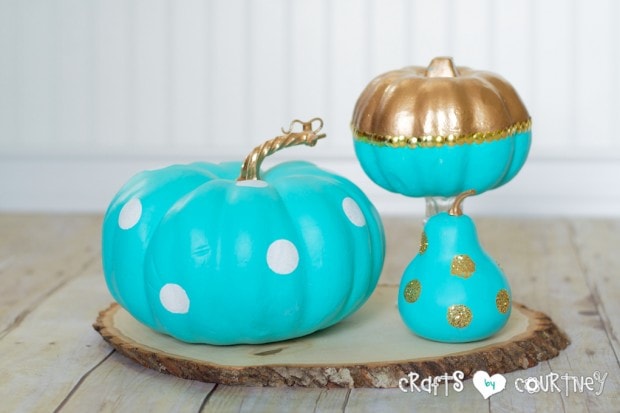
I loved the look of my large pumpkin so much that I had to make a couple other styles to go with it. I added a few of the thumbtack pumpkins I made to finish off the look in my front room!

And you know me I had to add some GLITTER in there some where with the little pumpkin.
Since I already had all the supplies this was basically a free project. I love shopping in my house to make new craft projects!

Here are some new pictures I took this year!
Love, Courtney