Sponsored Post: Financial compensation was not received for this post. A sample product was gifted from Annie Sloan Chalk Paint®. Opinions expressed here are our own.
I’m so excited to announce that I’m working with Annie Sloan Unfolded on my new makeover!! Everyone knows I’m a big fan of their products and have used them already in several of my makeovers. When I got my package in the mail of Annie Sloan goodies I was super excited. Felt like Christmas morning.
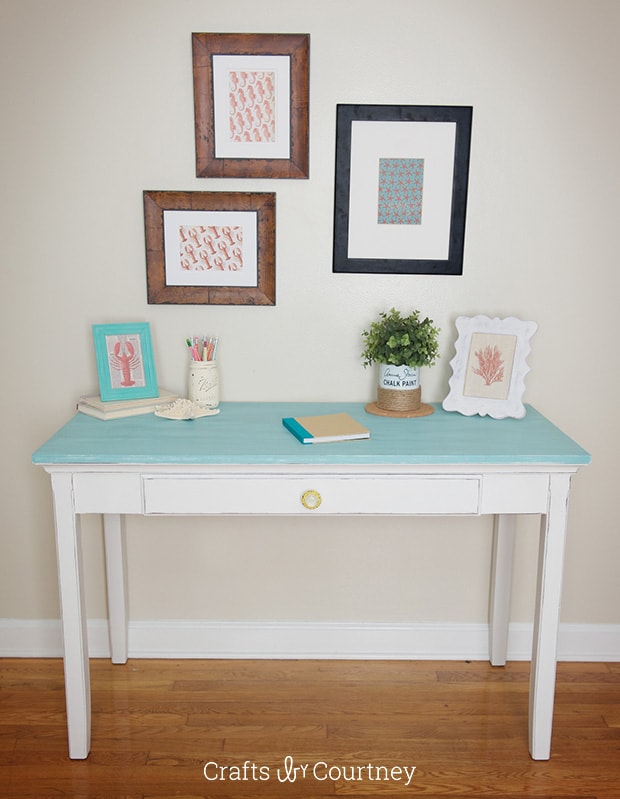
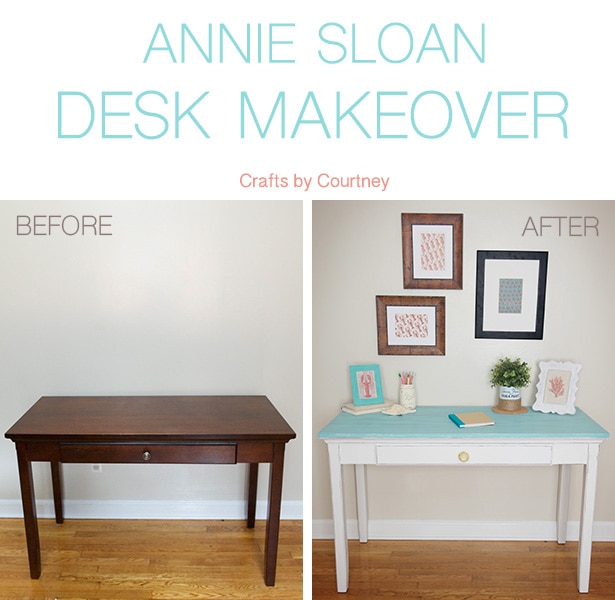
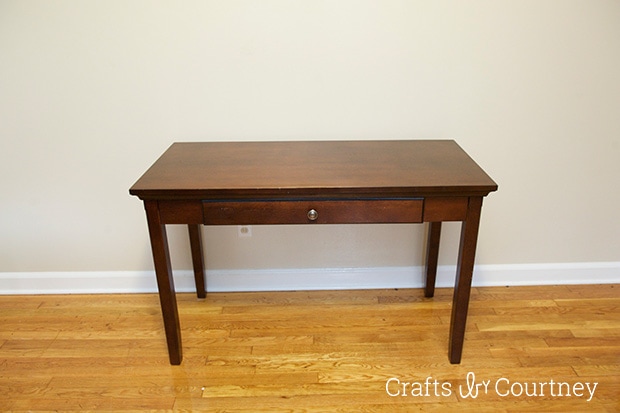
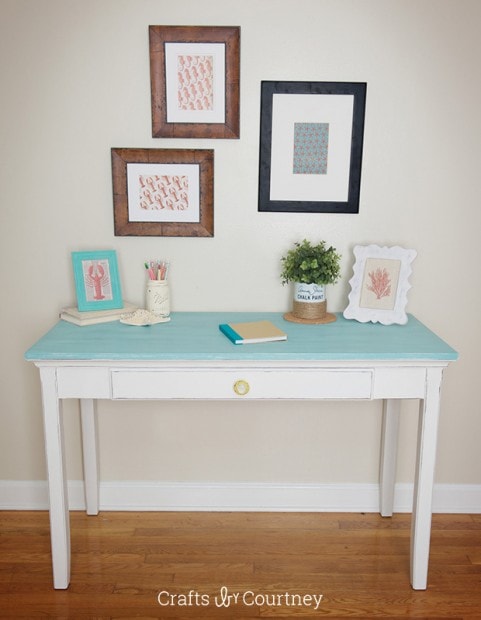
For this makeover I wanted to give my desk a new look with a more coastal vibe. I’ve had this desk for awhile and it really needed a new look. Plus I want to start giving my whole office a makeover soon.
What better place to start then the desk right?!
Getting Started
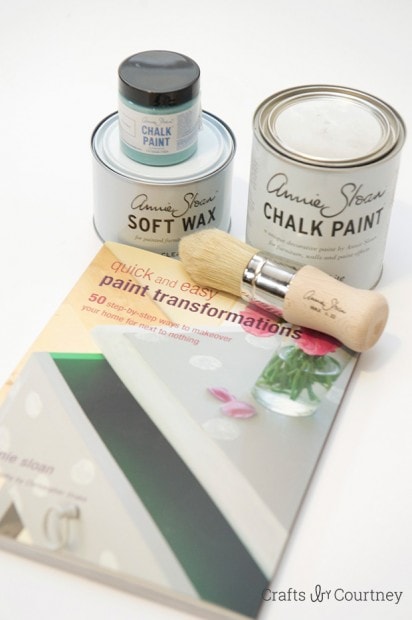
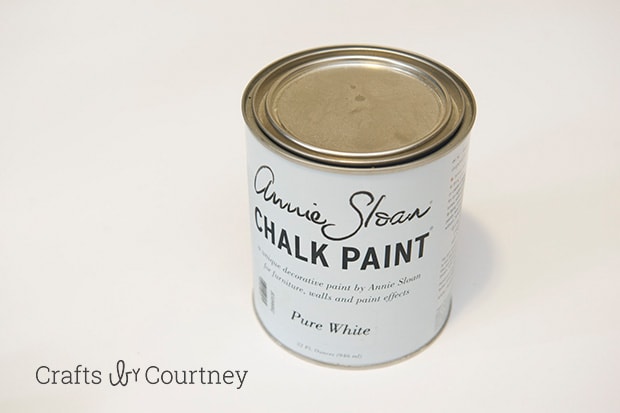
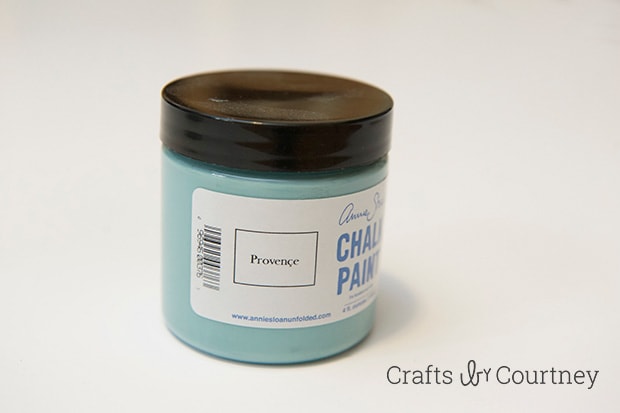
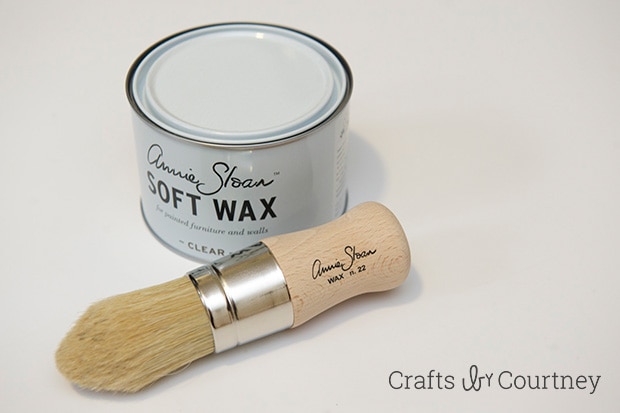
I received these wonderful materials from Annie Sloan Unfolded: Chalk Paint® decorative paint, Annie Sloan Soft Wax, Quick and Easy Paint Transformation, and finally the amazing Annie Sloan Wax Brush. So of course I was super excited to get started!!
Step 1 – Prep Table
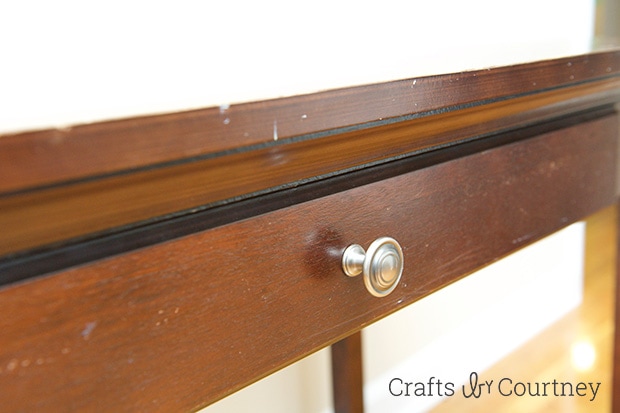
As you can see this table has seen better days.
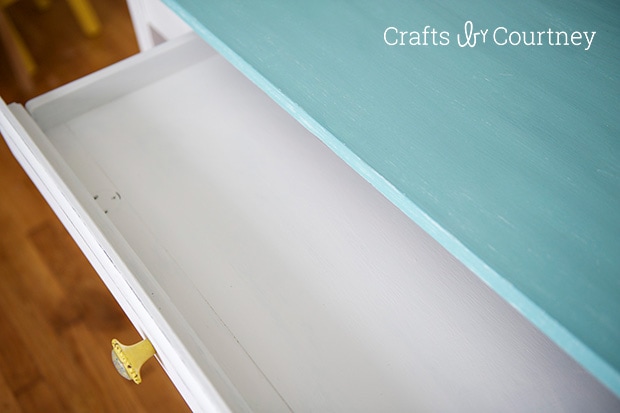
With Annie Sloan Chalk Paint® there’s not much prepping needed. All I had to do was wipe the desk down to get any dust off and take the knob off the front. That knob will be replaced as well.
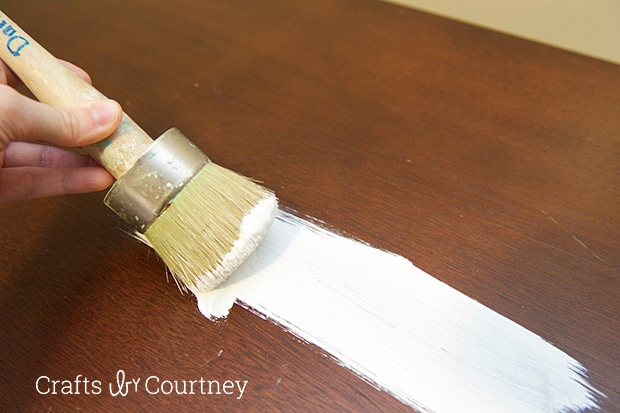
Step 2 – Add White Coat of Paint
It’s time to get started, yay!!
I painted on two coats and letting each one dry about an hour. The Chalk Paint® goes on very easy and covers the piece pretty fast.
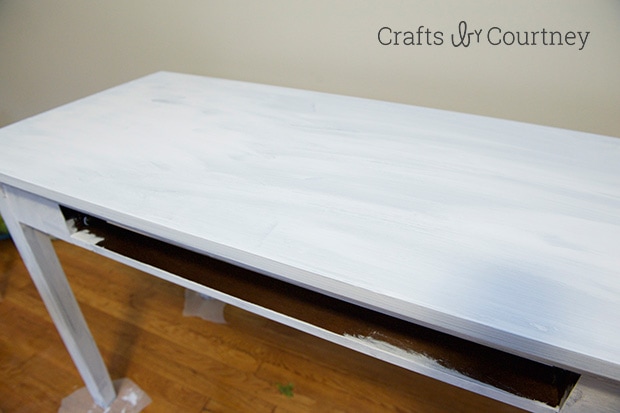
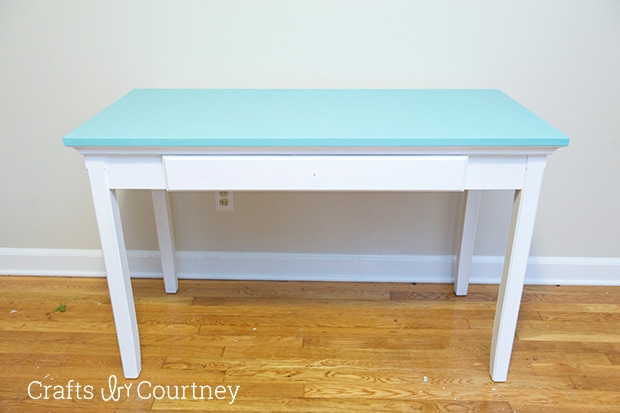
I wanted to paint the entire piece with the Pure White first. For my entertainment center makeover I used the Old White and loved it. But I wanted to use a different color for the office.
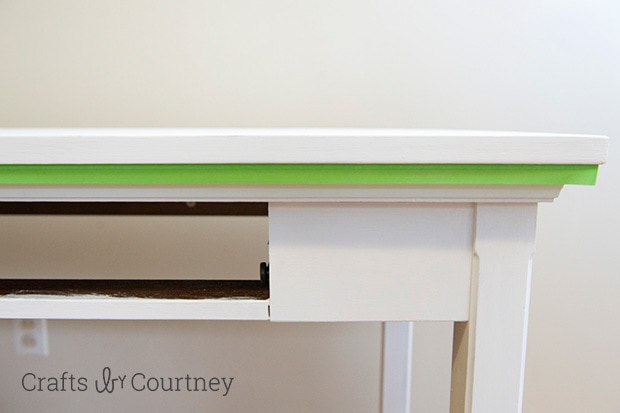
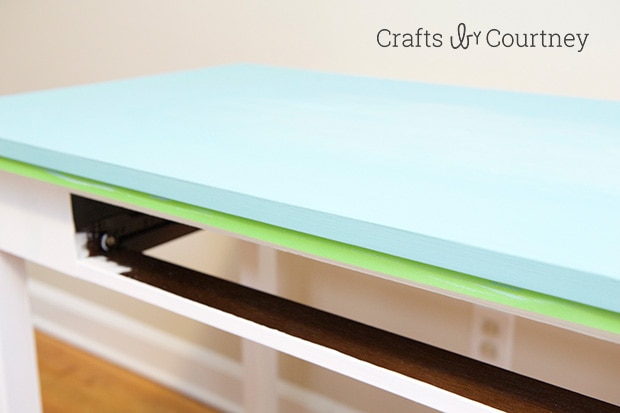
Step 3 – Add Your Final Coat of Paint
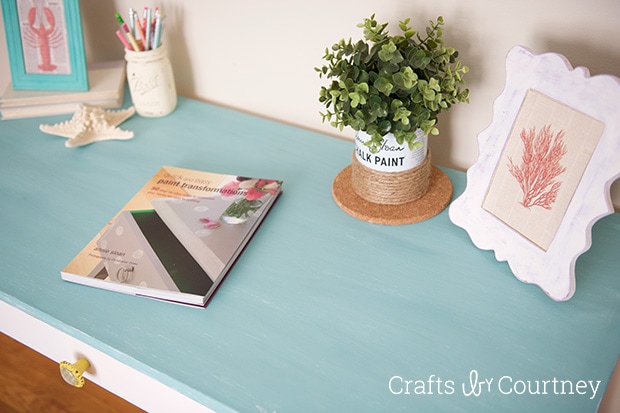
Next I wanted to paint just the top of my desk a different color using the sample size of Provence. The color was a little darker then I wanted, so I added some of the Pure White and mixed it until I was satisfied with the color.
I taped the top of the desk off and painted on two coats of my mix. This part dried pretty fast, I think I only needed to wait half an hour between coats.
I’m totally digging the color here aren’t you?!?!

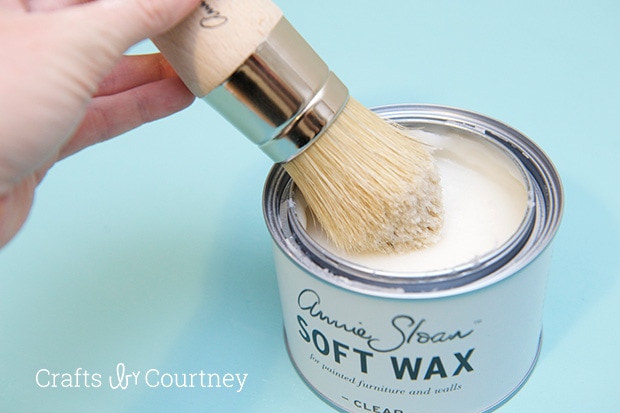
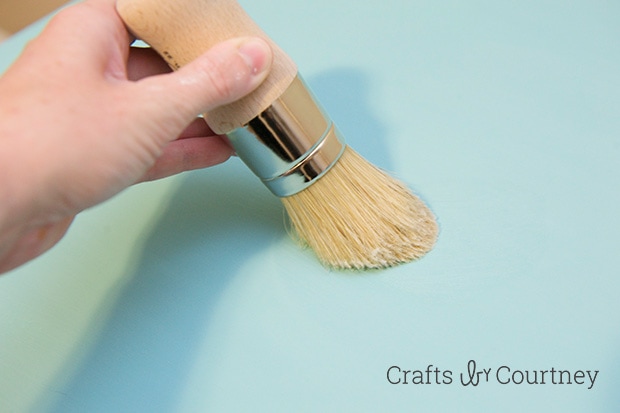
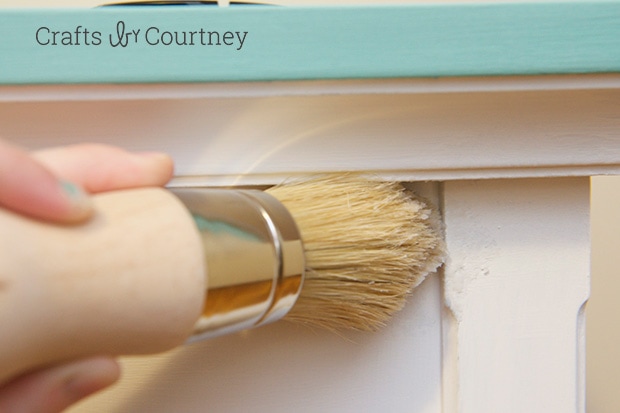
Step 4 – Add Wax
Now it’s time to add the soft wax!!!
So I was super excited to get this waxing brush, how cool is that?! It really made it so easy to get into all the nooks and cranny’s of the desk.
Waxing your piece is really the easiest part of the process. I painted on one coat of my wax and buffed it with a rag after. The desk felt to smooth afterwards, just love that wax!
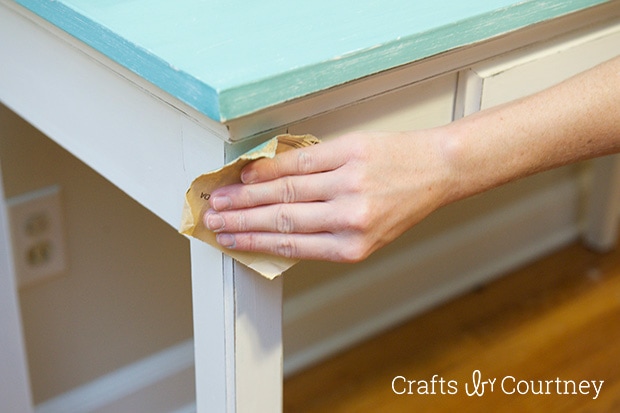
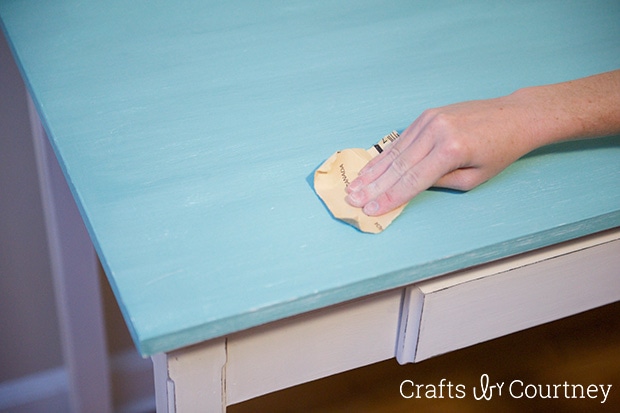
Step 5 – Distress Your Piece
Finally it was time to distress my desk!
I used 120 sandpaper and went around all the edges of the desk. I sanded the entire top of the desk. I wanted the white that I painted underneath to show. That’s why I painted the entire piece white first. I love how I can see the white. I really think it give’s it that beachy look I am going for.
Step 6 – Finishing Touches
Now that I’m finished with the desk I added my new decorative knob to complete my new look! I found it at Hobby Lobby for 50% off so I only paid $2.50, total bargain.
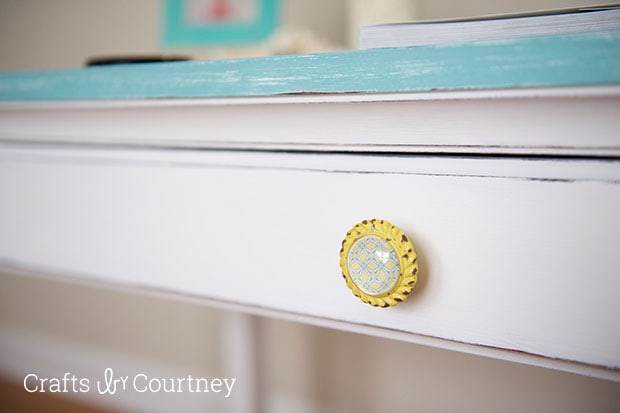
I couldn’t wait to start decorating around it. I paired it with the Thrift Store Chair I made over a couple months back. The yellow in the knob and chair go great together.
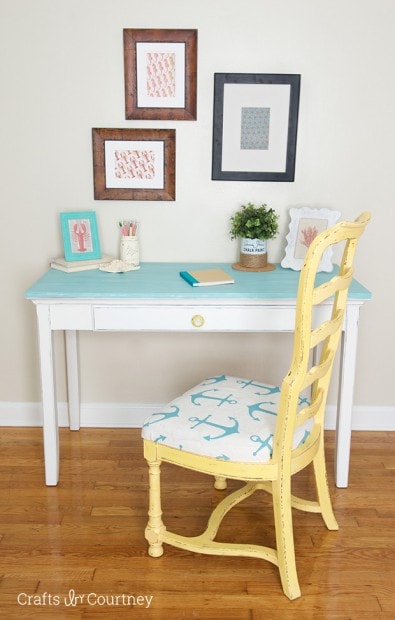
I am just so excited with how this makeover turned out. I wouldn’t change a thing about it. I love the colors and they way I decorated it. Now I just need to put my computer back on the desk…
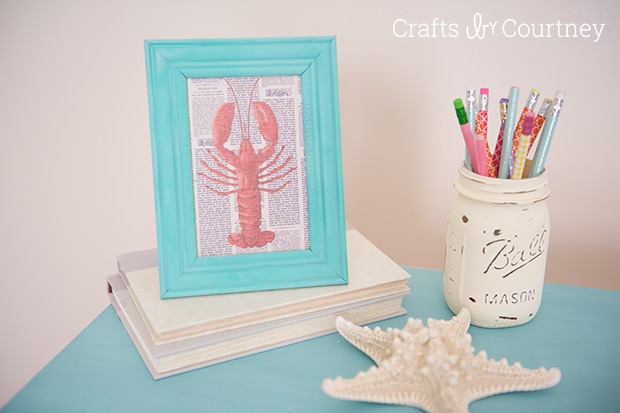
I made this simple picture with some scrapbook paper and painted the mason jar with the Annie Sloan old white paint.
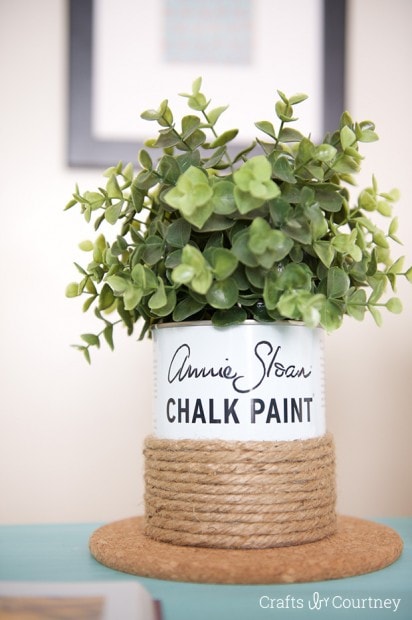
I have been saving my Annie Sloan paint cans and wanting to do something crafty with them. I was thinking maybe a decorative pen holder? Then it hit me why not add a plant in it. I used one I got from Ikea.

Of course I got some great inspiration from the Annie Sloan book. There are so many great ideas in here.
Love, Courtney