Sponsored Post: Financial compensation was not received for this post. A sample product was gifted from Rust-Oleum. Opinions expressed here are our own.
Today I’m sharing a furniture makeover that I’m SO excited about! I’ve been wanting to give my China Cabinet a makeover for a couple years now, but I wanted to wait until the right time.
I decided to team up with Rust-Oleum to finally give this beast a new look. I knew with a little paint and time I could get this piece looking like new again. The best part, I only needed 2 cans of paint for this makeover and a can of sealer. So for less then $40.00 I have a great piece again in the house.
Looking for more furniture makeovers of mine?
CHINA CABINET BEFORE
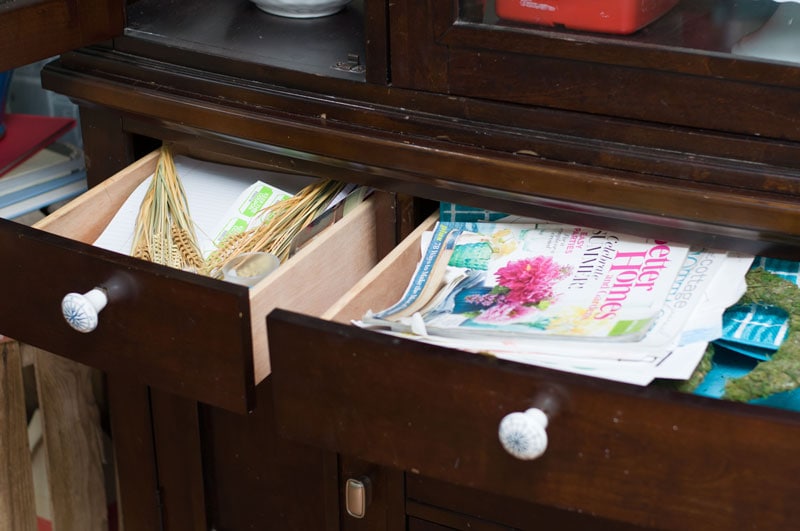
So here is the before, as you can see it was in pretty bad shape. Scratches everywhere, mixed matched knobs and clutter inside. It was literally holding all my crafts projects I’ve been working on. So some things needed to change with this space.
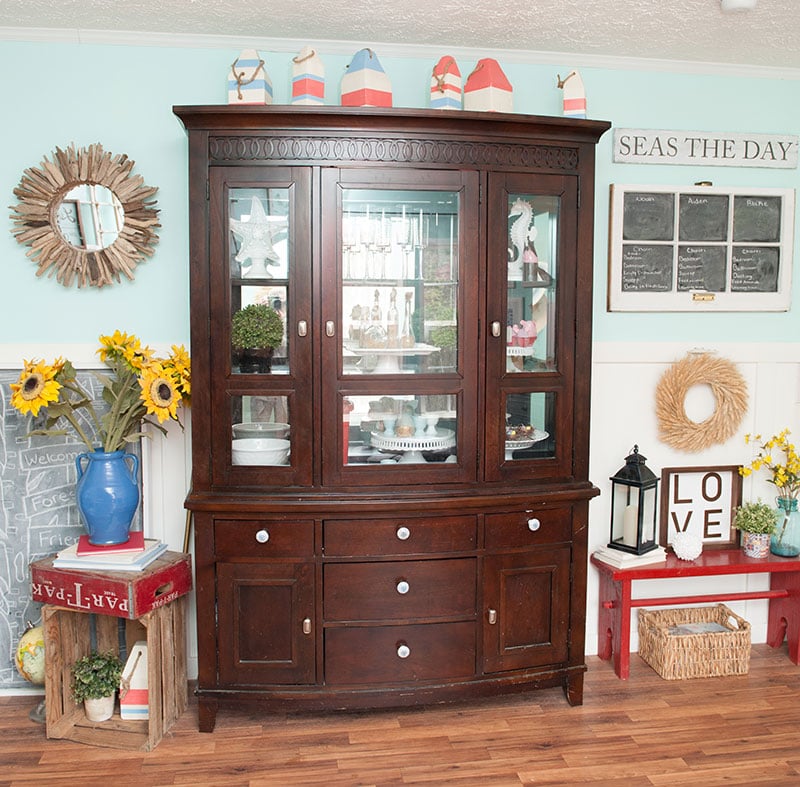
Look at all that clutter inside!! Horrible, right?!
Getting Started
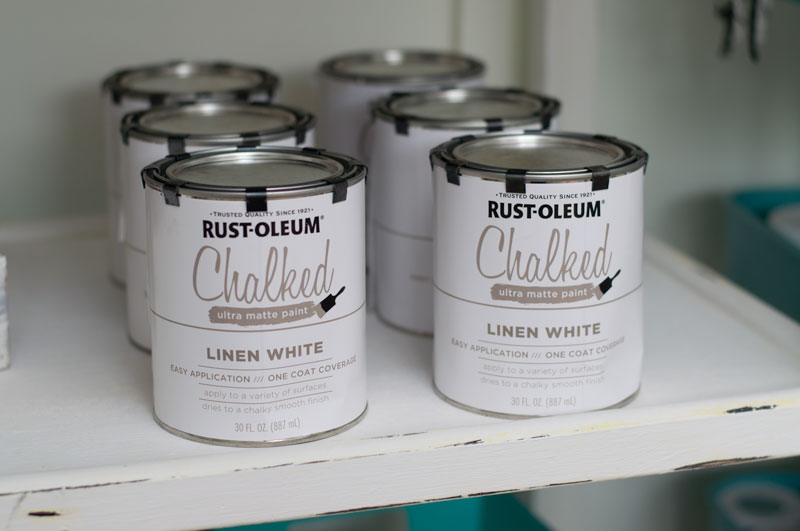
All my pretty paint cans!! LINEN WHITE was my color of choice. I could not WAIT to get started on this makeover.
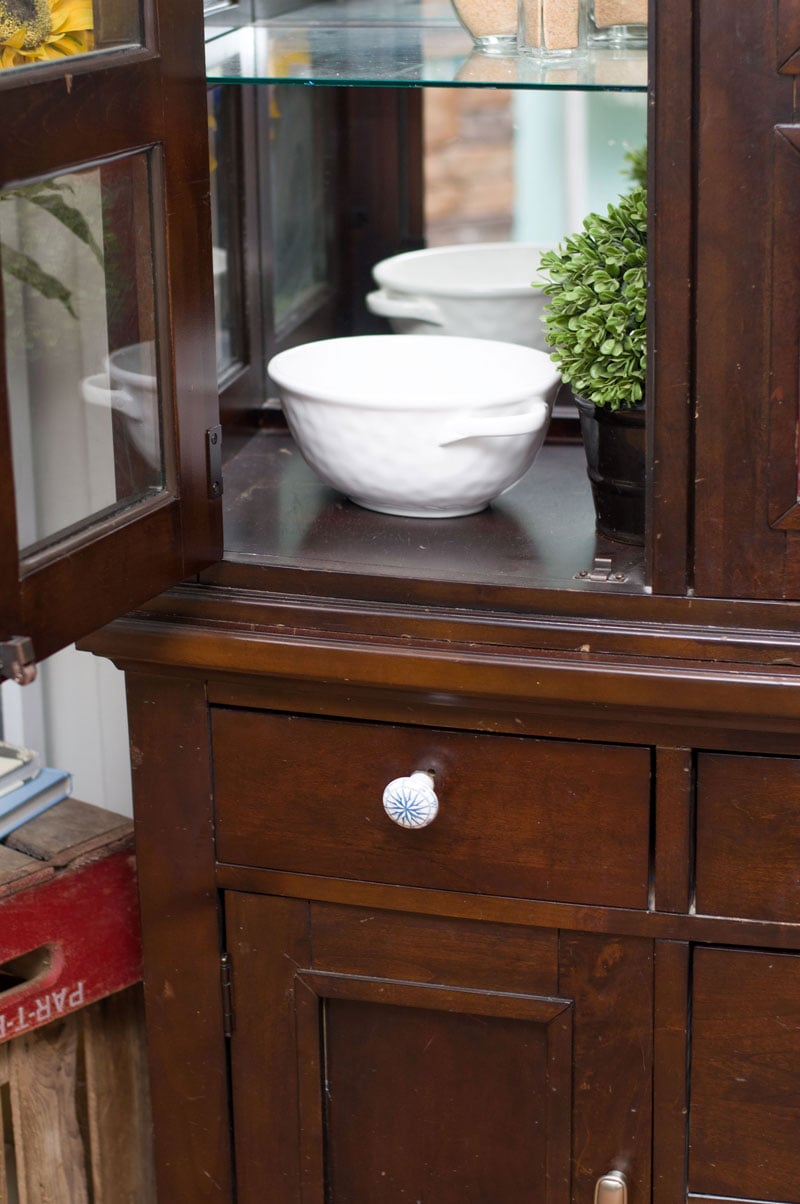
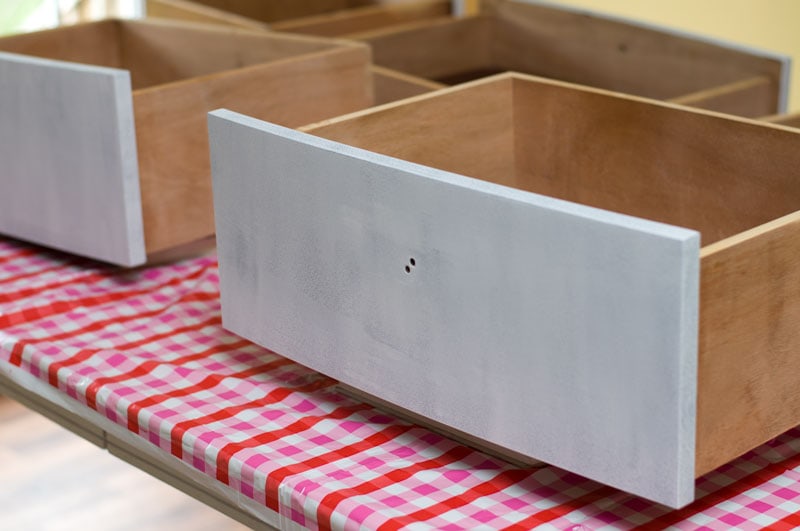
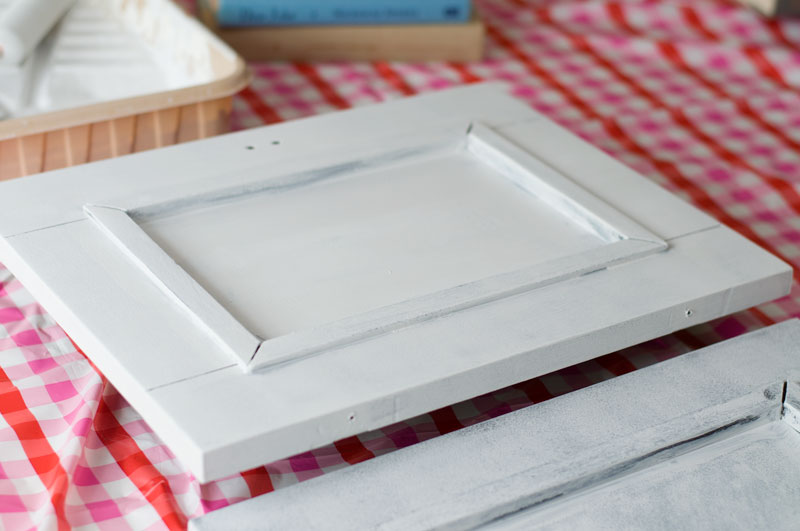
First I pulled out all drawers and took off the doors.
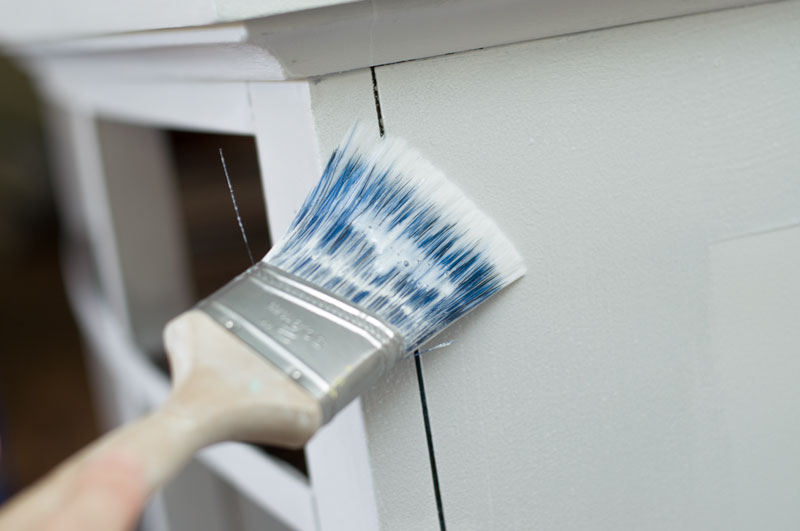
When painting BIG projects like this, I have always used small rollers to paint. It makes it so much easier and shows less paint brush streaks.
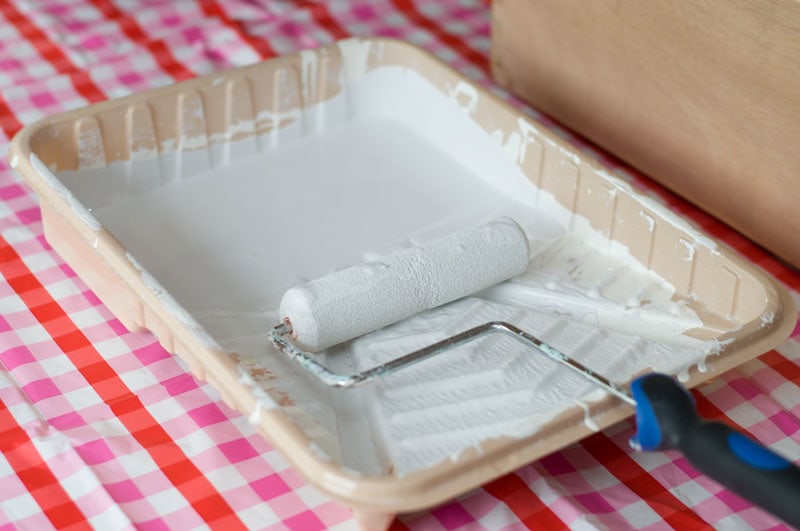
Then I went in all the corners and a paint brush.
Taking the doors off really makes painting projects like this so much easier.

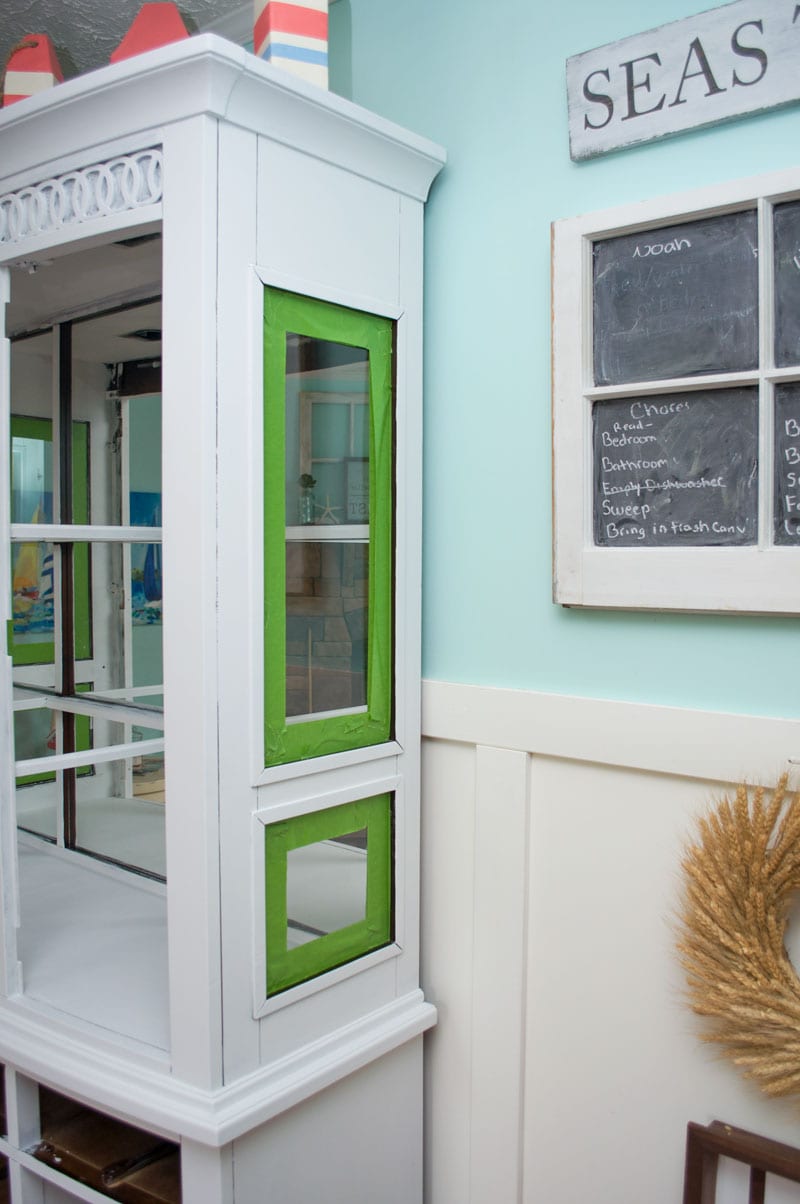
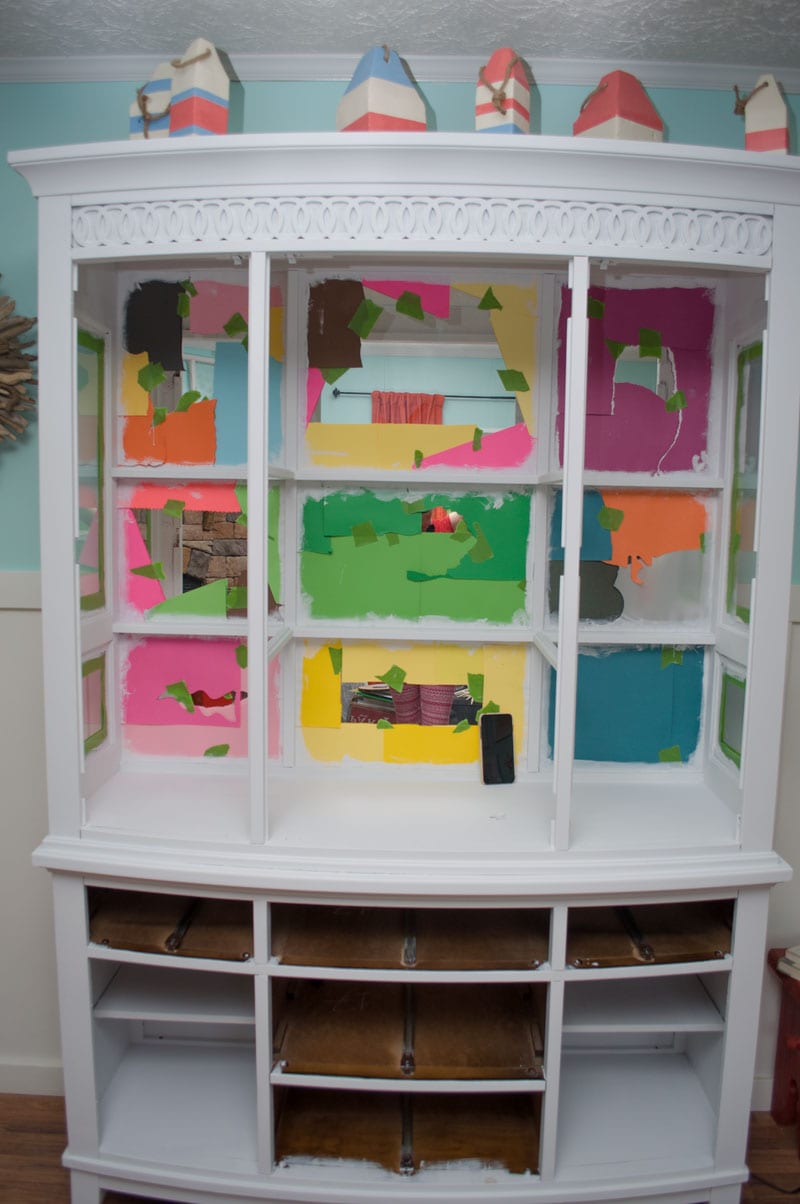
I added a little painter’s tape to all the side windows.
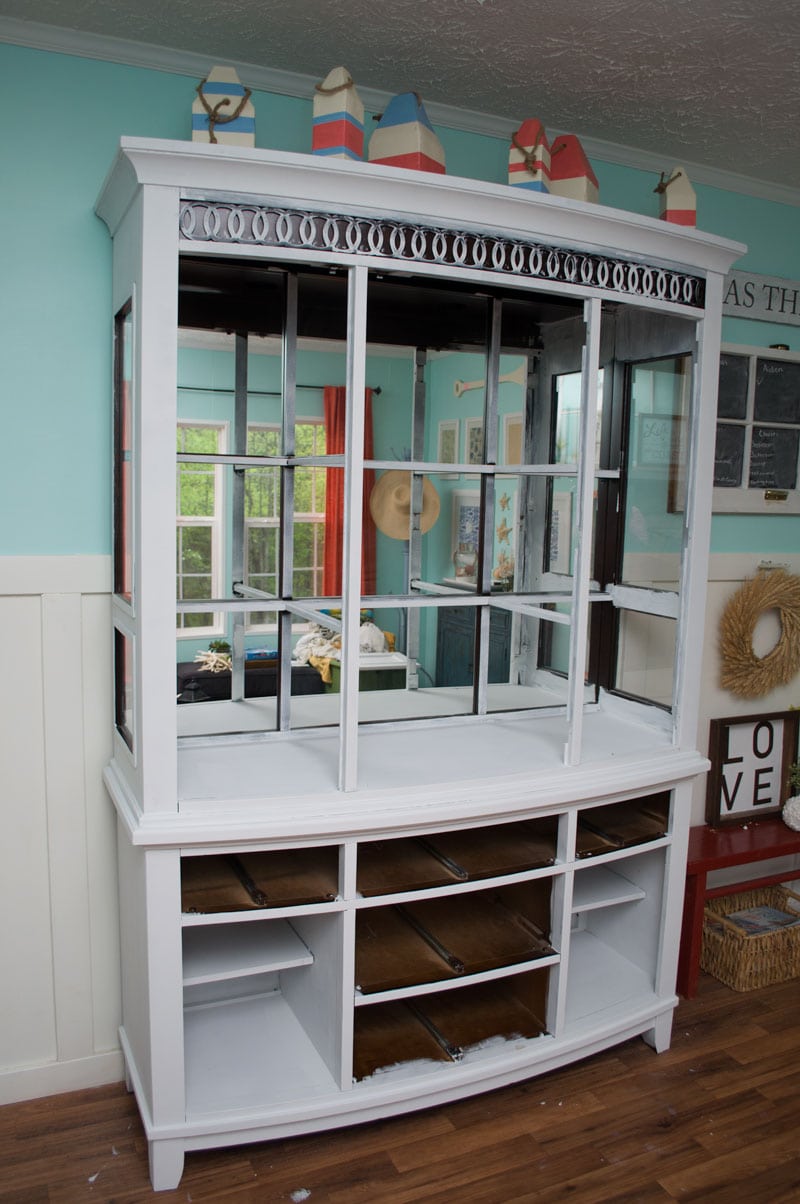
It was a real hard decision about that mirror in the back. I was really debating on just painting over it. Whenever I take pictures of the china cabinet you can always see my reflection if I’m taking the picture straight on. But I finally decided to leave it and after, if I wanted to paint over it I can later on. I knew once it was painted it wouldn’t be easy to remove it.
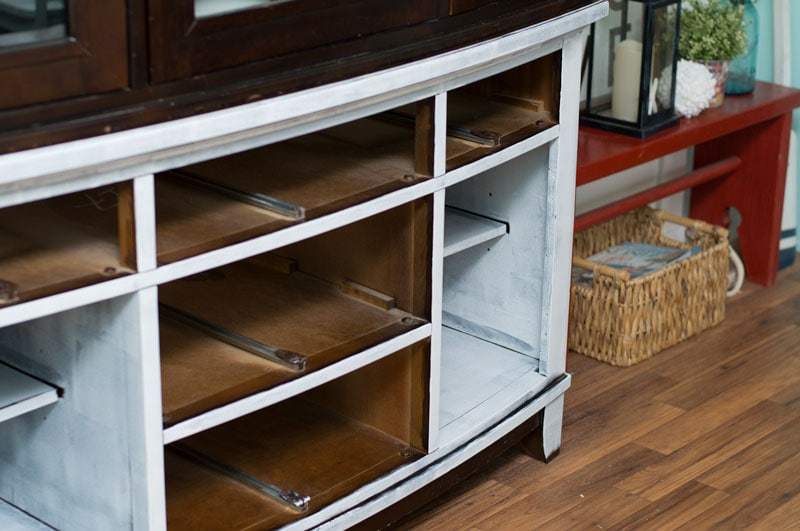
Once the whole china cabinet was painted I was ready to add the protective topcoat. I waited until the next day to add this.
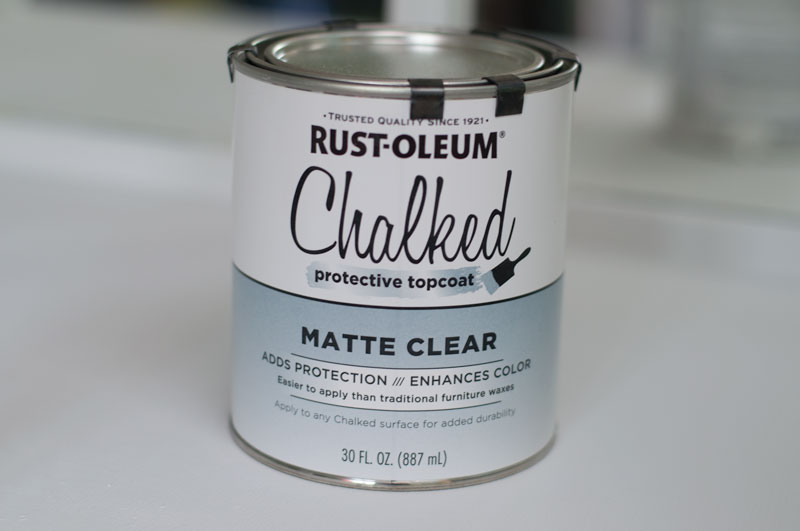
I just used my paint brush and painted on two coats. I let each coat dry 2 hours.
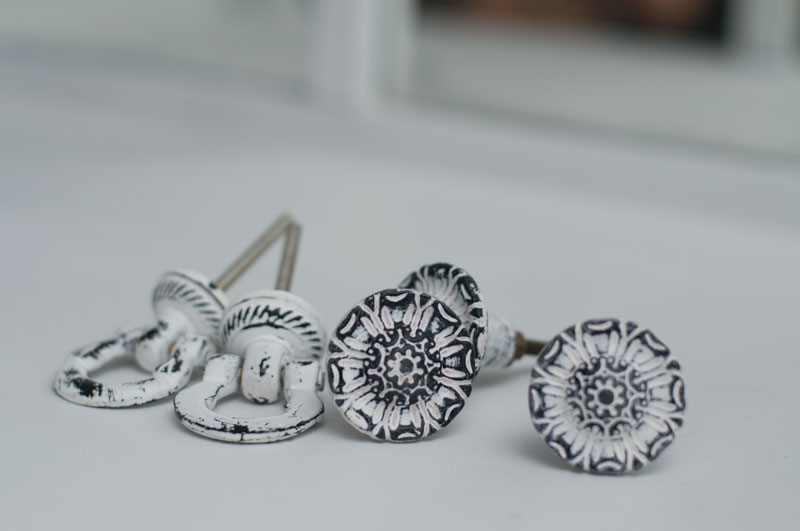
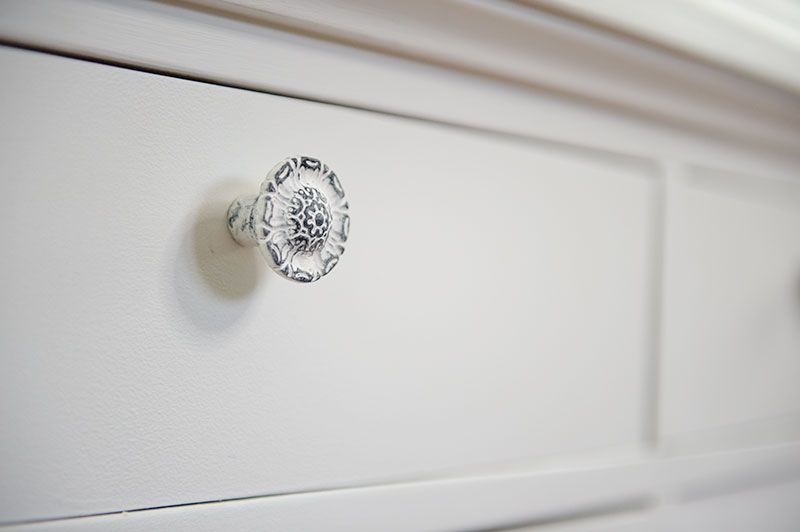
Now it’s time to add my NEW knobs!! I was so excited about these.
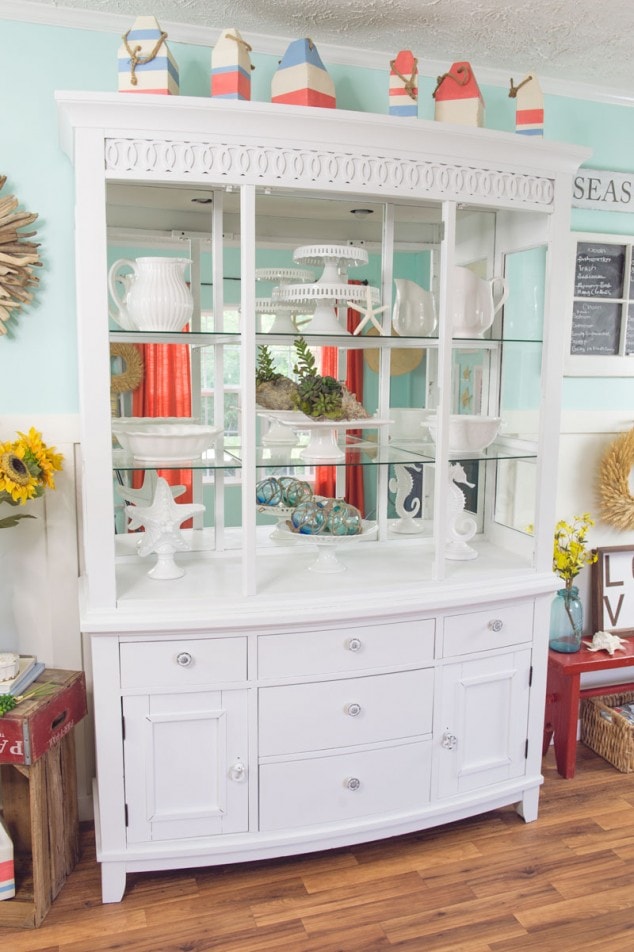
AFTER!!
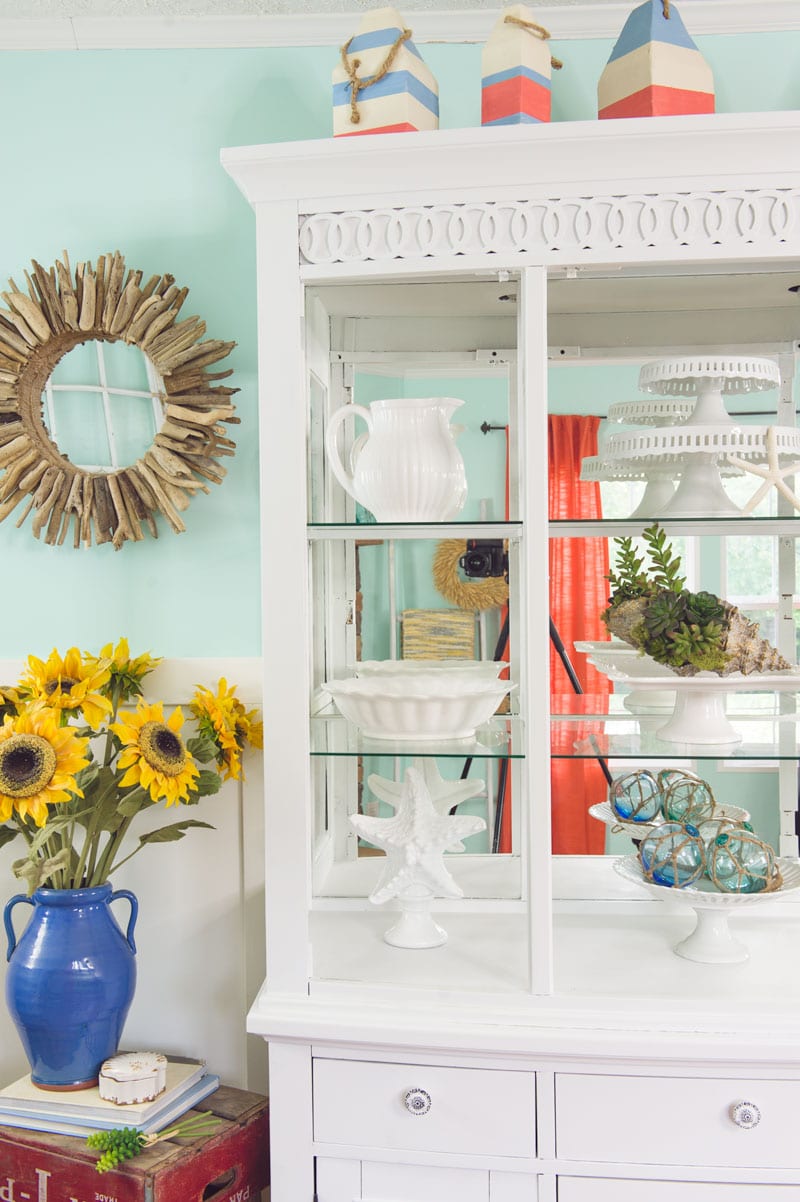
YAY I’m so happy with how the china cabinet turned out. As you can see I decided to leave the doors off. I think it gives it a more open feel, right?! I just put the doors in my shed, if I decide I want to add them back on later I can.
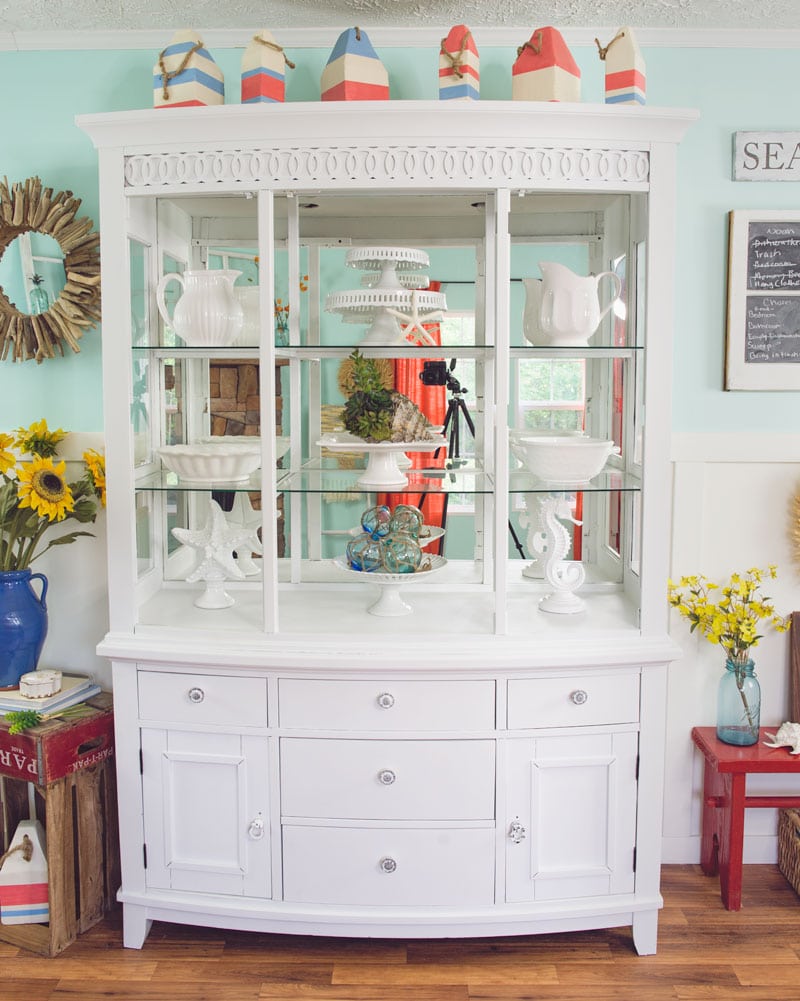
But since I didn’t paint the mirror you can see the camera in the picture. Unless I take a picture from a side angle.
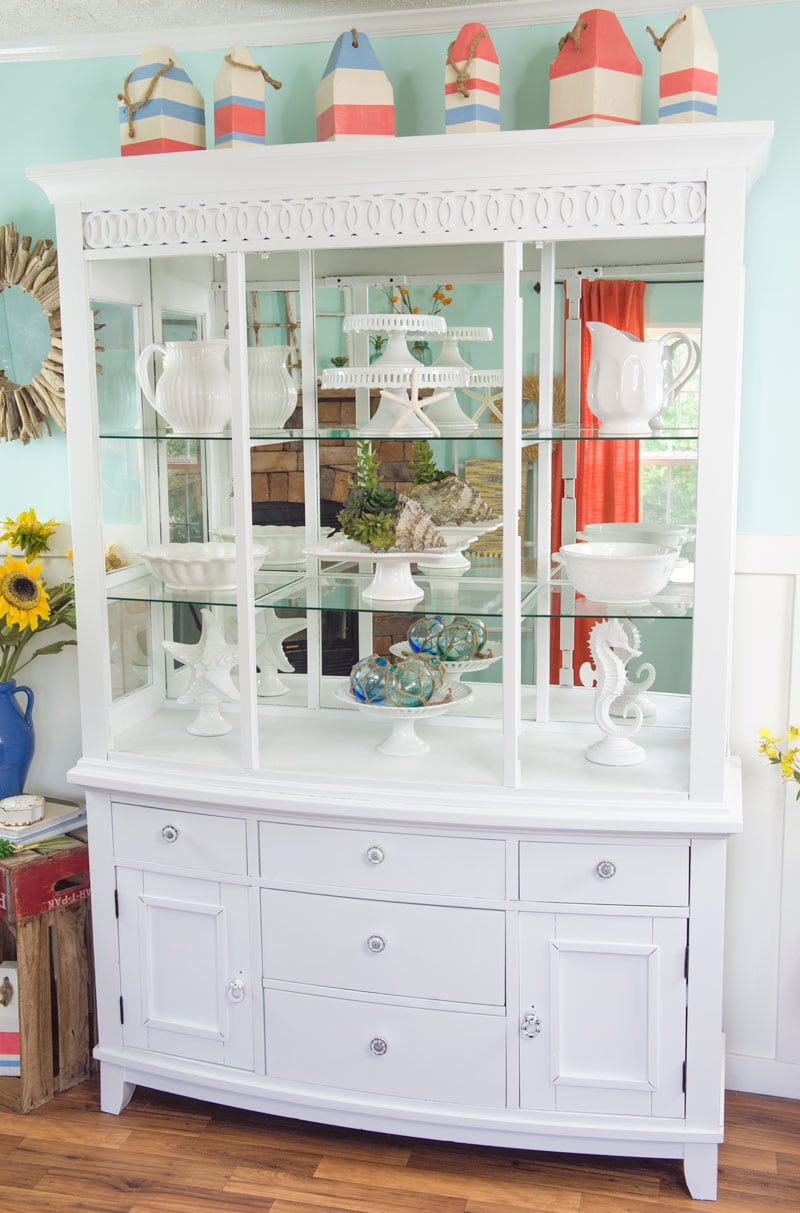
Since I painted the china cabinet it has really brightened up this whole room and made such a difference. Now I can start decorating it with a cool coastal feel to match all my coastal decor in the house.
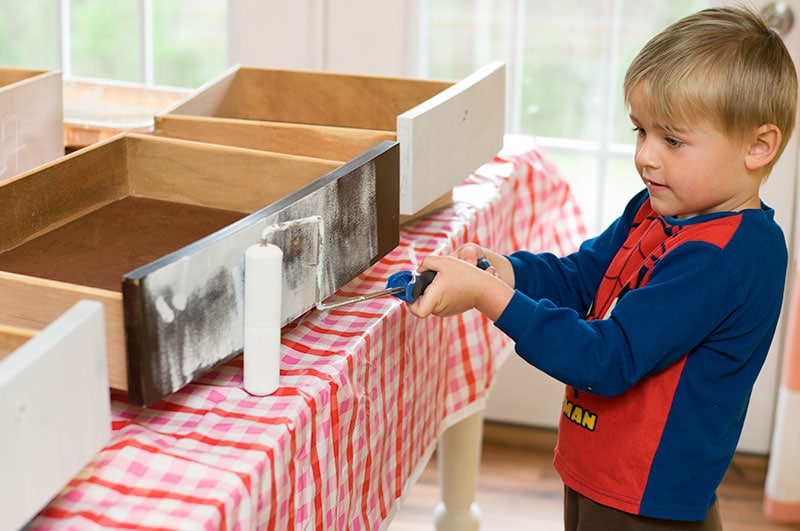
I spent about 2 days total of this makeover and look at the results. It’s really amazing what some time and paint can do. I was really glad I only needed two cans of paint. When I did my Entertainment Center Makeover a couple years I felt like that project took forever. This project was a lot faster but I did have a little helper. This guy loves helping his mommy with projects, he actually insists on it.
Thanks for stopping by, I really hope you enjoyed the China Cabinet makeover as much as I did! Next project on the to-do list is my kitchen table. I’ll keep you posted.
Love, Courtney