
I just can’t help myself… I love working on new Christmas projects for the house and with my kids.
So for my latest project I did for the Darice blog, I really wanted to get started on some Christmas crafts early. First up is this pallet DIY Christmas sign using my Silhouette Cameo.
I really enjoy making new signs for the house. They are pretty easy to make and an inexpensive way to make a statement in any area.
So let’s get started!
Christmas Sign Tutorial
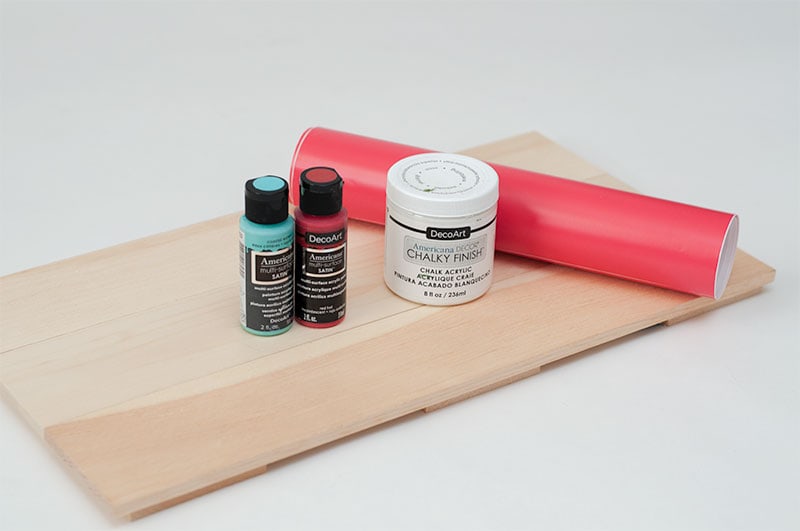
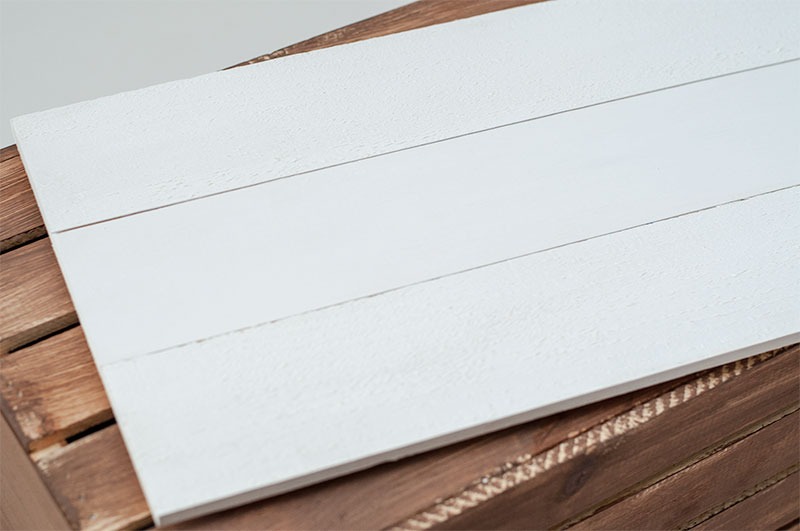
Step 1 – Paint Pallet
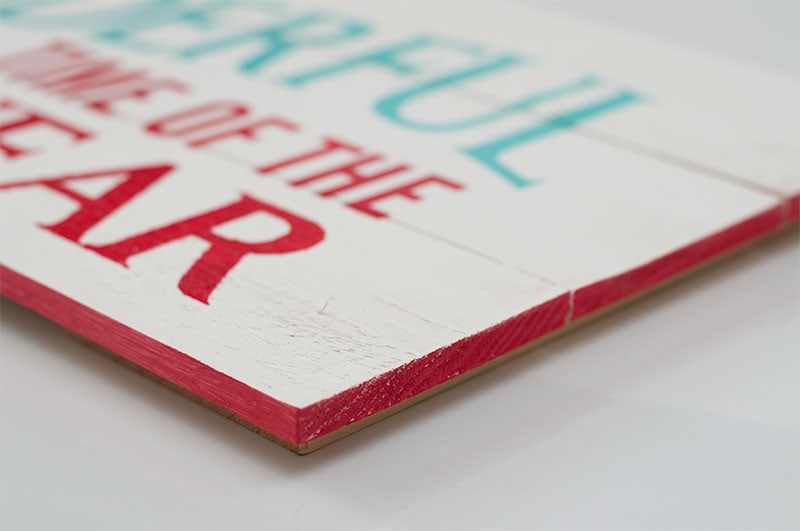
Let’s start off by painting the pallet sign white first. I used Americana Decor Chalky white paint for my background color. I did a total of two coats letting each coat dry 20 minutes.
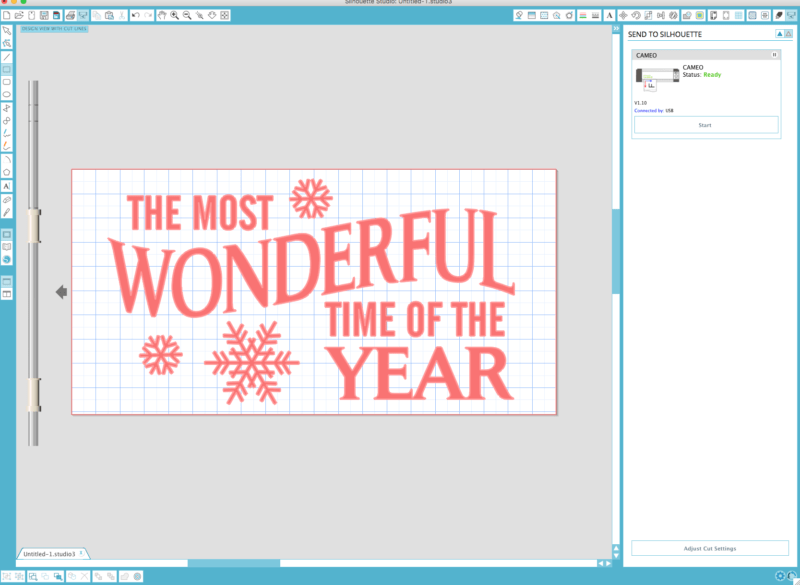
Step 2 – Cut Vinyl
It’s time to cut the stencil with my trusty Silhouette cutting machine! I found a great design in the Silhouette library for this project (Silhouette Design ID# 35456)! I made sure to add the correct measurements for the wood pallet so that it will cut perfectly to size!
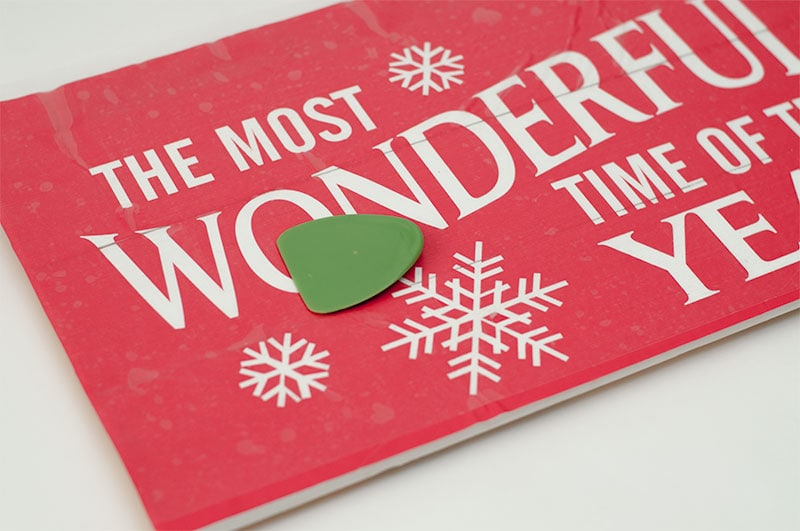
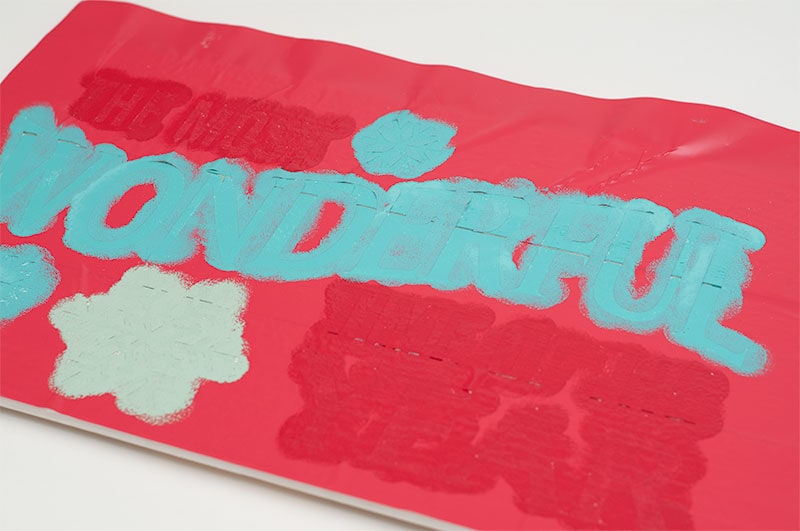
Once you have cut your design it’s time to weed it!! Woohoo!

Now that we’ve gotten it weeded let’s add it to our DIY Christmas sign! Using transfer tape, adhere the stencil to the board and smooth down. You want to make sure to get any air bubbles out!
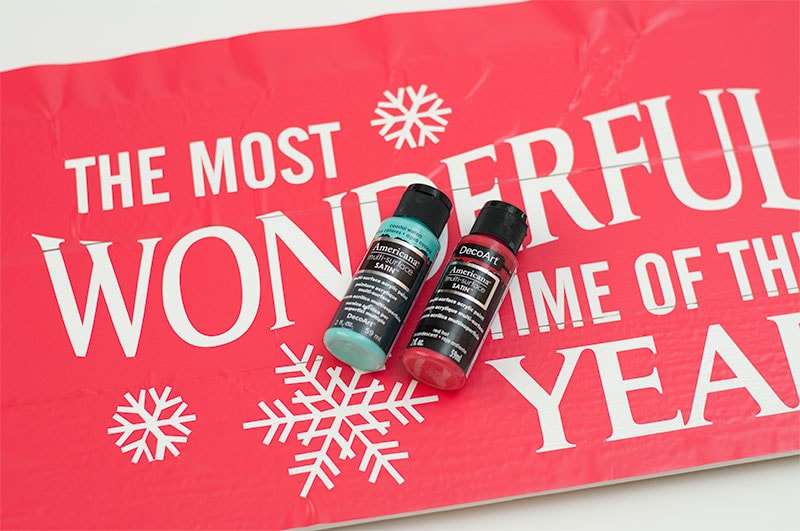
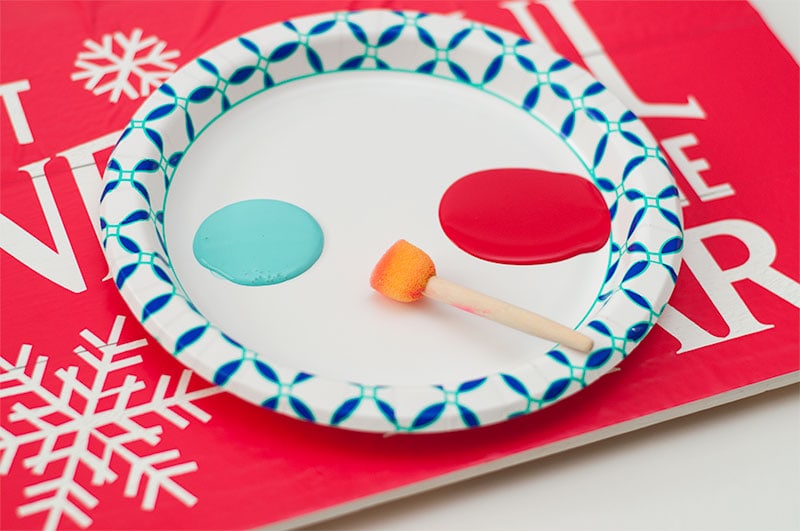
Step 3 – Time to Paint
I picked out some fun colors that match my Christmas decor. Use a sponge brush and lightly go over your stencil. I only needed to add one coat for this step.
Once your paint is dry it’s time to pull up the vinyl to reveal your cool pallet DIY Christmas sign!
Step 4 – Extra Touch
I wanted to give my DIY Christmas sign a little something extra so I went over the edge with some red paint. I thought is would be a nice surprise!
Wow once I picked out my wording I had this sign made in a little over an hour. Since I already had the wood pallet sign on hand it made this project so much easier!

Wouldn’t this DIY Christmas sign look great hanging up or sitting on a mantel?

Didn’t it turn out so pretty and festive?
Any fun holiday projects you’ve been working on? I would love to hear about them!
More Christmas Crafts
- DIY Christmas Pillow
- Mini Coastal Christmas Trees
- Peppermint Holiday Wreath
- Rustic Felt Trees
- Burlap Christmas Wreath
- Noel Christmas Sign
- DIY Advent Calendar
Love, Courtney