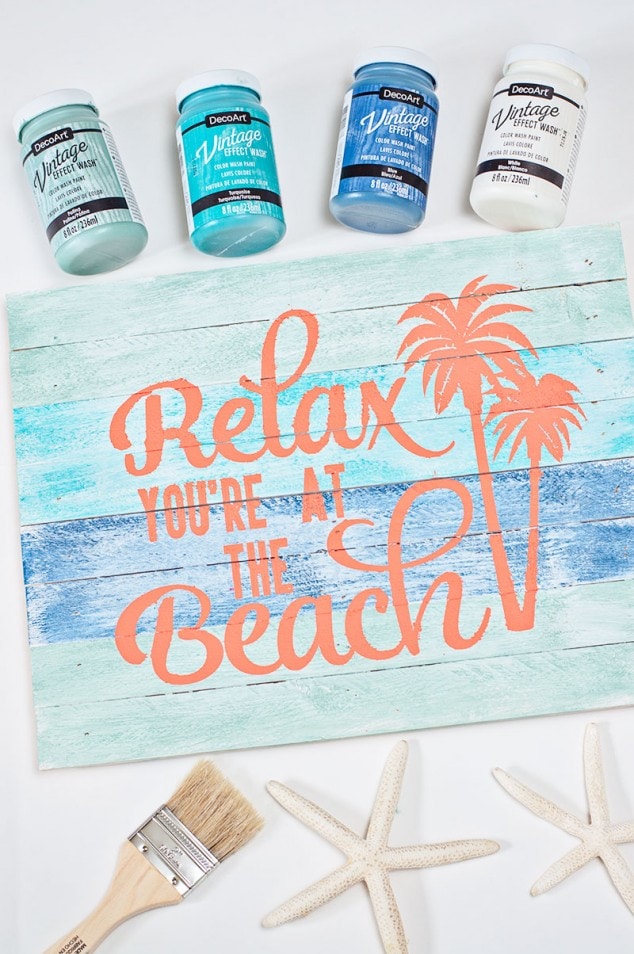
I’m back today sharing a new DIY Beach Sign I made for the house. I LOVE working on new sign projects, they are always so much fun and look great when you’re done. I want to show you a super easy way to create the whitewashed look for these coastal signs using Vintage Effects Wash.
Disclosure: I am a member of the core blogger program with DecoArt. I received compensation and product for this post. All ideas and opinions are 100% my own.
When the opportunity came up to use these new paints, I knew right away what I wanted to make. I have pinned several similar ideas over the years to my Pinterest account for great inspiration. So Let’s get started!!
DIY BEACH SIGN
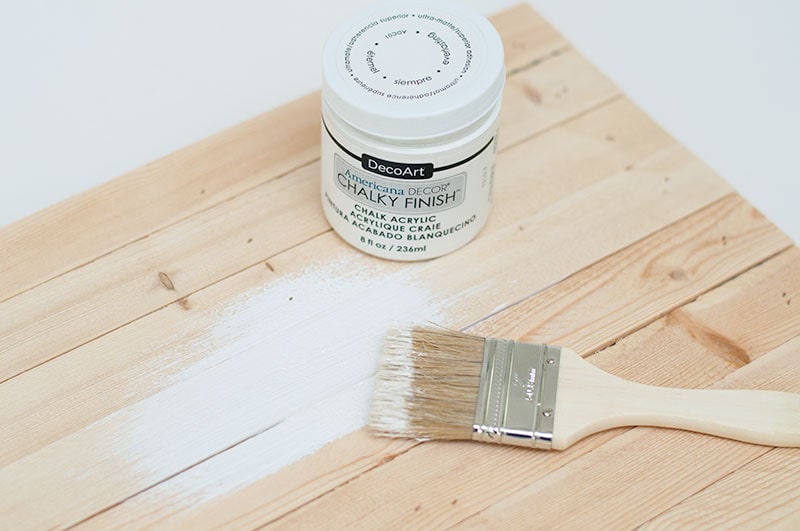
Step 1 – Paint First Coat
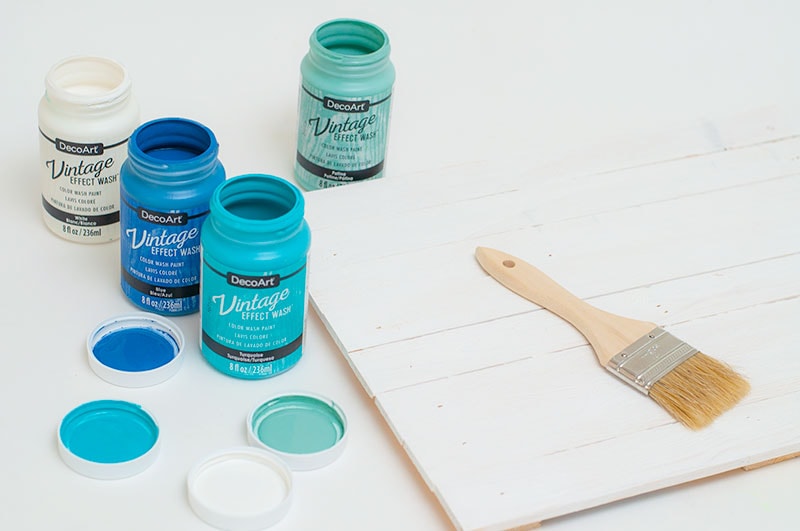
I found this great mini pallet at Joann Fabrics. I knew it would be perfect for a beachy sign I wanted to make. Paint on one coat of the Americana Decor Chalky Finish Everlasting. I only needed to add one coat of this paint. Let dry 10 minutes.
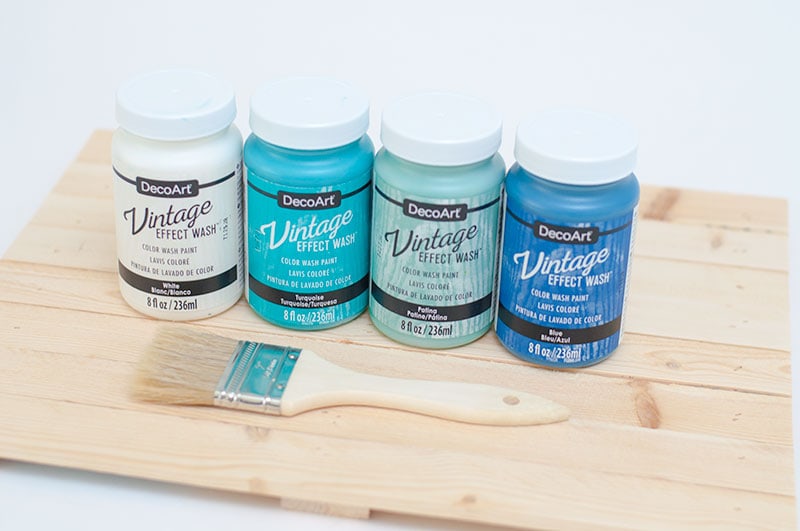
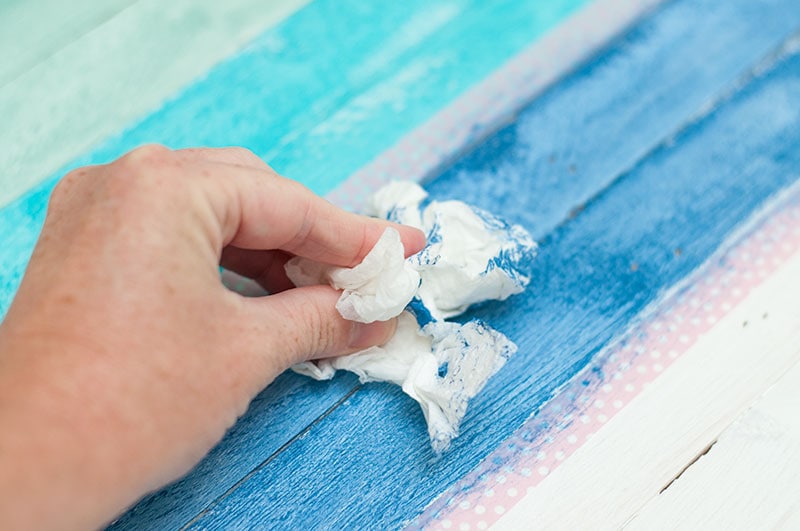
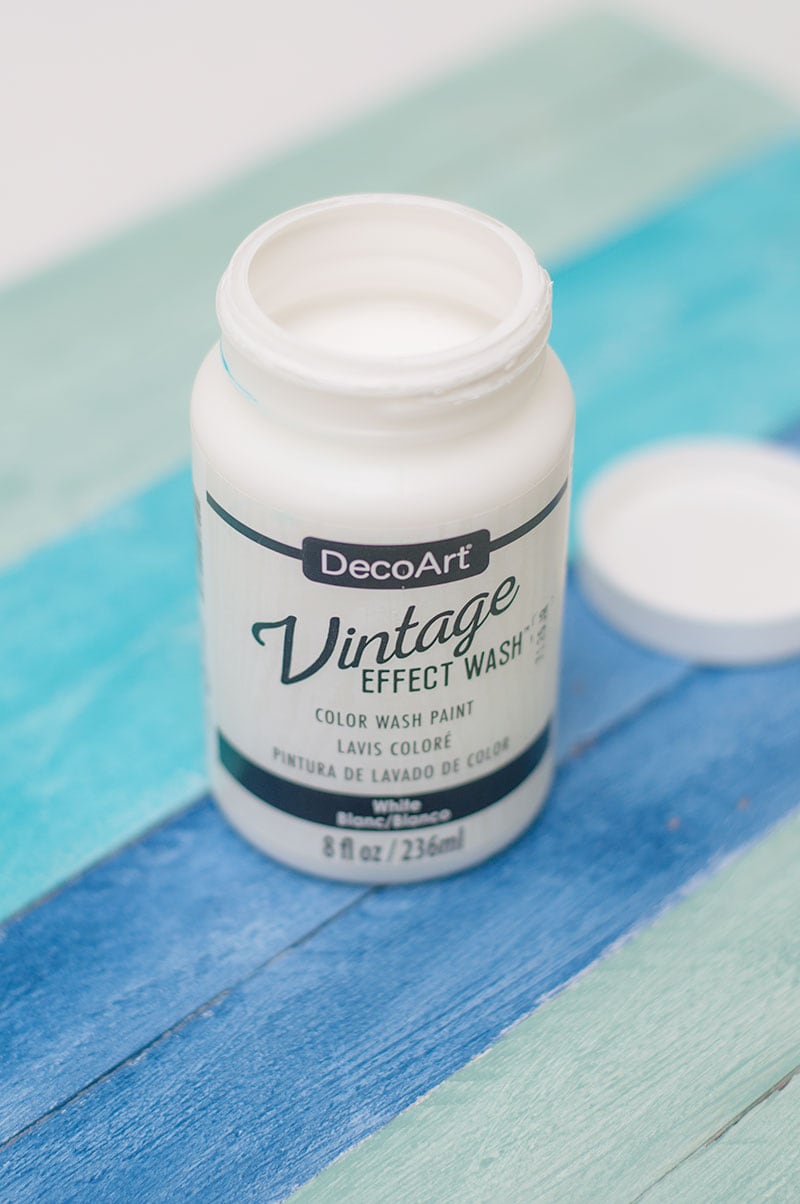
Step 2 – Paint on Vintage Effects Wash
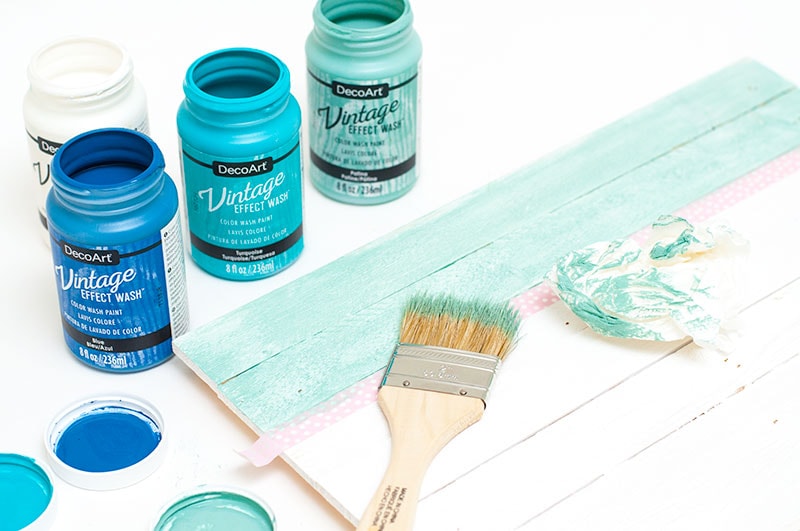
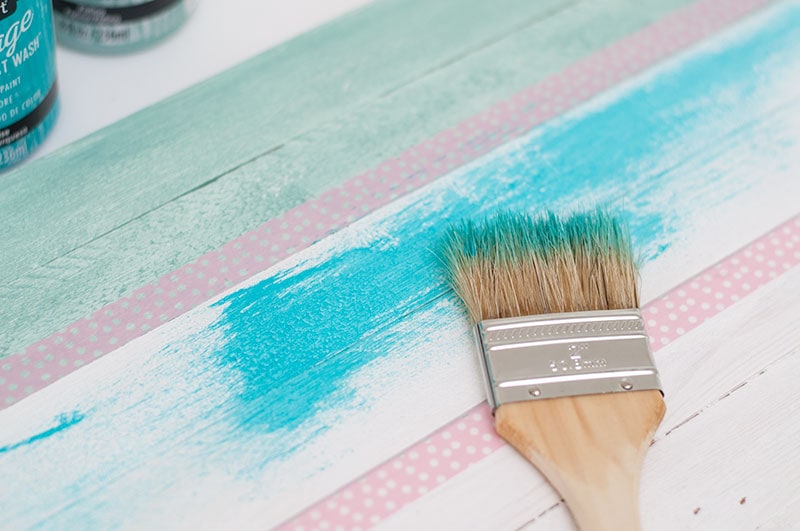
Now it’s time to add the Vintage Effect Wash!! I found three great colors for the background of my sign. I just fell in LOVE with these colors for this project.
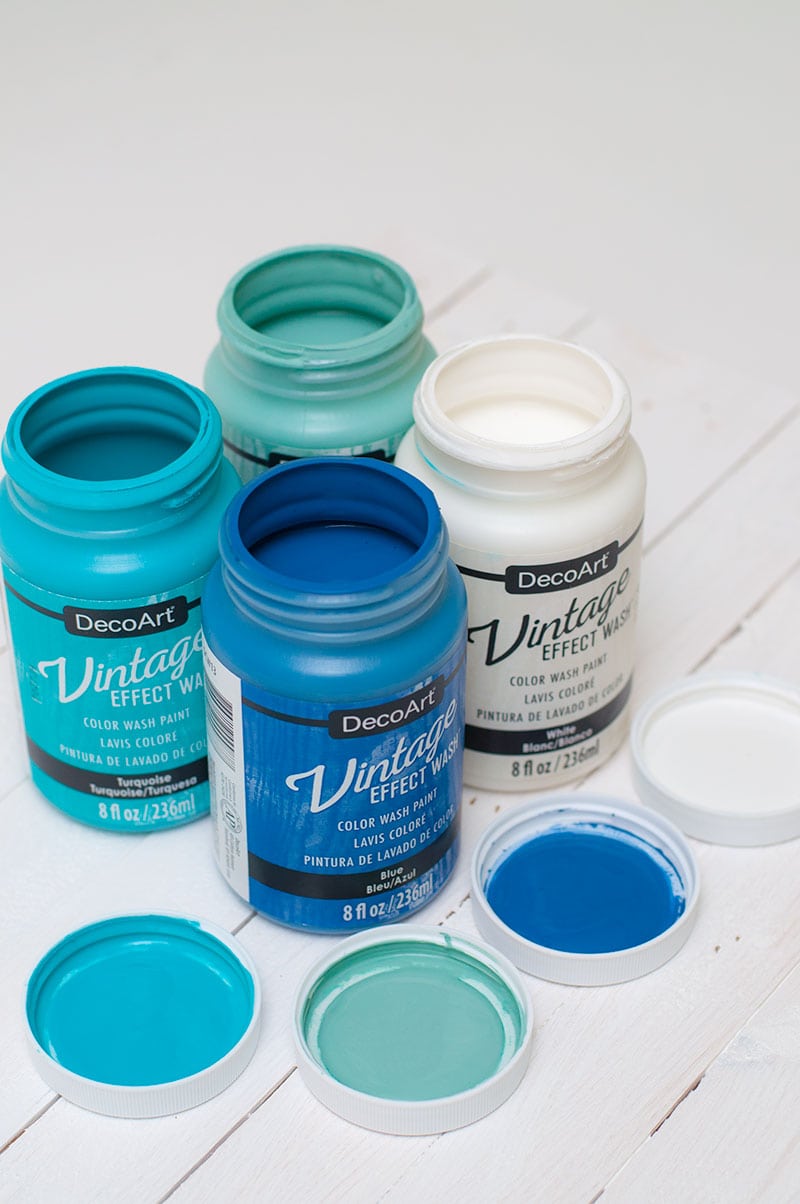
This paint goes on pretty thin so all I needed to do was add one coat and wipe down with a paper towel. It totally gave it a weathered whitewash feel.
I honestly don’t know which color is my favorite!
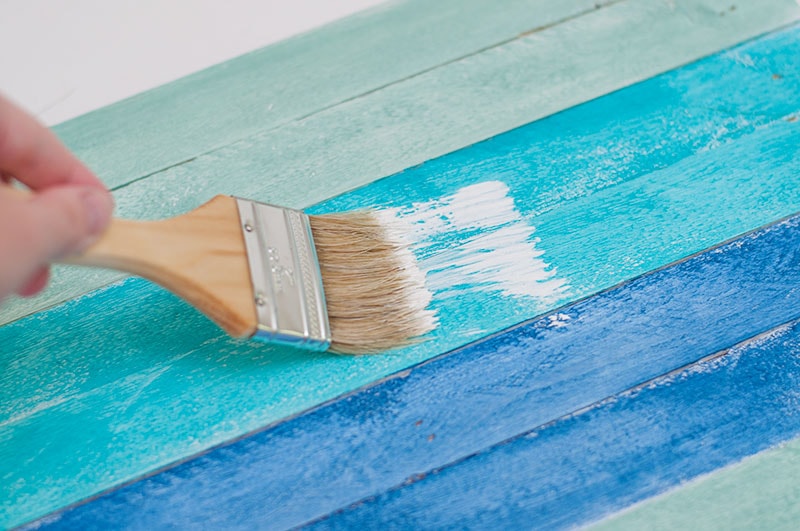
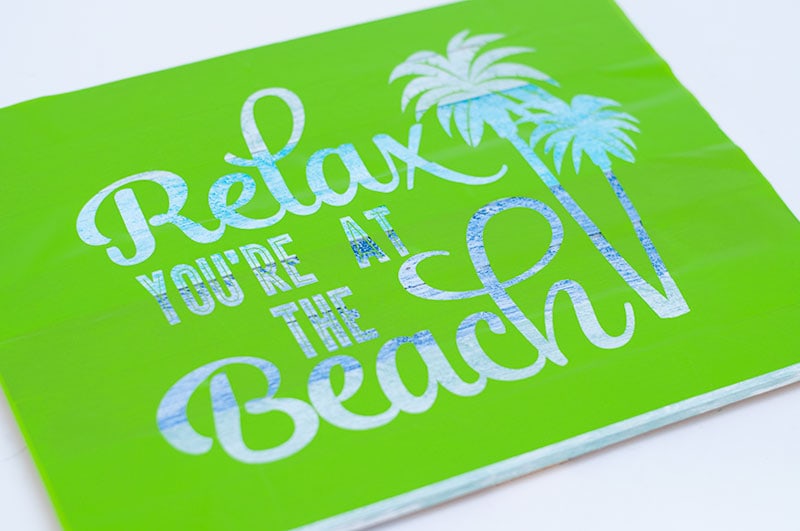
Step 3 – Add White Vintage Effect Wash
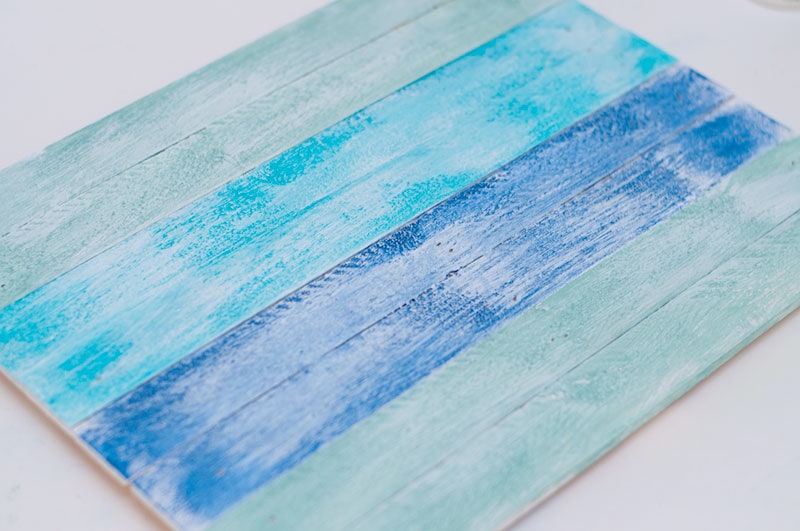
Finally I decided I wanted to add the White Vintage Effect Wash on top of the whole sign. The results were exactly what I was hoping for.
Just make sure you add just a SMALL amount of paint to your paint brush. You really don’t need much. For this step I didn’t go over with a paper towel. I really wanted the strokes from the paintbrush to show up.
Does this not look AWESOME??!!
Step 4 – Stencil Time!
Now it’s time to add our stencil. I used Design ID #139169 for this Beach Sign in the Silhouette Library.
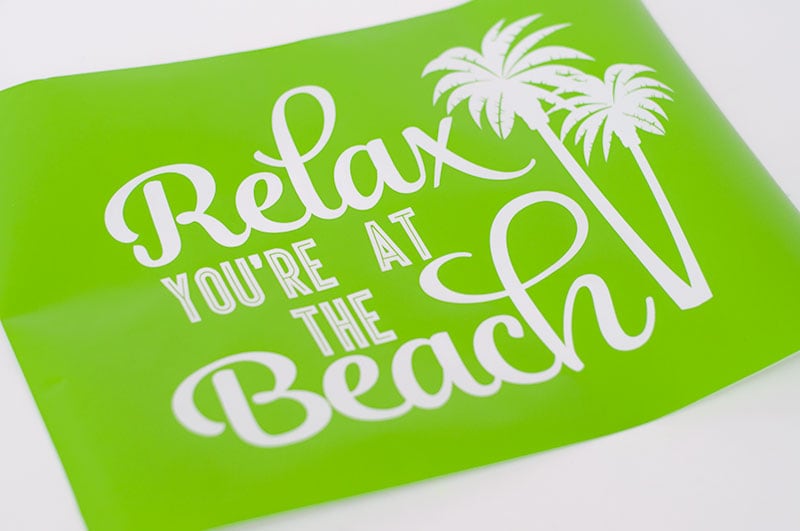
I added my stencil to my board. For a more detailed description on how I made and added my vinyl stencil check out this post – DIY Wood Sign.
Step 5 – Fill in Stencil
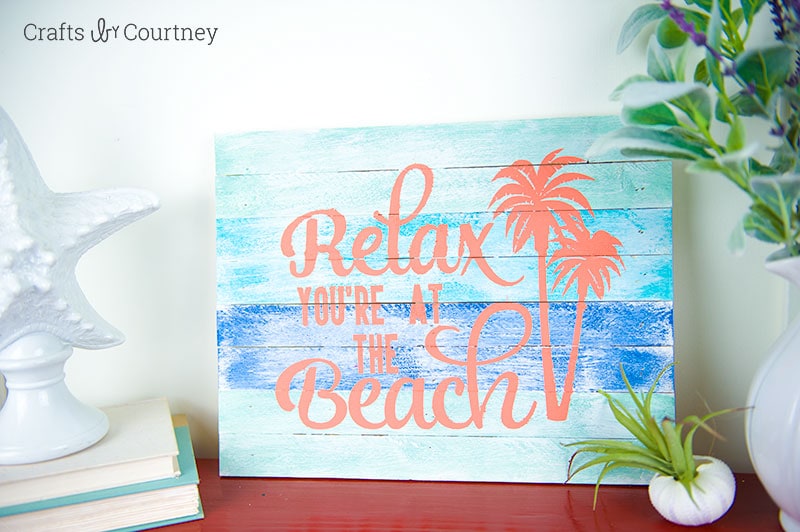
Now let’s finish this sign! I really wanted a POP of color with my wording. I was planning on using the Everlasting Chalky Finish, but at the last minute I changed my mind and used the Americana Coral. It totally gave it the POP of color I wanted.
For this step I did need to add two coats of paint.

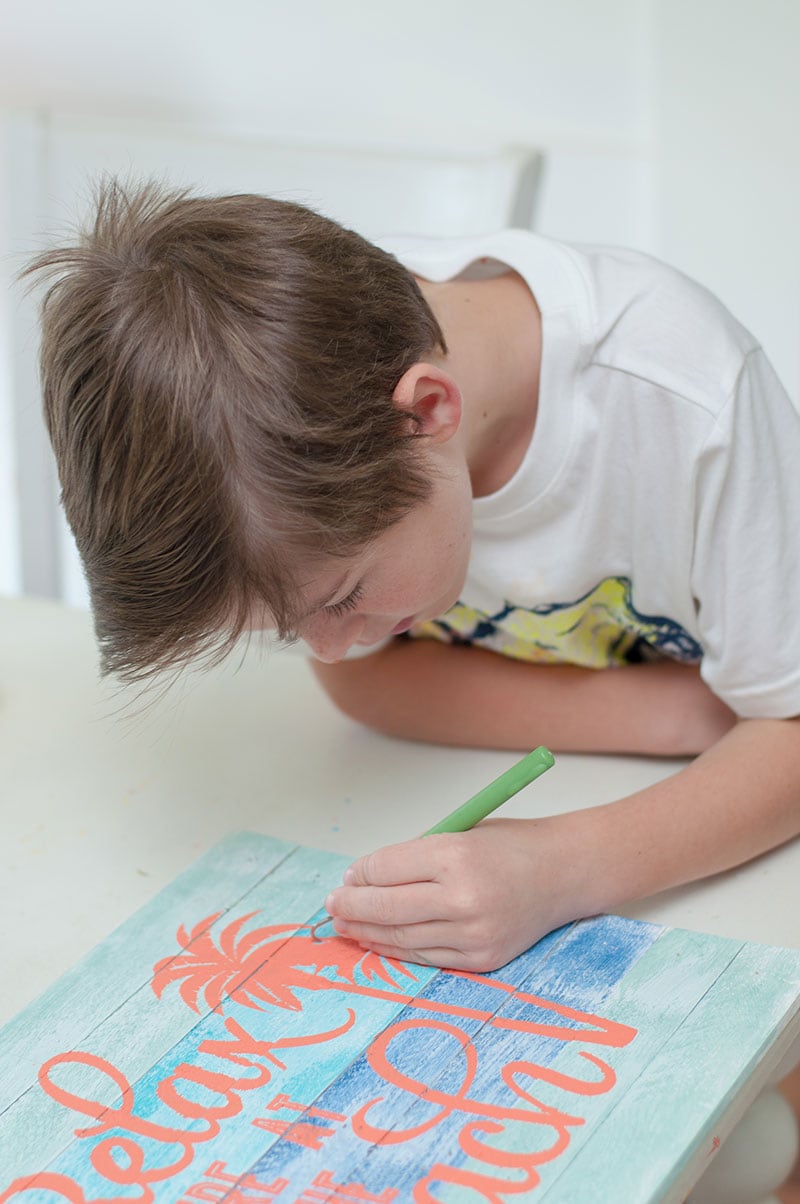
Step 6 – Remove Stencil
Now let’s remove that stencil!! I enlisted my son to help with this step.
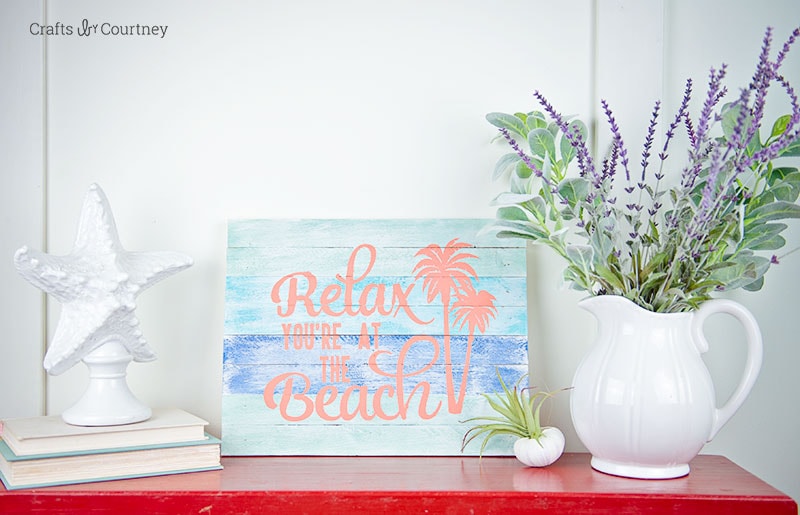
Finishing Touches
Now this DIY Beach Sign is a PERFECT addition to my home. I of course live out in the country, but I love the feel of coastal decor in my home! A girl can dream right, one day (maybe) I could get a house on the beach.
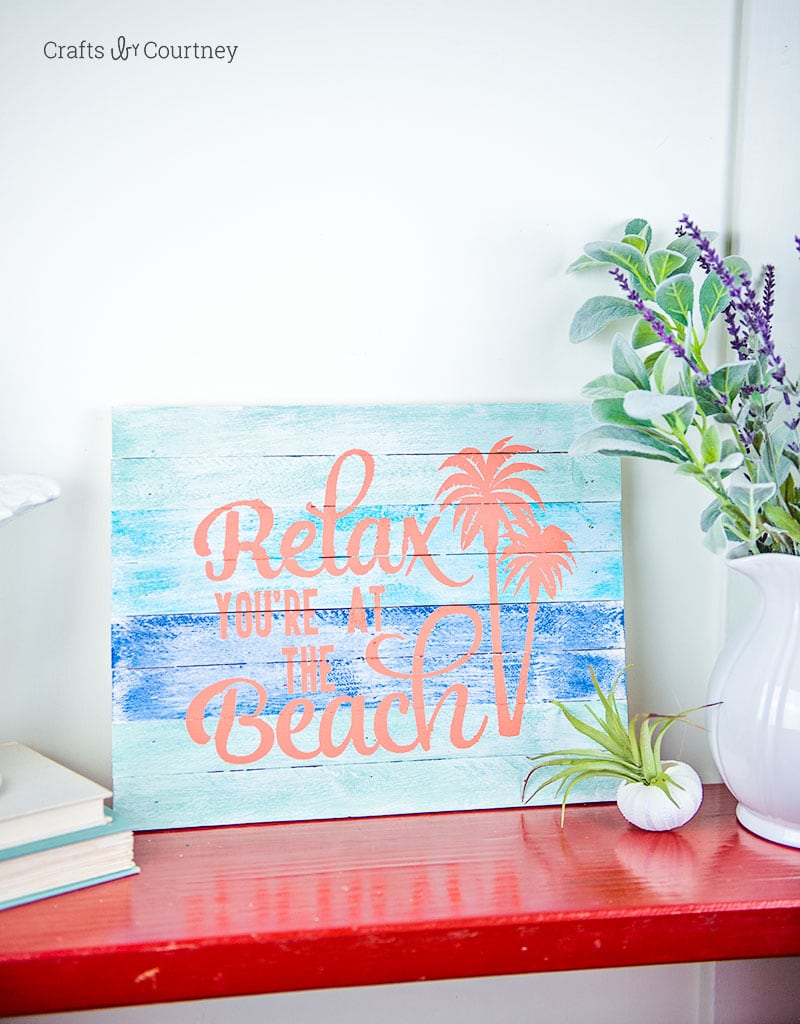
I hope you enjoyed this simple DIY Beach Sign I made. Honestly I had the whole project done in a little over an hour. These paints gave this sign the exact effect I wanted and I can’t wait to do more projects with it.
My next project is a dresser makeover for my sons dinosaur themed room, that post will go live in August so stay tuned!
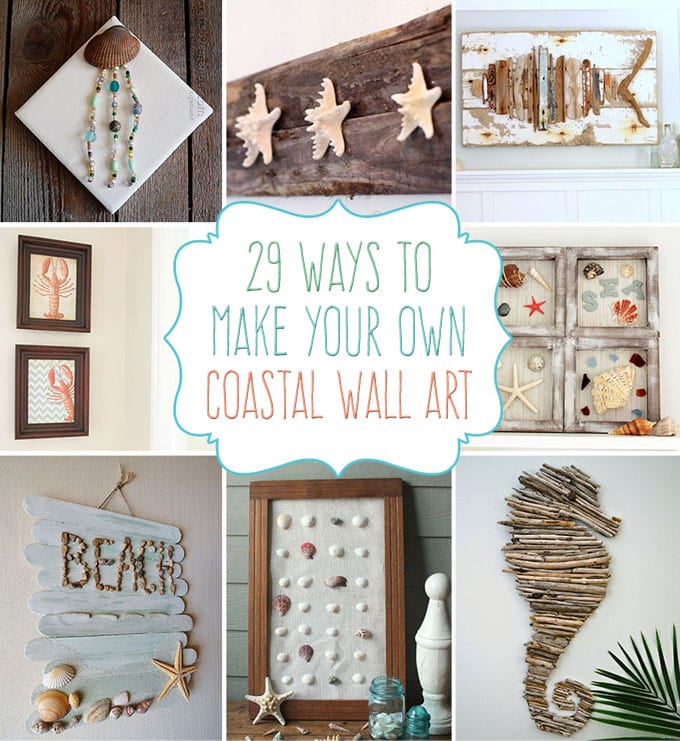
Looking for more DIY Coastal Wall Art, then check out this roundup I did for Crafts by Amanda!
Love, Courtney