Crafts by Courtney

How-to Crafts and DIY Parties

  • Home
  • How-to Crafts
    • Home Crafts
      • Holiday
      • Seasonal
      • DIY Decor
    • Kids Crafts
      • Holiday
      • Seasonal
      • Educational
      • Clean
      • Messy
  • DIY Parties
    • Birthdays
    • Just for Fun
    • Holidays
  • Blog
    • My Thoughts
    • Hubby’s Corner
  • About
  • Contact

DIY Sofa Table Makeover: Chalk Paint to the Rescue!

So excited to be back after a LONG hiatus from my craft posts.

If you haven’t already heard, I became a contributor for Kix Cereal writing craft party posts!! Yay!! It has been a great experience and I’m loving every minute of it!

…I became a contributor for Kix Cereal…Yay!!

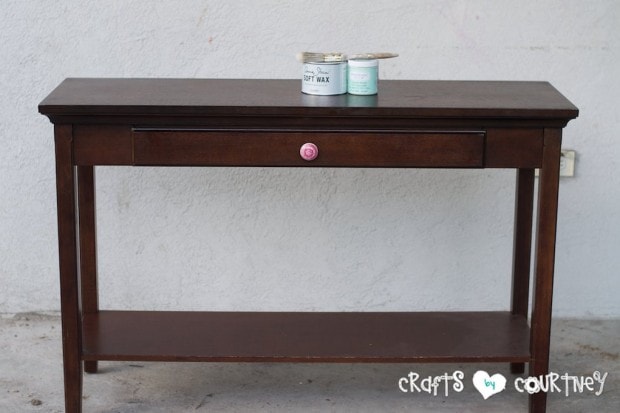
OK, now on to the project. I’ve had this sofa table in my front living room for almost 10 years now and I’ve just gotten so tired of the dark cherry wood. At one time I was OBSESSED with it…

I got every piece of furniture in cherry wood. Now 10 years later, I want to paint everything in the house a light shade.

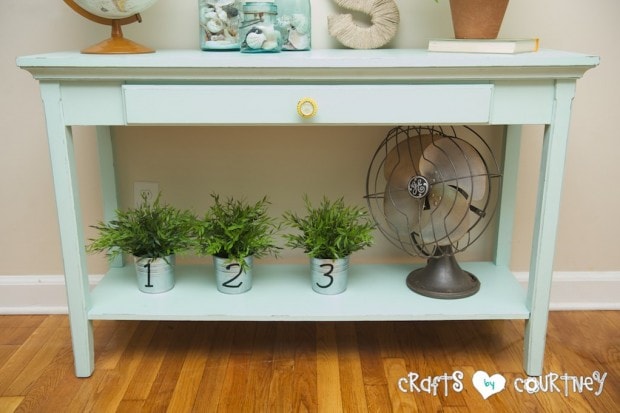
My first major piece was this ‘Pesky’ sofa table and I LOVE how it turned out!!

Getting Started

I’m been making my own chalk paint for a few crafts I’ve already posted…

I just didn’t want to spend the EXTRA money, so I made my own. On a trip to Michaels, I noticed they started selling the Americana Decor chalk paint. I was so excited that I grabbed a few colors.


Side Note: Love a good makeover? You’ll love how I made-over these Dollar Tree clipboards!

Step 1 – Prep Your Piece

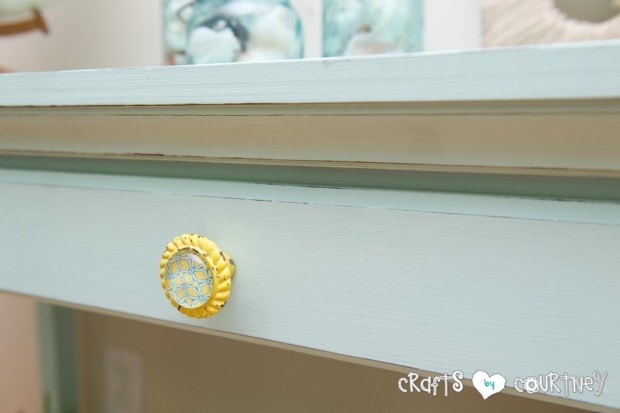
Since using chalk paint, you really don’t have to prep your piece too much. I just made sure to CLEAN IT GOOD and take the knob off.

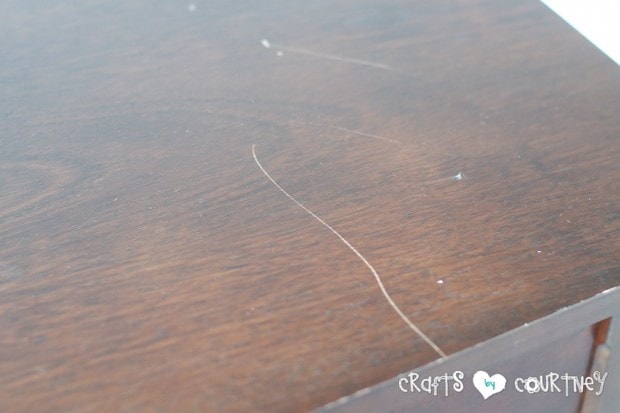
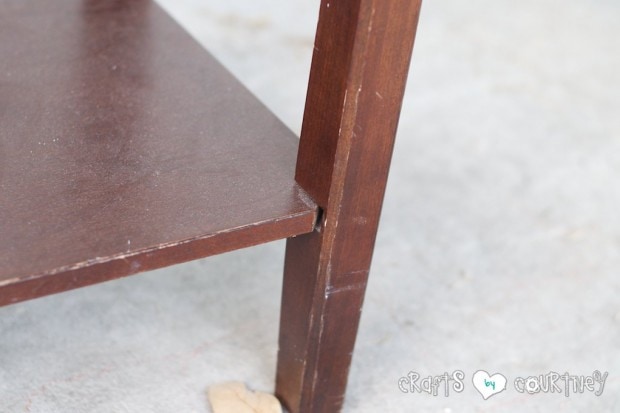
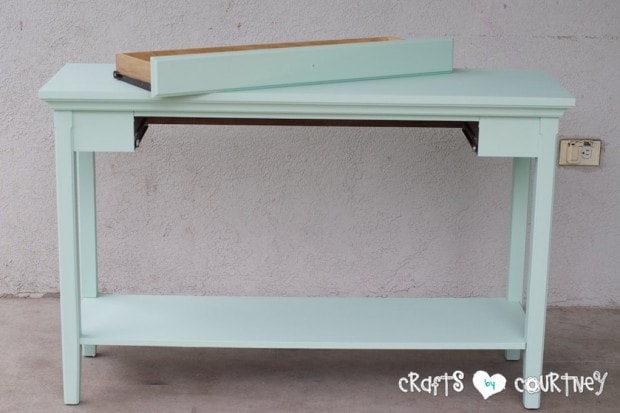
As you can tell, the piece was pretty banged up. My three boys did a number on it. So it needed a makeover…BAD!

DIY Sofa Table Makeover: Chalk Paint to the Rescue!
Here's how the table was decorated last year for Fall.
DIY Sofa Table Makeover: Chalk Paint to the Rescue!
And here's how it was decorated for Halloween last year.

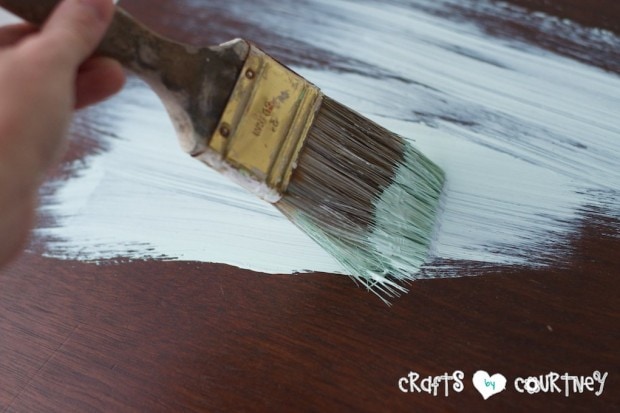
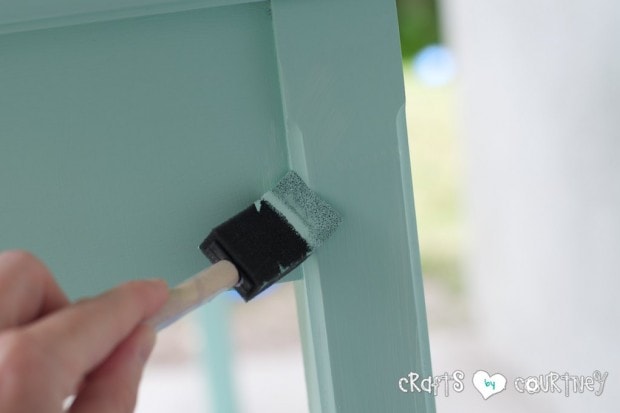
Step 2 – Add Your Paint

I painted a total of 3 coats on this piece. After each coat, I let the paint dry for an hour.

DIY Sofa Table Makeover: Chalk Paint to the Rescue!

Step 3 – Add Your Wax

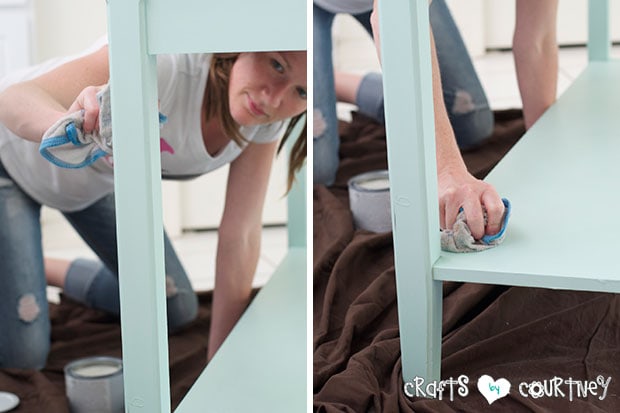
When waxing, you’re actually going to wax the piece TWICE. The first waxing is right after you paint and the second is after you sand.

DIY Sofa Table Makeover: Chalk Paint to the Rescue!

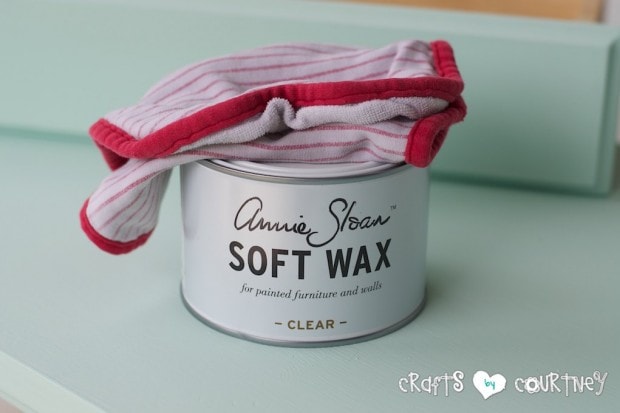
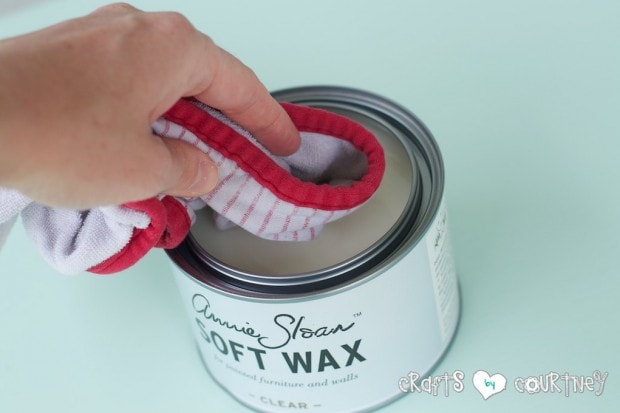
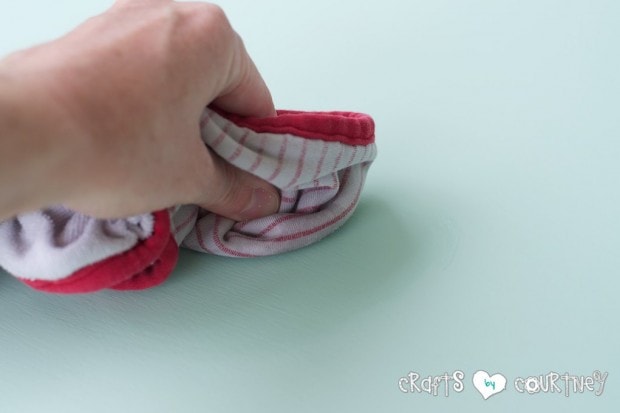
Quick Tip: When waxing, all you have to do it rub it in ALL OVER the piece you painted.

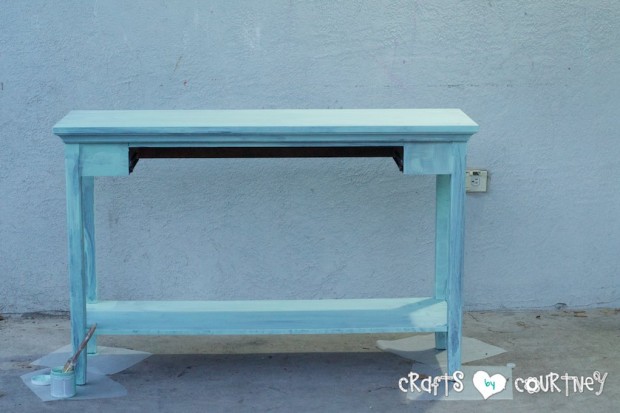
Step 4 – Distress Your Table

I decided I wanted a lighter “aged” look to the piece, so I just sanded around the EDGES with a 200 grade sandpaper. Super simple (probably the easiest part of this project).

DIY Sofa Table Makeover: Chalk Paint to the Rescue!

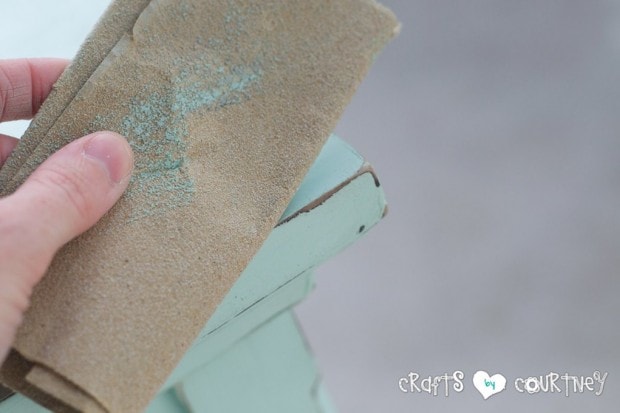
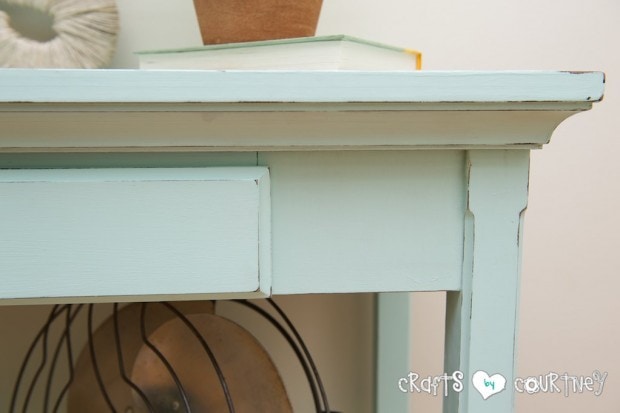
Quick Tip: When distressing, it’s really up to you how MUCH or little you want to distress it.

Step 5 – Finishing Touches

DON’T FORGET! Once you’re done sanding, go over the piece one more time with your wax. Once your done adding the wax, WAIT AN HOUR and buff off any excess wax on your piece.

DIY Sofa Table Makeover: Chalk Paint to the Rescue!
I found this cute new knob at Hobby Lobby for 50% off. I paid $2.50, total score!

This was my first furniture makeover and you know what? It was very rewarding!

DIY Sofa Table Makeover: Chalk Paint to the Rescue!

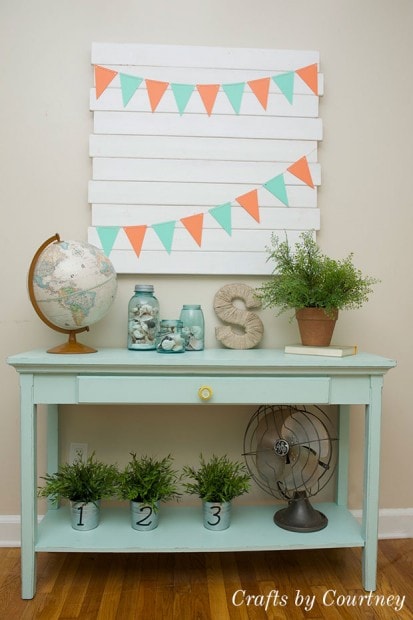
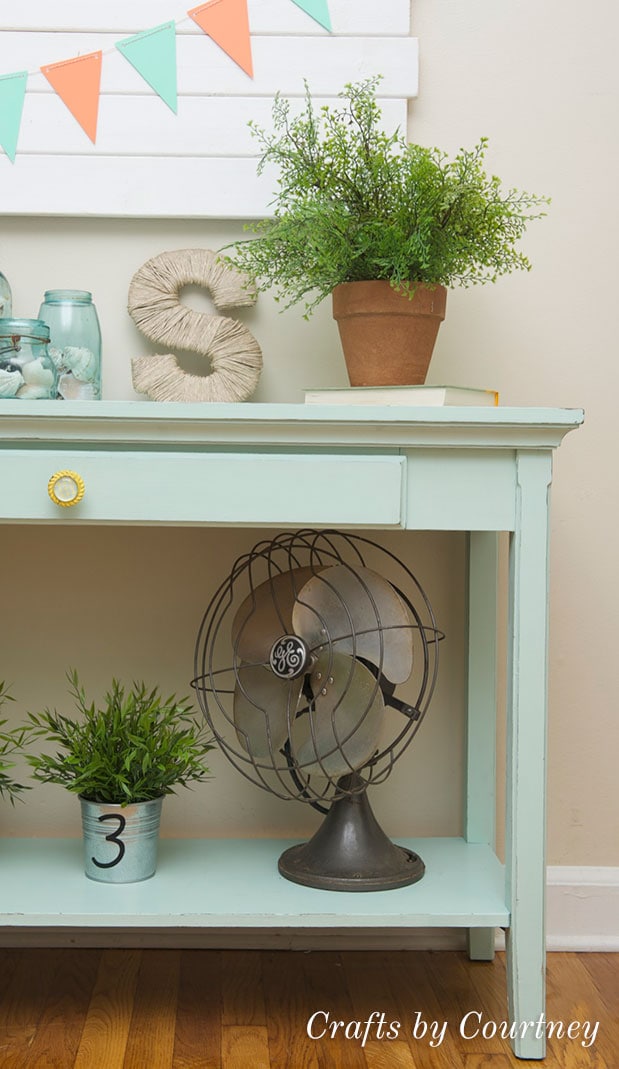
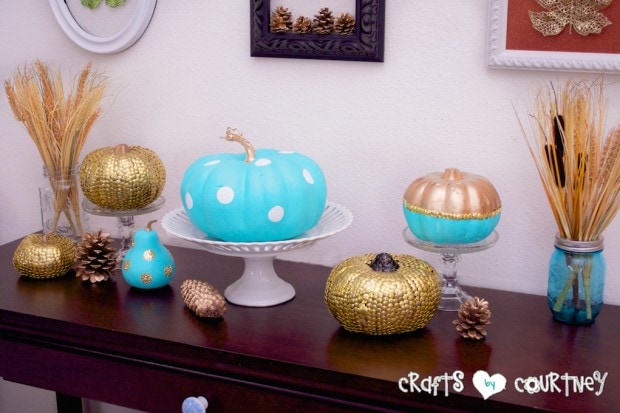
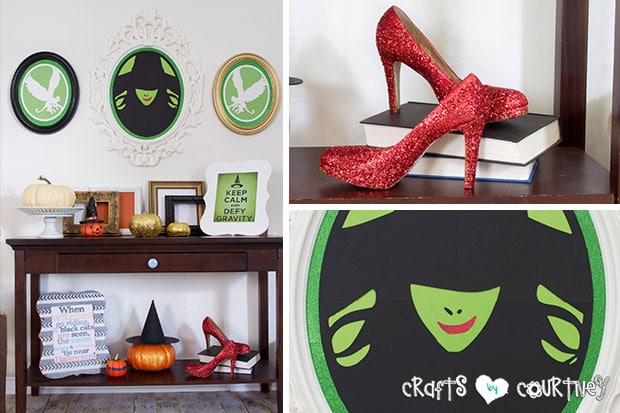
I have the sofa table setup in my front livingroom. I love how my DIY pallet looks behind it. So perfect!

I’m SO excited to start working on some other pieces of furniture in my house, like this easy side table makeover. Time to get rid of all that DARK CHERRY WOOD and brighten up the place!

I’m very happy with the result and can’t wait to decorate it for all the holidays.

Love, Courtney

About Courtney Sanchez

Hi, I'm Courtney and I LOVE crafting! I am a mommy to 3 awesome boys (who keep me very busy) and wife to a loving husband. Crafts by Courtney is where I like to hang out ;)

Leave a Reply

Courtney Sanchez

Hi, I'm Courtney!

Welcome. Here is where I share the fun how-to crafts I've done with my kids and for my home. I also really love DIY parties too! Read More…

My Socials

  • Facebook
  • Instagram
  • Pinterest

Newsletter

Subscribe to my email newsletter for more craft ideas, tips and valuable resources.

The TOP 4

  • 33 Awesome Birthday Party Ideas for Boys33 Awesome Birthday Party Ideas for Boys
  • Cardboard Box Craft - DIY DollhouseCardboard Box Craft – DIY Dollhouse
  • Terra Cotta Pot DIY Lighthouse Garden ProjectTerra Cotta Pot DIY Lighthouse Garden Project
  • STEM Project Idea: How to Make a DIY Popsicle Stick CatapultSTEM Project Idea: How to Make a DIY Popsicle Stick Catapult

Looking for more?

Over on Instagram

craftsbycourt

In honor of #NationalGoldenRetrieverDay, here some In honor of #NationalGoldenRetrieverDay, here some of my favorite pictures of my sweet goldens! These pups bring so much joy to our family.
.
.
.
.
#goldenretriever #goldensofig #dogsofig #goldensofinstagram #dogsofinstagram #dogsofinsta #dogsofinstaworld #dogsoftoronto #dogoftheday #dogsofontario #dogsofcanada #canadiandogs #torontolife #toronto #goodboy #goodboyclub #dogoftheday #torontodogs #nationalgoldenretrieverday #petphotography #petportrait #studiophotography #photography #animalphotography #goldenretrievertoday #weratedogs #goldenretrieversofinstagram #goldenboy
Sharing how to make this simple DIY Succulent Wrea Sharing how to make this simple DIY Succulent Wreath for Valentines using all @dollartree supplies!! 💗💗 Head over to the blog for full tutorial and more details and tips!Link below 👇👇
.
.
.
#valentines #valentinesday #valentinesdaycraft #valentinesdaycrafts #crafts #diy #valentinesdecor #valentinesdecorations #succulents #succulentcrafts #succulentlove #heart #wreath #wreathcraft #homedecor #countryliving #farmhousedecor #farmhousedecorating
After 24 years, I’m still chasing him! 💗💗 After 24 years, I’m still chasing him! 💗💗
It’s was an amazing year! It’s was an amazing year!
One thing all my boys started this year was skateb One thing all my boys started this year was skateboarding.  It’s amazing to see how confident they have become on the board and how much growth they’ve made since spring.
What a fun and memorable year we had! Looking for What a fun and memorable year we had!  Looking forward to the many memories made in 2023.
Follow on Instagram

Who I Work With

Crafts by Courtney   ·   Copyright © 2013 - 2023