Hi everyone, it has been a whirlwind of a week here in the Sanchez house and it’s only Wednesday. With all the prepping for holidays projects, kids football games, and school events. It’s non stop. But I LOVE it!
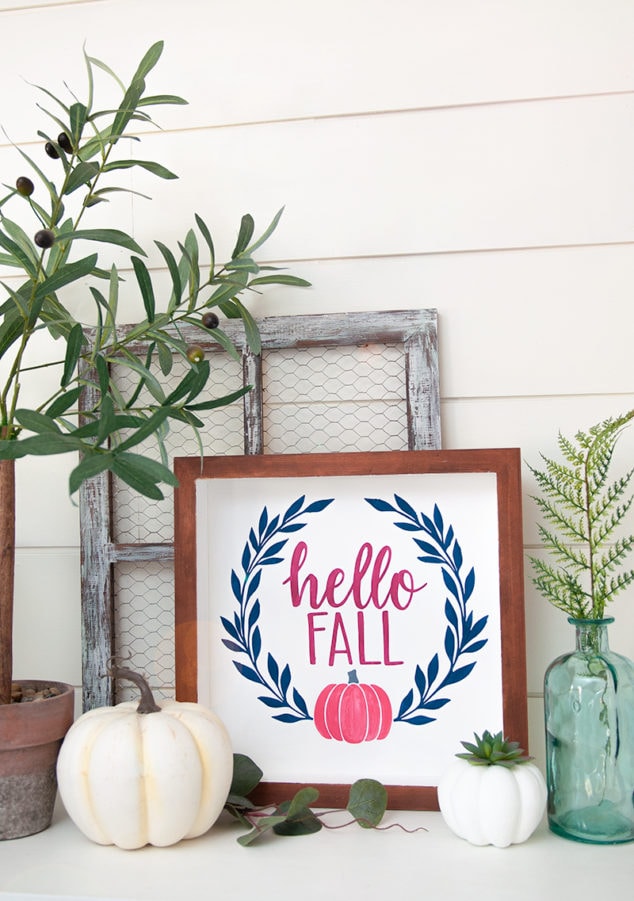
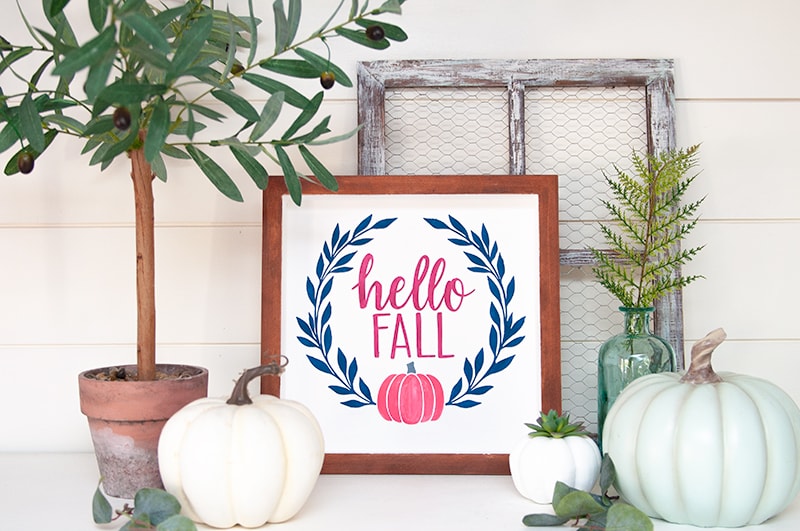
Of course I’ve been getting the house ready for Thanksgiving. It has to look perfect. So one of my last Fall home projects is this DIY Fall Welcoming Sign for your front entry way. It’s a nice welcoming sign for my friends and family to see when they walk in the door and enter my front living room.
If you follow my blog then you know I’m all about a DIY Sign project for the house. I went and counted and I’ve done 19 sign projects on my blog. I really think I should make a quick round up post for everyone. I’ll add that to my to-do list for sure!
So onto the project!
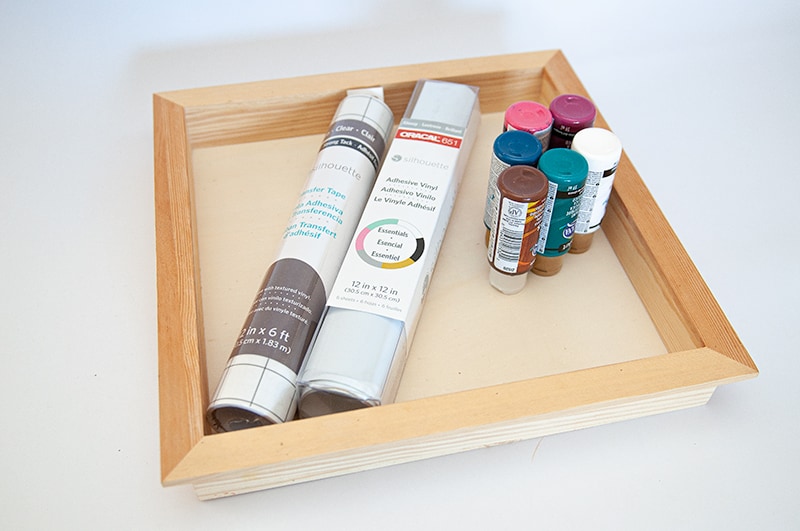
DIY Hello Fall Sign Supplies:
- Cameo 3
- Vinyl
- Transfer Tape
- Paint
- Wood Shadow Box
Step 1 – Paint Shadow Box
I went through my wood supply stash and found this shadow box that has been sitting for awhile now. I really needed to finally use it. I grabbed some white acrylic paint and paint gel stain. I painted the edges first with the stain, then went around the rest with the white acrylic paint.

Step 2 – Find Stencil
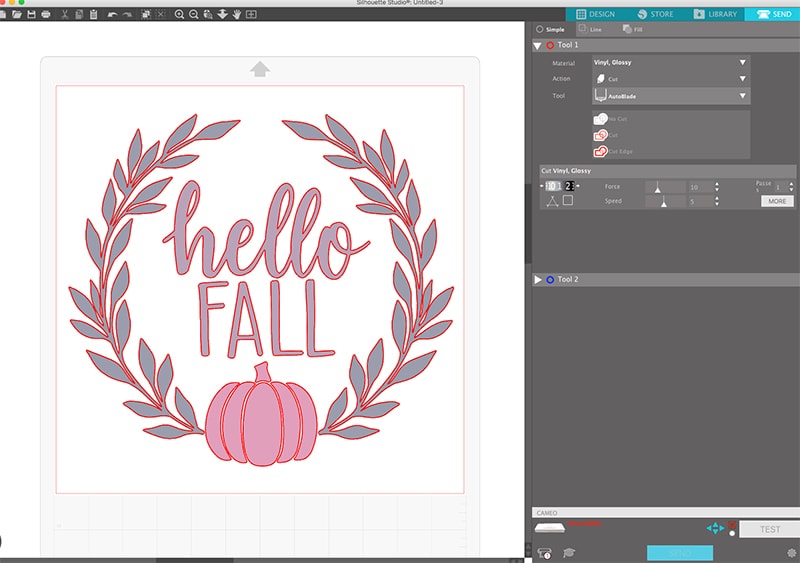
After searching the Silhouette library I found the perfect design for my Fall sign. That was probably the hardest part! I was able to go in a mess the the color theme that I wanted to use.
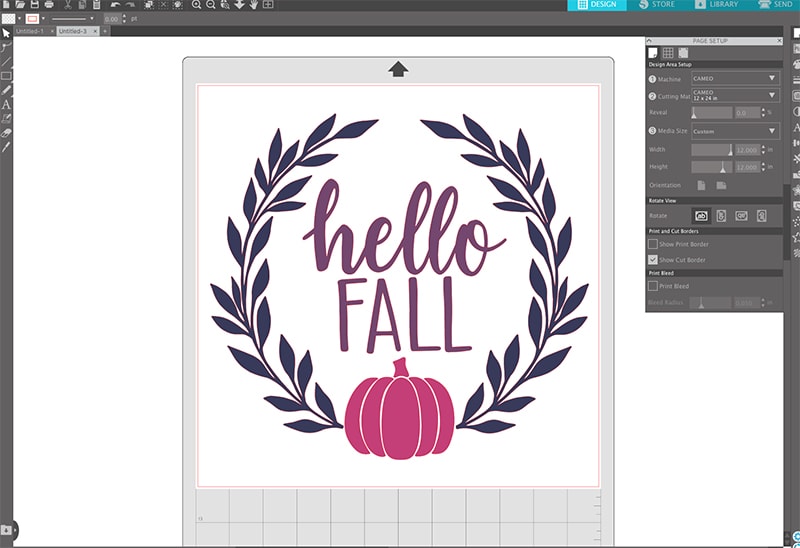
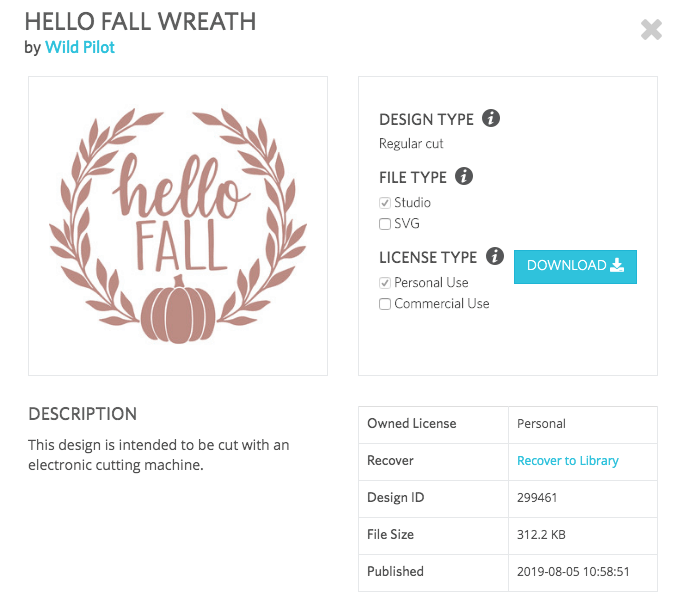
This is the design ID and designer of this design.
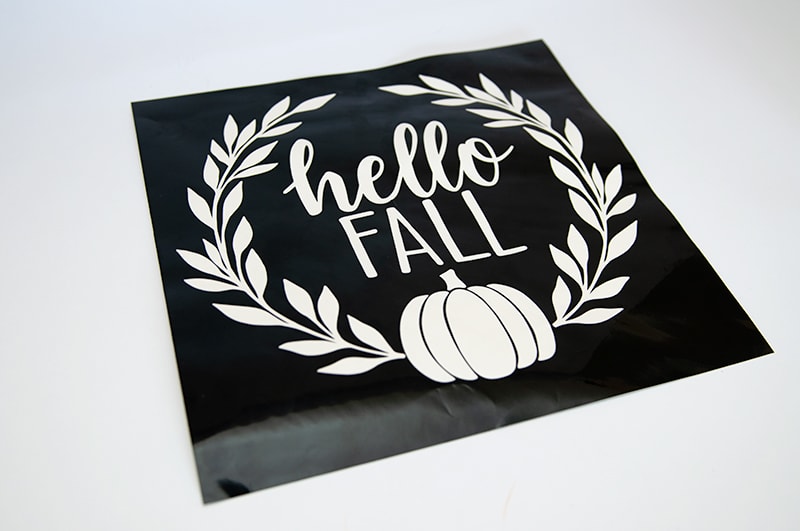
Step 3 – Cut and Weed Stencil
Next I cut my stencil with vinyl on blade setting 1 with my Cameo 3.

Then I weeded it. Now I have the PERFECT stencil for this project!
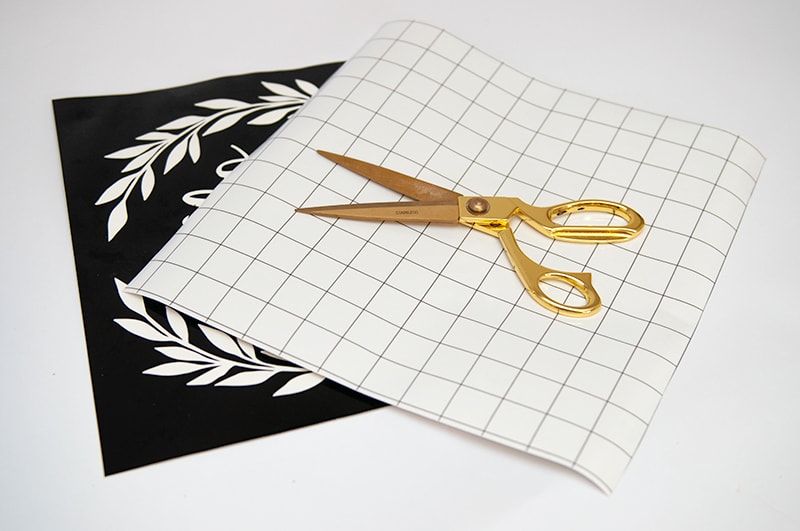
Step 4 – Add Transfer Tape
To add your stencil you are going to need to put some transfer tape on top. I cut the transfer tape to size. I added to the top, then peeled the back off.
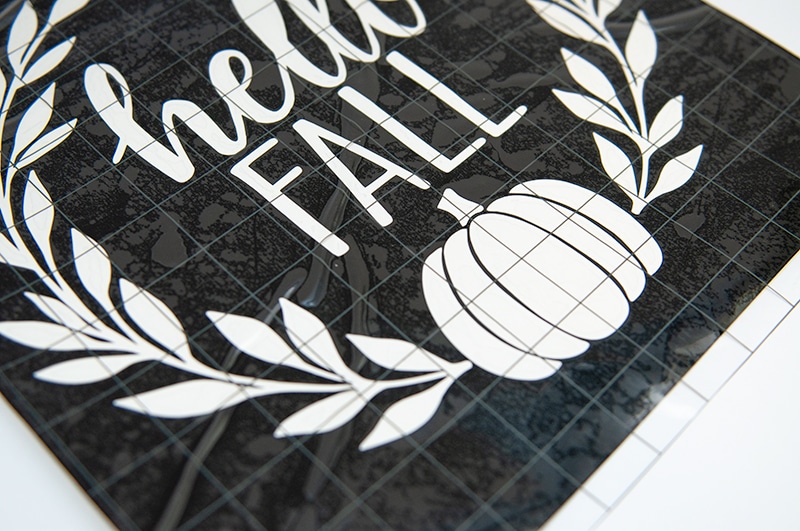
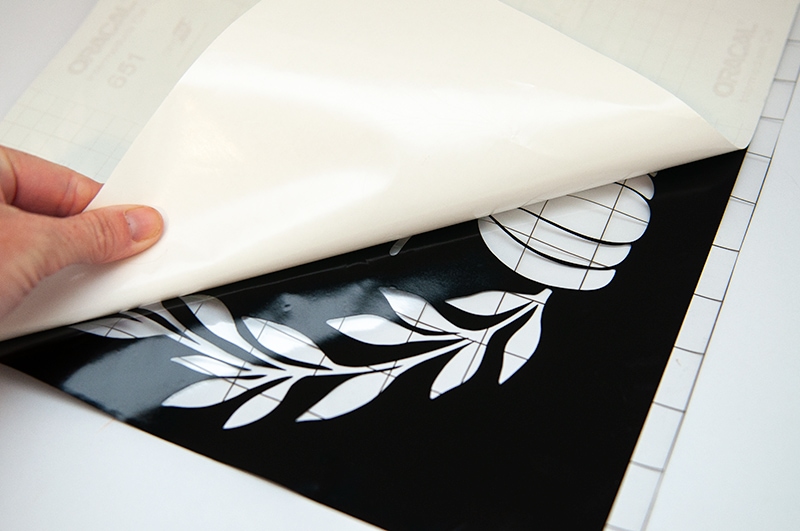
Step 5 – Add Stencil
Now you can add your stencil to the shadow box. Since the back is sticky is will stay put while you add your paint.
Gently peel the transfer tape off.
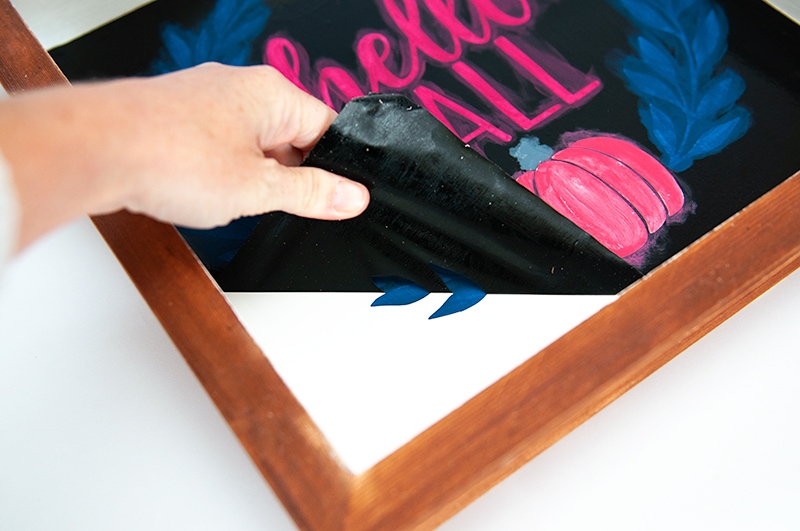
Step 6 – Paint Stencil
Now the fun part, adding our paint! I picked some bright vibrant colors for my Fall sign.

I did a total of two coats, letting each coat dry 10 minutes.

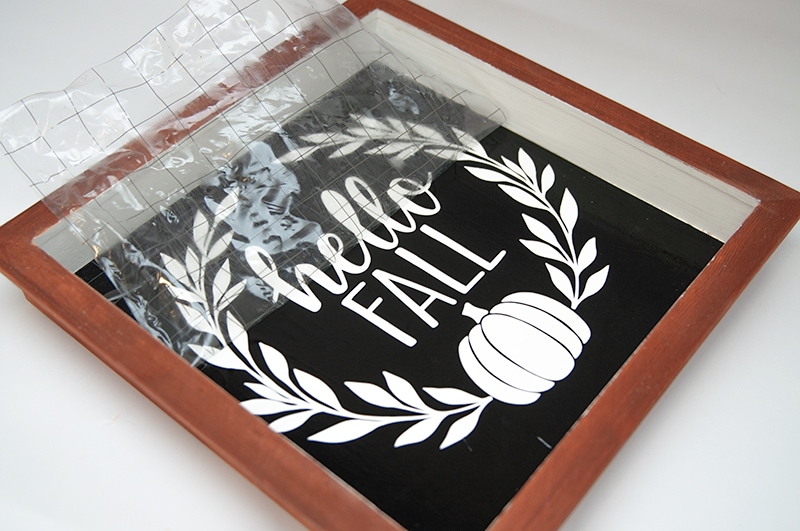
Step 7 – Remove Stencil
Finally let’s pull our vinyl up to reveal our AMAZING sign!
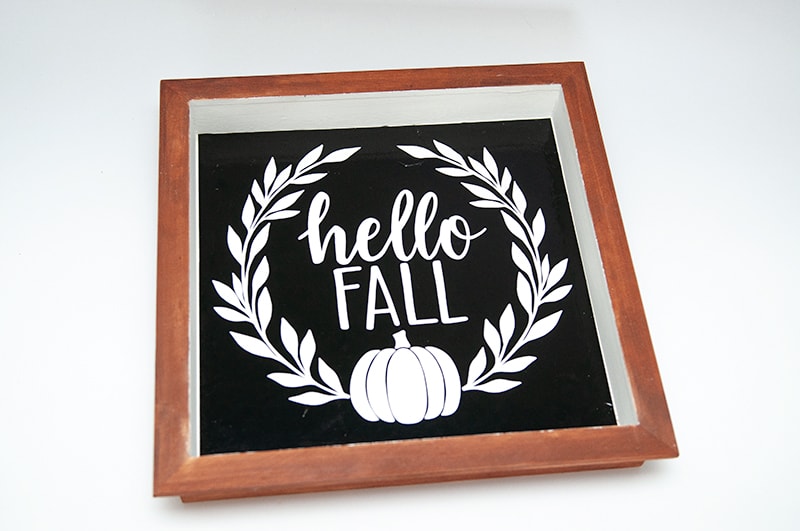
Finishing Touches
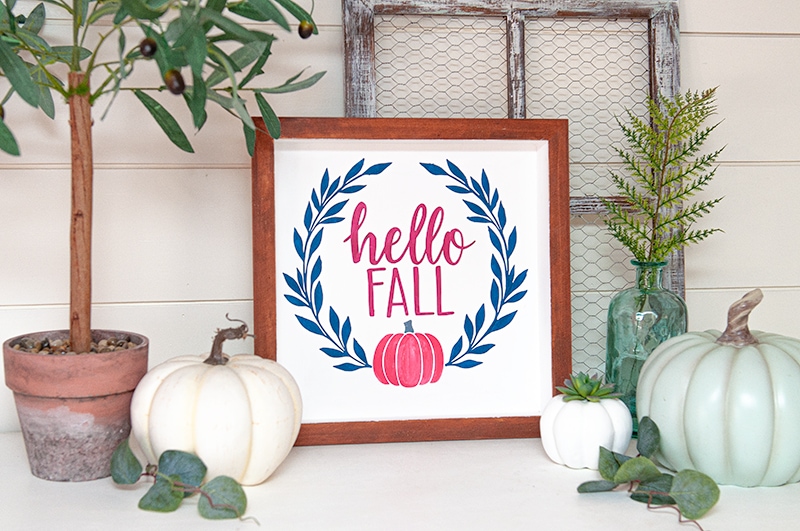
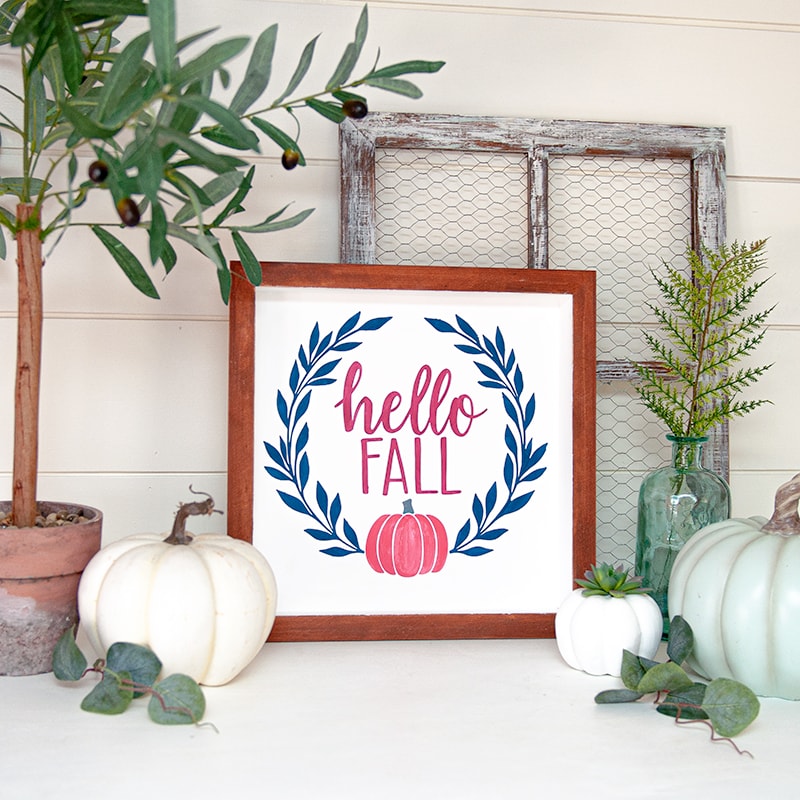
Now it’s time to start decorating with my new Fall sign! These colors absolutely POP in my house.

What do you think? Have you tried making a DIY Sign before?
Honestly once I got started I had this sign made in a little over an hour, gotta love that!
As always, thanks for stopping by and checking out my DIY Fall Welcoming Sign post. If you have any questions about making the sign shoot me a quick e-mail and I’ll get right back to ya!
Have a blessed Holiday season!
Love, Courtney