Affiliate Post: This post may contain affiliate links. By clicking an affiliate link and purchasing a product, we receive a small commission. With that said, all opinions expressed here are our own.
I can’t tell you how excited I am to finally be writing this post!! I have two exciting things.
First off I’m officially an affiliate for Silhouette America!! I know I’m so excited. I just love using my cameo. You wouldn’t even believe the things you can make with it.
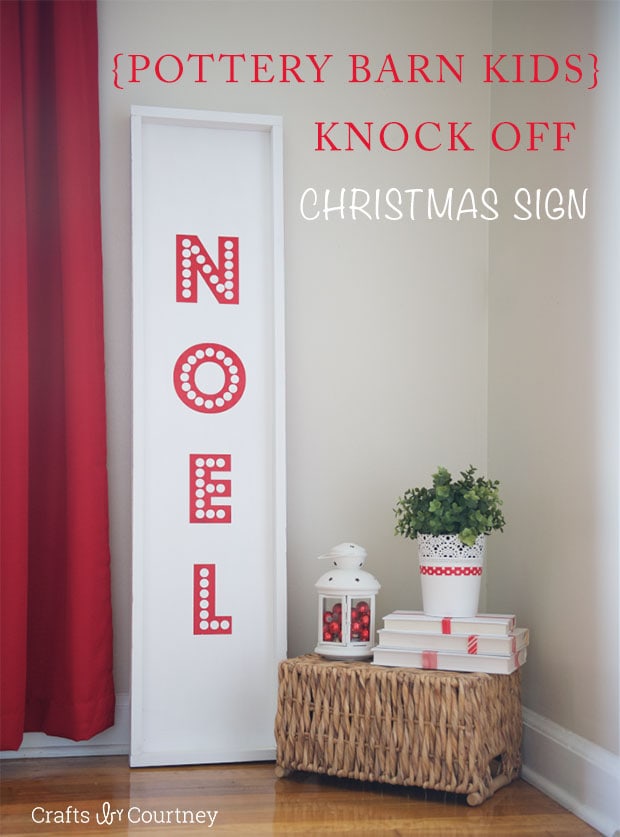
Second I’m excited to show off my new Pottery Barn Knock off!
I came up with the idea about a month ago and have been getting everything ready and hoping someone else was not having the same idea as I did. It all started while browsing Pottery Barn Kids website. I’m obsessed with it.
DIY Christmas Sign Supplies Needed:
- Silhouette
- Red Spray Paint
- White Paint
- Vinyl
- Wood
- Nail Gun
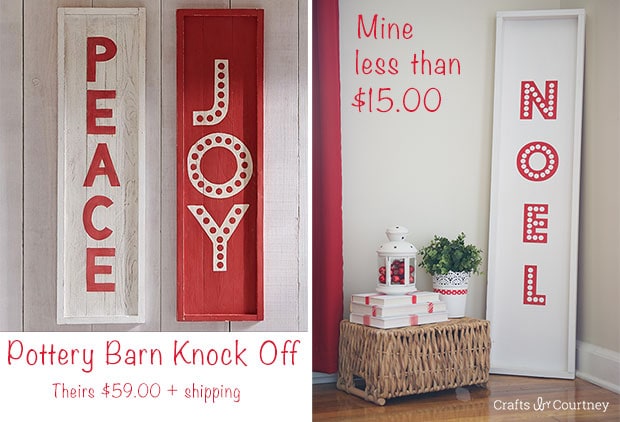
I found this beautiful Joy sign and loved it right away. I started looking at it and realized I think I can make it myself. My first step was finding the font that matched and I did. I couldn’t believe it, I was so excited. I ran out and told my hubby what new project I wanted to do.
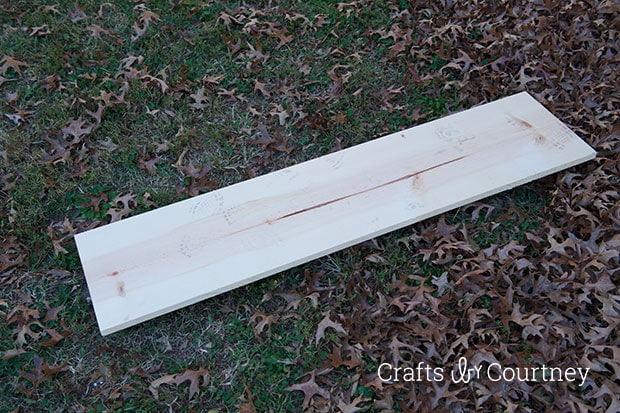
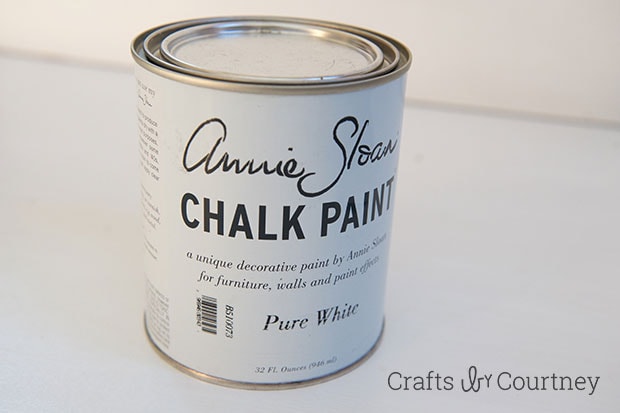
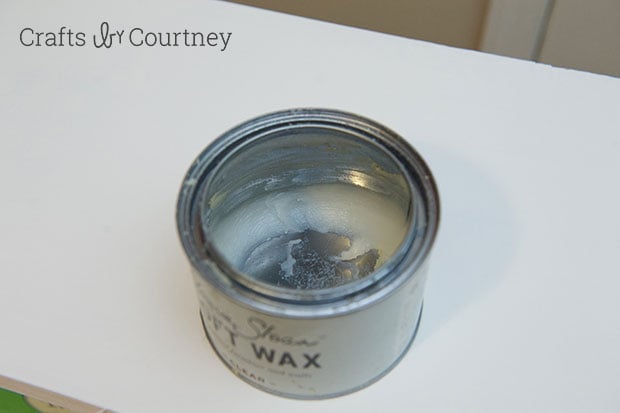
That weekend I went to Lowe’s to find my wood pieces. I was able to find everything I needed and for only $13.00. I already had my red spray paint and Annie Sloan wax and pure white paint.
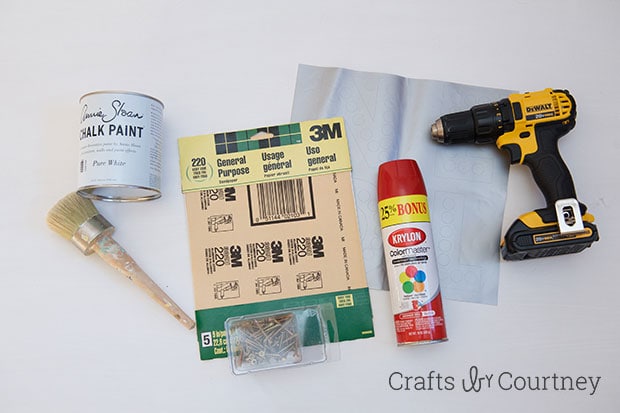
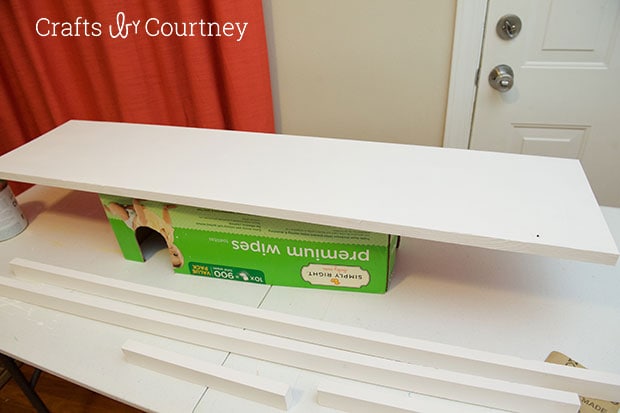
Getting Started
I rounded up everything I needed. In this picture I have the sandpaper but I decided I didn’t want to distress this sign. I of course used my “Trusty” Silhouette Cameo to help make this sign. You’re also gonna need my NOEL Silhouette file.
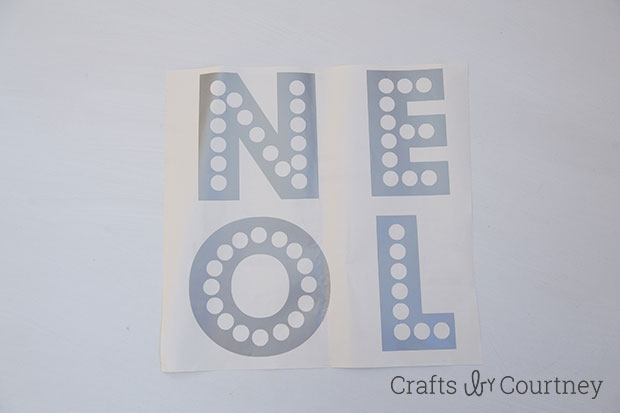
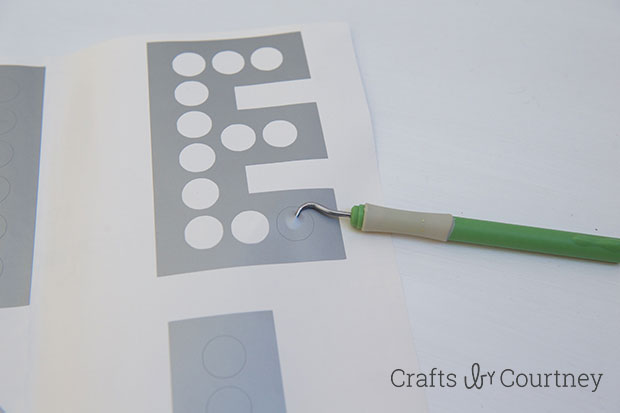
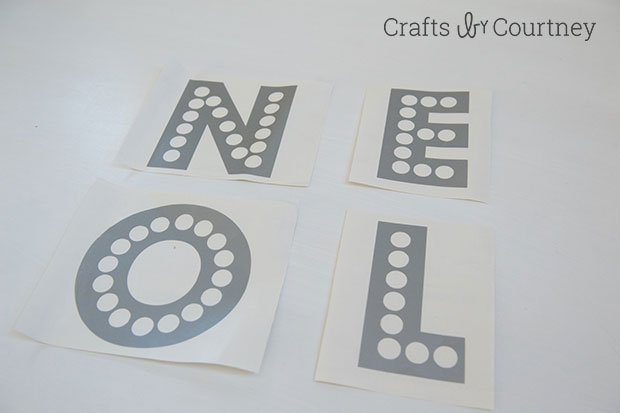
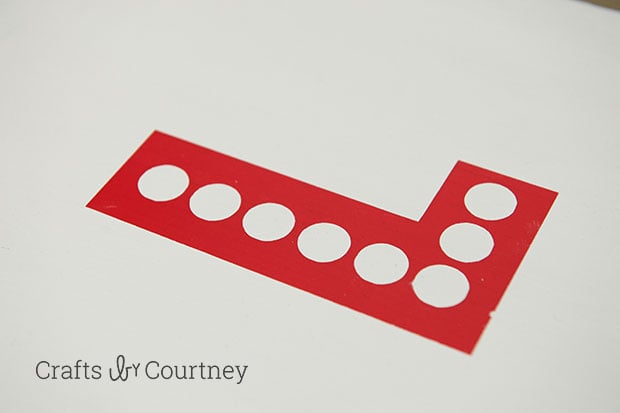
Step 1 – Cut and Transfer Text
I started off cutting my letters first. I used the Budmo Font and cut the word NOEL to a sheet of 12″ x 12″ vinyl. Next I weeded my letters
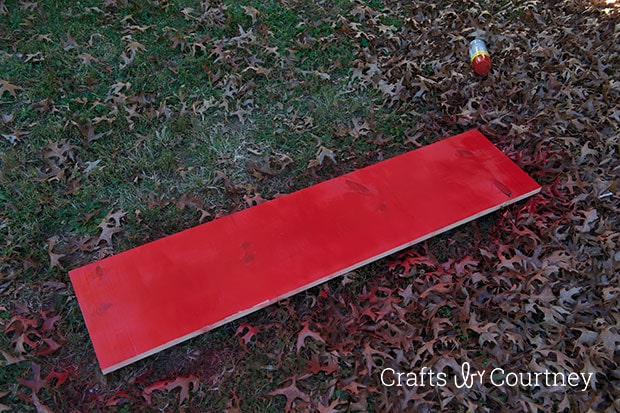
Step 2 – Paint Board
I took my board outside and spray painted 2 coats of red paint. I let each coat dry 10 minutes and then was ready to add my letters.
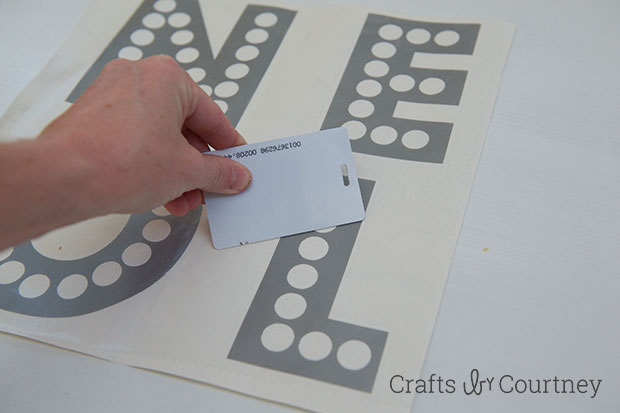
Step 3 – Transfer Text to Board
I cut my letters out so that I could evenly place them on the board.
Once had my letters even on the board I used a credit card to firmly transfer them to the board. Then removed the transfer paper. The letters look perfect!!
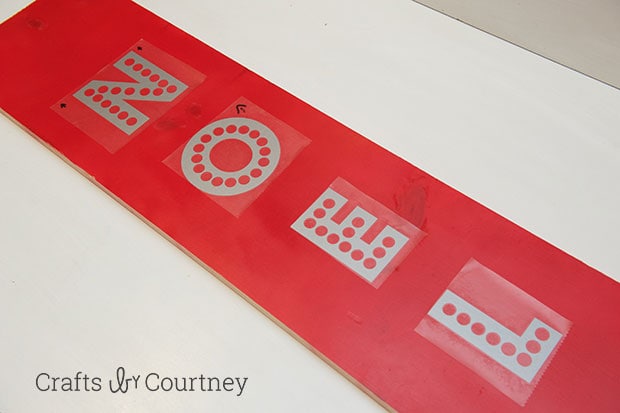

Quick Tip: The top of the ‘N’ and the bottom of the ‘L’ were 9 inches in from the edges of the board. The spacing between letters was 3 inches.
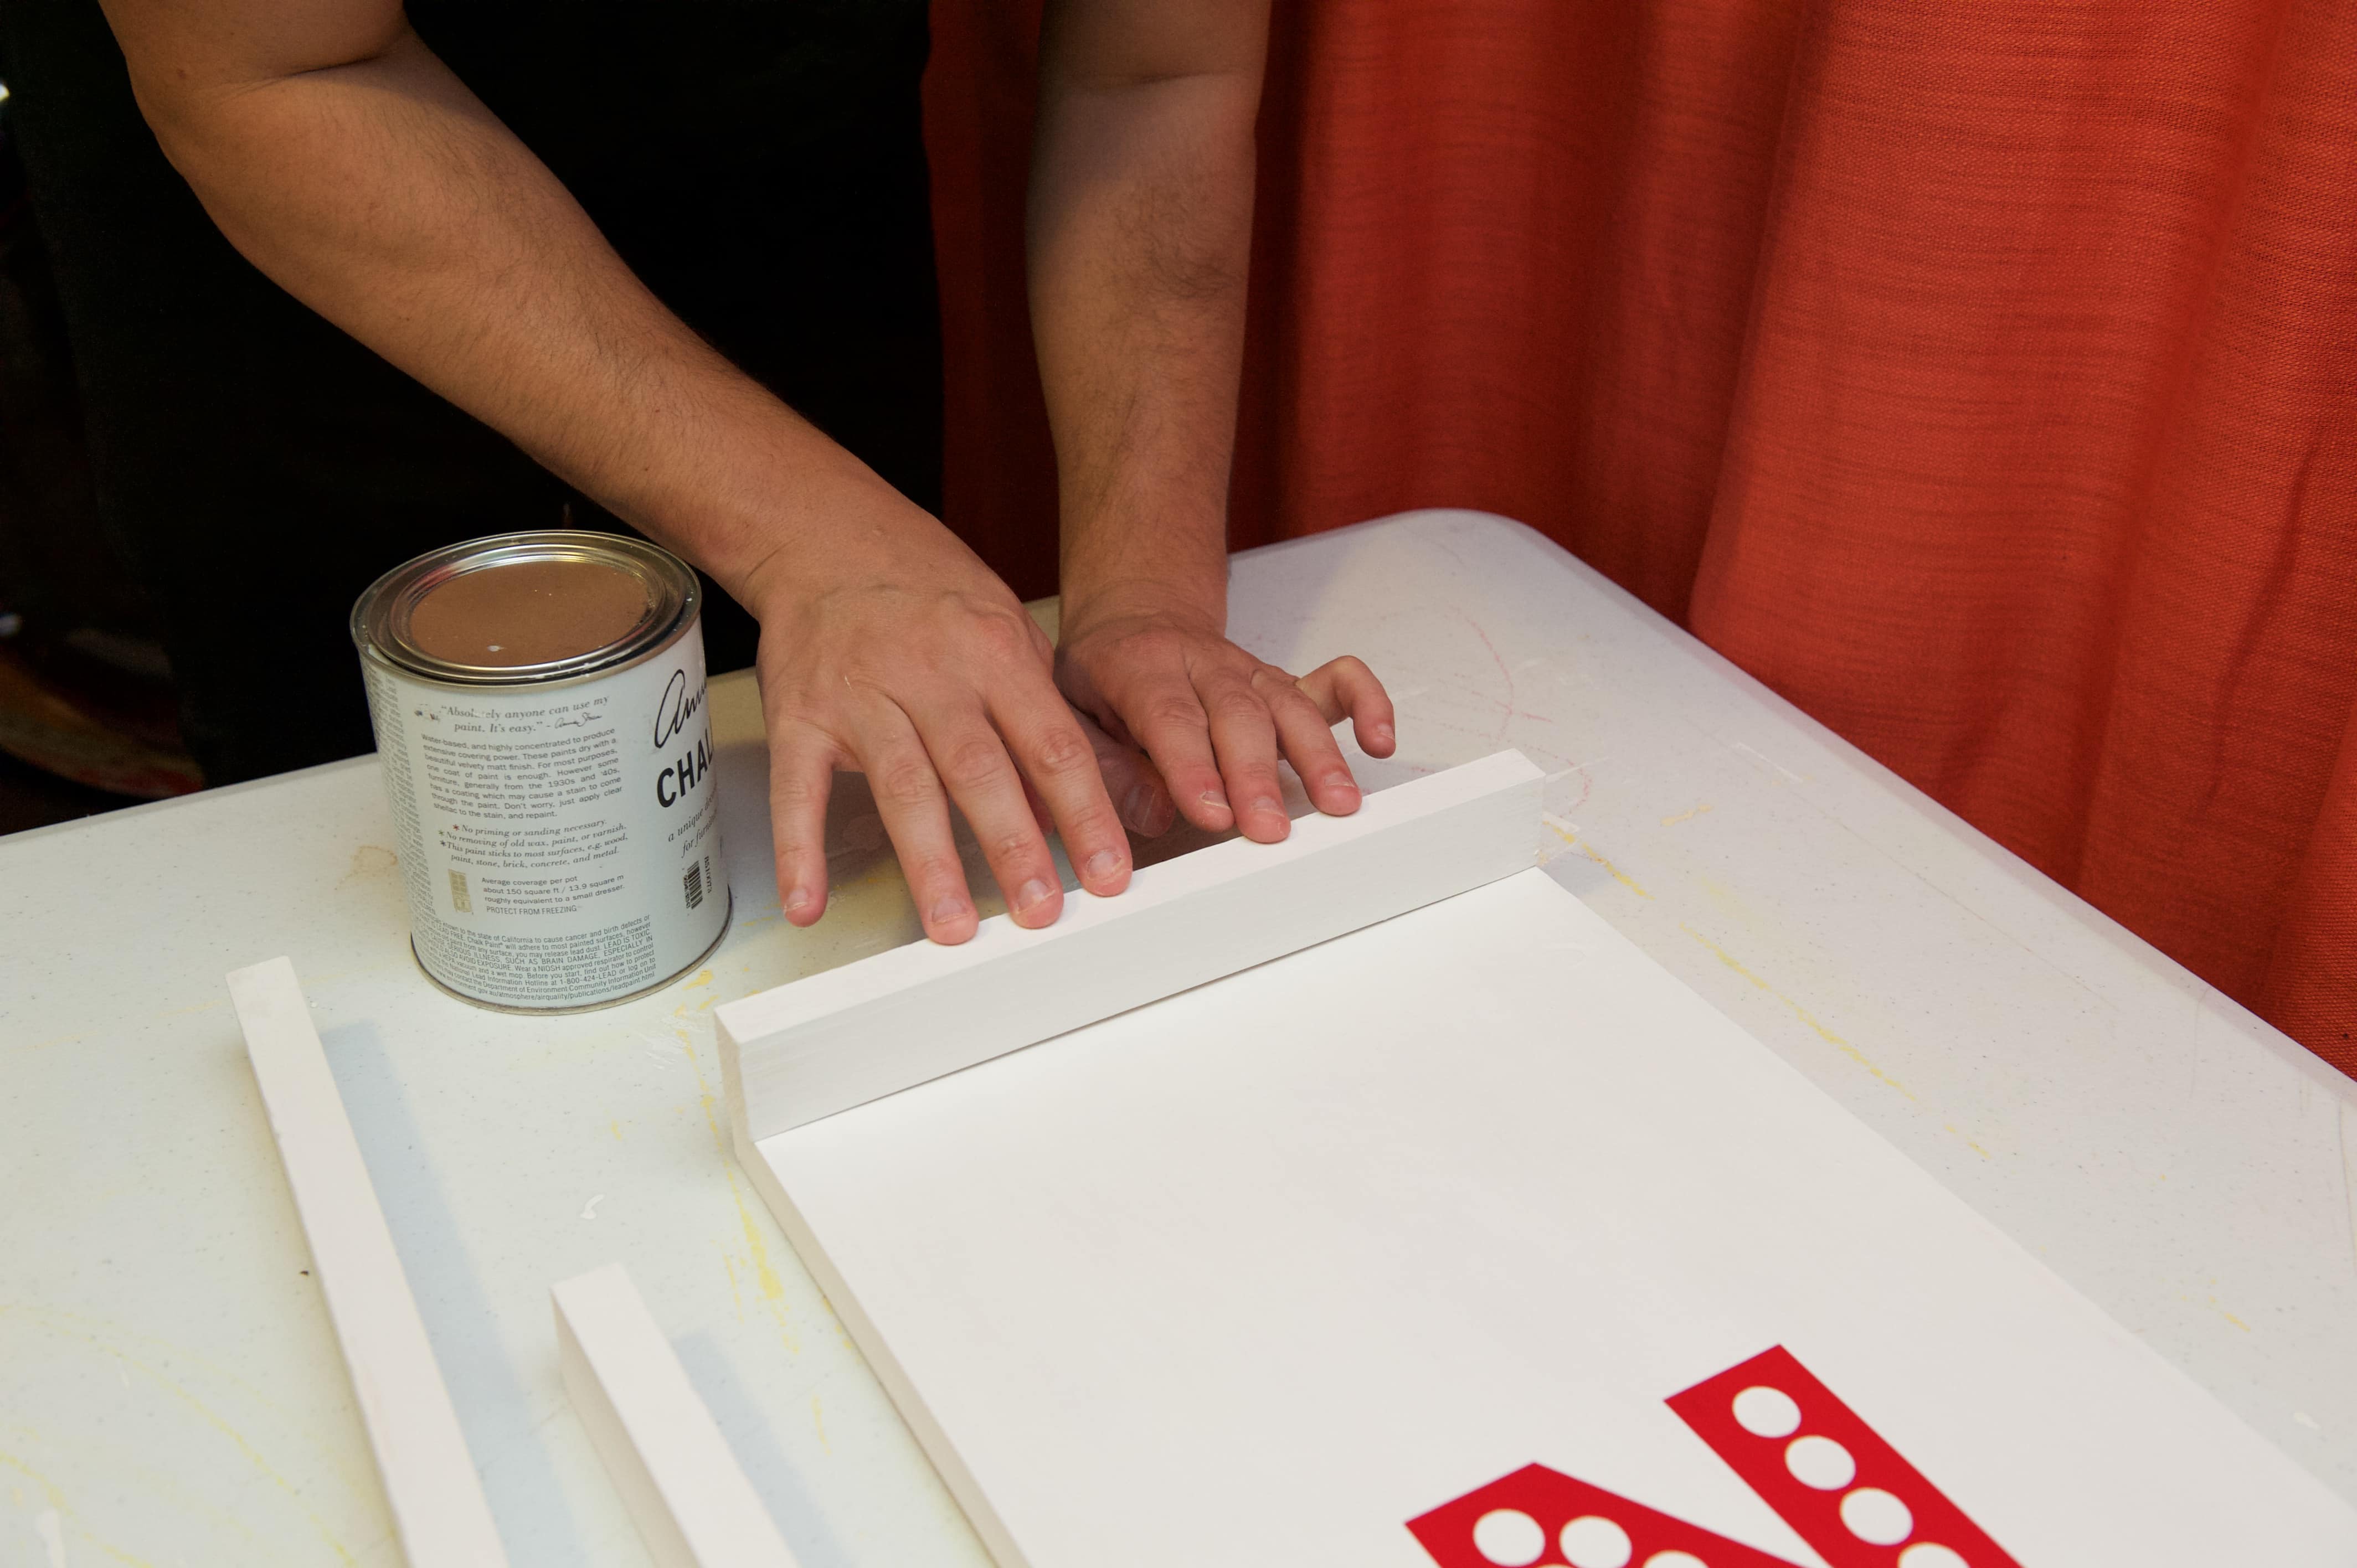
Step 4 – Paint Your Board and Side Pieces
Next it’s time to paint the board.
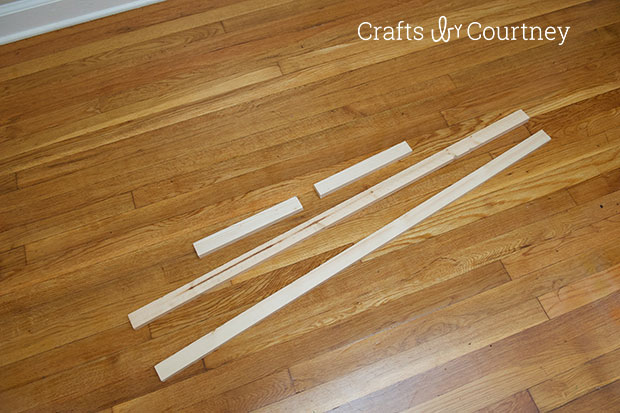
When I was at Lowe’s, I found the perfect size pieces of boards for the sign. I just need to have them cut. I had the long pieces cut to 46.5 inches and the short pieces cut to 11.25 inches.
I added 2 coats of Annie Sloan Pure White paint on all the boards.
I started off working on this outside but it got waaay to cold and had to move everything inside. I can’t handle to NC winter. I’m used to being in Florida.
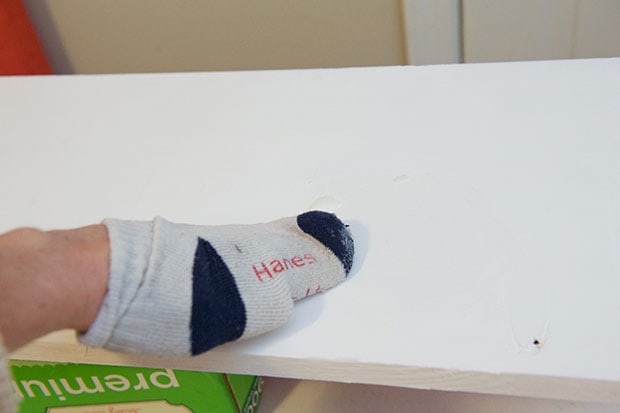
Step 5 – Wax Boards
Now it’s time to add the wax! I covered all the pieces of wood with one coat of wax.
I used a old baby sock I had to cover the pieces of wood. Wiping the wax over all the pieces.

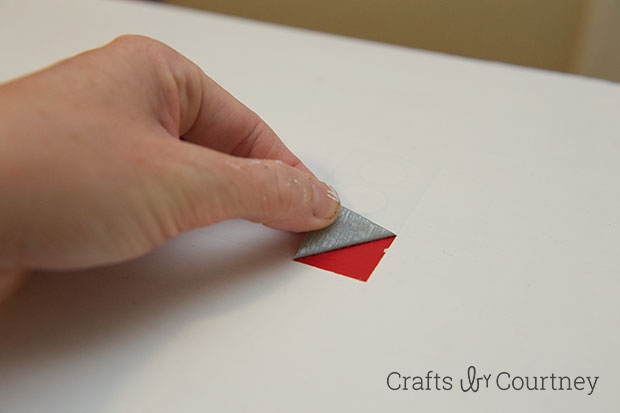
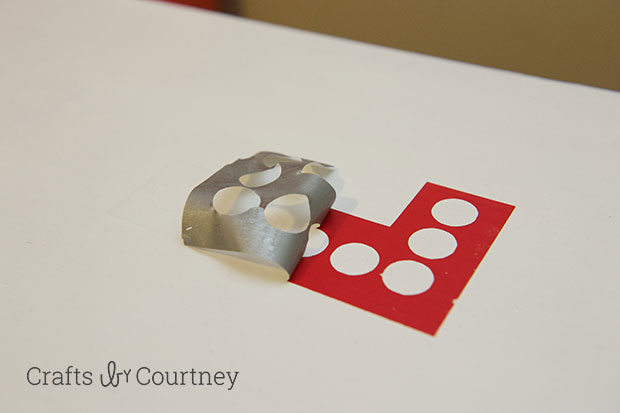
Step 6 – Peel Off Text
Now the exciting part, pulling the vinyl off.
I used my weeding tool to help me get started. Then pulling the rest off by hand. The vinyl comes off very easy I’ve never had a problem with paint pulling off.
Step 7 – Add Framing
Finally it’s time to put the board together!!
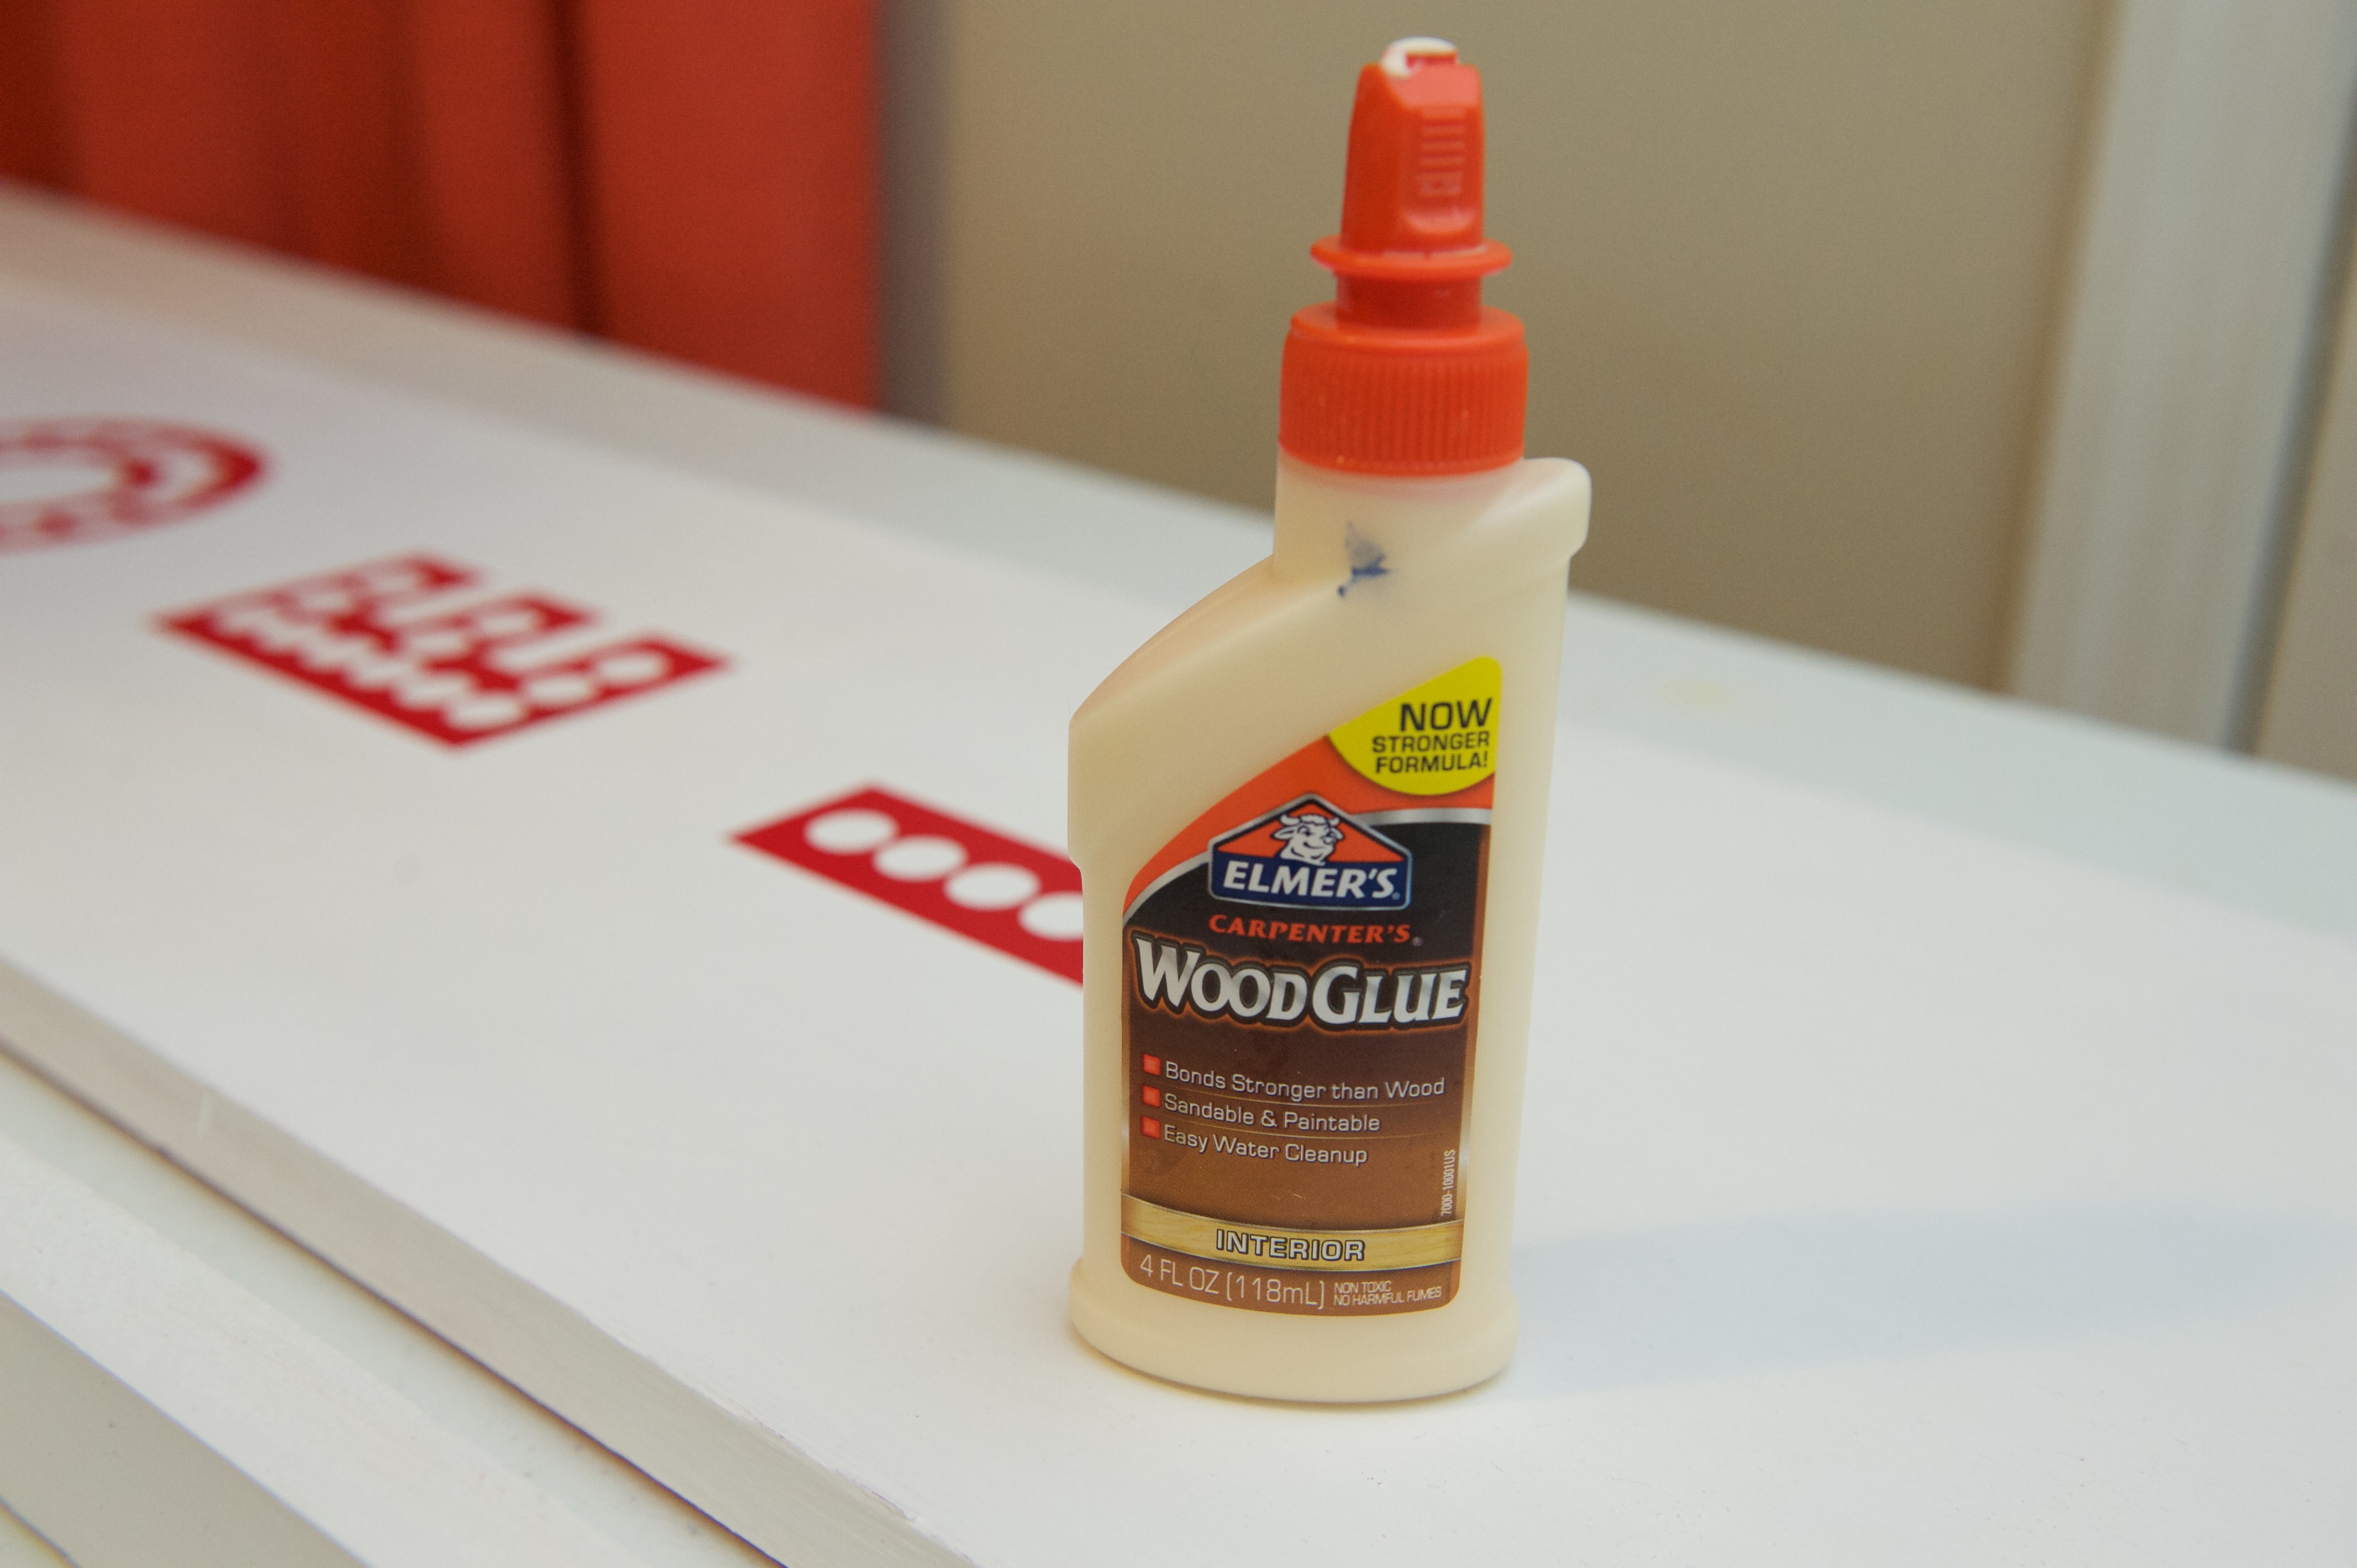
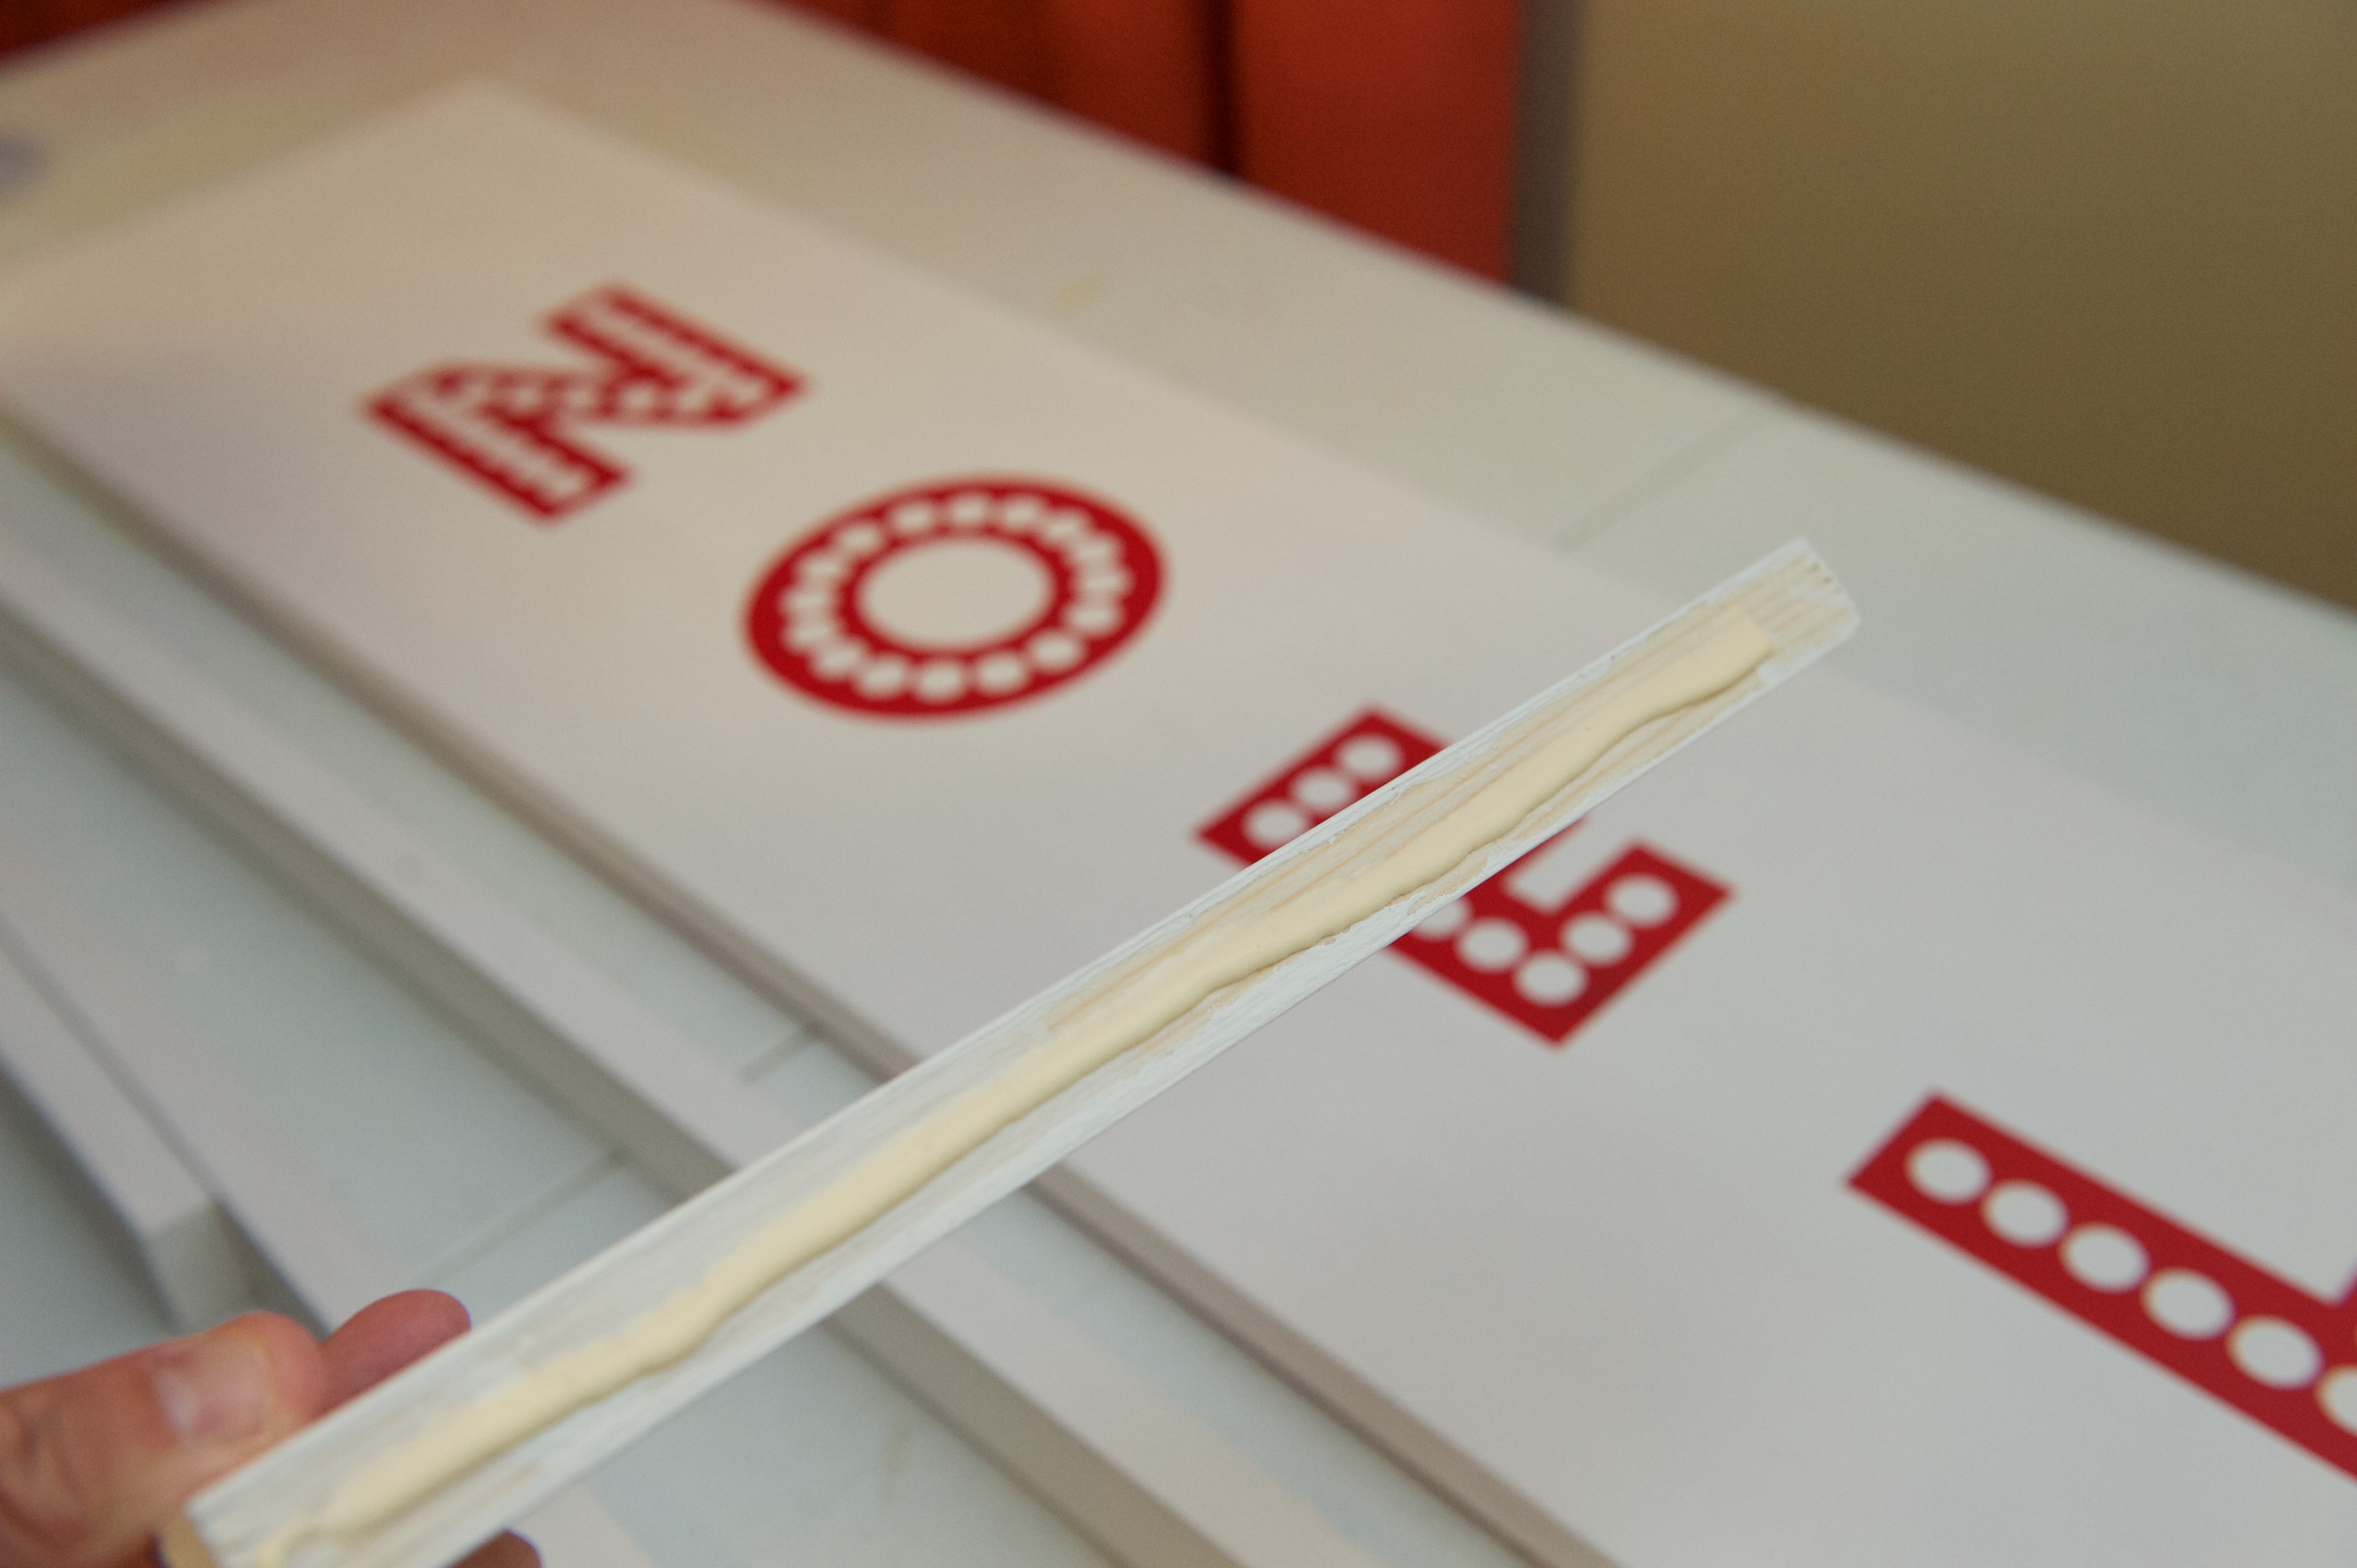
I added some wood glue to the bottom of the side pieces and let them all dry over night. The next day I was ready to display this awesome sign.
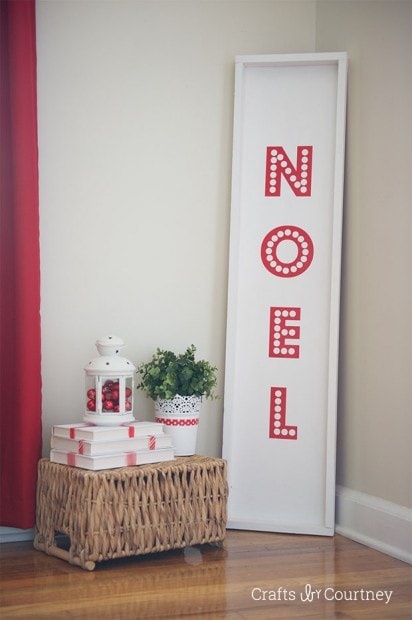
Step 8 – Finishing Touches
See how fabulous it looks!! I can’t even believe I was able to make this sign for less than $15.00. I couldn’t have done it without my “Handy Dandy” Silhouette. This is why I love my cameo so much.
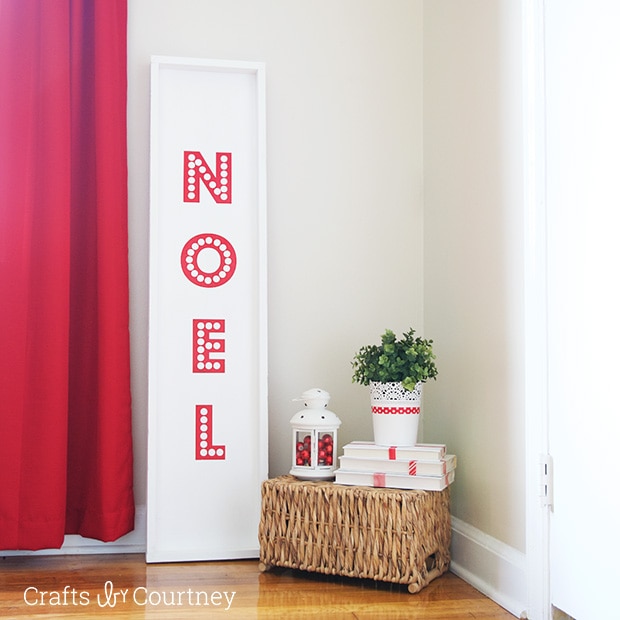
I can’t wait to start decorating for Christmas and add it in my living room. I’ve been changing all my decor to a more beach-y vibe so now I have to figure out how to turn my Christmas decor into a more coastal Christmas like I did for Fall. Wish me luck!
More Christmas Crafts
- Nautical Christmas Tags
- Santa Paintbrush Ornament
- Pallet Christmas Sign
- Peppermint Wreath
- Glitter Christmas Trees
- Advent Calendar
- DIY Christmas Pillow
- Mason Jar Snow Globes
Love, Courtney