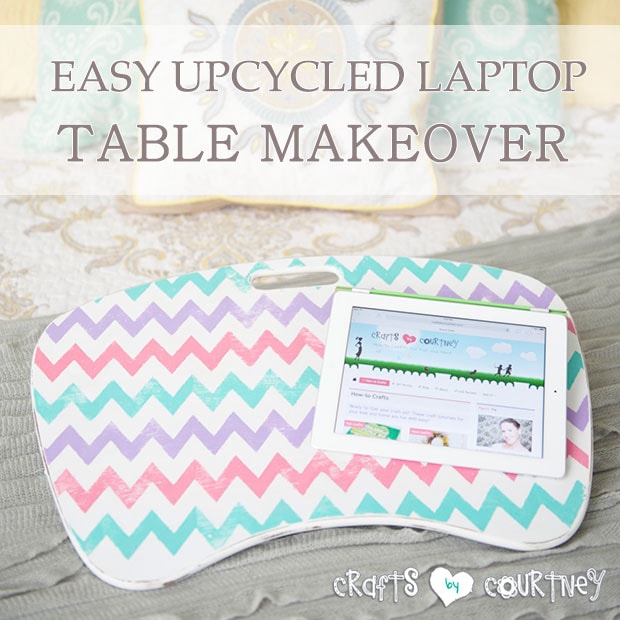
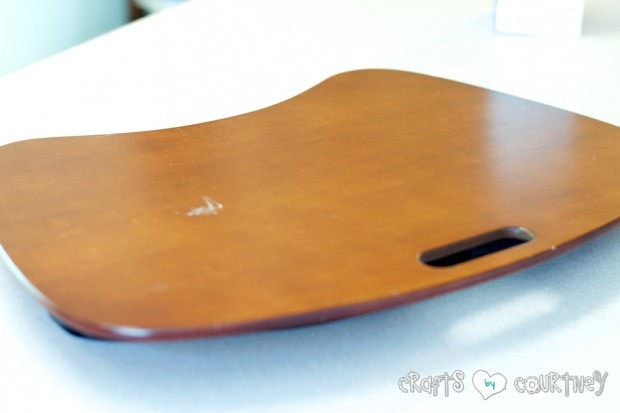
On a RECENT trip to Goodwill, I found this laptop table for $3.00 and thought I could give it a good makeover. I’ve been needing one for awhile now (while I lay in bed and blog).
I didn’t know what I was going to do with the desk right away…so I set it aside for a few weeks. THEN, I borrowed this cool chevron stencil from my friend :)
I really wanted to use the stencil on the laptop table. I decided to use my FAVORITE colors (the colors of my website of course)!!
Getting Started
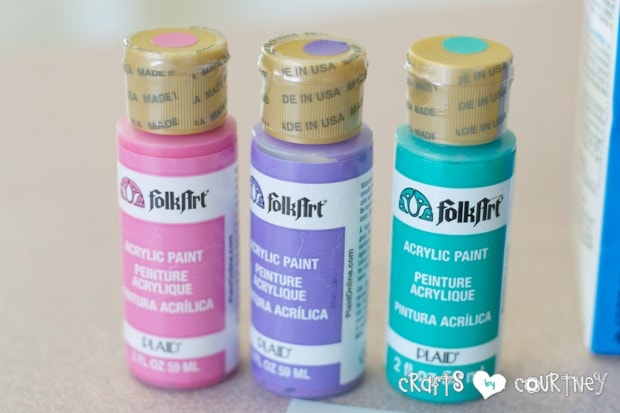
I made a trip to Jo-Ann’s and found the PERFECT acrylic paint colors that matched my website. I already had the white paint, wax and Plaster of Paris on hand (from my upcycled cork board project).

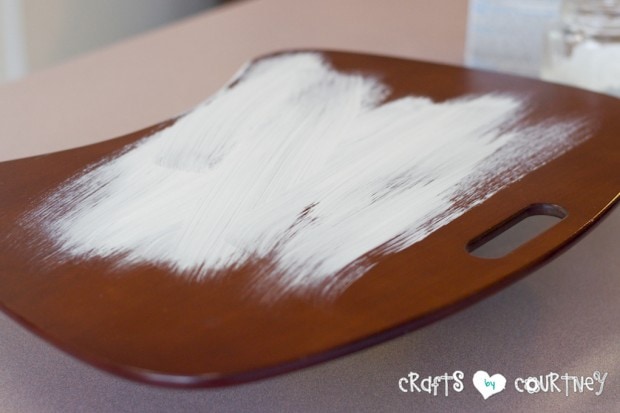
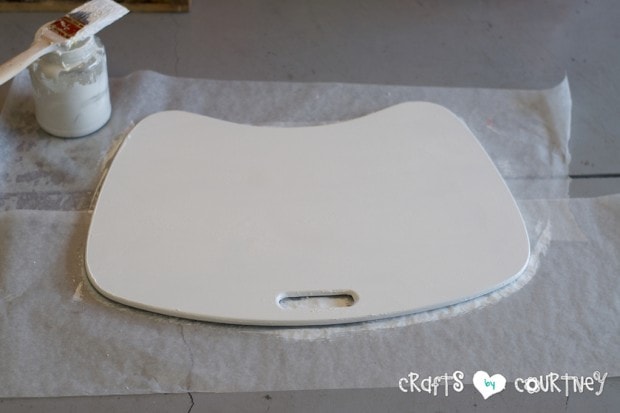
Step 1 – Prime Table With Chalk Paint
I made a small batch of white chalk paint using my white paint and Plaster of Paris.
I filled a plastic cup about HALFWAY full of paint and added 2 tablespoons of Plaster of Paris. Then, mixed them together. You don’t need a LOT of the Plaster of Paris to make your chalk paint. Super easy, right?
Then, I painted on the two layers of the chalk paint I made. Let dry for an hour.
Step 2 – Make Your Colored Chalk Paint
Next, I needed to mix up the paint for my chevron pattern. I used some small plastic cups I had (old fruit cups) and poured in a small amount of WHITE paint. Then, I added my colored paints until I was happy with the final color.
After I was satisfied with the color, I added a TEASPOON of Plaster of Paris to each cup of paint and stirred.
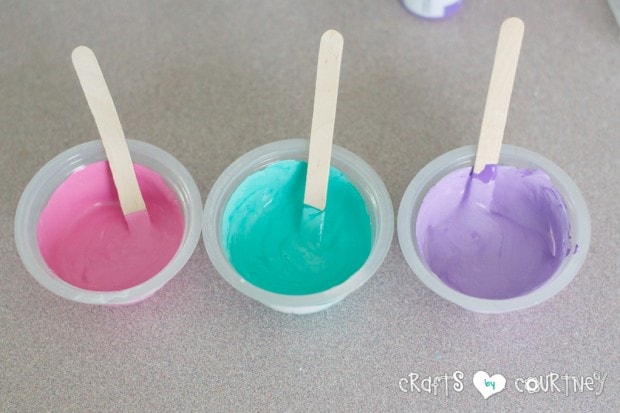
Quick Tip: To get your color perfect, remember less is MORE. Take your time when adding color to your chalk paint base.
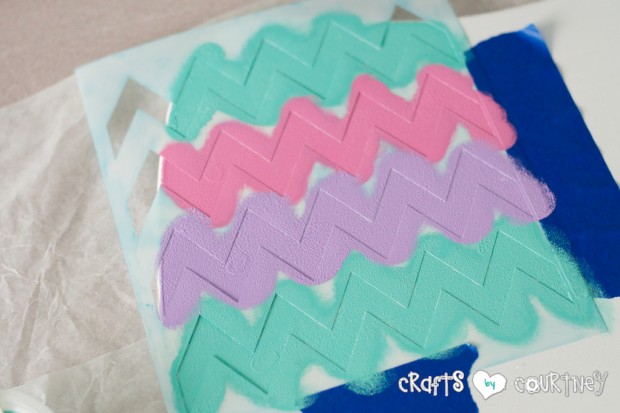
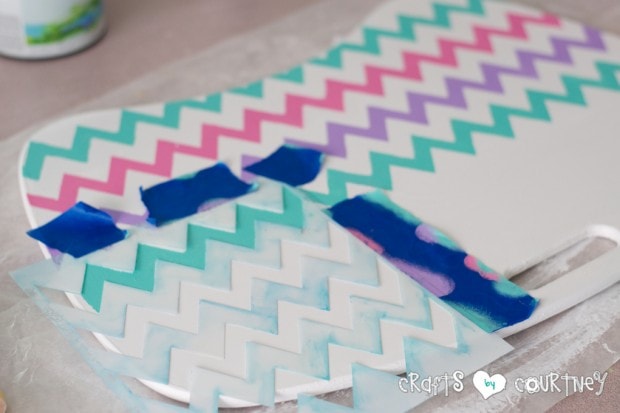
Step 3 – Line Up Your Stencil
NOW I’m ready to add my stencil. Super excited!!
I used painter’s tape to keep my stencil in place. So I wouldn’t get confused where to add my paint, I dabbed little dots of paint color to EACH row.

Step 4 – Paint in Your Stencil
I used a round foam brush to fill in EACH row with my paint color. When I was done with a row, I let the paint dry for 30 minutes. Once dry, I then painted my NEXT section of the pattern.
Side Note: If you think this project is turning out great, you should see the Pottery Barn inspired JUMBO paint palette I made!
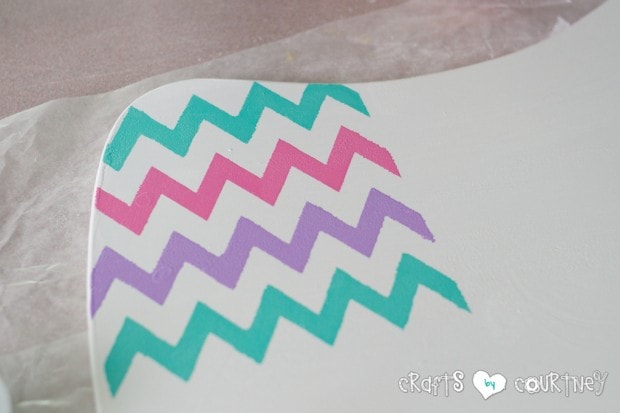
Step 5 – Touch Up Spots
Some spots DIDN’T come out perfect, so I just went over them with left over white chalk paint and touched the spots up.

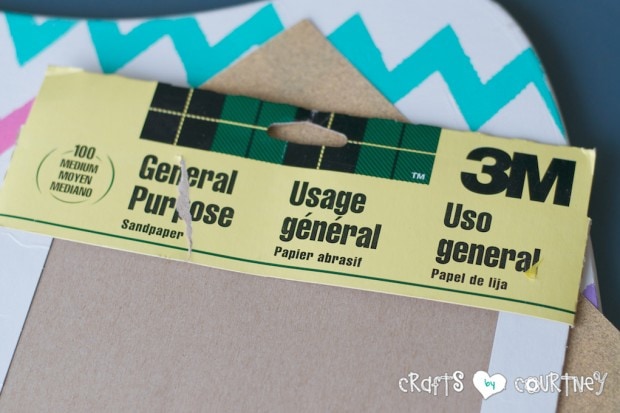
Step 6 – Distress Your Table
I wanted to give my table a “shabby chic” vibe, so I went over the EDGES and some spots in the middle with sandpaper.
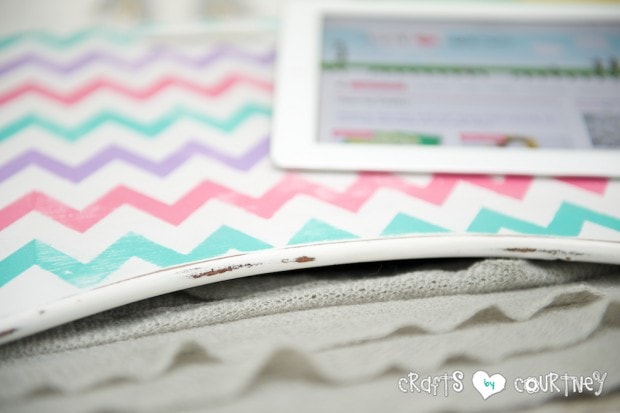
Step 7 – Wax Your Table
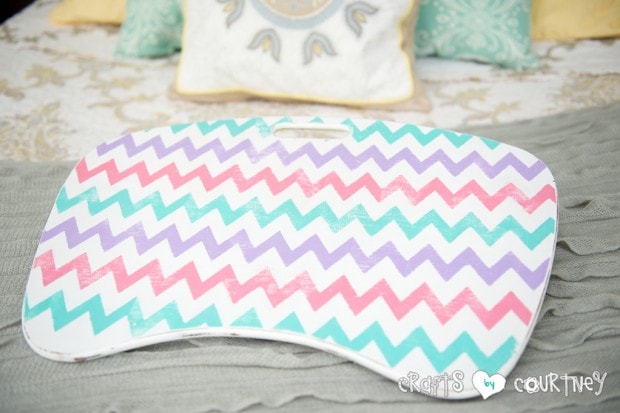
Once I distressed the lap desk to MY LIKING, I decided to add a layer of finishing wax. Using an old rag, I went over the ENTIRE table (front and back) with the polish.

This finishing wax leaves a nice SMOOTH finish to any projects like this.
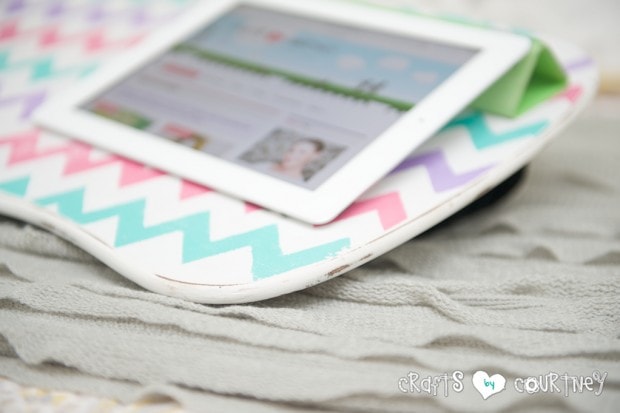
Step 8 – Finishing Touches
After I was finished waxing, it was ready to be used (I actually WROTE this post using my new laptop table)!!
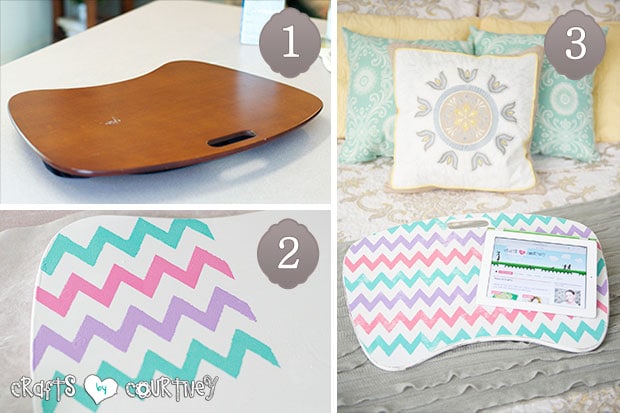
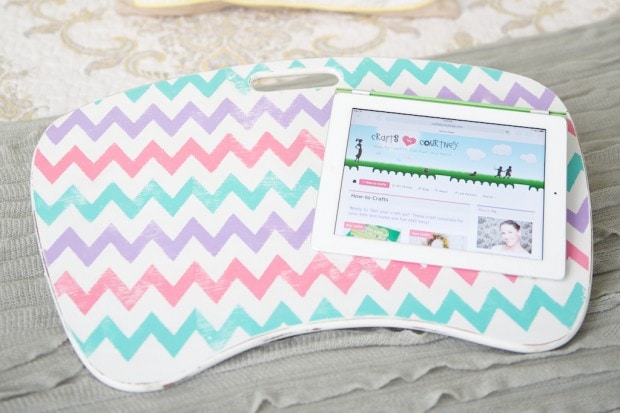
I can’t even believe I turned a $3.00 laptop desk (I got from Goodwill) into this cute and Shabby Chic-est inspired laptop table!! Did I say how much I LOVE the chevron pattern!?!
BESIDES the table purchase, all I had to buy were the acrylic paints (so $7.00 out of pocket for this project)!! Remember, I already had the other supplies!!
Gotta’ love Goodwill for their GREAT finds!
Love, Courtney