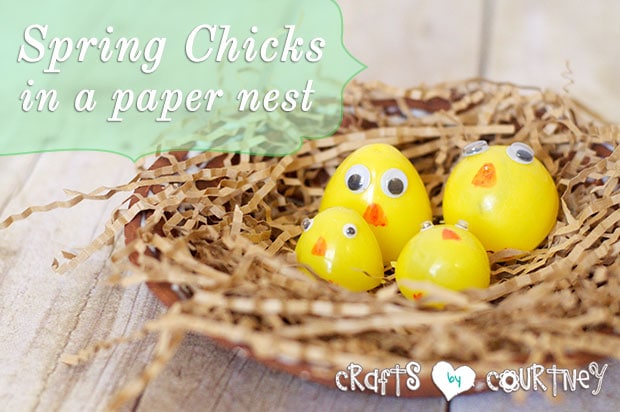
We have a TON of plastic Easter eggs left over from last year. I’ve been wanting to make another Spring chick craft, so I thought, “Why not use the plastic eggs and make some cute chicks?”
I had some recycled Easter paper grass and thought it would be PERFECT for the chicks nest!!
Why not use the plastic eggs and make some cute chicks?
My 5 year old and I worked on this project together. He was excited to make his little chicks. My parents have chickens at their home and he LOVES to help feed and pick eggs when we visit!
Getting Started
We went through my crafting supplies and picked out everything we needed for this craft. Since I ALREADY had the eggs and recycled paper shreds on hand, it was easy to begin. YAY!

Step 1 – Paint Your Nest
I had my son paint the paper bowl with brown craft paint. We then went over the bowl TWICE (covering the inside and outside of the bowl).

Quick Tip: Let the bowl dry for 30 minutes BEFORE adding your 2nd coat of brown paint.
Step 2 – Add Paper Shreds to Nest
Once the paint dried, we added glue ALL over the bowl and filled it in with our recycled paper grass. Let dry for 1 hour.

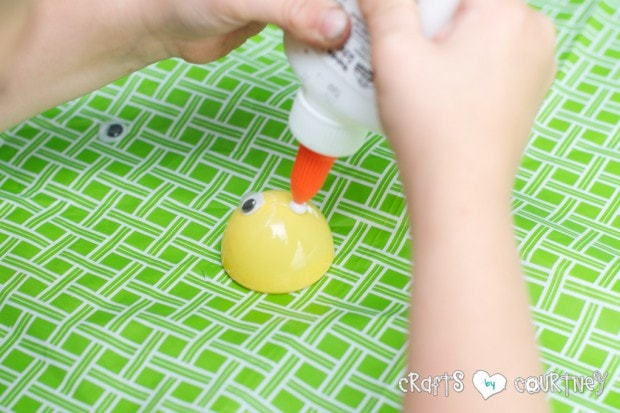
Step 3 – Create Your Plastic Egg Chicks
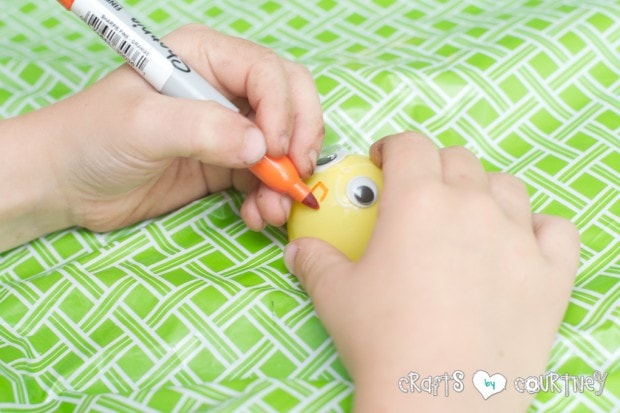
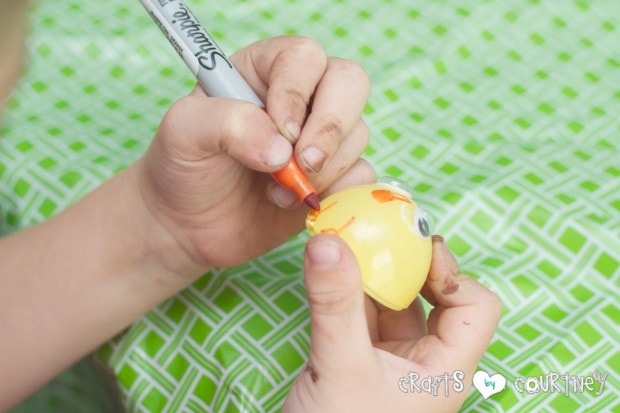
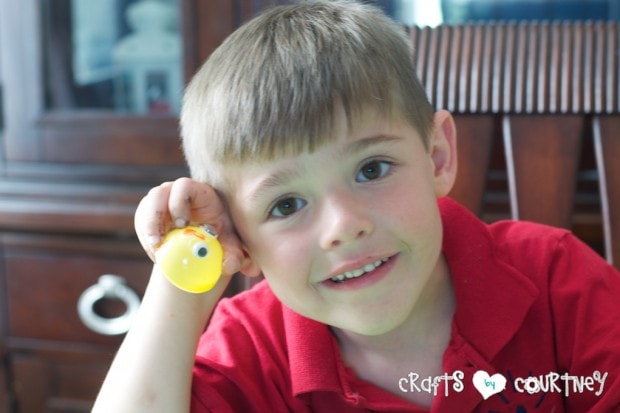
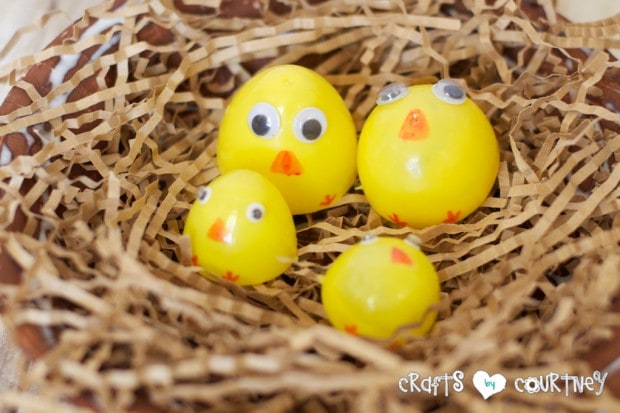
I used TWO plastic eggs and broke each one in half. Then, I had my son glue on googly eyes and draw the chicks’ beaks and little feet with a Sharpie.
Voila, in just about a minute we had some cute lil’ chicks. Super easy to make right?!
Side Note: Looking for another kids craft for Spring? Why not try this fun sidewalk chalk paint art? It’s kinda’ messy, but SUPER fun!
Step 4 – Finishing Touches
Once our nest was DRY (which seemed to take forever) we sat our baby chicks inside! We didn’t glue them down, I just let my son put them wherever HE wanted.
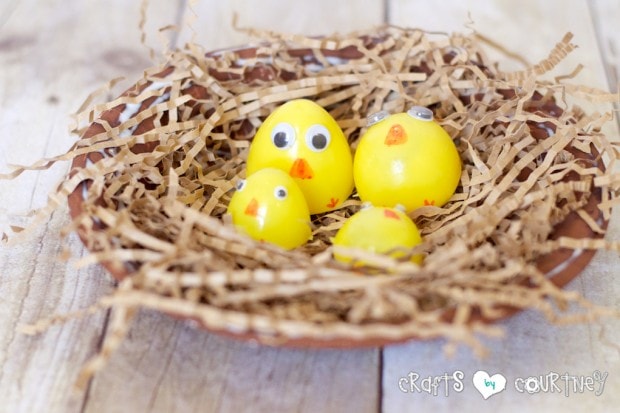
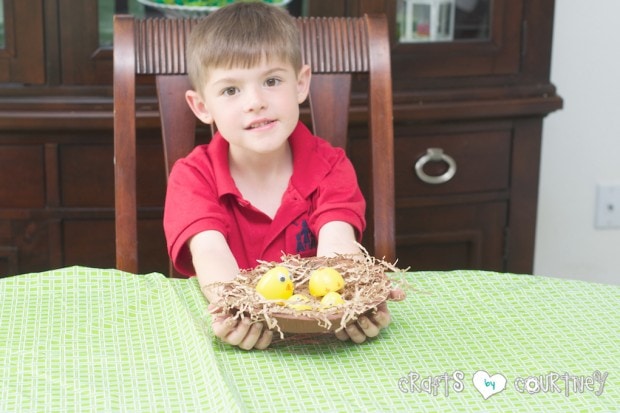
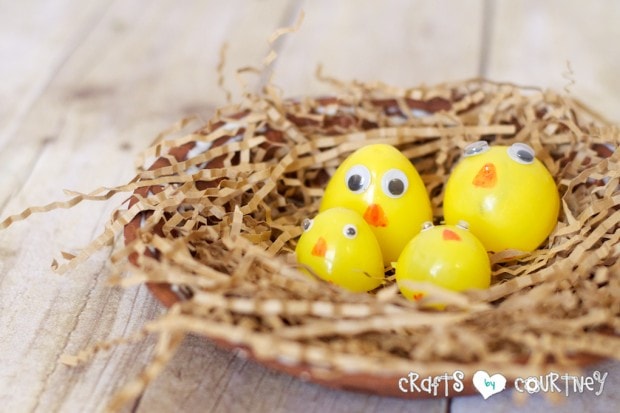
We really had a good time making these together :) Our plastic egg chicks turned out VERY cute and made for some special memories.
So…we got our first Spring craft done, I can’t wait to work on MORE with my little bears!
Love, Courtney