Hello Friends, I hope your week is off to a great start. Yesterday was the first day of Spring and I’m so excited, it’s still a little cold here in NC. But I can’t wait until it warms up a little and I can start working in the yard. My tulips are popping up all over the yard now, and I love it!
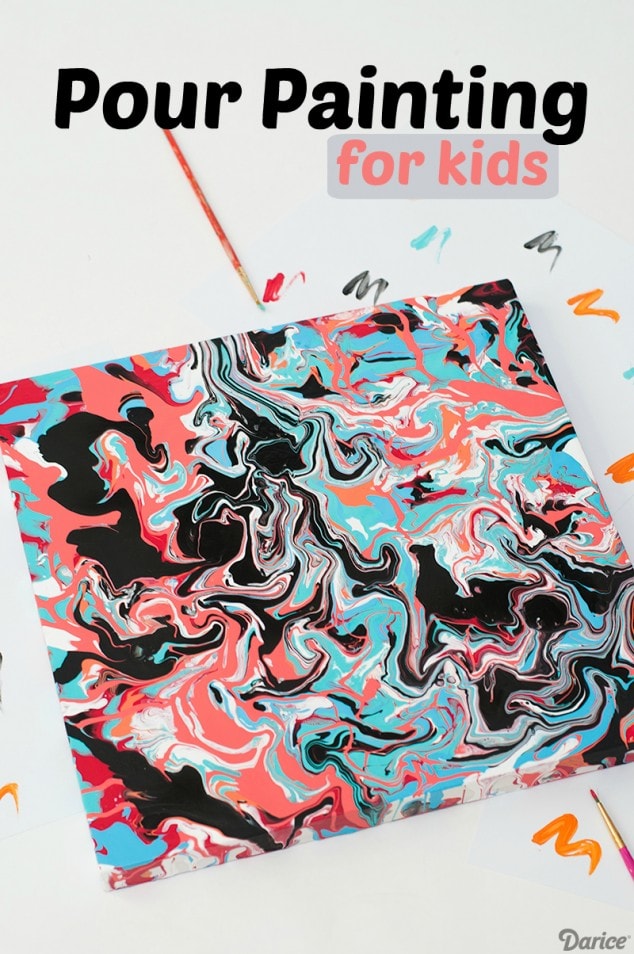
Today I’ll be sharing a kids pour painting project I worked on for Darice. These pour painting projects are so popular right now so I had to do one with my kids.
Pour painting is something we’ve never tried before and believe me it’s LOTS of fun. It can become pretty addicting. My 5 year old was looking through my craft room trying to find as many canvases as he could. At the bottom of the post you can see all the different colors we experimented with. I’ve been really trying to introduce art more into are creative time. I think my oldest is getting a little tired of doing just kids crafts so we really need to take that next step with craft time.
POUR PAINTING
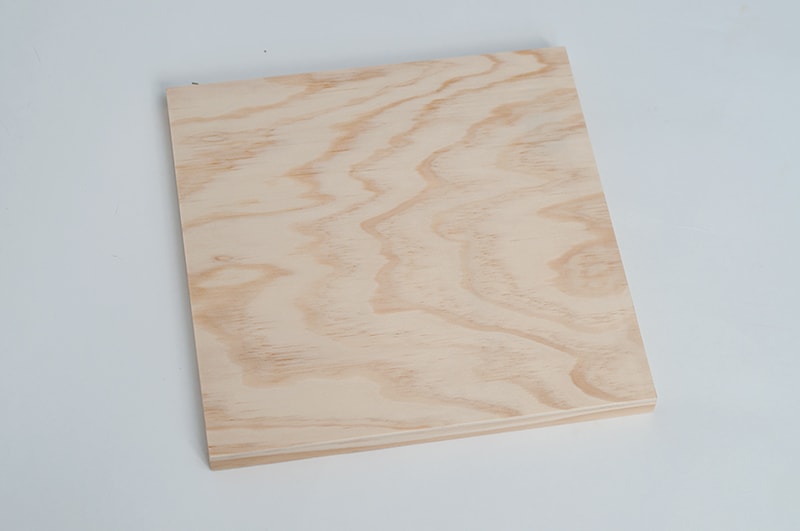
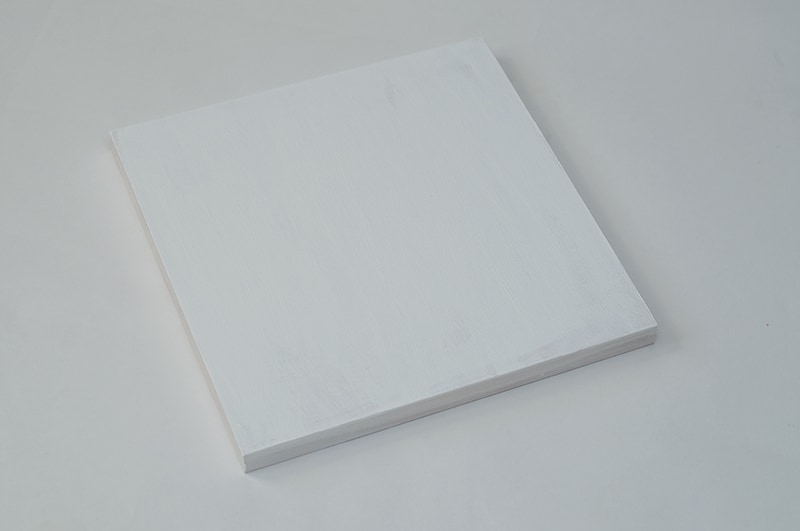
Step 1 – Paint Board
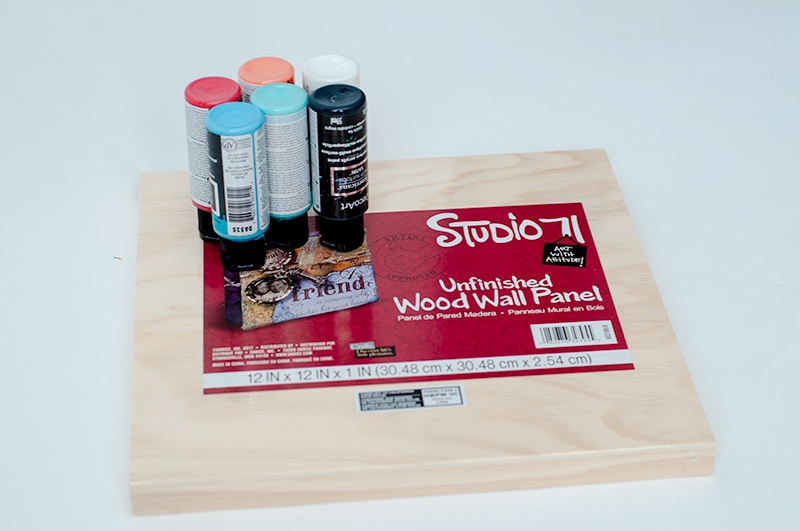
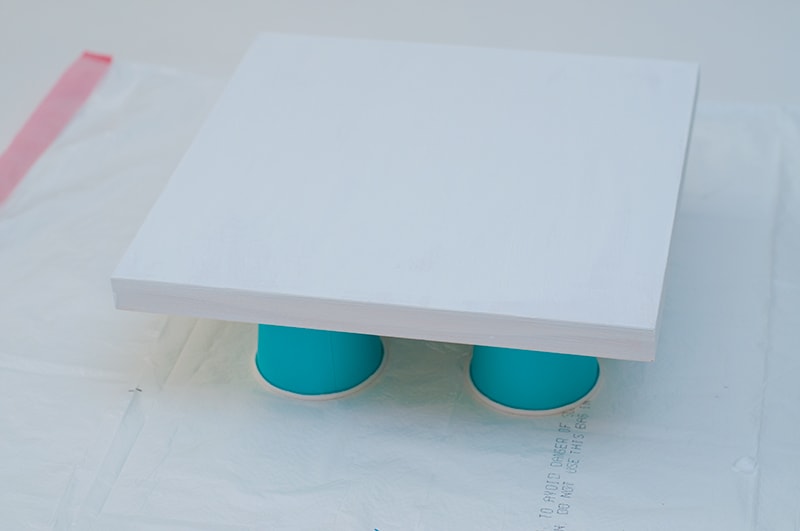
Paint board white. Since I used the wooden panel for this project, I painted the whole thing white first. But if you use a classic white canvas then you can skip this step.
Step 2 – Setup Painting Area
Next, and very important you need to have a good step up for this project. It WILL get messy.
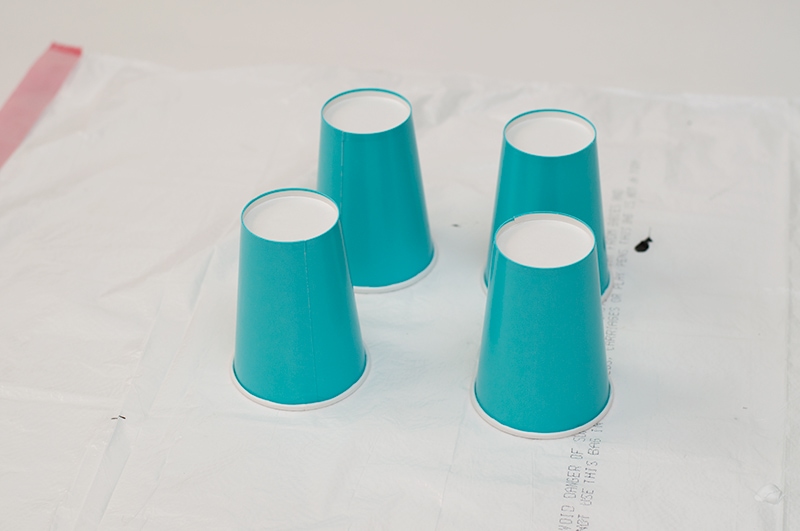
For the small canvases at the bottom of the post I only used some parchment paper underneath. But for this larger piece, I used a trash bag that worked out perfect. Then place your canvas on top of some paper cups. Now we’re ready!
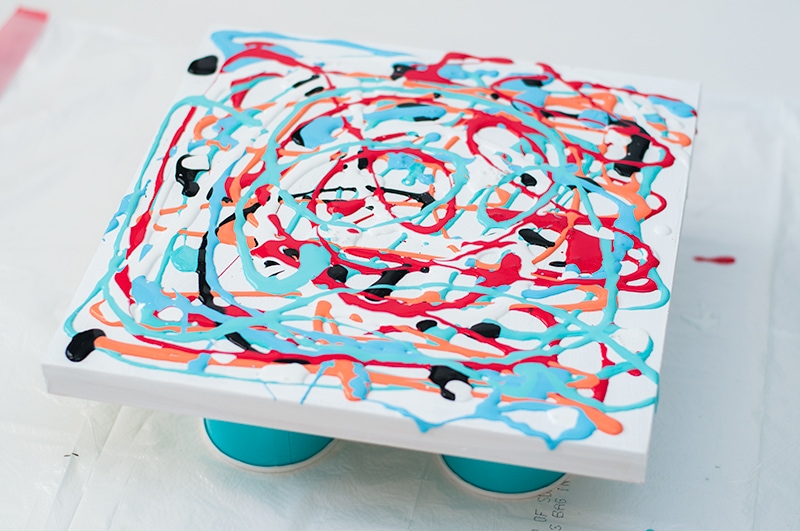
Step 3 – Add Paint
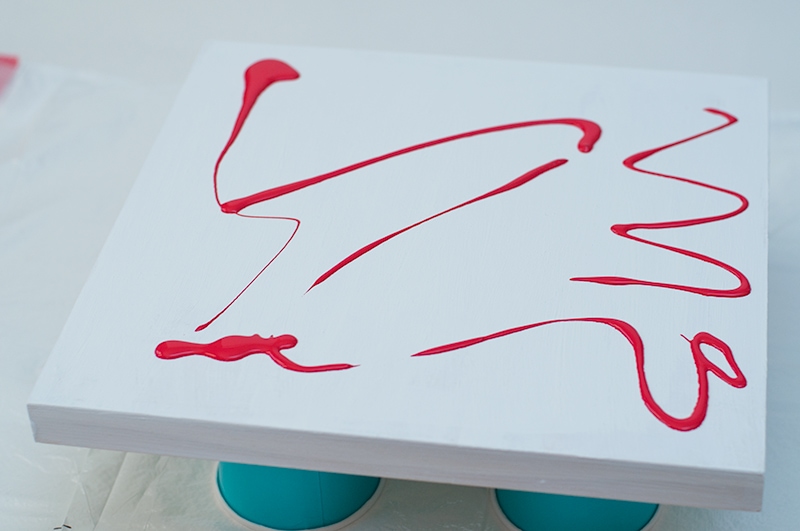
Now the fun part!! Pouring your paint.
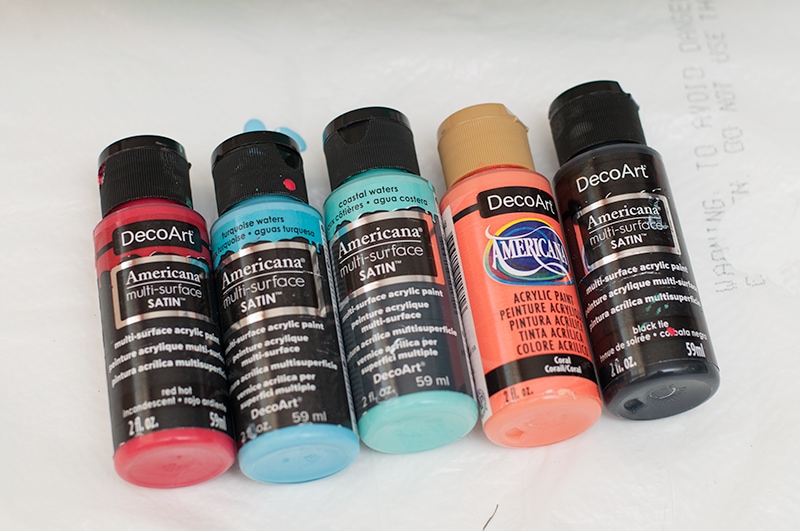
Just let the kids pick out some fun colors. Honestly any color combination works for this project. Just pour your paint all over your canvas. The thicker the better. Because you’ll need to let it drip off the sides.
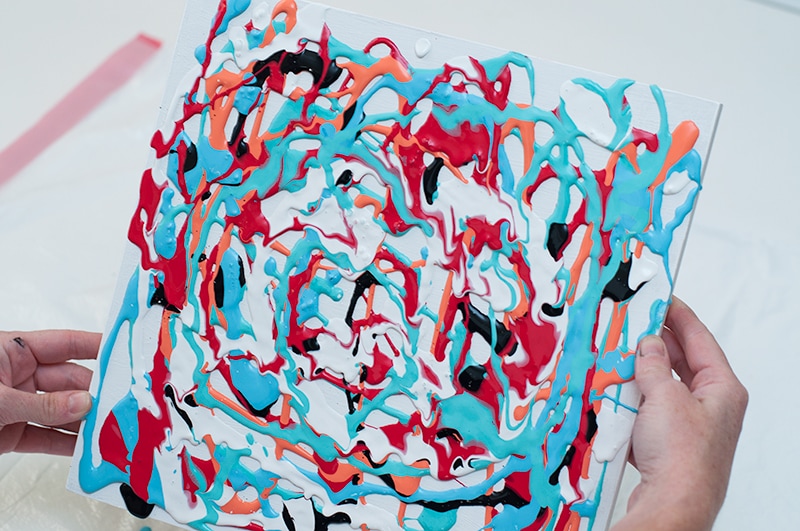
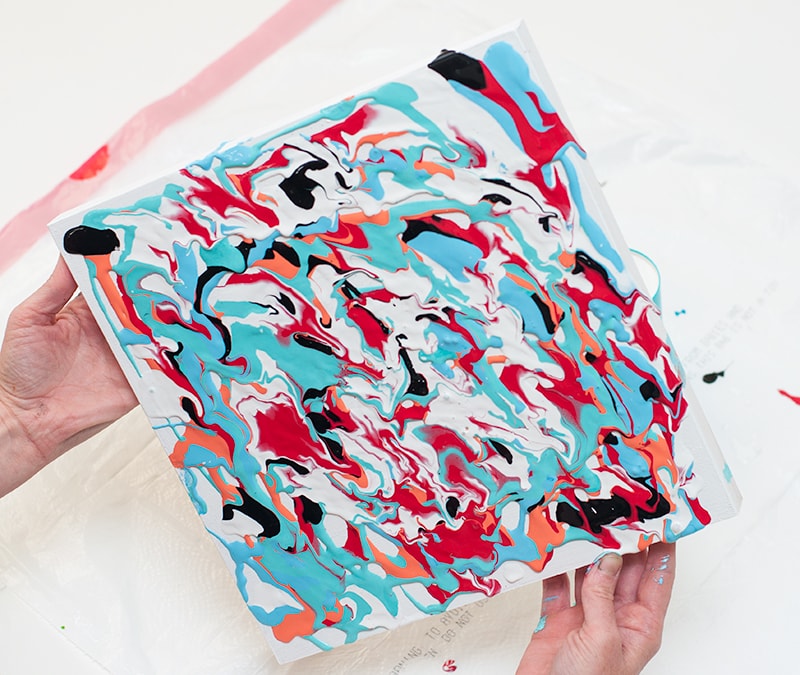
Step 4 – Move Board Around
Now pick up your canvas and start moving it from side to side letting the paint drip off the canvas. The main part of this step is moving the canvas all around, flipping it every which way to create your look.
Step 5 – Let Dry
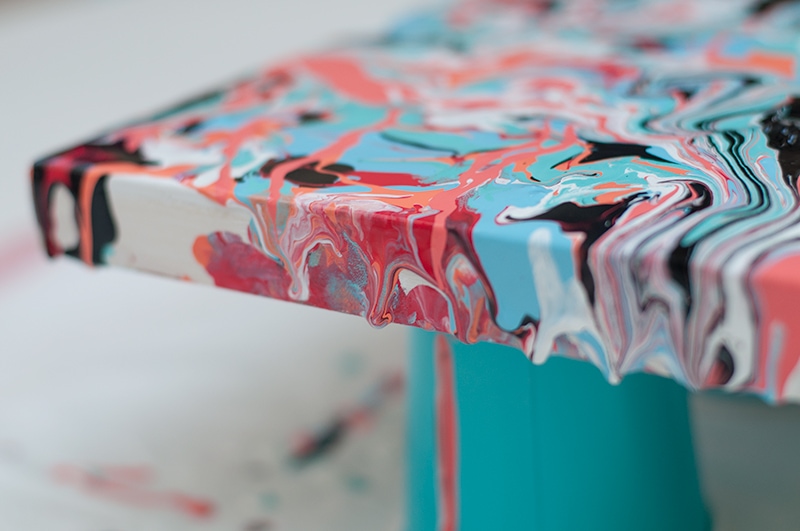
Once your paint has covered your canvas, then lay it on the cups and the rest will start dripping off the sides. We let all our projects dry for 24 hours, just to be safe.
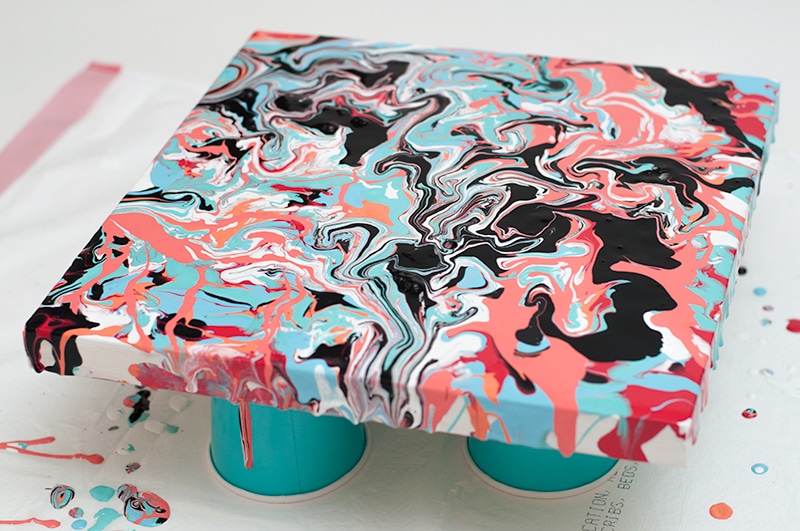
If you have any dripping on the edge, you can wipe it away with your fingers.
See how simple these painting ideas for kids are?! I would be prepared to have several canvases available because they will want to make more for sure!

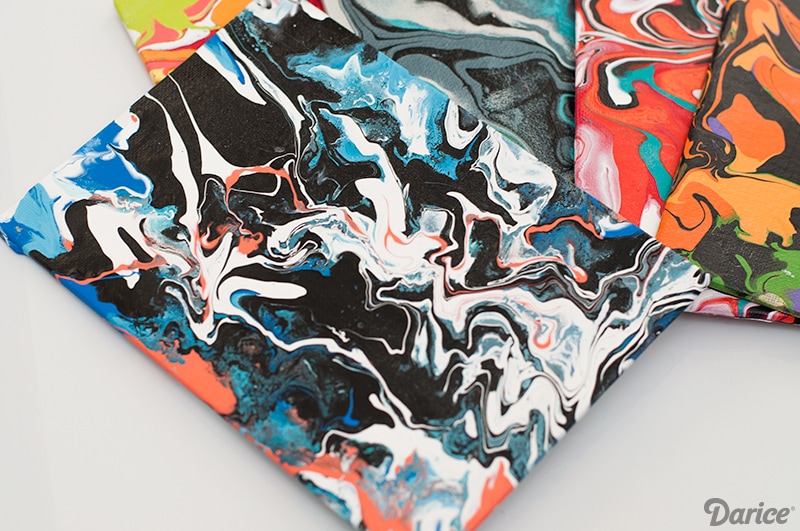
Here’s are all the ones my boys made. As you can see any color combination works for this project. I let them all pick whatever 5 colors they wanted. One of my boys even picked out all metallic colors like blue, green, silver, and gold. That one had a really cool look in person.

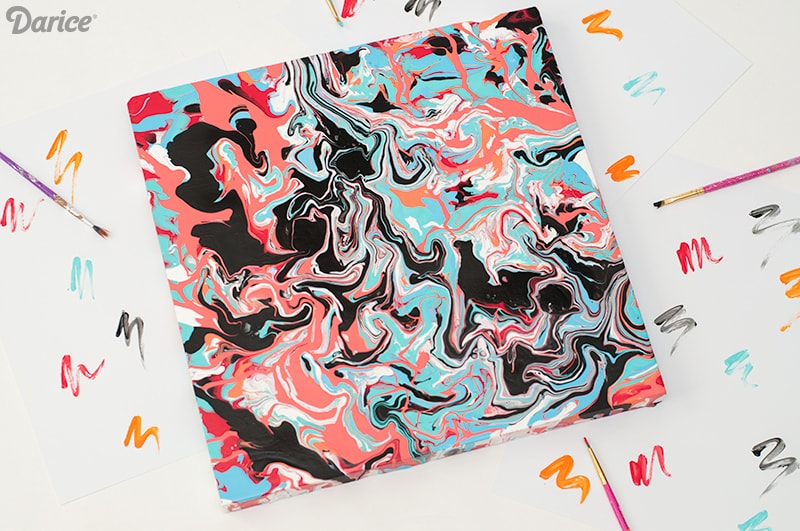
This would be some fun wall art for their bedroom or even playroom. So simple and cool to make. That’s our favorite kinds of crafts around here!
Thank you for stopping by and I really hope you enjoyed this tutorial, because we had LOTS of fun making it!
Love, Courtney