Crafts by Courtney

How-to Crafts and DIY Parties

  • Home
  • How-to Crafts
    • Home Crafts
      • Holiday
      • Seasonal
      • DIY Decor
    • Kids Crafts
      • Holiday
      • Seasonal
      • Educational
      • Clean
      • Messy
  • DIY Parties
    • Birthdays
    • Just for Fun
    • Holidays
  • Blog
    • My Thoughts
    • Hubby’s Corner
  • About
  • Contact

Simple DIY Dried Flower Arrangement

Simple DIY Dried Flower Arrangement

Sponsored Post: Financial compensation was received from FloraCraft® for this post. Project idea and any opinions expressed here are our own.

Hello everyone! It’s that time again… Another Make It Fun Challenge! This month we received a box of Design it:® Silks & Naturals Desert Foam® and the theme was botanical and dried arrangements!

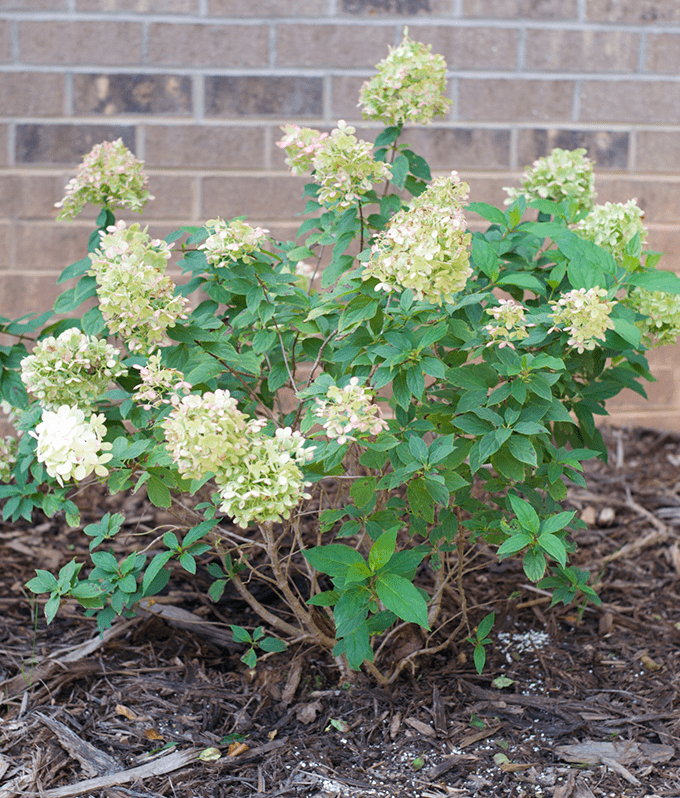
I knew what I wanted to use for this project. In the Spring I planted a limelight hydrangea in the yard. I just love it and wanted to save the flowers when they started to die out and use them for a DIY Dried Flower Arrangement in the house. I did one last year for my Fall home tour, but I never added any foam to the bottom and the flowers would fall out when I moved it.

So when I opened the box, I was super excited to see the foam. Because it was time to cut the flowers if I wanted to use them. Perfect timing right!!

Getting Started

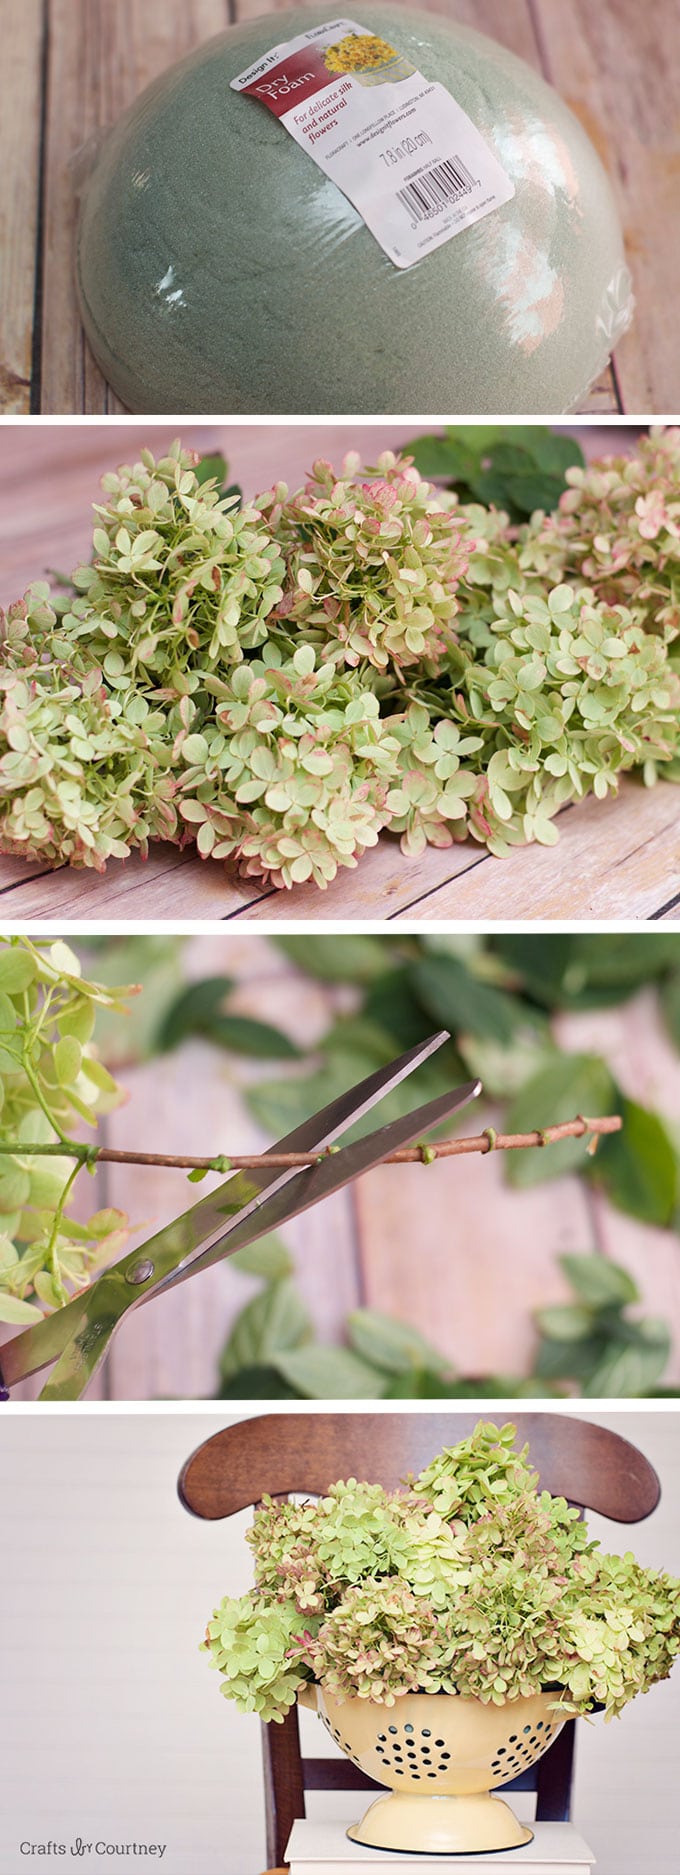
As you can see the bush is pretty small so not too many flowers blooming off. Hoping by next Spring it will be a little bigger. I had to use every flower on the bush for this project.

Simple DIY Dried Flower Arrangement

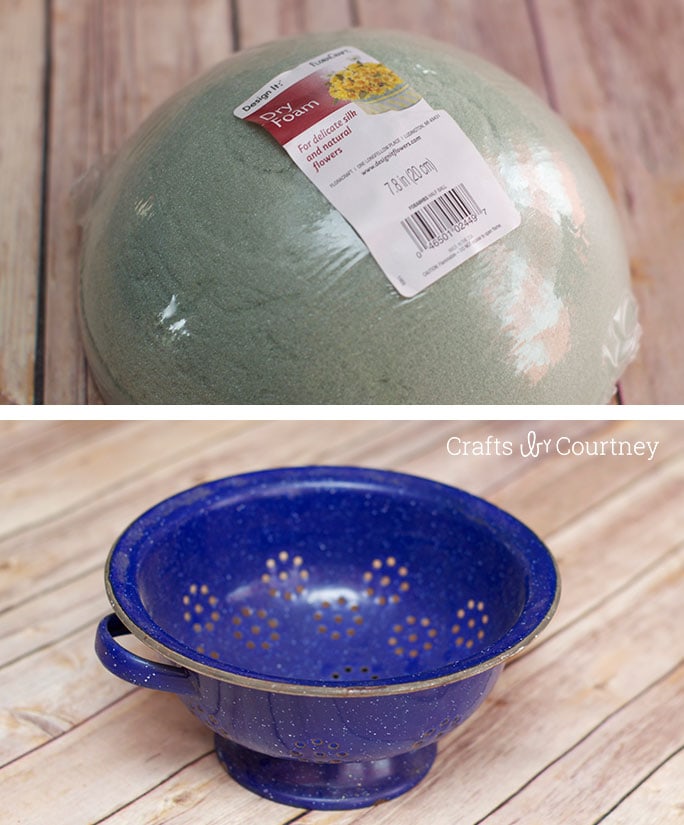
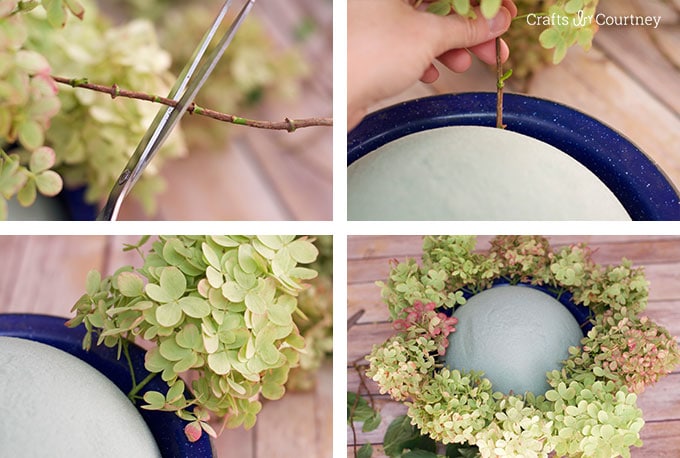
Step 1 – Pick Your Dry Foam

I grabbed the largest size piece of foam that would fit in my colander. The best part it fit perfectly! YAY, love when that happens.

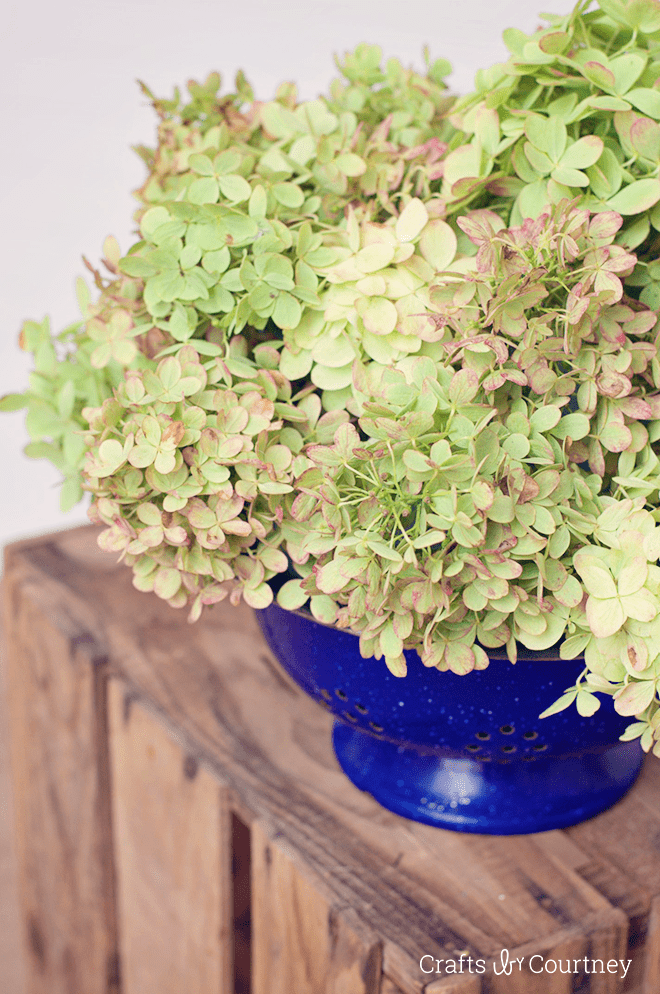
On a side note, I love old colanders, they are perfect for decorating around. I would be so excited if I ever found a light blue or mint colored one.

Simple DIY Dried Flower Arrangement

Step 2 – Remove Your Leaves

Next, I removed all the leaves. When the flowers completely dry up the leaves start turning brown. So better to take them off now.

Simple DIY Dried Flower Arrangement

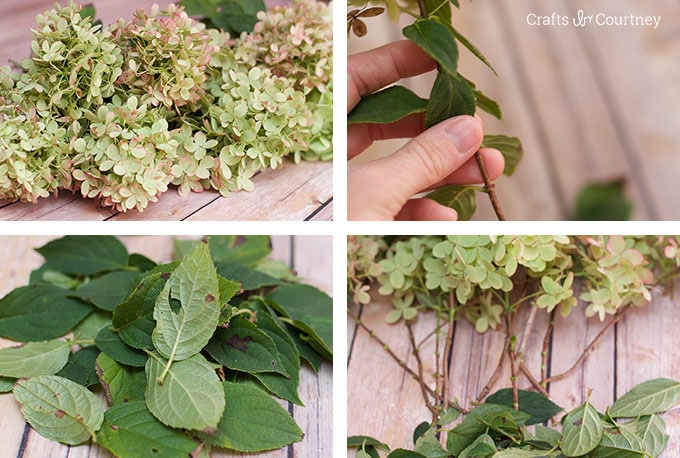
Step 3 – Add Your Flowers

Finally, I started placing them in my foam. I cut the stems and started working my way around the edge then filling in the middle.

I know a lot of tutorials suggest putting your flowers in water and letting them absorb it. I never did that with the one I made last year and I used it until the end of fall. So two months, after that I was tired of the look anyways.
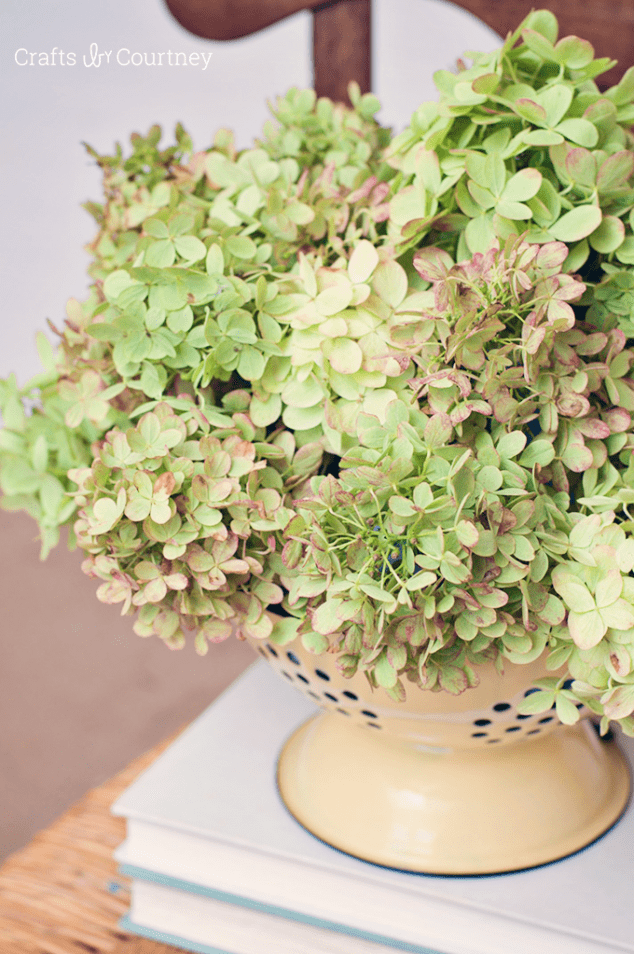
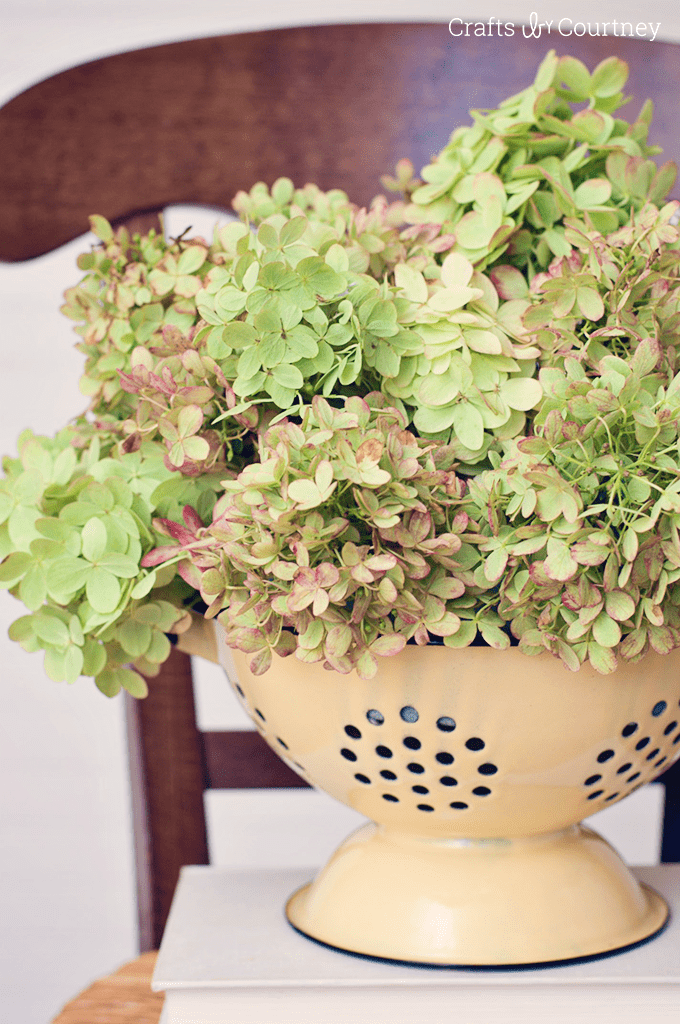
Simple DIY Dried Flower Arrangement

Finishing Touches

Now I’m ready to display! I played around with another colander I had and I like both looks.

Simple DIY Dried Flower Arrangement

Such a simple project to do, especially if you already have the flowers on hand. This foam is also perfect to use for fake flowers or some Succulents from Design It.

Simple DIY Dried Flower Arrangement

Simple DIY Dried Flower Arrangement

Simple DIY Dried Flower Arrangement

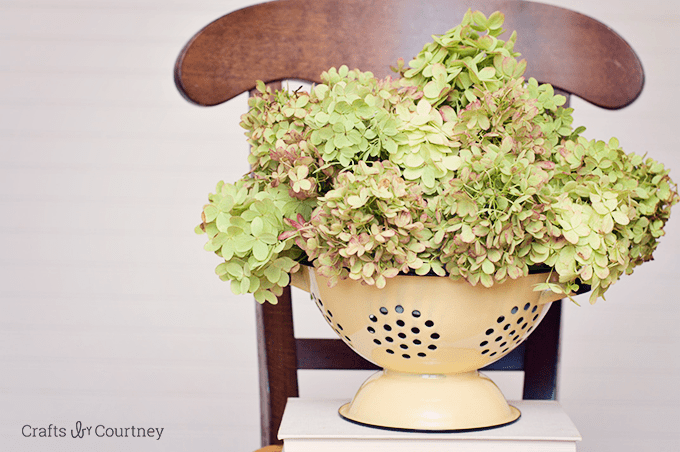
This arrangement is going to look great sitting on the table in the kitchen.

This was our last month for the Make it Fun Challenge. It has been great working with all these super talented bloggers and seeing their creative ideas.

BUT Sharon and Jamie have decided to keep all the members on for another six months! I’m so excited because we have all the holidays coming up. Those will be some very cool challenges to do.

Love, Courtney

About Courtney Sanchez

Hi, I'm Courtney and I LOVE crafting! I am a mommy to 3 awesome boys (who keep me very busy) and wife to a loving husband. Crafts by Courtney is where I like to hang out ;)

Leave a Reply

Courtney Sanchez

Hi, I'm Courtney!

Welcome. Here is where I share the fun how-to crafts I've done with my kids and for my home. I also really love DIY parties too! Read More…

My Socials

  • Facebook
  • Instagram
  • Pinterest

Newsletter

Subscribe to my email newsletter for more craft ideas, tips and valuable resources.

The TOP 4

  • 33 Awesome Birthday Party Ideas for Boys33 Awesome Birthday Party Ideas for Boys
  • Terra Cotta Pot DIY Lighthouse Garden ProjectTerra Cotta Pot DIY Lighthouse Garden Project
  • Create a Colorful Glitter and Gel Sensory BagCreate a Colorful Glitter and Gel Sensory Bag
  • Cardboard Box Craft - DIY DollhouseCardboard Box Craft – DIY Dollhouse

Looking for more?

Over on Instagram

craftsbycourt

I love living in North Carolina, we have beautiful I love living in North Carolina, we have beautiful flowers off the exits the county plants every Spring and Summer.  Right now we have these amazing zinnias off the exit by my boys school.I’ve been wanting to snap a picture the past couples days. Finally I was able to this morning.  Zinnias have recently become a favorite flower of mine.  The blooms last so long.A couple months ago we have poppies and sunflowers off a lot of the exits here.
Sorry a none decor/craft reel for today.My serio Sorry a none decor/craft reel for today.My serious guard dog for sure, barks at a leaf falling on the ground. But that face, love it!
Sharing my favorite light fixture in the house. Th Sharing my favorite light fixture in the house. The one we got from @worldmarket for our master bedroom makeover. Major before and after transformation.I just posted on the blog all the details on the light fixture. Link below 👇
Our busy Summer has come to an end, the boys start Our busy Summer has come to an end, the boys started school today. We've had so much fun and made so many special memories this Summer together. Now it's back to getting up early, sports and homework!
DIY keychains tutorial! I created these using @de DIY keychains tutorial!  I created these using @decoart  Galaxy Glitter paint.  Head over to the blog for full tutorial.
Here’s s another easy DIY Back to School project Here’s s another easy DIY Back to School project!! I used @dollartree clipboards and my @silhouette.inc to make these back to school clipboards. Head over to the blog for tutorial.Link below 👇
.
.
.
#backtoschoolcrafts #backtoschool #schoolcrafts #dollartreecrafts #dollartreecraft #create #diy #silhouette #silhouettecameo #silhouettecrafts #clipboardcrafts #tutorial #diyblogger #blogger
Follow on Instagram

Who I Work With

Crafts by Courtney   ·   Copyright © 2013 - 2022