Happy Tuesday friends, I hope you’re week is going well! Today I’m sharing my Front Step Makeover! It’s been so beautiful here in NC and just makes me want to be outside all day and do projects. I’m 100% a Spring and Summer girl. I could be outside all day long in the Summer.
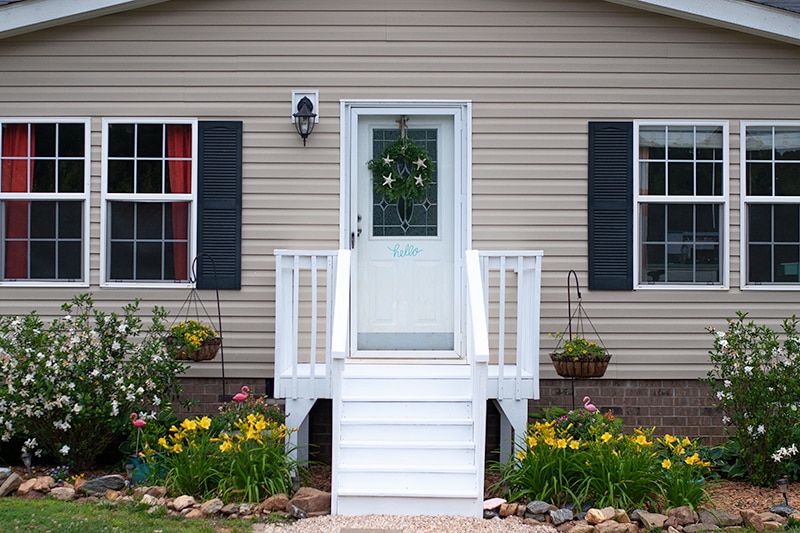
So one project that’s been on my to-do list is my front steps. They were built when we first moved into our house, but I’ve never done anything to them. The past couple years I’ve really been focusing on the inside of the house. Don’t get me wrong, I’ve planted flowers, evergreens, and trees but that’s been about it curb appeal wise.
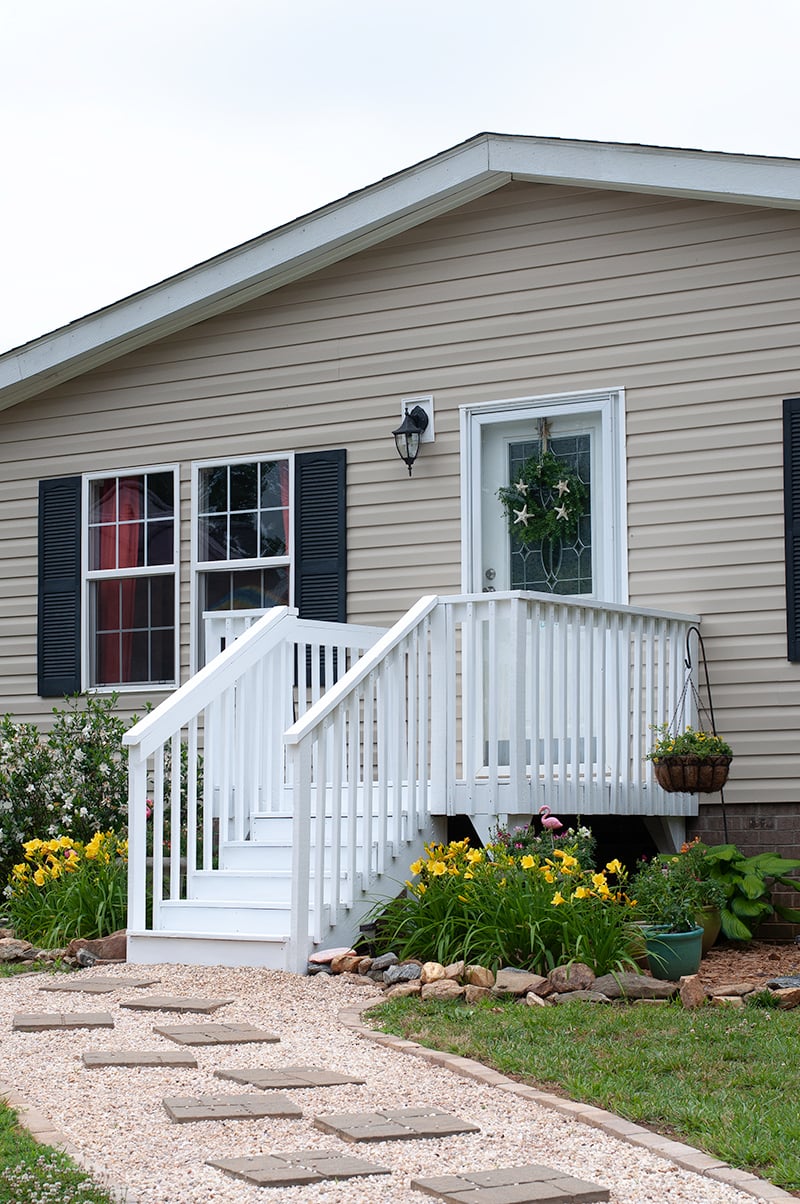
This year we’ve even added the gravel walkway to the front of the house, which has made a HUGE difference for the front of our house. This was the before walkway. We just added the pavers as a fast thing when we first moved in.
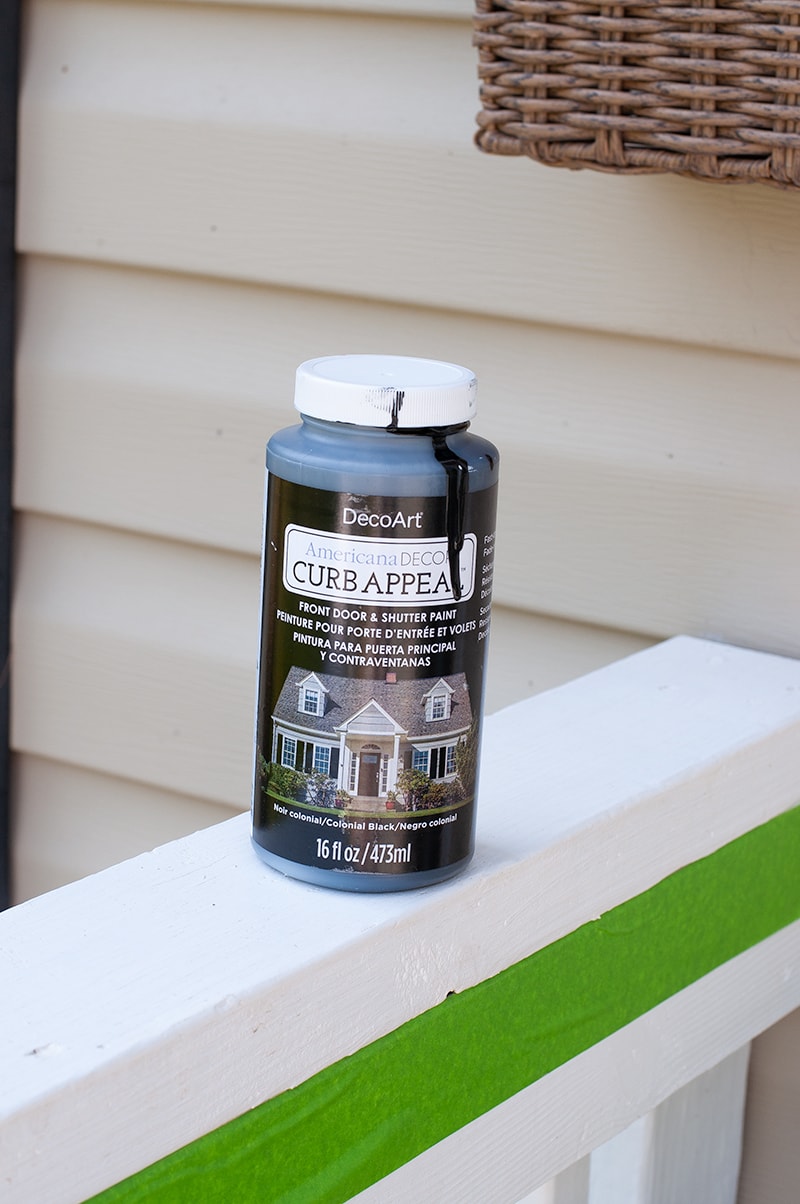
Since I’ve gotten the flowers beds looking great and a new walkway, I decided it was time to paint the front steps and give the whole area a new look. DecoArt released their Curb Appeal paint last year and I’ve been dying to try it. So I grabbed a couple colors to choose from and started.
Now onto the makeover!
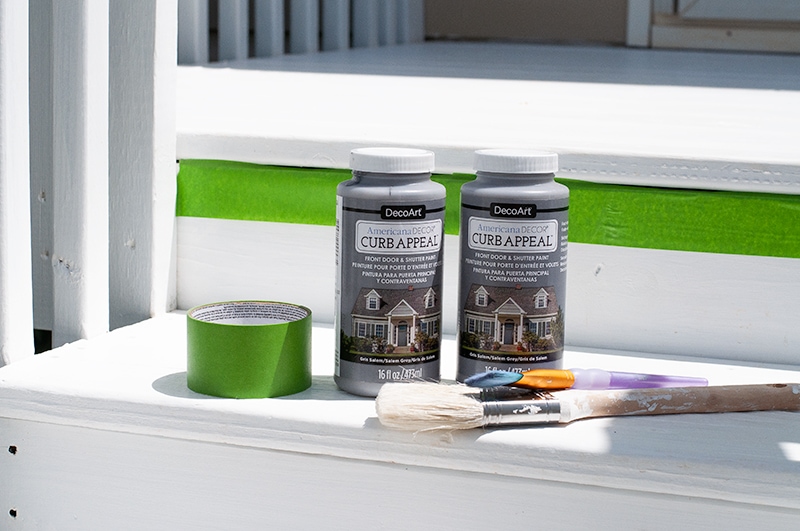
Front Step Makeover Supplies:
- DecoArt Curb Appeal Colonial Black
- DecoArt Burb Appeal Salem Grey
- Valspar Porch, Floor and Patio Latex Paint
- Clorox Pro Results – Outdoor Bleach
- Painters Tape
- Paint Brush
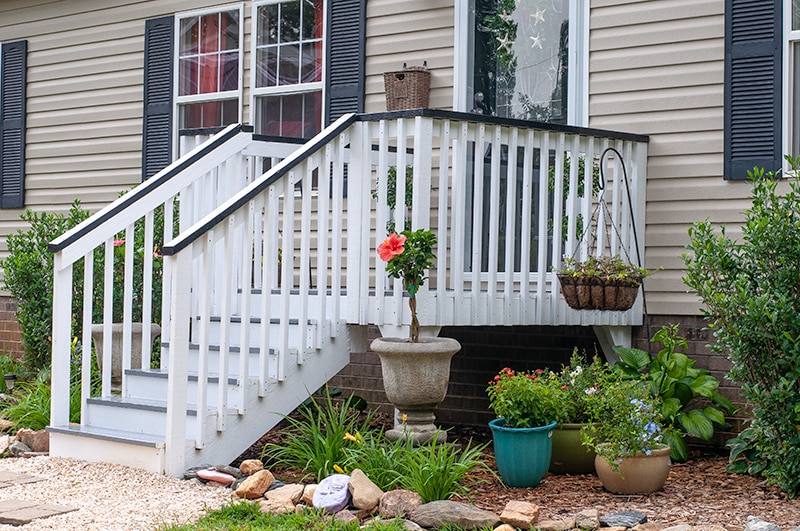
Step 1 – Clean Steps
As you can tell from the bottom photos these steps really needed a good cleaning! I used an outdoor bleach I found in Lowes. It took a couple hours but I got these steps cleaned up nice!!
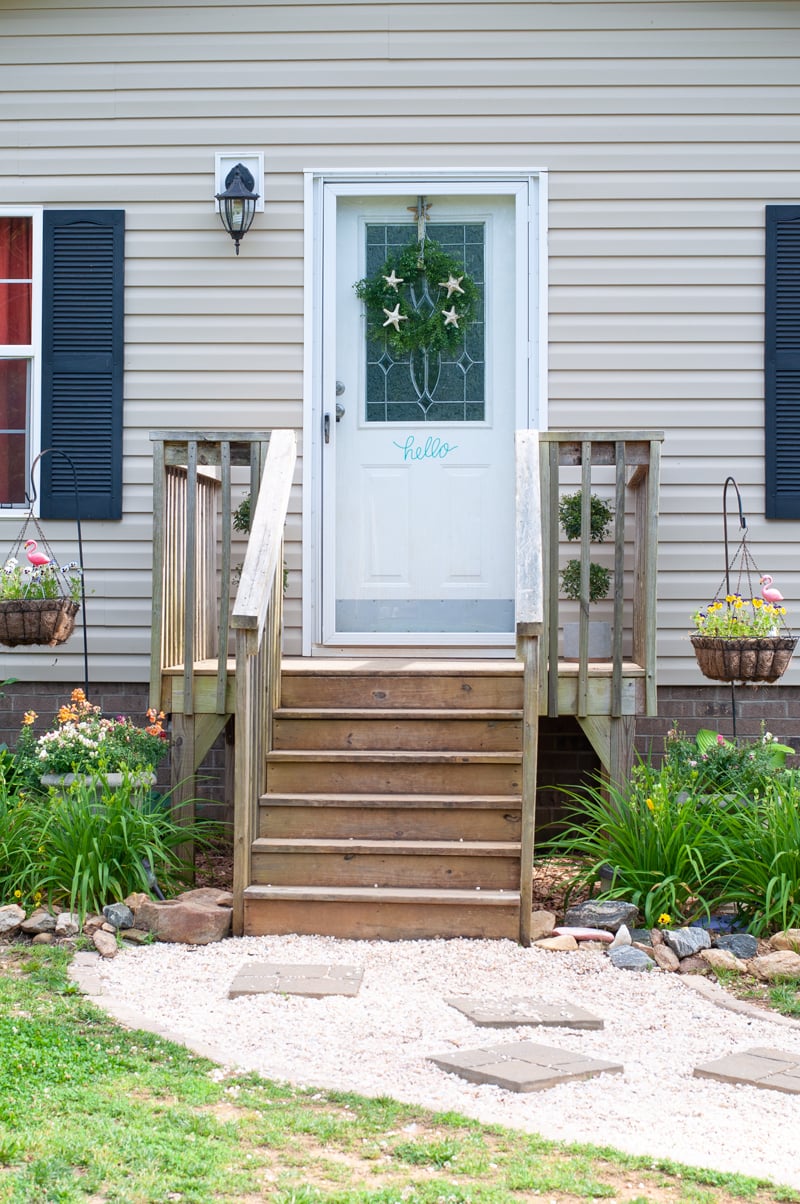
I really wish I would have snapped an after photo of the steps, believe me it was a major improvement.

Let the wood dry completely for 2 days.
Step 2 – Paint Base Coat
I went over the entire front steps with the Valspar Outdoor Paint. These steps were really dry and soaked up that paint. I had to do a total of 4 coats on these steps over several days.
Already looks like a major improvement.
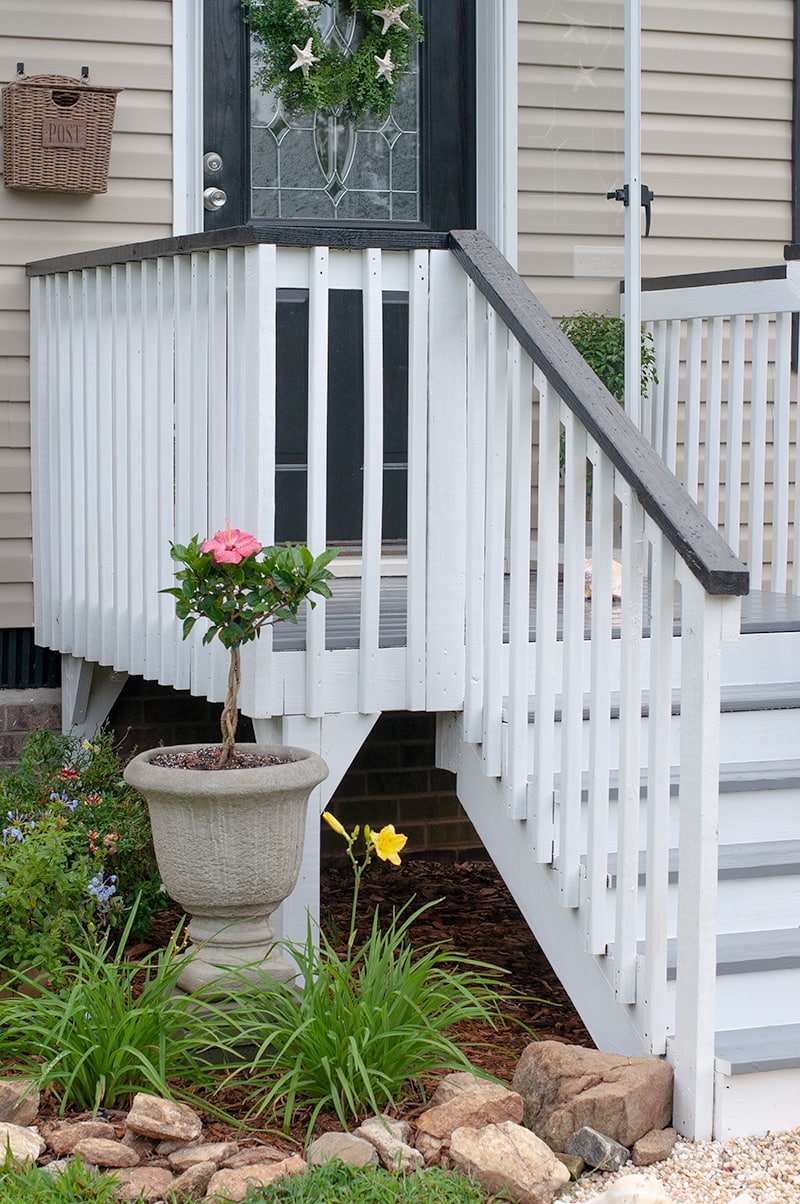
Step 3 – Paint Top of Steps
I really loved the white steps but I felt like it needed something extra, plus they were not easy to keep clean out here in the country.
So I got some of DecoArt’s Curb Appeal Paint in Salem Grey and painted the tops of the steps. For this step all I needed was two coats of the grey paint, it goes on pretty thick.
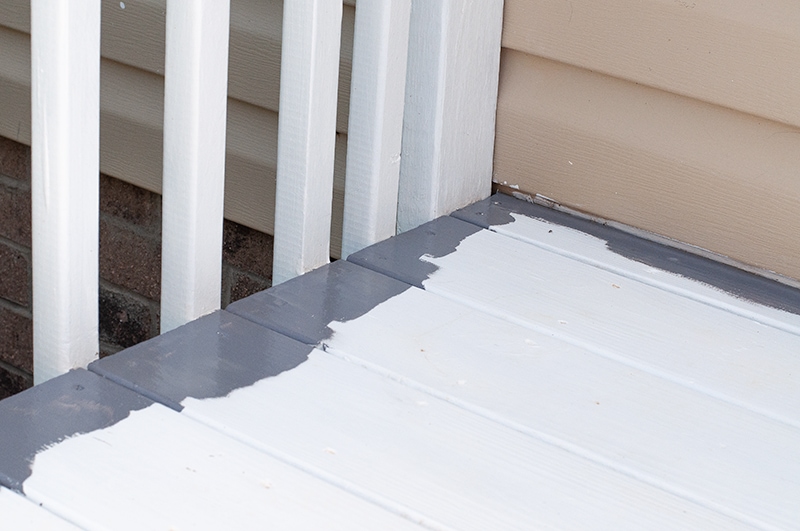
I waited 24 hours between each coat to dry throughly.
After I finished the grey I really liked it but…. I felt it still needed something extra.
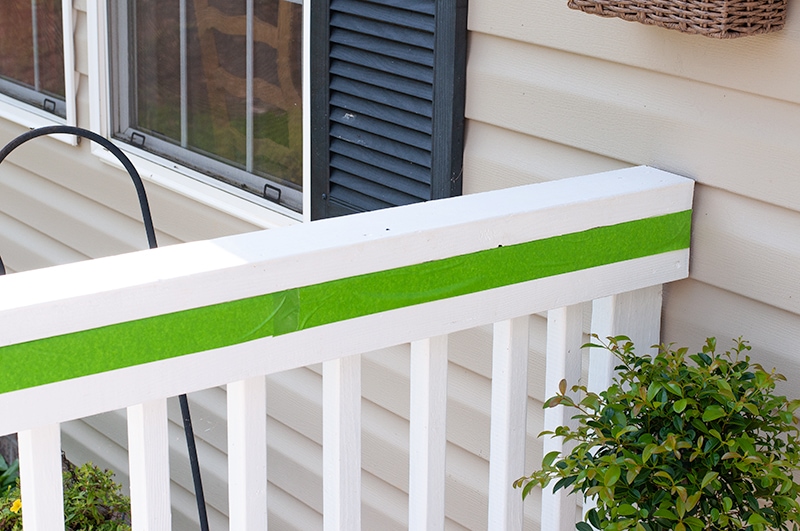
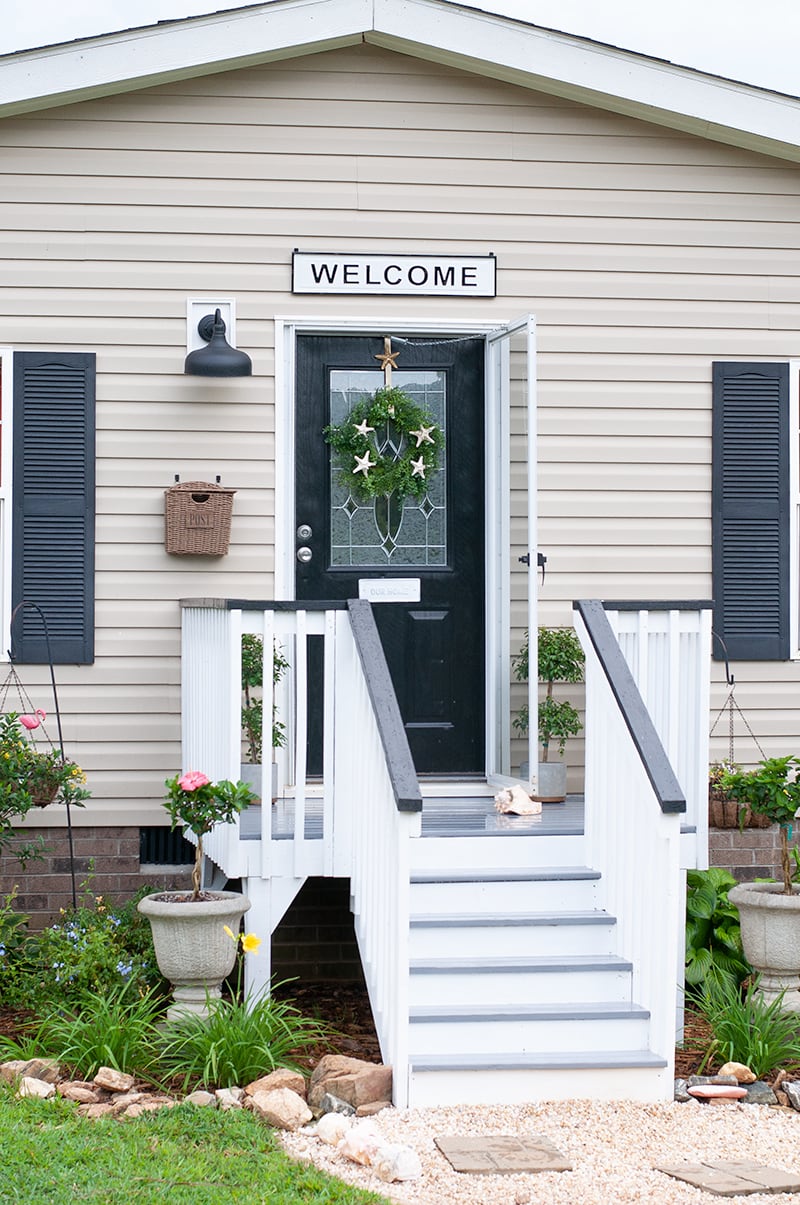
Step 4 – Paint Top of Railing
I just came back from Charleston visiting some family there, well after seeing all these beautiful homes in their neighborhood and talking with my cousin (which she is AMAZING at decorating/designing) we came up with the idea of painting the top rails black.
I taped off the top and got started. For this step all I needed was two coats as well. This time I just waited the recommended two hours before adding my 2nd coat since this area will not get a lot of foot traffic.
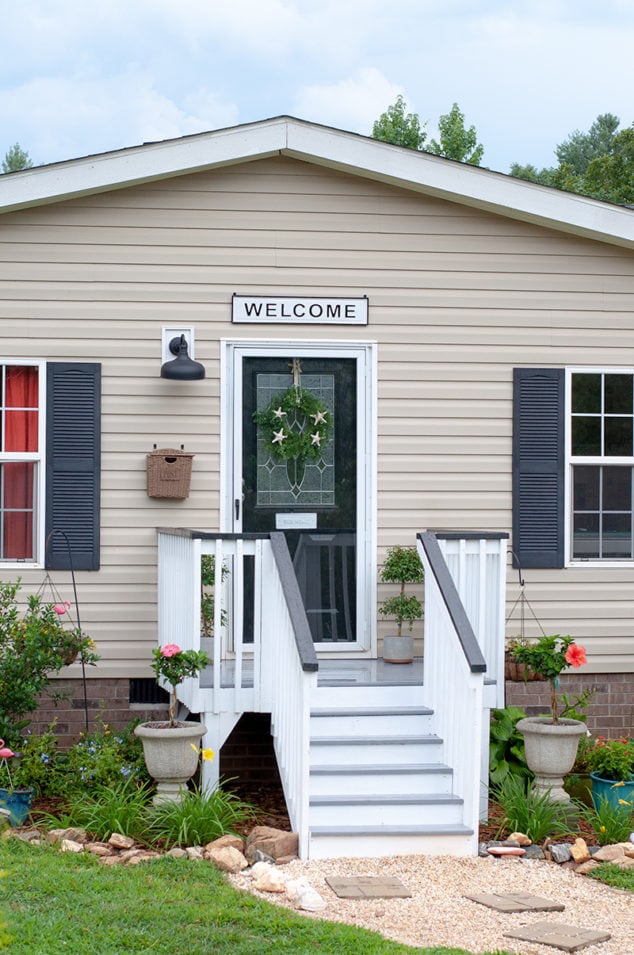
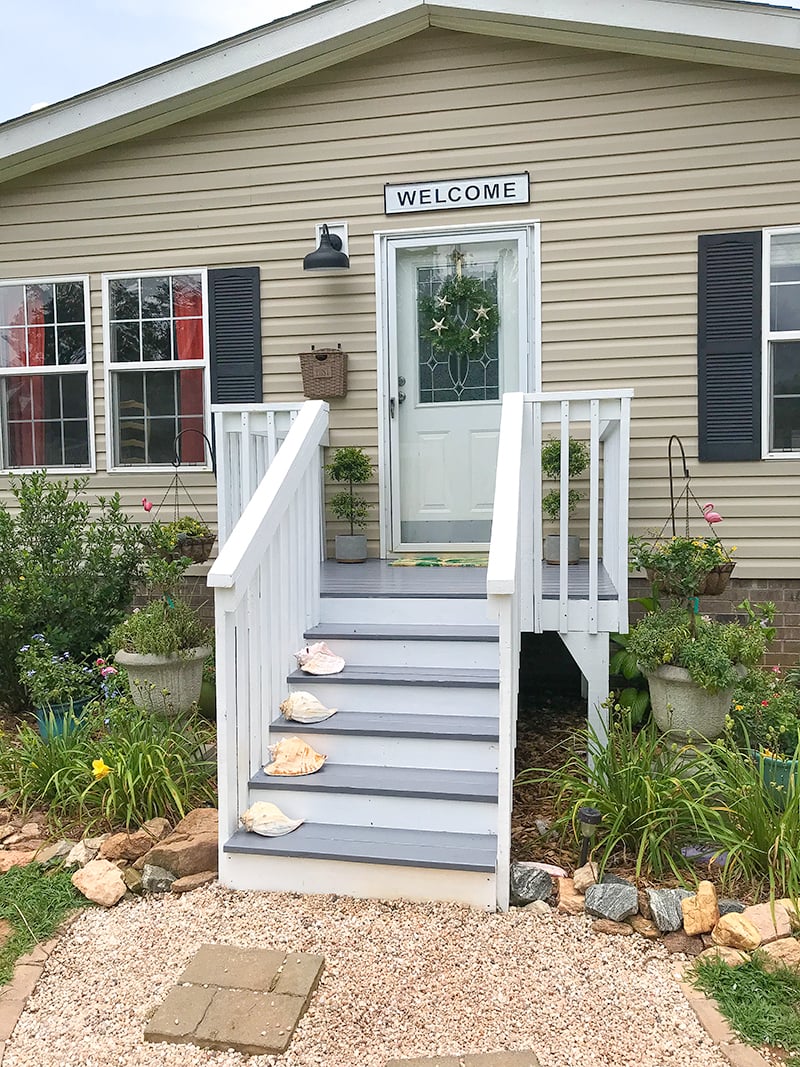
I love that extra touch of black it really ties in the shutters, welcome sign, new light fixture and freshly painted front door. I will have a full tutorial up on the blog on how I repainted my front door in less then two hours.
Finishing Touches
To finish this area off I added some nice finishing touches:
- Welcome Sign – At Home
- Light Fixture – Lowes
- Post Box – TJMaxx
- Wreath – Darice
- Our Home Sign – Micheals
- Topiaries – Wal-Mart
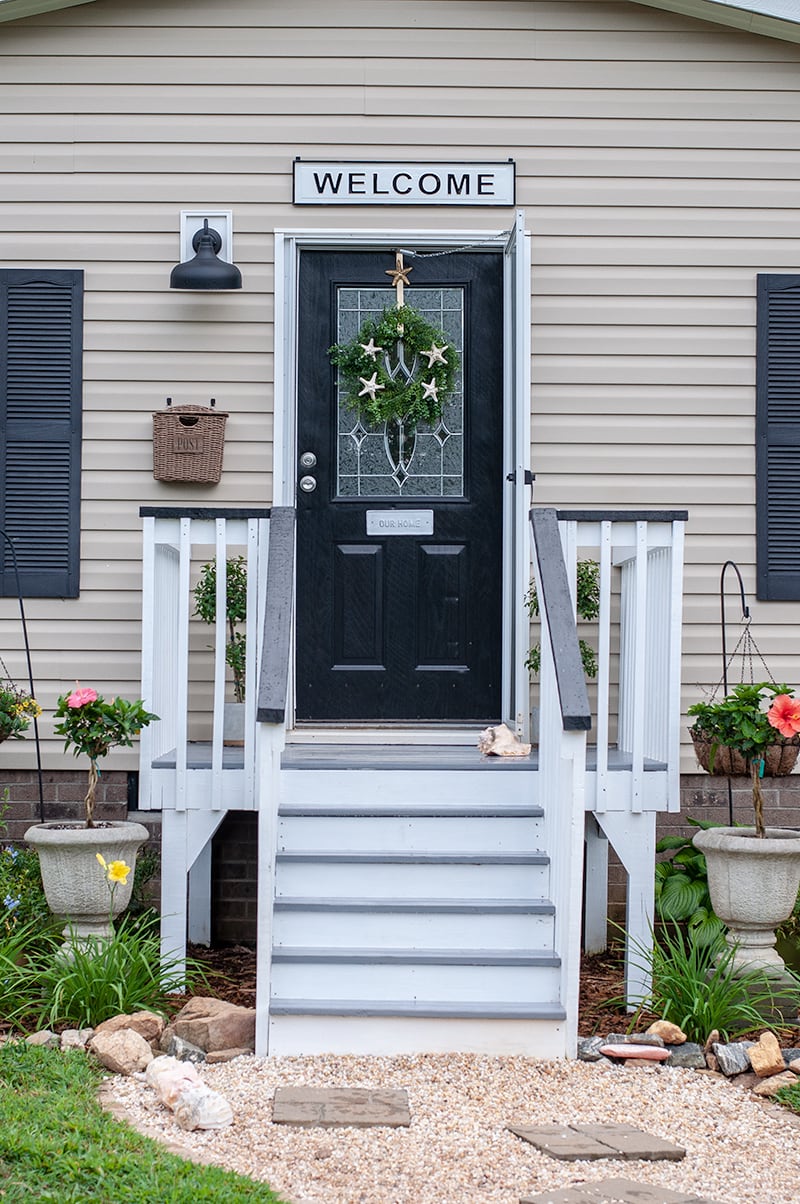
I think overall this area is a BIG improvement and really gives it some great curb appeal, which it really needed.
I am looking forward to decorating this area for each holiday now!! Fall is right around the corner!
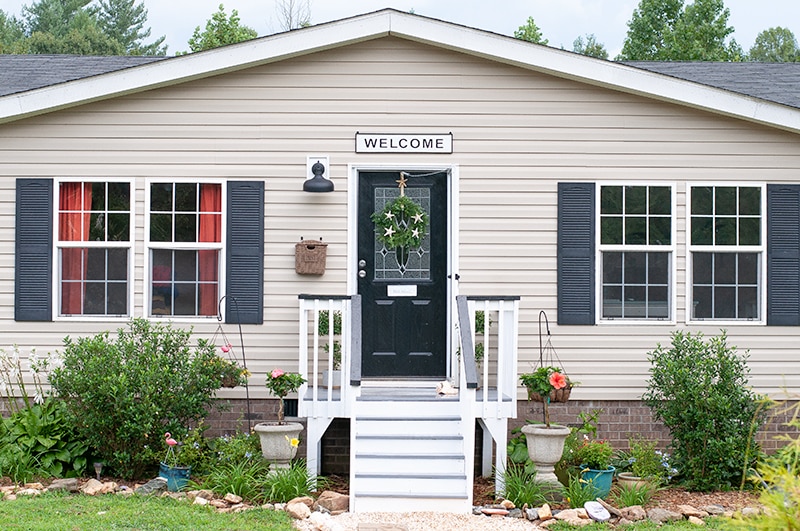
I never would have been able to give these steps a makeover without the DecoArt Curb Appeal paints. I think this will do for a couple years until we can add a porch across the front. That’s the ultimate goal, a porch across the front!
As always thanks for stopping by, make sure to stay tuned for my front door makeover post!!
Also check out DecoArt’s Pinterest board, they have a TON of door makeovers using the Curb Appeal paint to help get you inspired!
More Outdoor Projects
- Front Door Welcome Sign
- Painted Stepping Stone
- Terra Cotta Pot Light House
- DIY Hose Stand
- Coastal Fairy Garden
Love, Courtney