
Happy Holidays everyone! I’m so excited to share my newest heat transfer project. A DIY Christmas Apron. This is my second apron project, but my first time using the heat transfer vinyl on an apron. I have a cookie party coming up on the 18th and I will 100% be wearing my apron while I attend.
This would also make an AMAZING Christmas girls craft night project. Have some wine, everyone can pick out their designs and make an apron to take home! Hey I just gave you another event to add to your calendar this holiday season! We can’t have too many Christmas events right?!?!
Let’s get started!
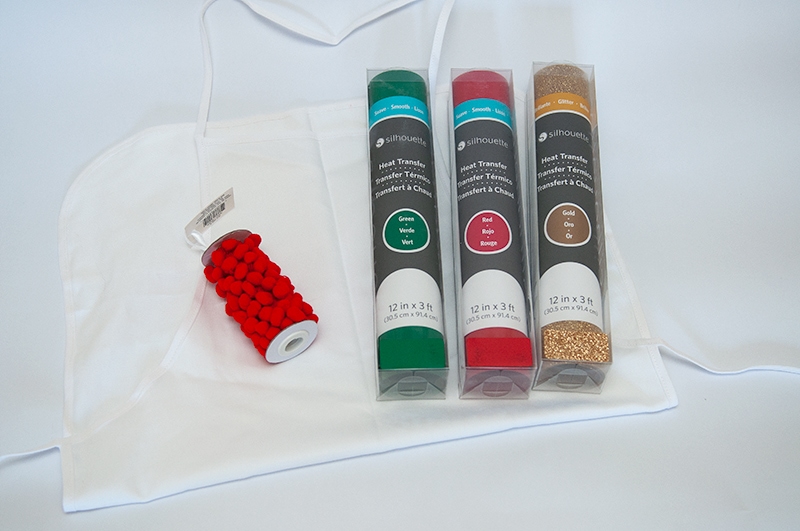
DIY Christmas Apron Supplies Needed:
A big thank you to Silhouette for sponsoring this post! This post contains affiliate links, which help to support this site at no extra cost to you.
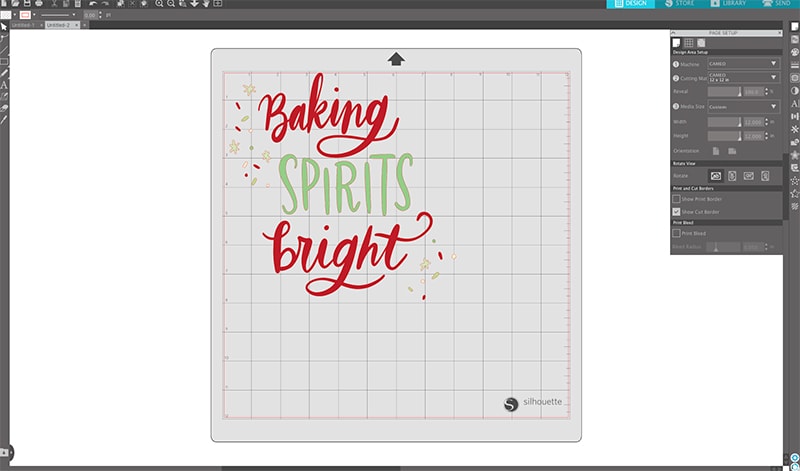
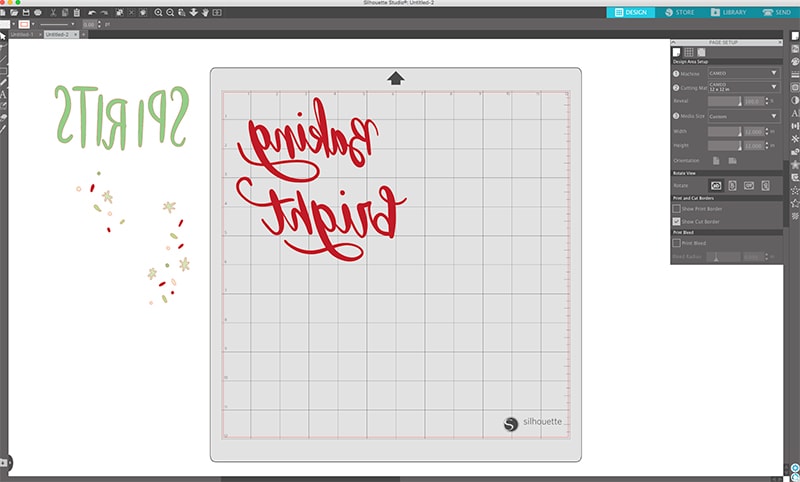
Step 1 – Pick Design
Before I start any project I go into the Silhouette library for my design. I knew I wanted to make a Christmas apron, so I just typed in Christmas and baking into the search screen. After searching all their designs I finally settled on the “Baking Spirits Bright” I thought is was super cute.
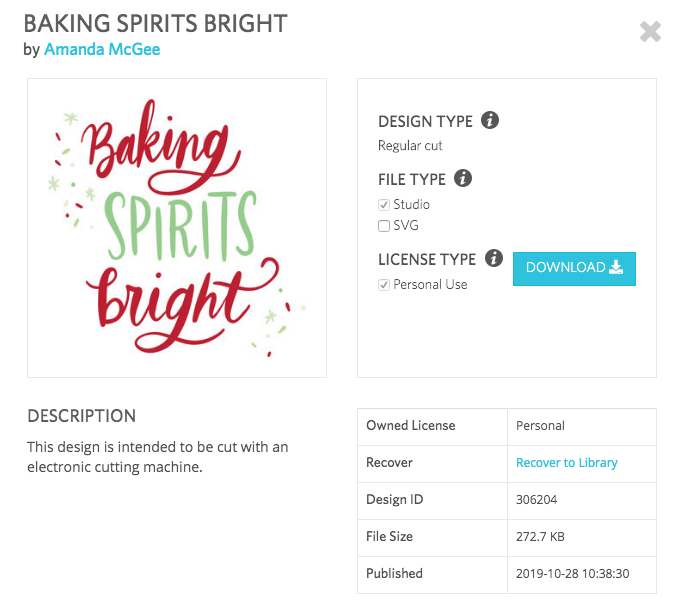
This is the design ID and designer of this design.
Make sure to measure out the front of your apron first. To see what size your design needs to be.
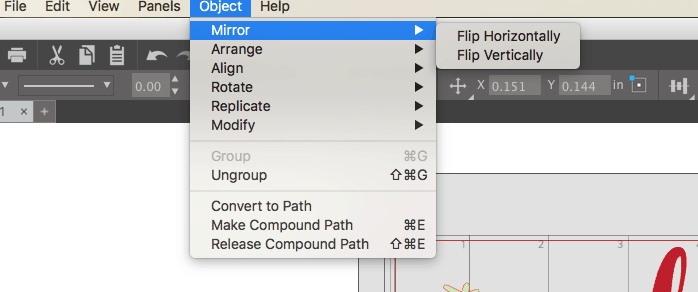
Step 2 – Mirror Design
Next it’s time to prep the design so we can cut it. Since this is a heat transfer project you will need to mirror your design so that it will be right side up.
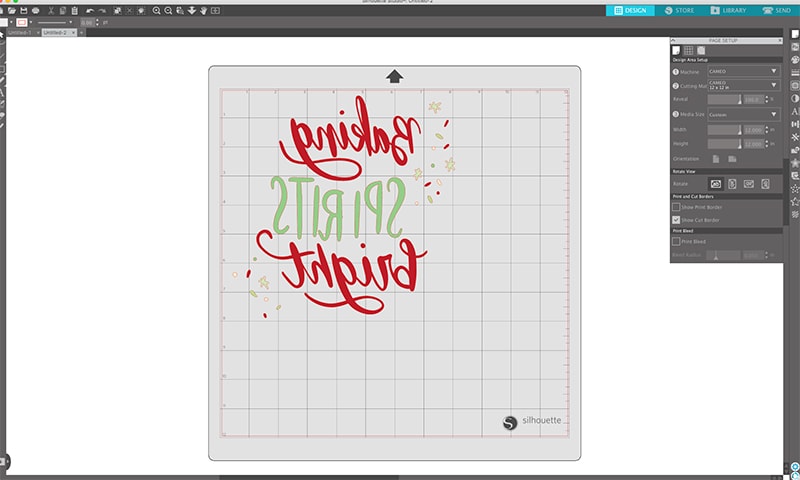
Flip Horizontally.
Step 3 – Ungroup Design
Since we are cutting this in several colors we will need to ungroup our design, and separate it.
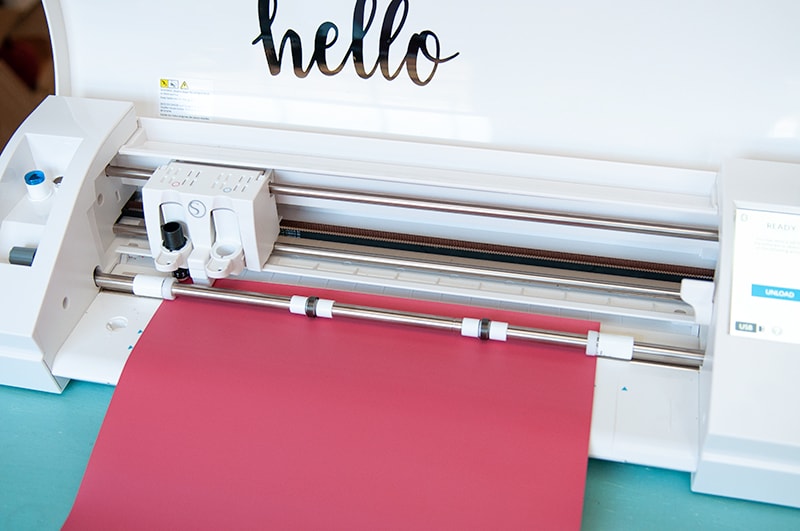
Step 4 – Cut Design
Now it’s time to cut our design! Since we are using heat transfer we need to put the glossy part facing down.
I used blade setting 3 to cut my design. Make sure to select “heat transfer” as your material.
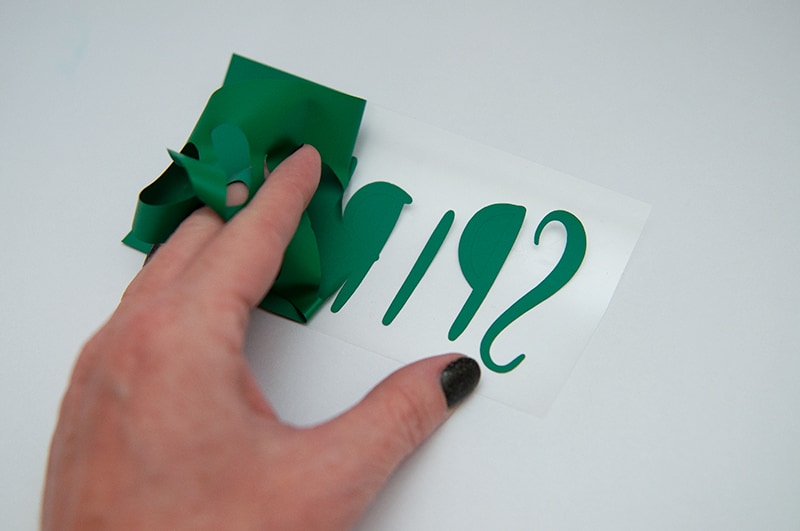
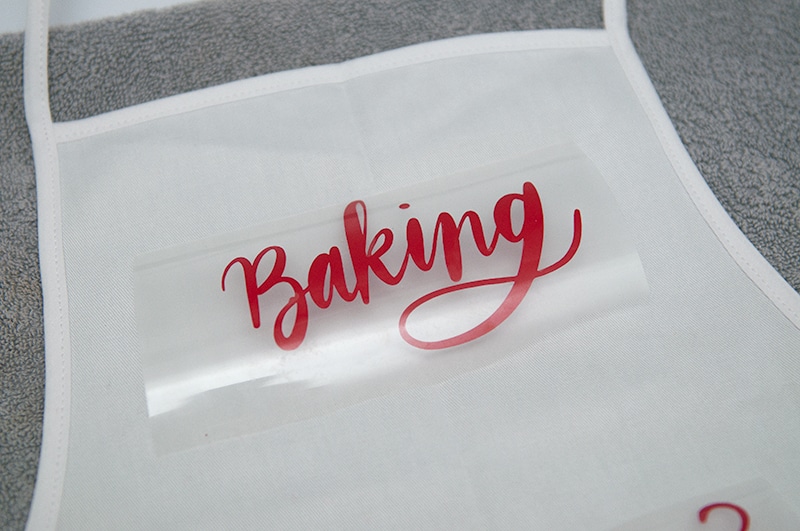
Step 5 – Weed Design
Next it’s time to weed our design. I pulled out my “handy dandy” weeding tool and got started! Just remember slow and steady, it’s not vinyl so it takes a little time to weed each area.
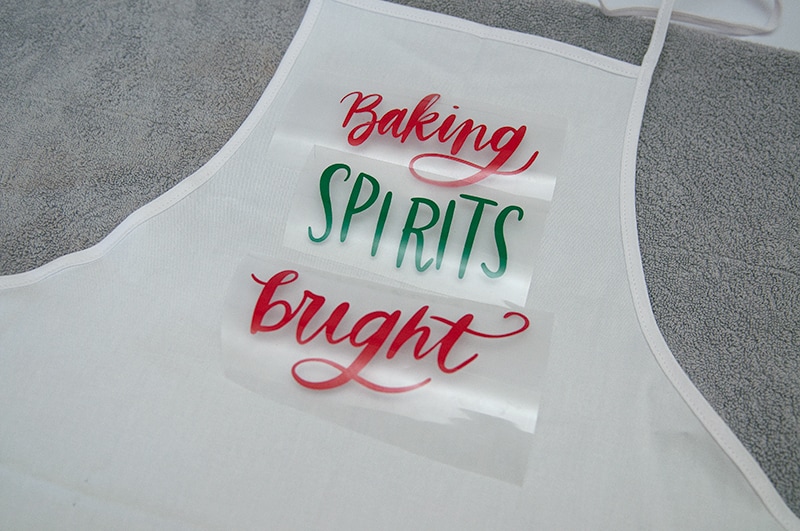
Step 6 – Lay Out Design
I laid out my design to see exactly where I wanted to place it before I ironed it down.
Step 7 – Add Design
Let’s iron this baby down!!
My last post I placed a piece of material on top. But this one I put the iron right on top of the heat transfer and counted to 20.
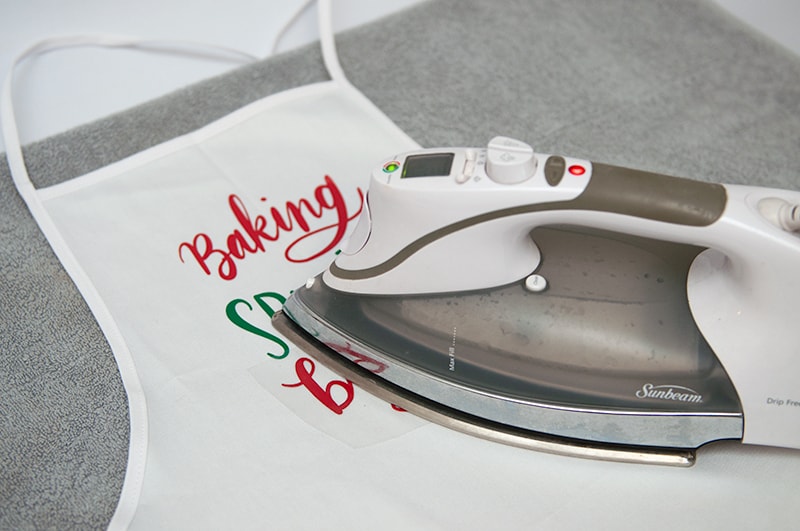
I did each spot in sections. See how easy that is to do!
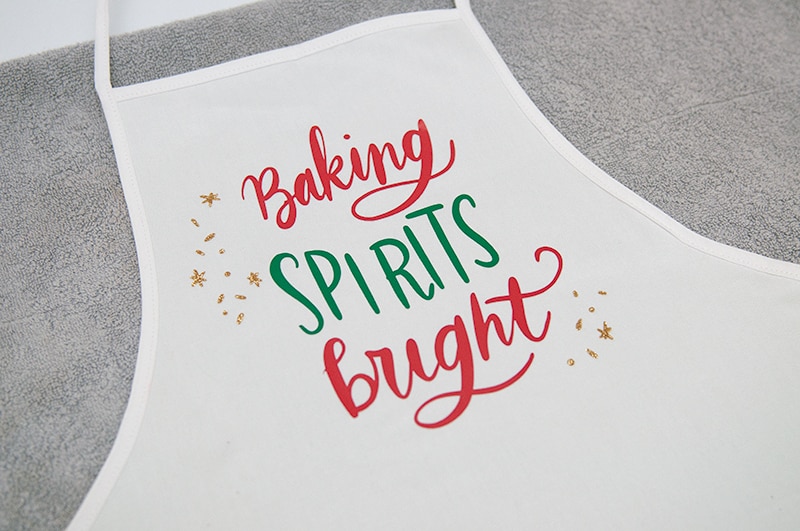
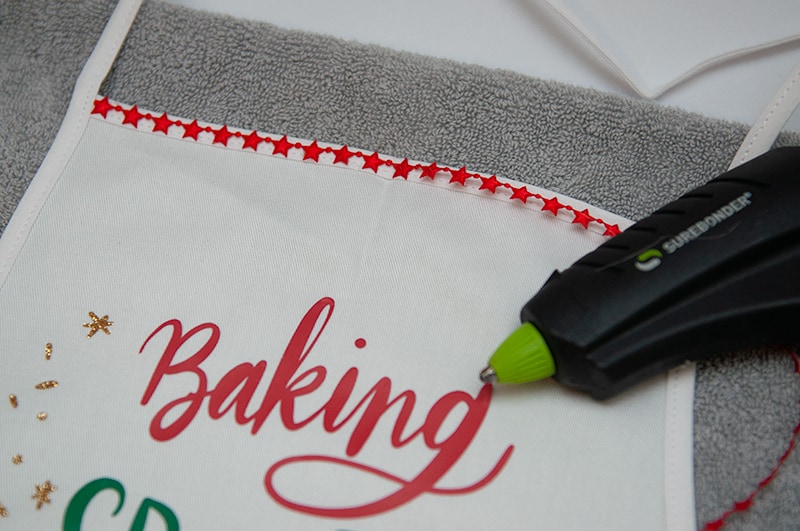
Step 8 – Add Extra Detail
I knew I wanted to add an extra touch to this apron but wasn’t sure exactly what ribbon I wanted to use until I added my design.
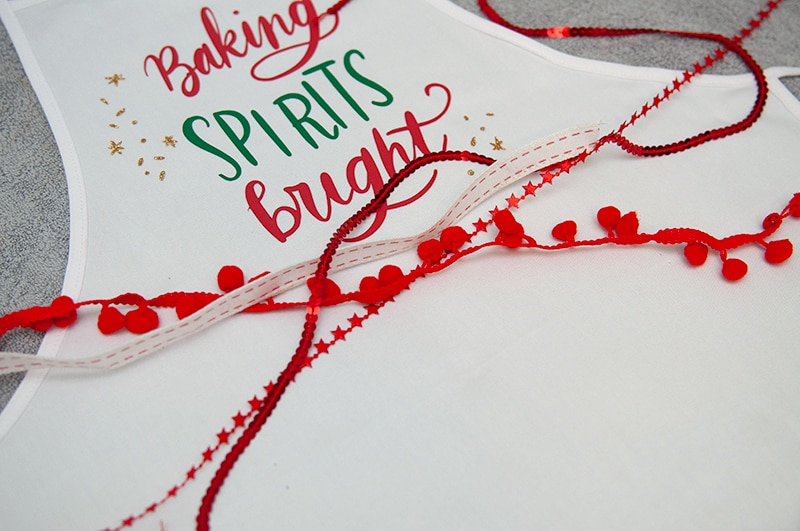
I finally decided on the star ribbon I found at Wal-Mart. I pulled out my “trusty” hot glue gun and started working my way around the apron.
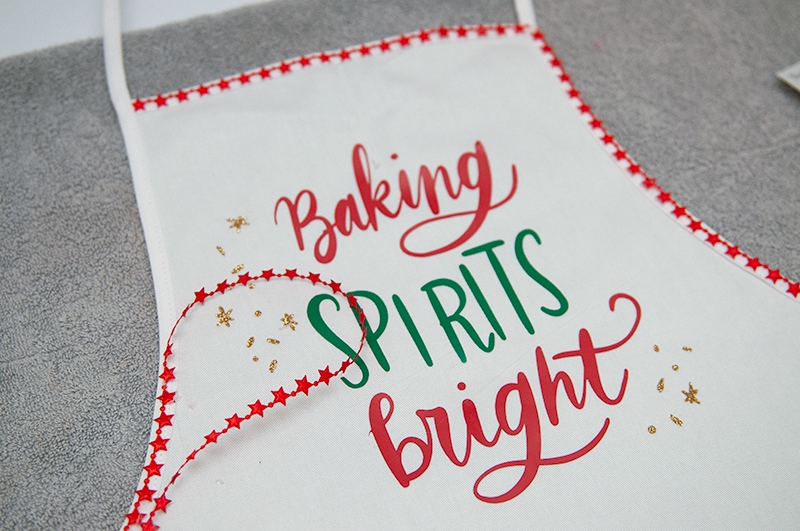
Finishing Touches
Now it’s time to get baking!!
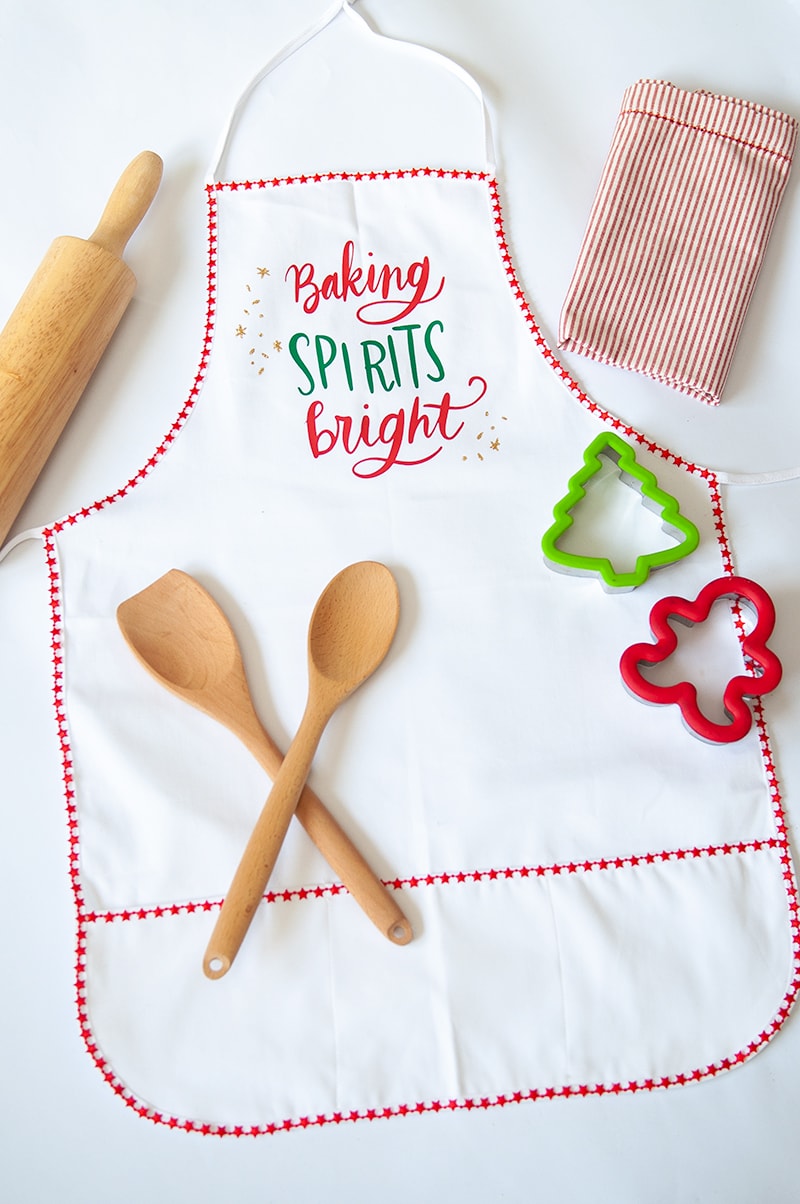


In my best Oprah voice “Let’s get this holiday baking season started!!”
As always thanks for stopping by and checking out my latest project! I’m so happy with how this project turned out. This is my second time using the heat transfer, I posted last week my holiday Christmas pillow. See I told you I was posting another heat transfer project, my DIY Christmas Apron.
Have a safe and happy holiday season! If you have any questions regarding the post just leave me a quick comment!
More Christmas Crafts
- DIY Christmas Pillow
- Mini Coastal Christmas Trees
- Pallet Christmas Sign
- Rustic Felt Trees
- Burlap Christmas Wreath
- Noel Christmas Sign
- DIY Advent Calendar
Love, Courtney