
Happy Monday everyone!!
Today I’m sharing a new Pour Painting Project I worked on over the weekend with my oldest son. I have always loved working on craft projects with my boys. But my oldest is kinda getting past the “craft” stage and wants to move more into the “ART” stage. He loves to draw and be creative so I thought this would be the perfect project for him to work on.
As you all know I’m apart of the core blogger team for DecoArt. Every month we have a fun challenge to create a project using a DecoArt product. This month I had the opportunity to try the new DecoArt Pouring Medium.
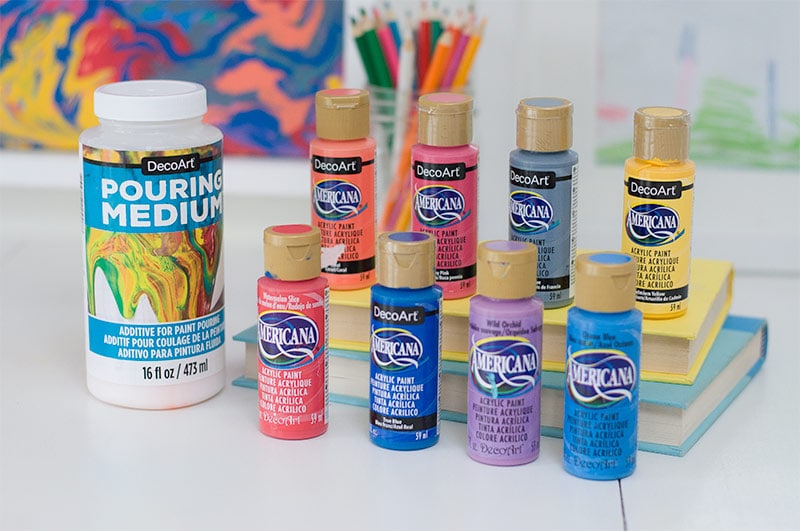
Pour Painting Supplies Needed:
Gather up your supplies!
LET’S GET CRAFTING!!
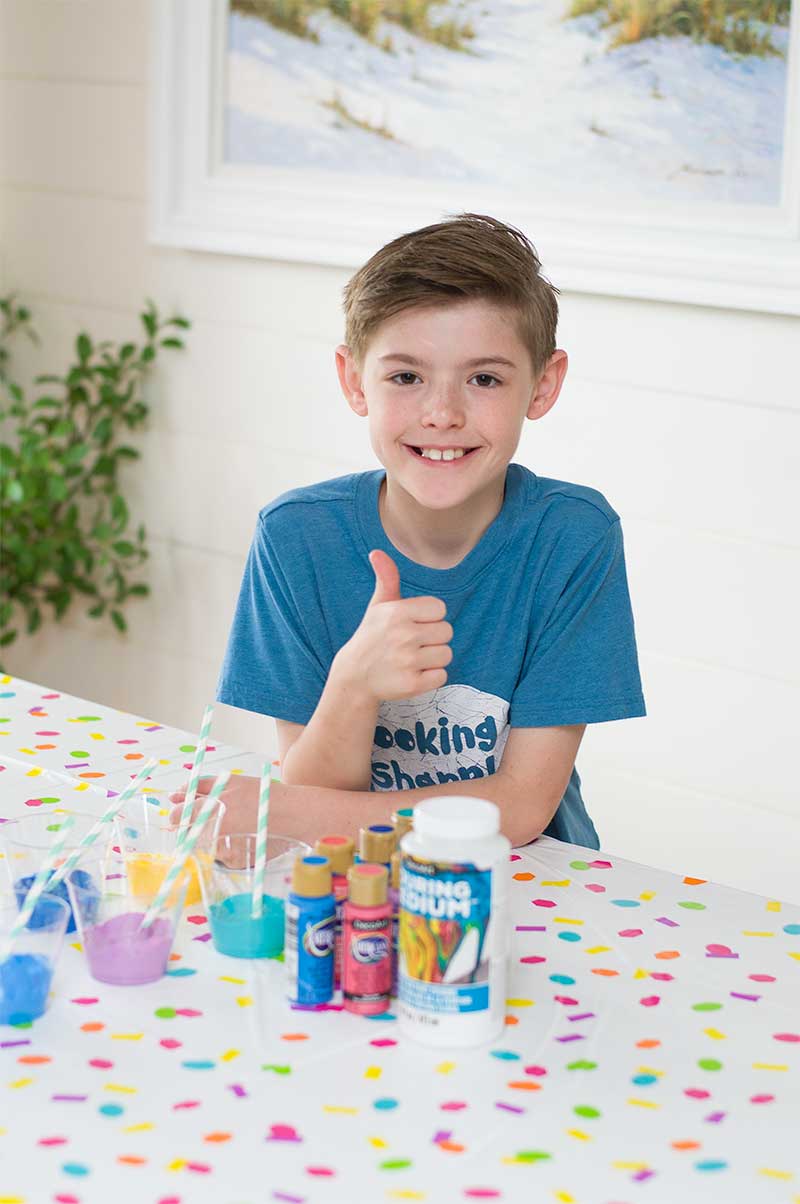
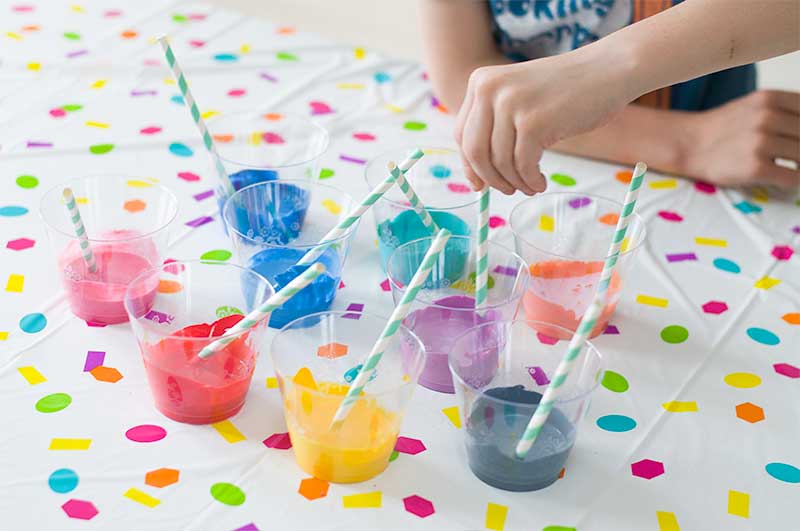
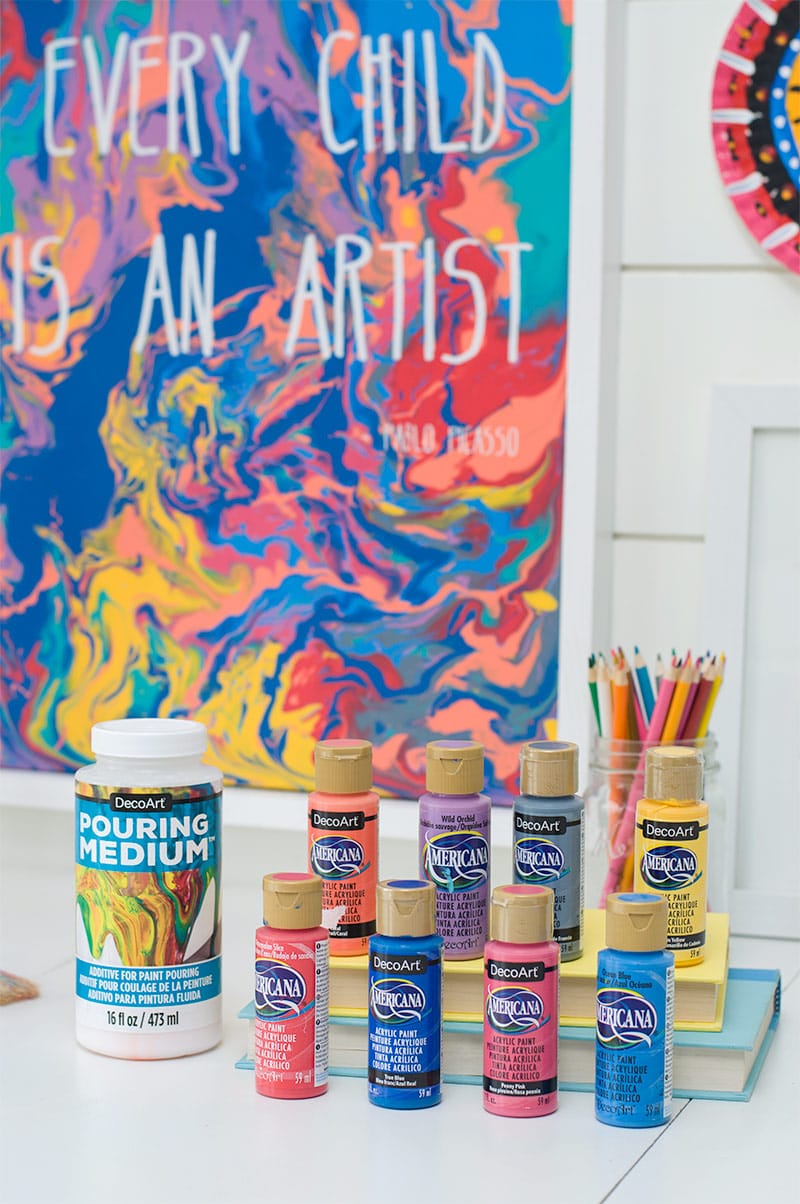
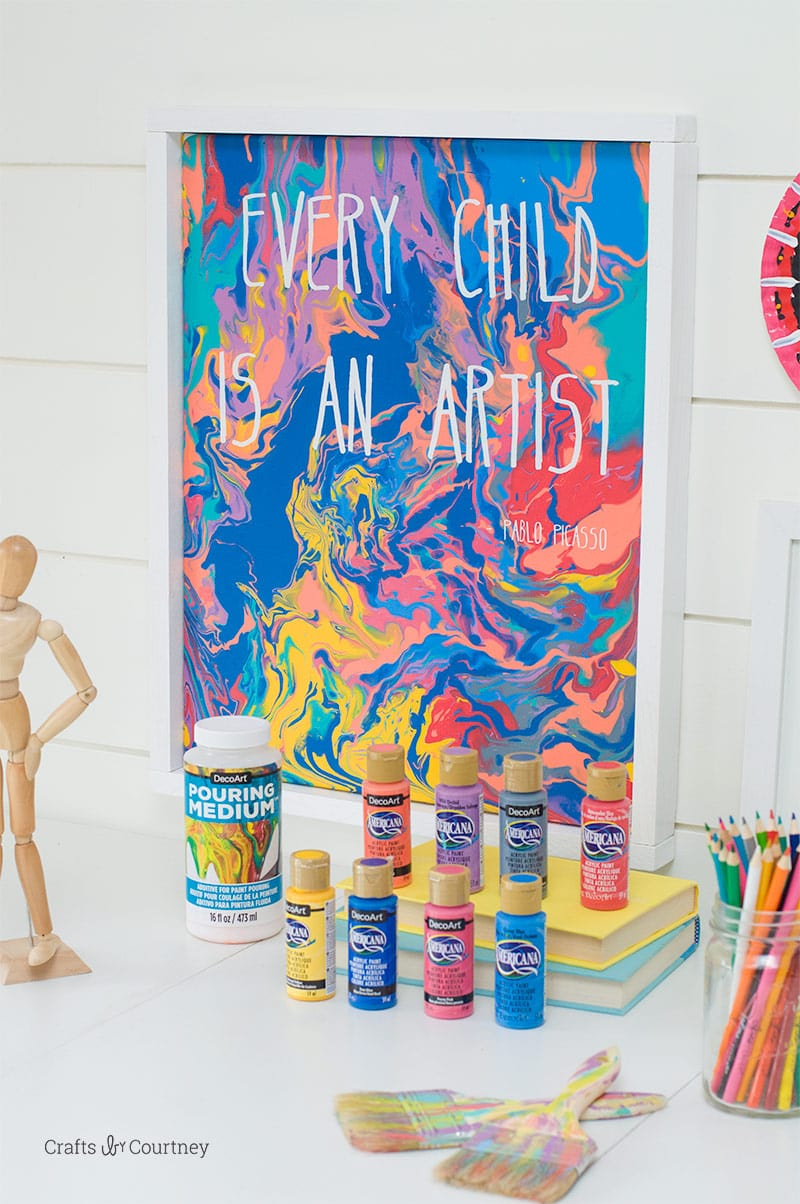
For this project let your little artist pick the colors they want. We used 9 different colors of Americana Acrylics for this project. After doing this technique several times, any color combination works great. Lay out a plastic tablecloth on your work space. Get everything ready for them so it’s easy for them to get started.
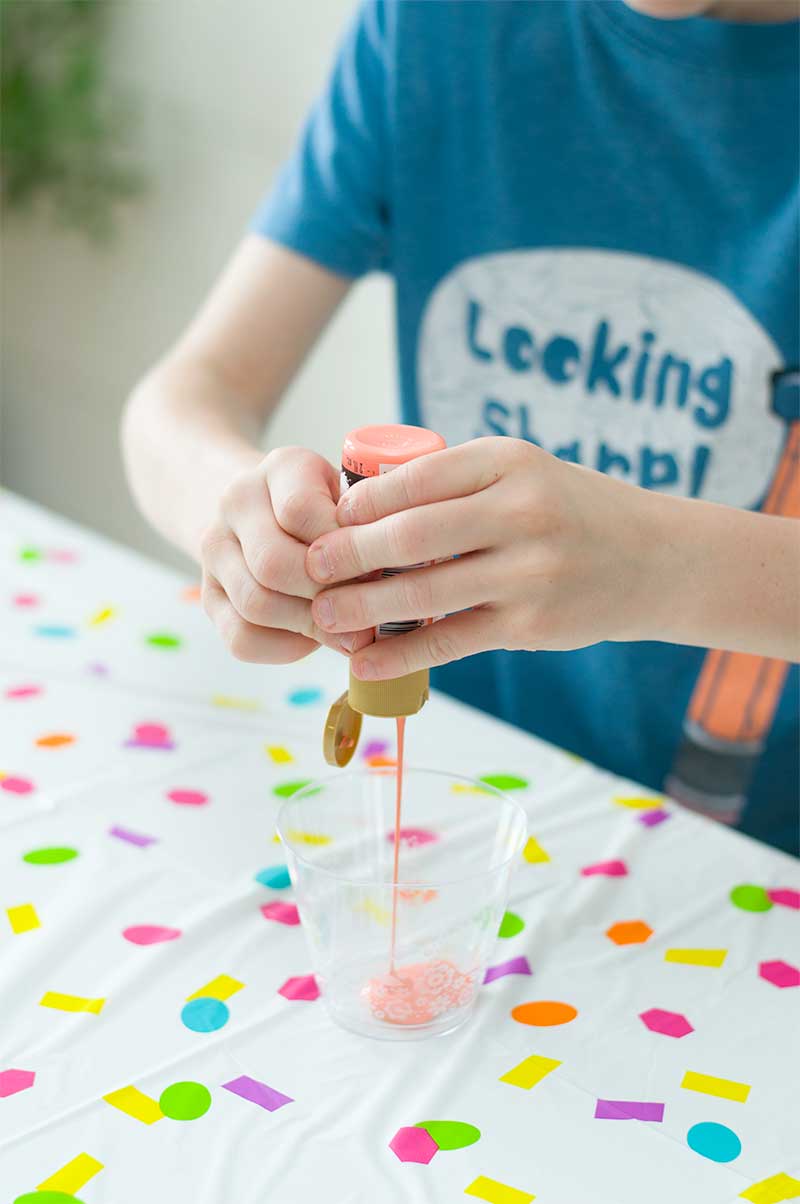
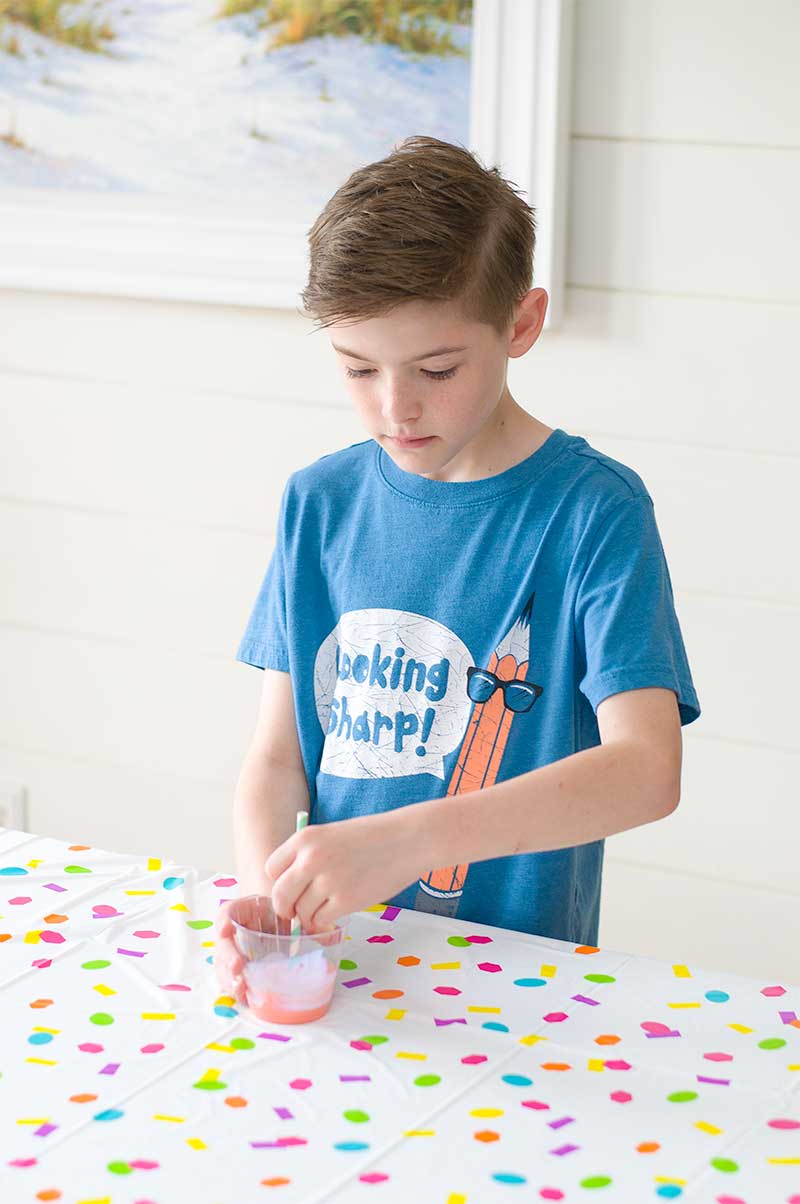
Step 1. Add Paint
Fill your plastic cups up with your paint colors. The ratio is 2:1 paint to pouring medium.
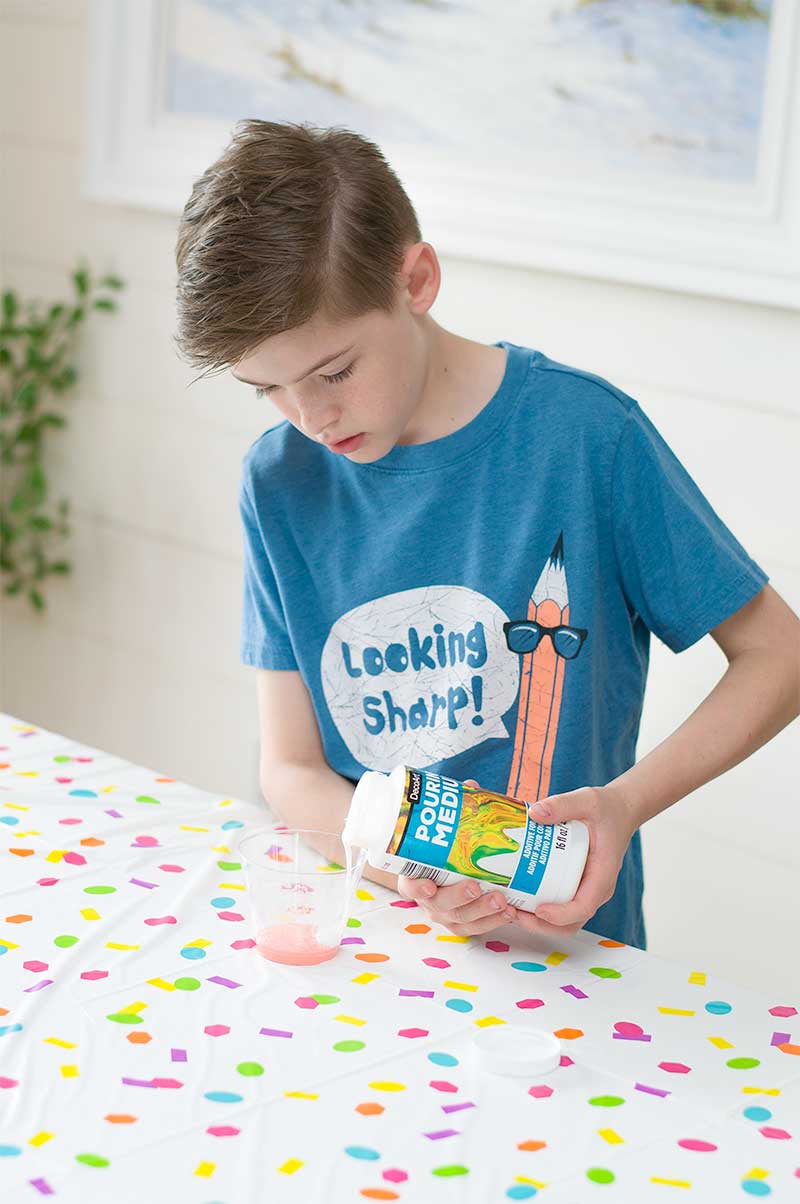
Step 2. Add Pouring Medium
Next you need to add your pouring medium. Just make sure they don’t add too much.
Step 3. Stir Paint
Make sure to mix the paint and pouring medium well.

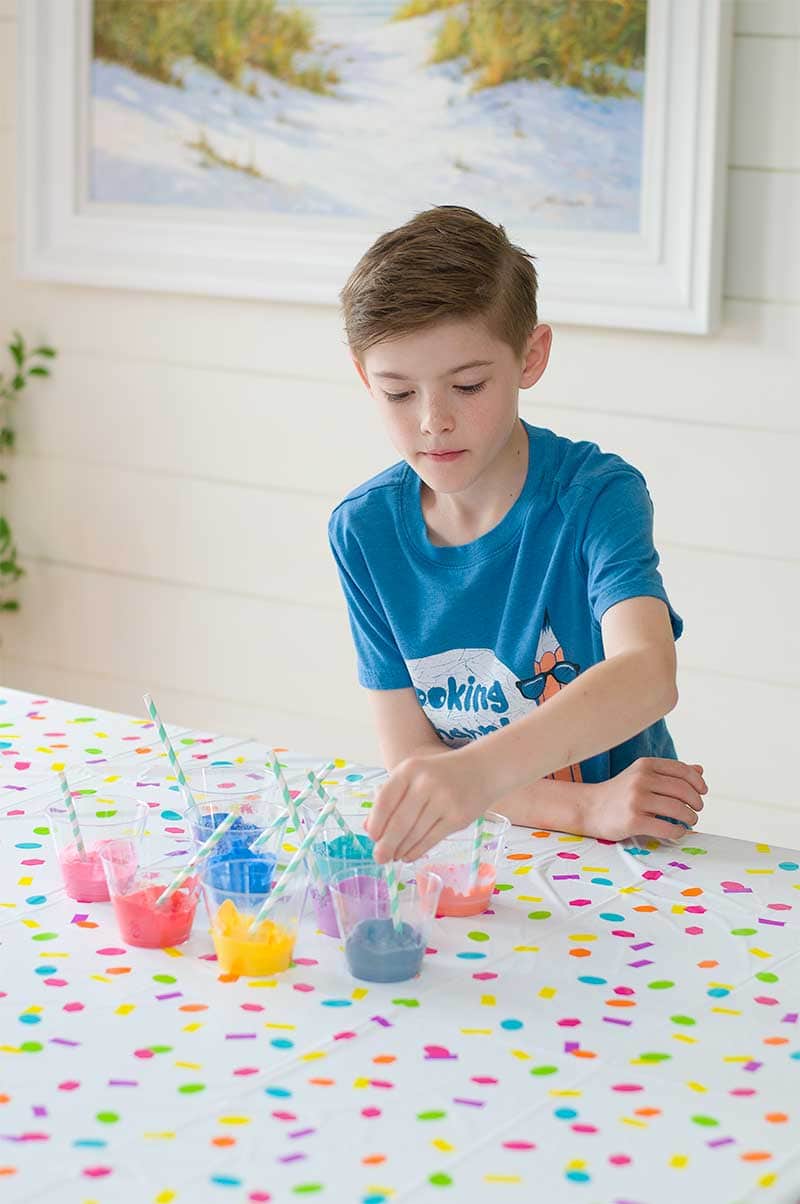
All our paints are prepped and ready to go!
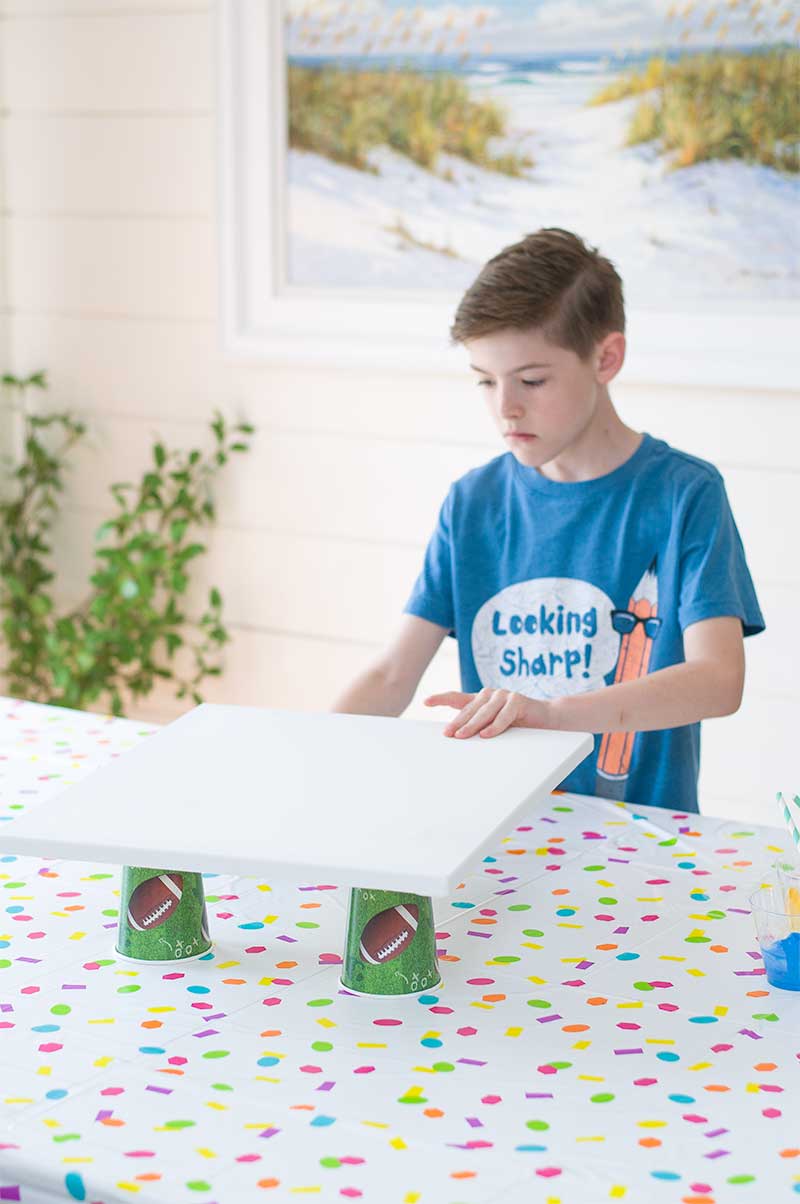
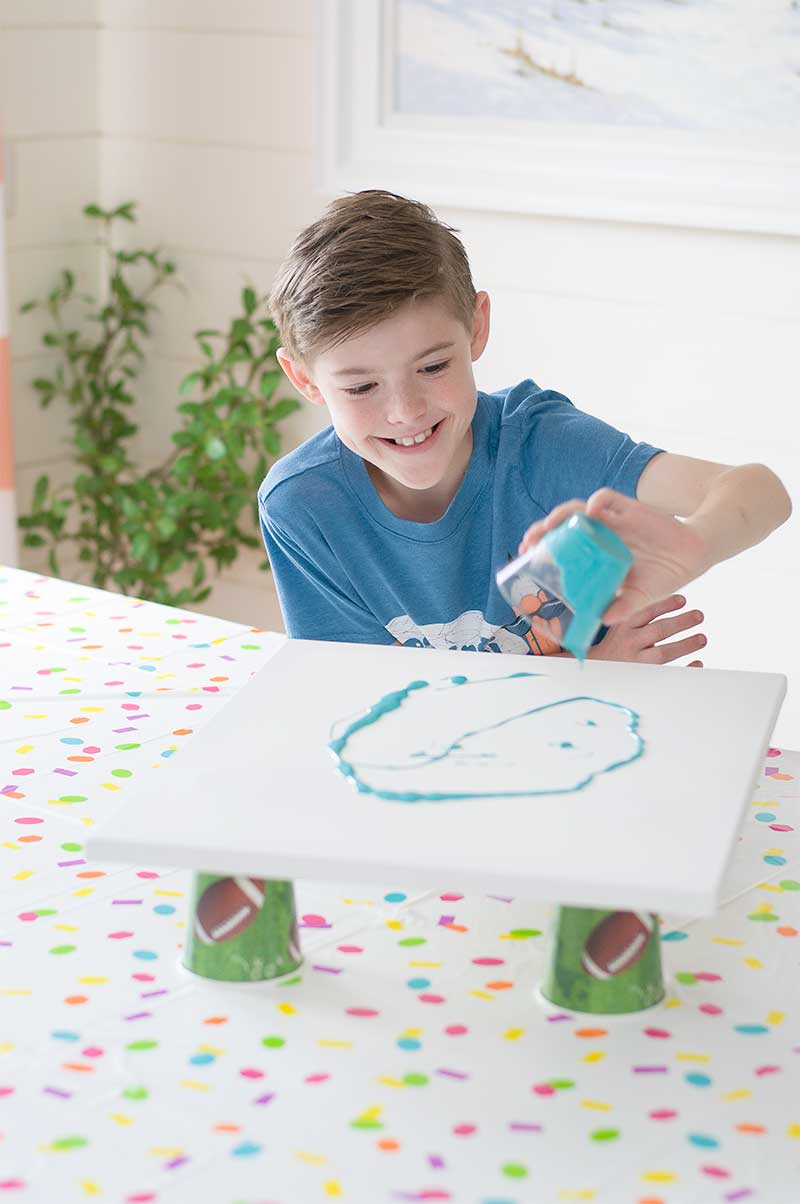
Step 4. Prep Canvas
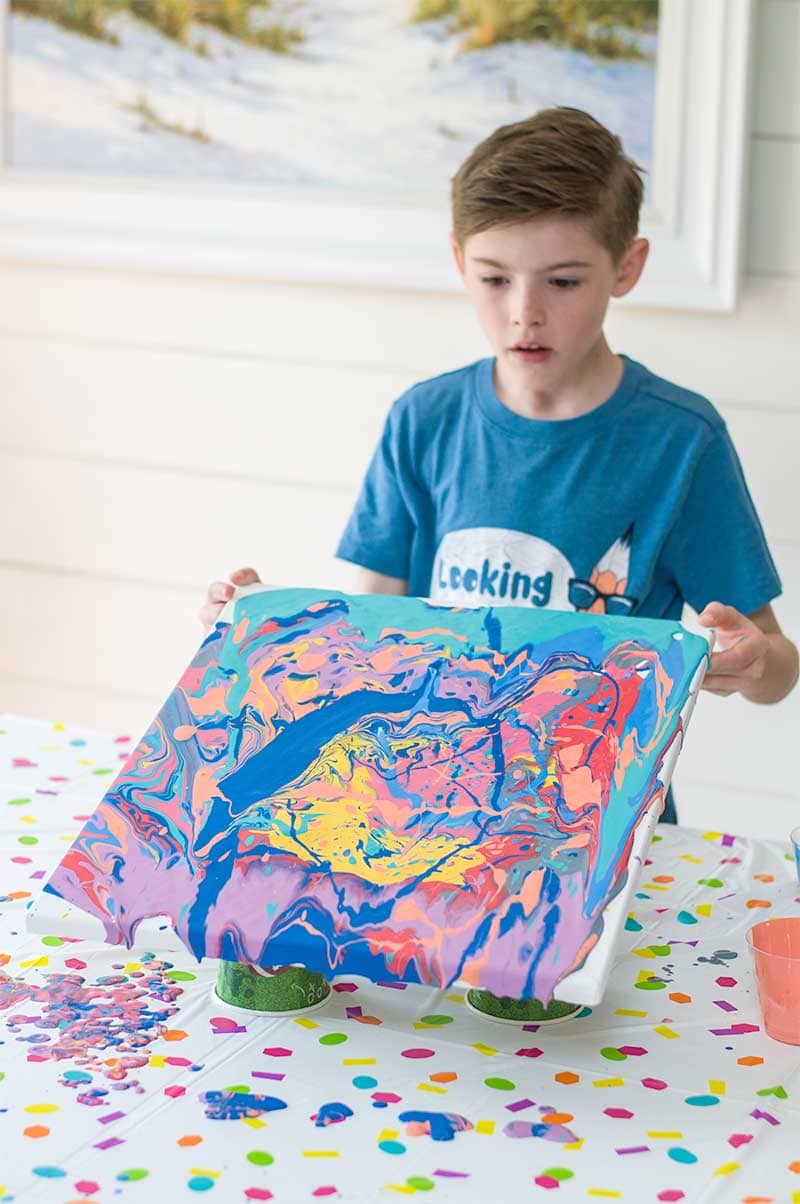
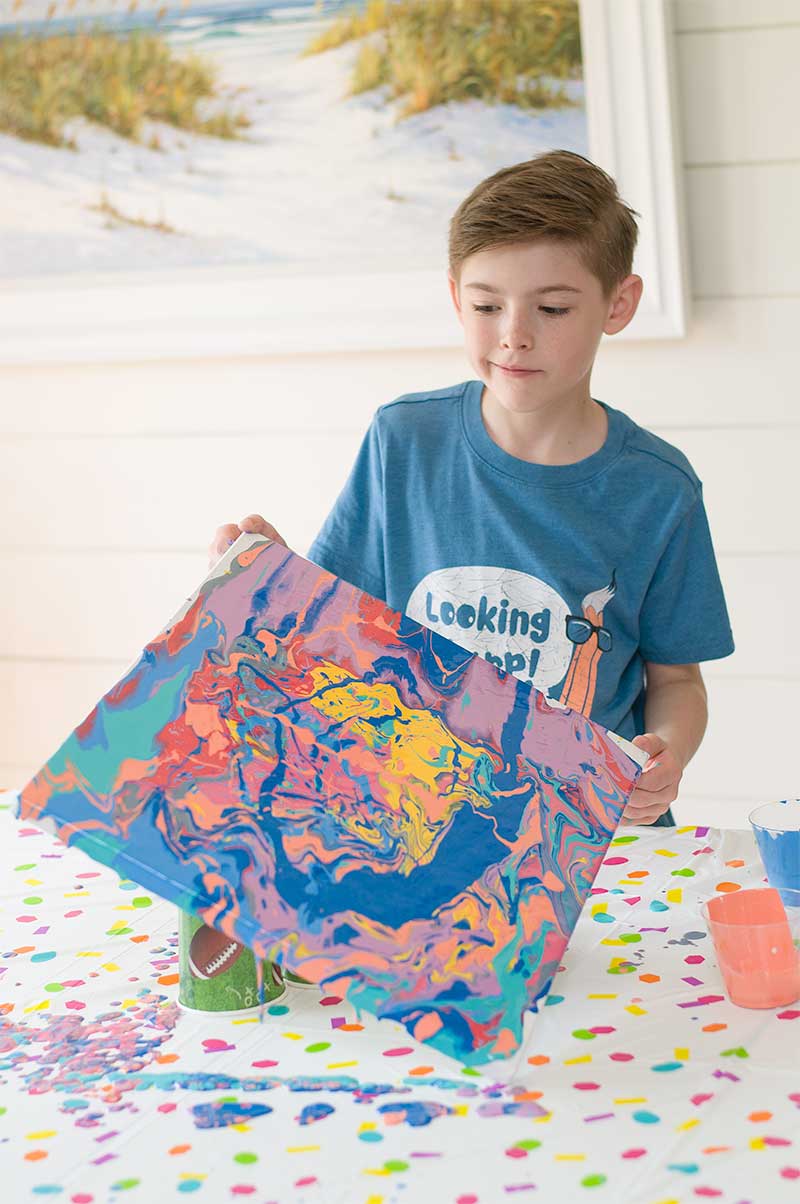
Since we will be pouring our paint onto the canvas, we needed to add some cups to the bottom. This really helps when the paint is dripping over the edge. As you can see he’s taking this very serious! My little artist!
Step 5. Time to get Pouring!
Now the fun part, pouring our paint onto the canvas.
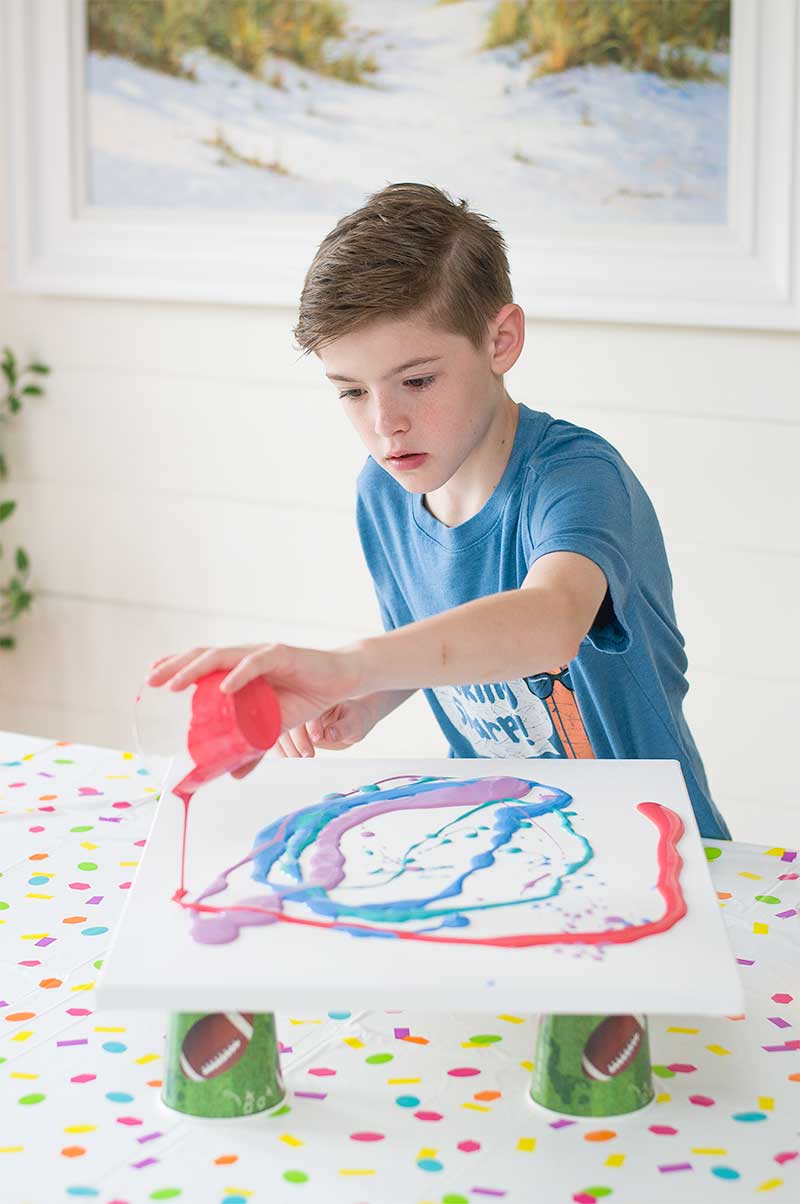
All you need to do is pour your paints all over the canvas. There’s no wrong way to do this!
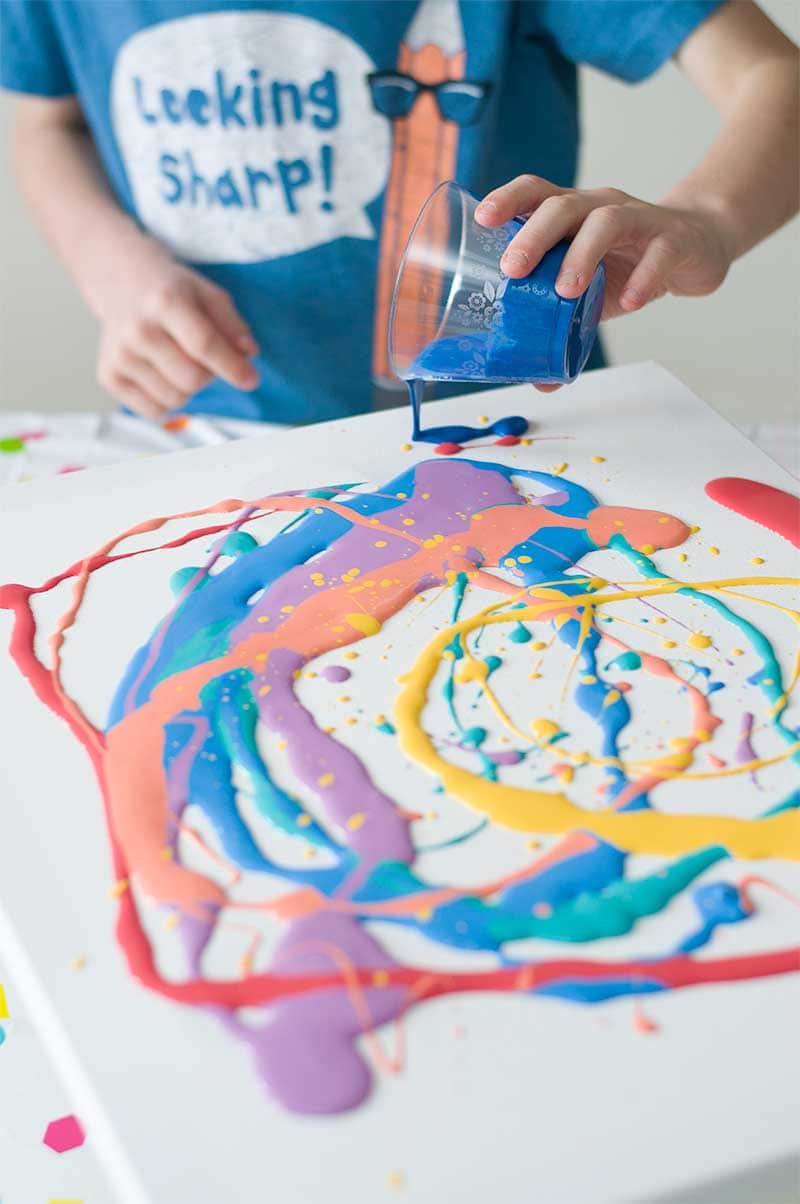
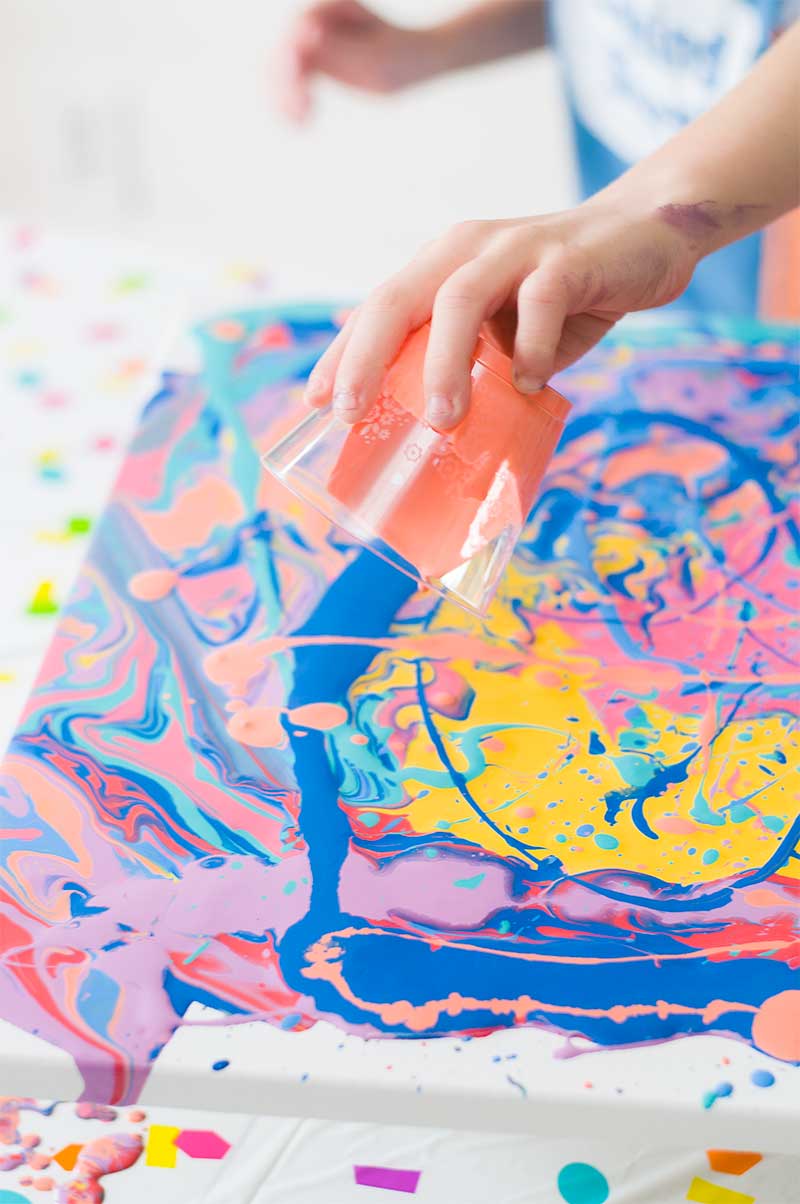
Now start moving your canvas around so the paint will start falling over the edge.
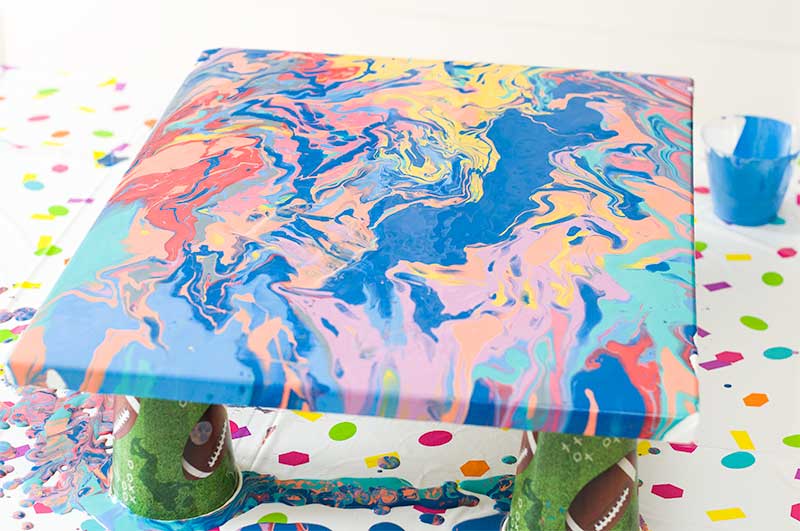
Step 6 – Let Dry
Now this step is VERY IMPORTANT, let your work dry and don’t be tempted to touch it. I know your little artist is going to want to touch it to see if it’s dry, but resist the urge! We let our painting dry overnight just to be safe.
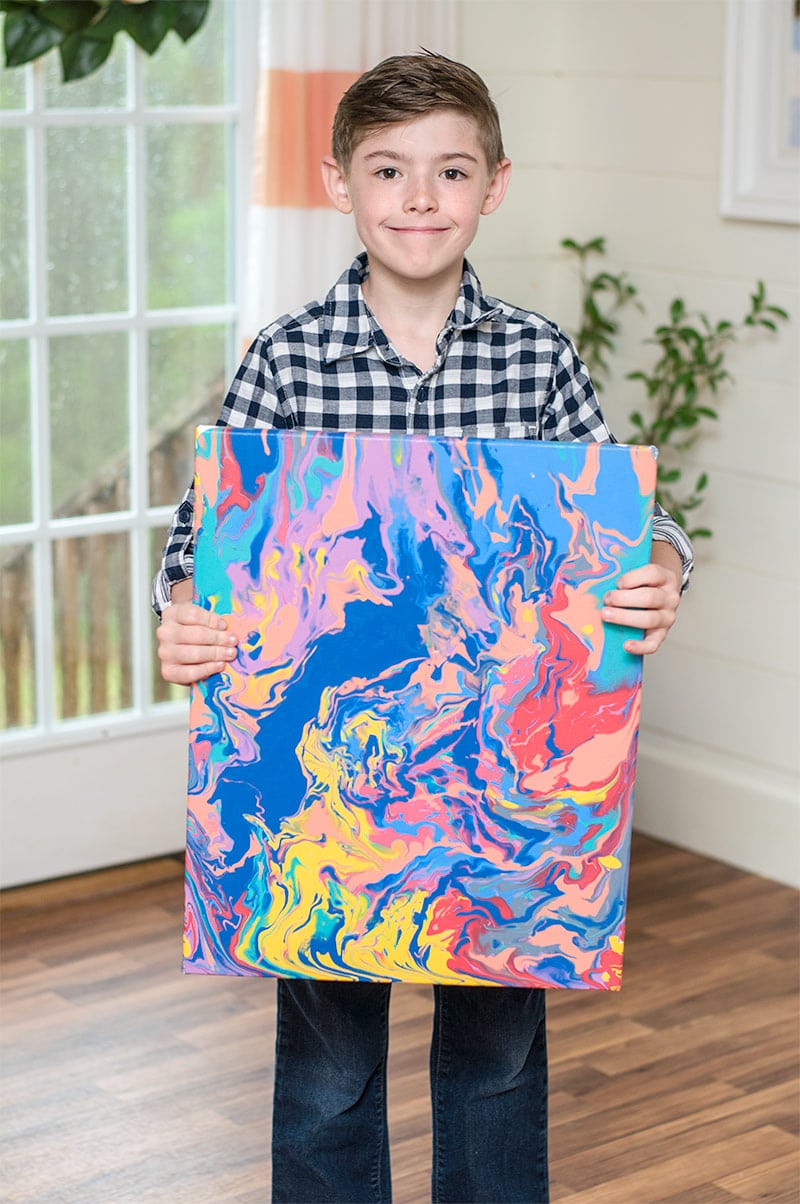
Here’s my little artist showing off his work!
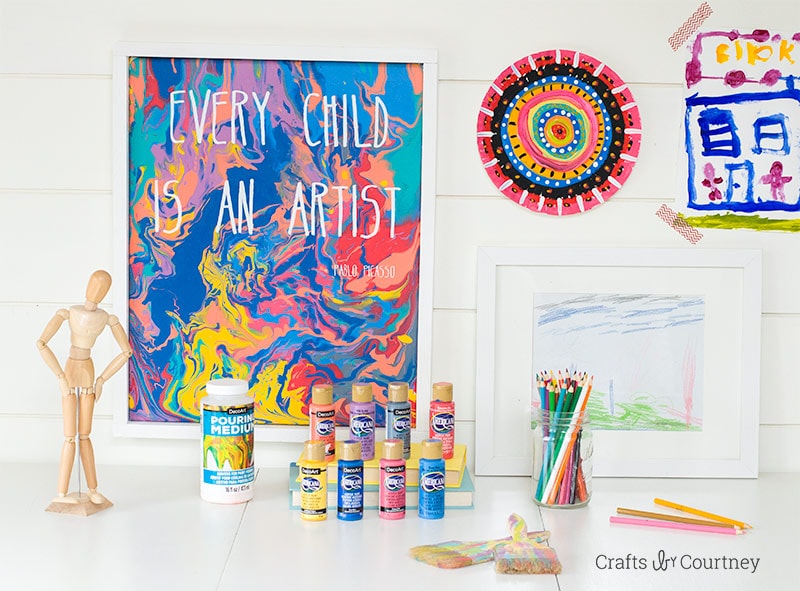
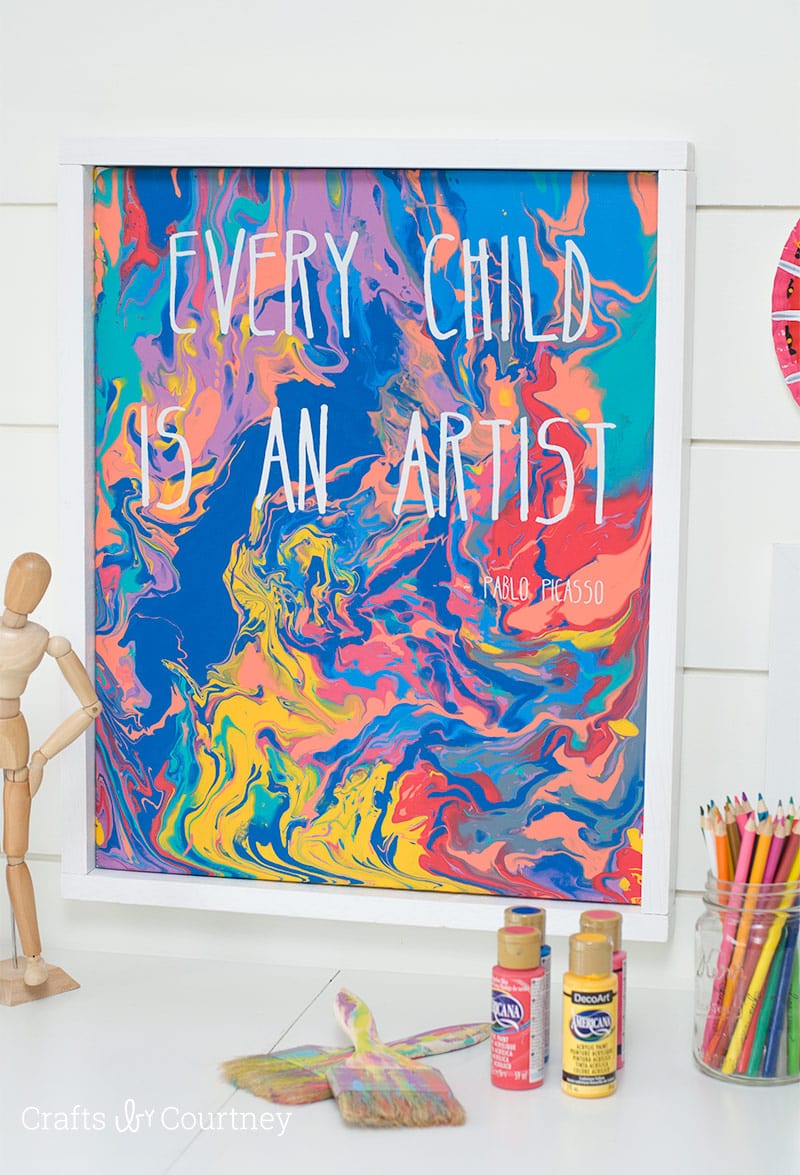
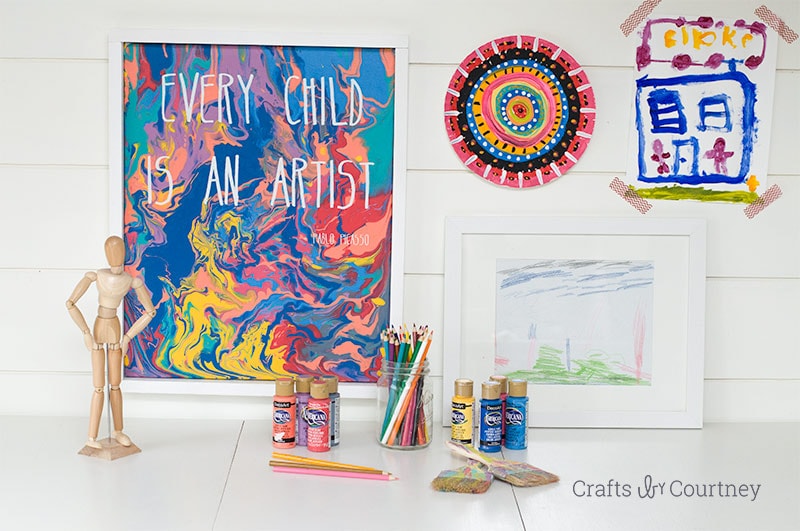
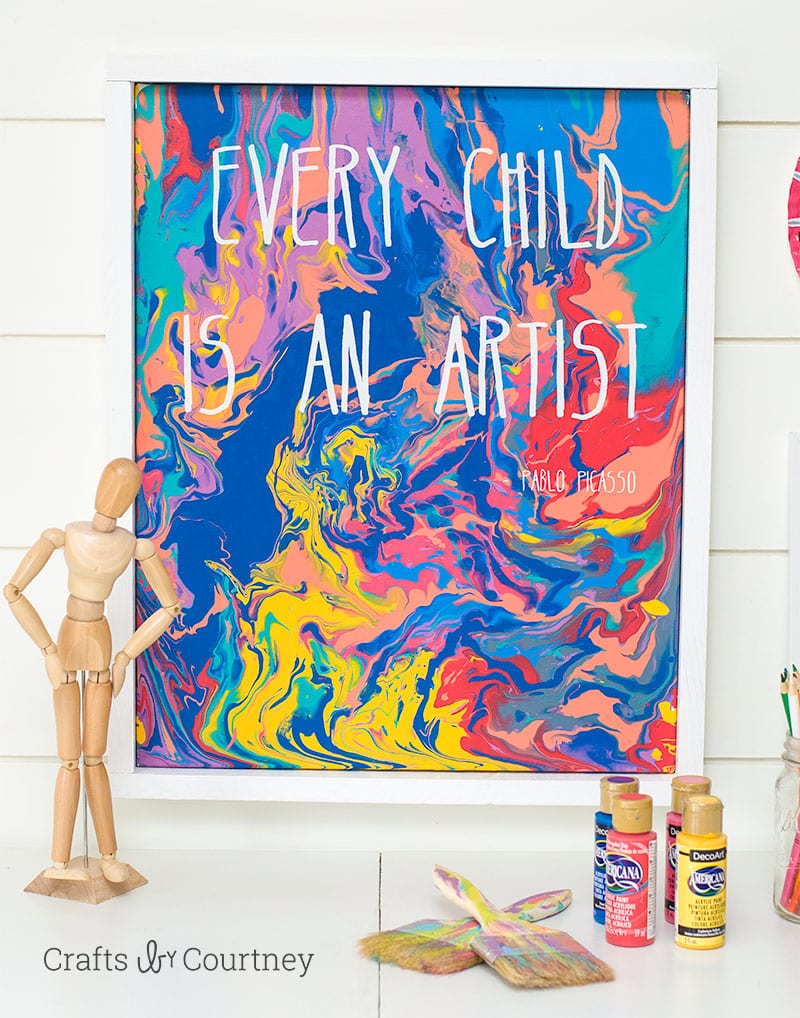
Step 7 – Add Your Saying and Frame (optional)
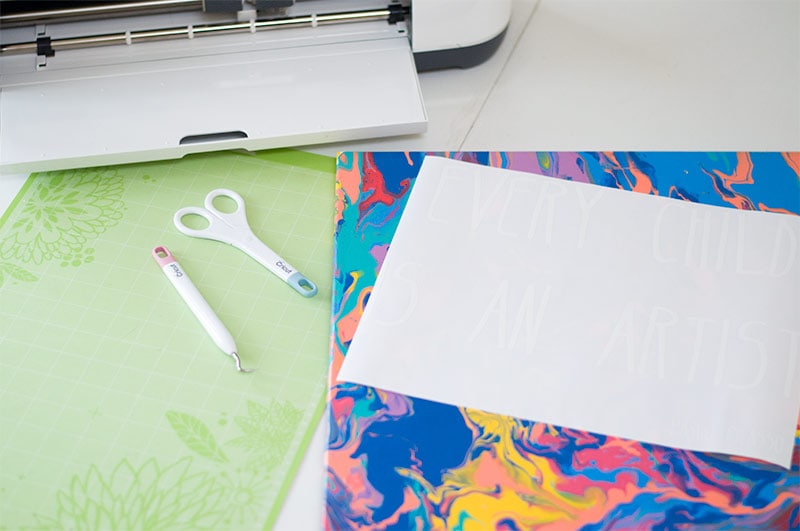
I really wanted to take this project to the next level and I’ve always loved the saying “Every child is an Artist”. So I pulled out my “handy dandy” Cricut cutting machine to cut out my saying in vinyl. I think that was a perfect touch.
I also wanted to frame his artwork, so I used some scrap wood I had from other projects.
I can’t even believe how much I LOVE this project. I think it’s a special project that we can have in our art room and my son can be proud of his work. I will be trying this for sure with my other boys.
I did a similar pour painting project like this back in December, but using DecoArt’s new Pouring Medium made this new project so much easier.
One of my favorite parts about this project, is there is no wrong way for your little aspiring artist to do it. As long as they have the canvas covered it’s gonna look AMAZING!
Honestly I think this would be a perfect project to do in an art class. I love doing projects with my kids classes so this might be one that I’ll have to try soon.
Thanks so much for stopping by today. Please stop by DecoArt’s Pinterest page to see all their amazing pour painting idea’s they’ve pinned.
There you go. Looks complicated but it’s super easy don’t you think?
Love, Courtney