Sponsored Post: Financial compensation was received from FloraCraft® for this post. Project idea and any opinions expressed here are our own.
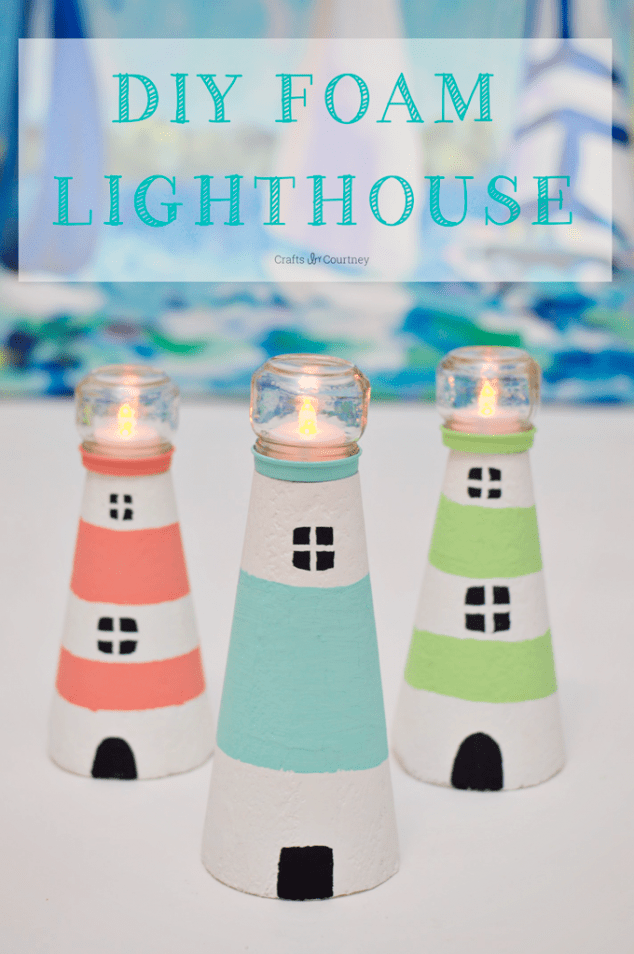
Today I’m sharing my new FloraCraft® project for this month!! It’s a Lighthouse Craft!
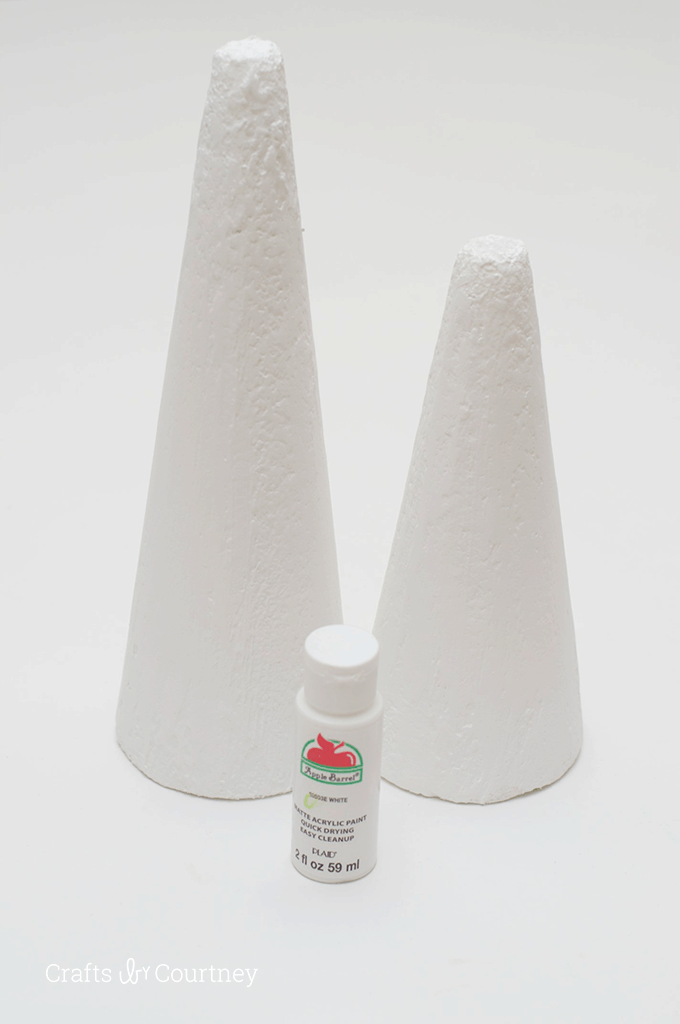
I was really excited when I opened my box and found the FloraCraft® Make It: Fun® Foam Cones. It took me some time to think what exactly I was going to make with them. Then all of the sudden I saw the outline of a lighthouse and a light went off! I couldn’t wait to start testing out ideas!
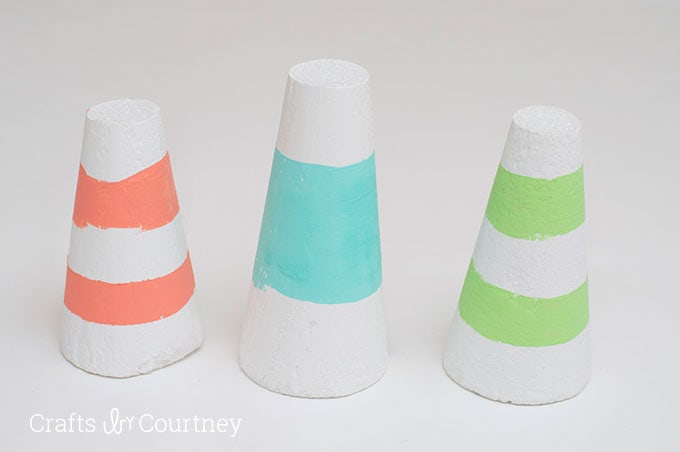
I knew I didn’t want to go with the traditional Nautical colors. I decided to use my favorite colors for these so they would totally go perfect with my color scheme in the house.
I’ve never done a lighthouse project before so I was really excited! I just think there so beautiful and cool.
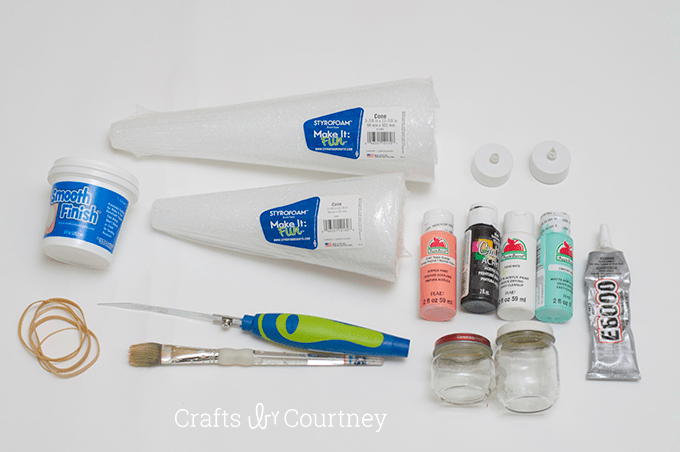
Lighthouse Supplies Needed:
Getting Started
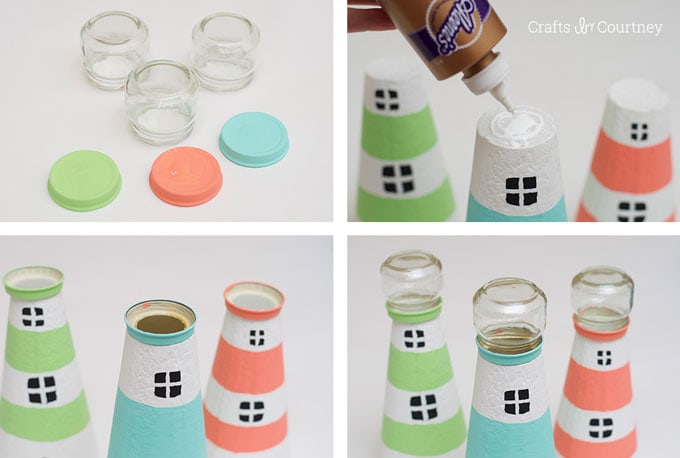
Since FloraCraft® sent me most of my supplies (yay) I just had to pick out my paint colors and go through my craft stash and find some baby food jars.
Time to get crafting!!
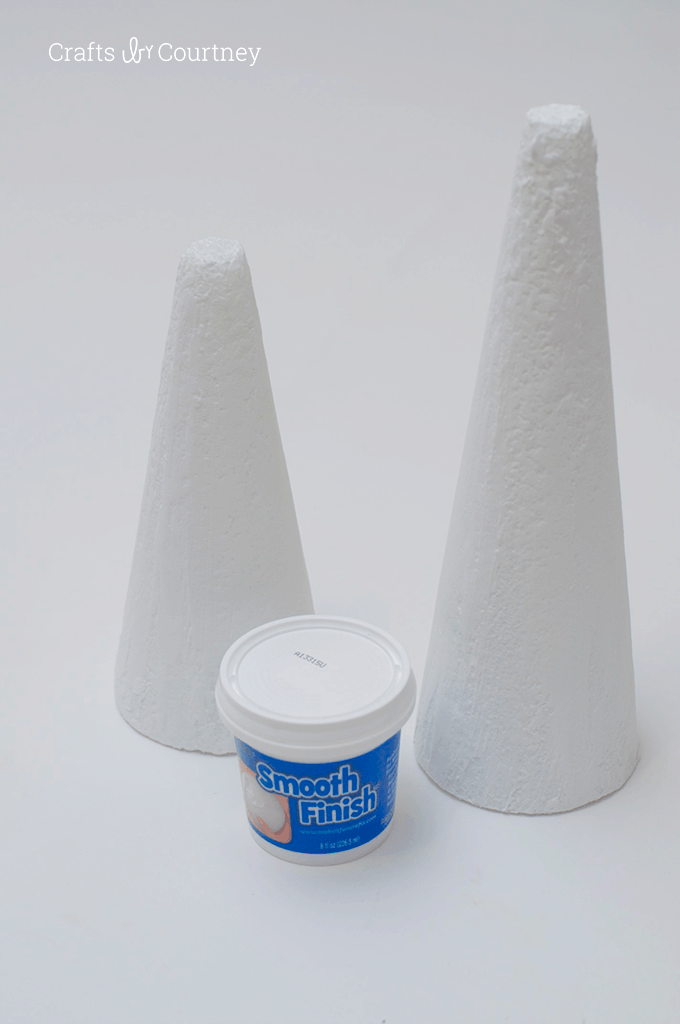
Step 1 – Cover Cone in Smooth Finish
To start off this craft I went over both cones with the FloraCraft Smooth Finish®. I just smoothed is down with my fingers (super simple) and let dry 4 hours. Once the cones were dry I lightly sanded them down.
Step 2 – Paint Cone
Next, I painted them both white.
Step 3 – Cut Top Off
Now it’s time to cut the tips off. I just eyed it.
I wanted to make sure it would be the same size as the baby food jar lid. The FloraCraft® Make It: Fun® Foam Cutter is so easy to use, I just LOVE it! It cut through the foam perfect.

Step 4 – Paint Your Lines
Ok, making straight lines on a cone is NOT easy. So I put my thinking cap on and tried to figure out how to attempt this. I thought rubber bands would be perfect.
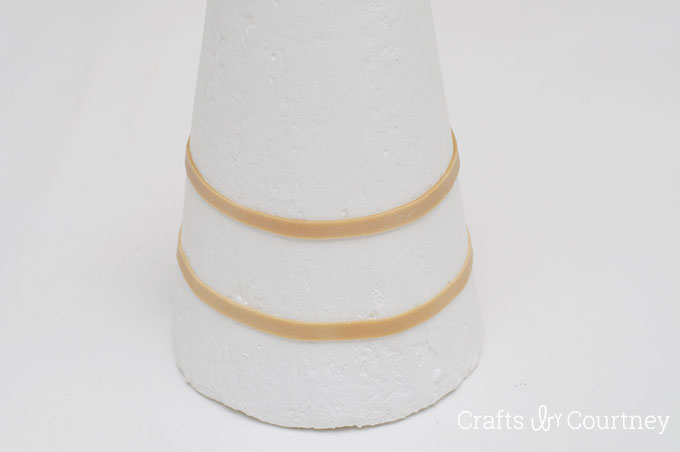
It did, BUT I only had the two large rubber bands and I had three cones to do. Then I didn’t have the size to do the top. So if you can find several large rubber bands to fit the top and bottom that would be perfect!
So I just decided to free hand it… I ended up making it look a little better then this. ;-)
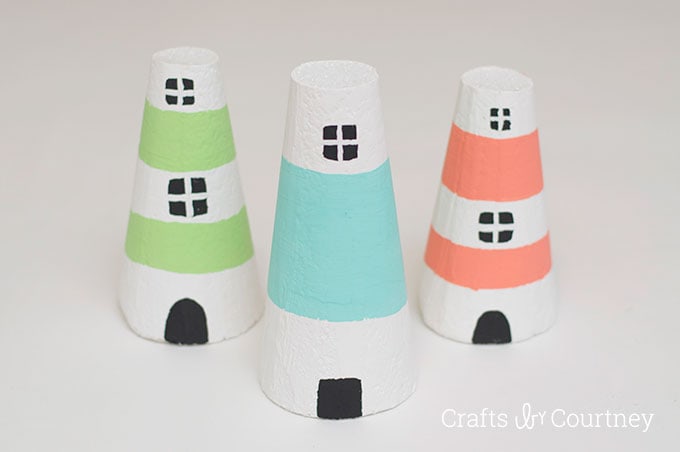
Step 5 – Add Windows and Door
Now it’s time to add the window and doors!
First I painted on the black windows, then once it dried I added the white lines in between. Super Simple!
Step 6 – Add Candles
(BATTERY OPERATED CANDLES)
My favorite part, adding the lights! I knew right away that I wanted to use a baby food jar for the top. I painted the lids to match the lighthouse and then used tacky glue to keep in place.
I let them dry a couple hours before I placed the jars on top.
Finishing Touches
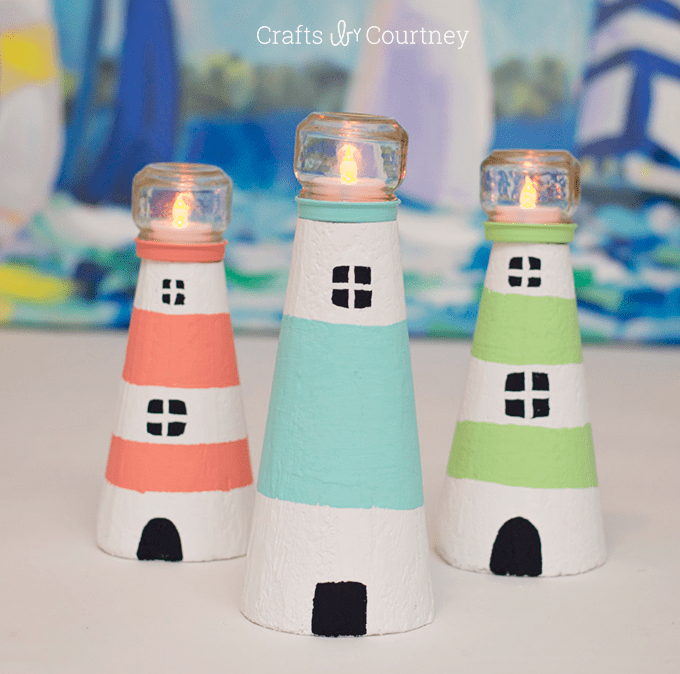
Finally I added my tea lights and I was ready to display! I think they go perfect with my coastal theme and I couldn’t wait to put them up!
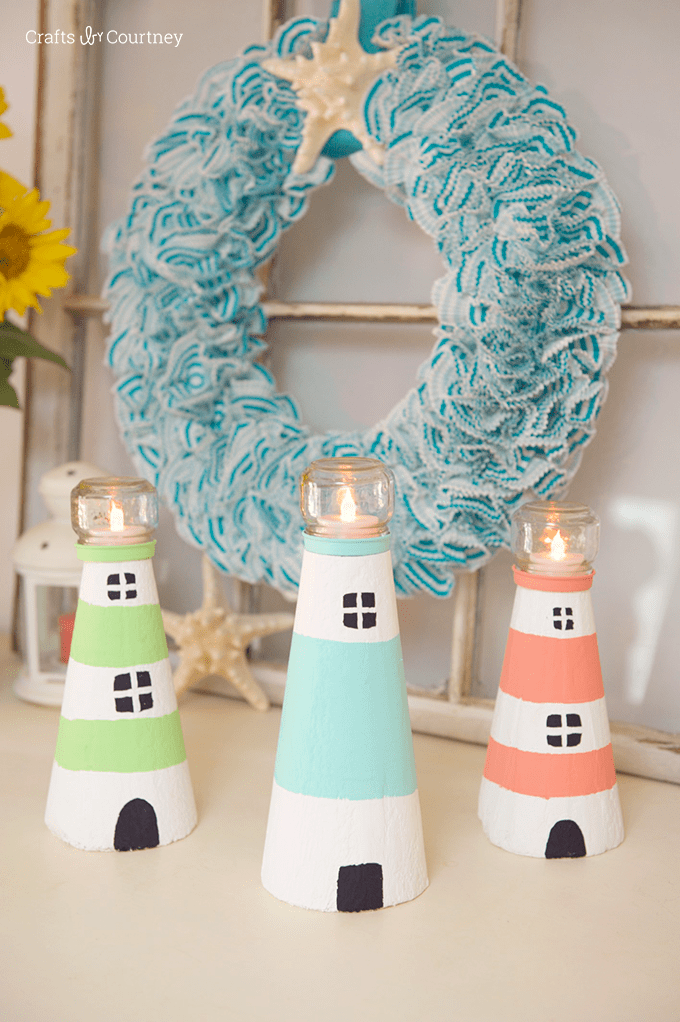
Oh and I made that beachy wreath behind them with the FloraCraft® Make It: Fun® Foam Wreath. Gotta LOVE their stuff!
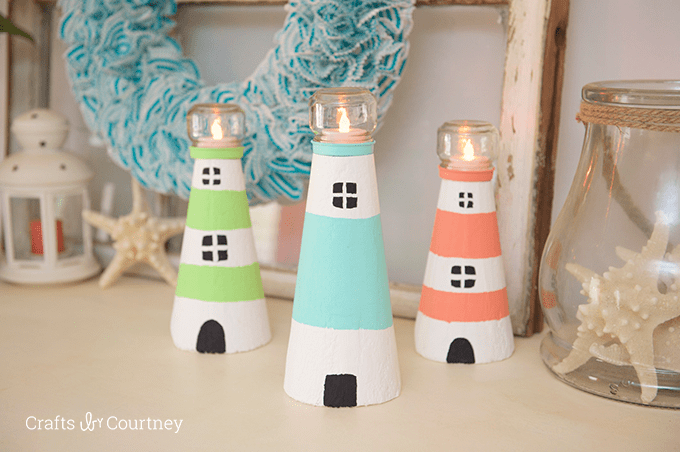
I’m pretty excited with house my lighthouse craft turned out. Plus it ended up being a pretty easy craft to do, which I always love.
I can’t wait to see what they send me next month! These boxes are always so fun to open up.
Make sure to stay tuned and find out what we get next month!
Love, Courtney