Crafts by Courtney

How-to Crafts and DIY Parties

  • Home
  • How-to Crafts
    • Home Crafts
      • Holiday
      • Seasonal
      • DIY Decor
    • Kids Crafts
      • Holiday
      • Seasonal
      • Educational
      • Clean
      • Messy
  • DIY Parties
    • Birthdays
    • Just for Fun
    • Holidays
  • Blog
    • My Thoughts
    • Hubby’s Corner
  • About
  • Contact

Pottery Barn Knockoff: DIY Giant Flash Card Art

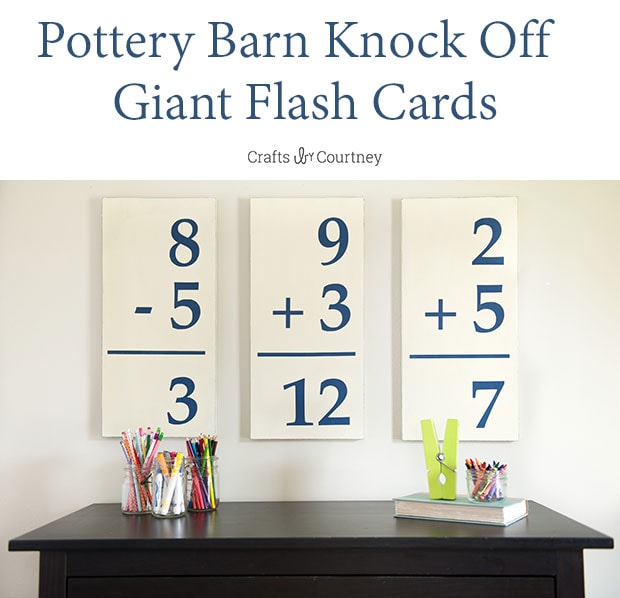
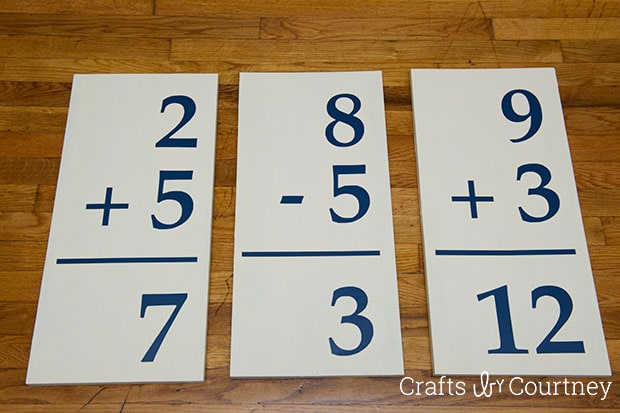
I was SO excited to be asked to be apart of the #creativebuzz challenge, it’s a great group of bloggers!! This months theme is numbers so I decided to go for a back to school theme since school is starting soon. I LOVED the idea of making giant flash cards for my boys room.

I remember a couple years ago Pottery Barn had giant flash cards and I really wanted to make my own version. As you know I love a new project!!

Getting Started

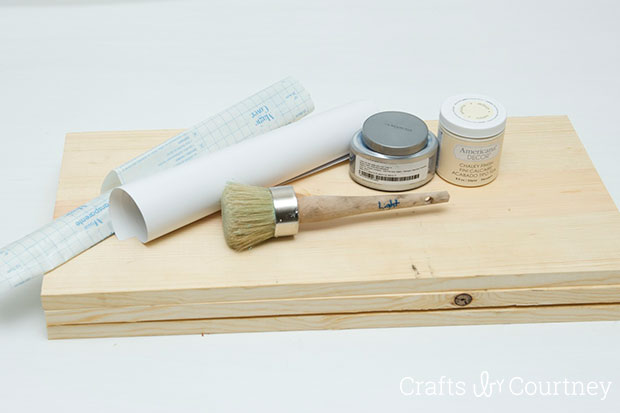
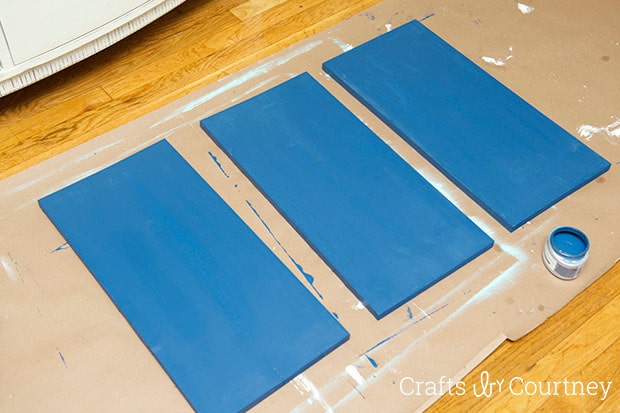
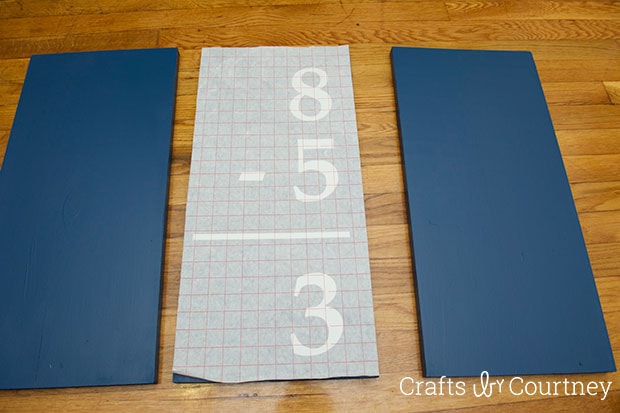
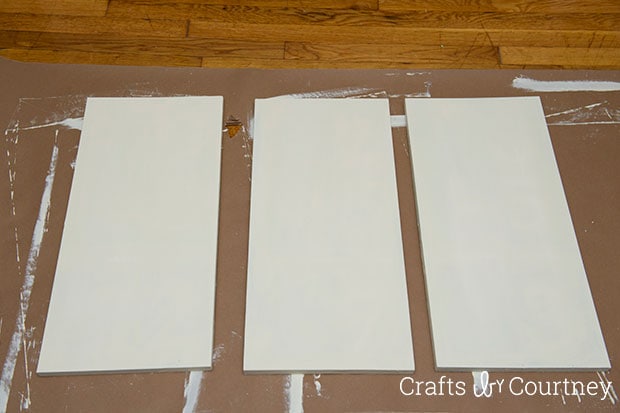
To get this project started I had to make a quick trip to Lowes for some supplies. I really wanted my flash cards to be on large pieces of wood. I found the perfect size wood at Lowes (4foot x12inches) and had 2 pieces cut in half. Then headed over to the paint section for my blue paint.

I already had my vinyl and chalk paint on hand. Time to get started!!

Pottery Barn Knockoff: DIY Giant Flash Card Art

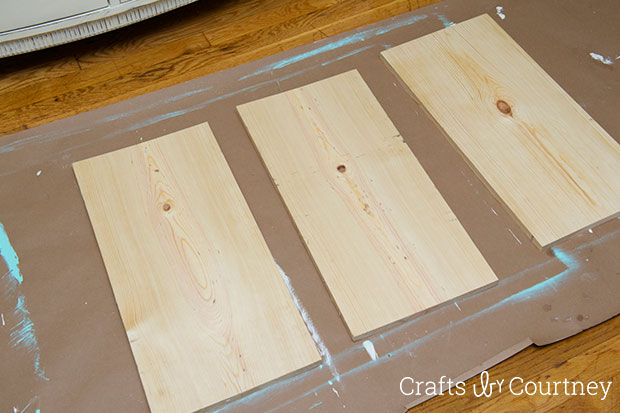
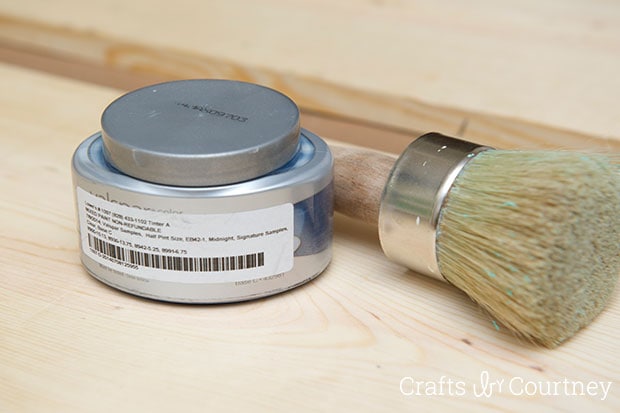
Step 1 – Add First Coat

I did two coats of my dark blue and let each coat dry an HOUR before adding the next.

Pottery Barn Knockoff: DIY Giant Flash Card Art

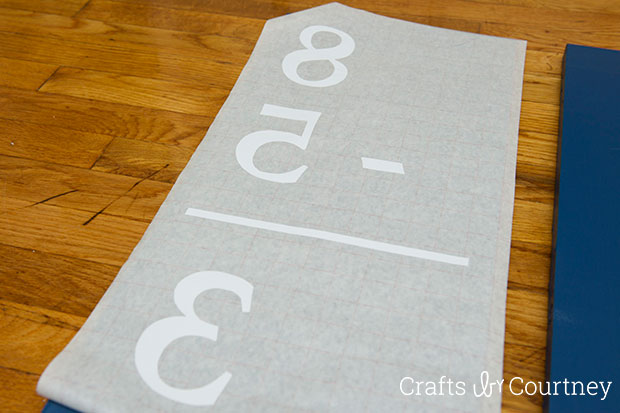
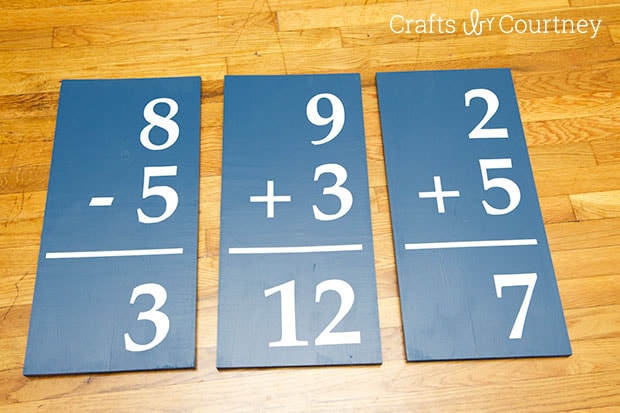
Step 2 – Cut Your Vinyl

Then I cut my numbers using my Silhouette machine on vinyl.  I love using the vinyl for projects like this, makes it’s so much easier.

I had some help from my super talented friend Melissa at Silhouette School. I needed a little help measuring the numbers this large and her tutorial Cutting Larger Than the Mat really helped me out!

Pottery Barn Knockoff: DIY Giant Flash Card Art

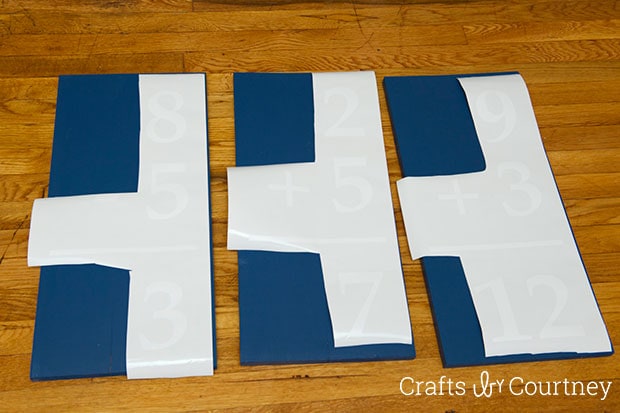
I should have used color vinyl so you could see the numbers better.

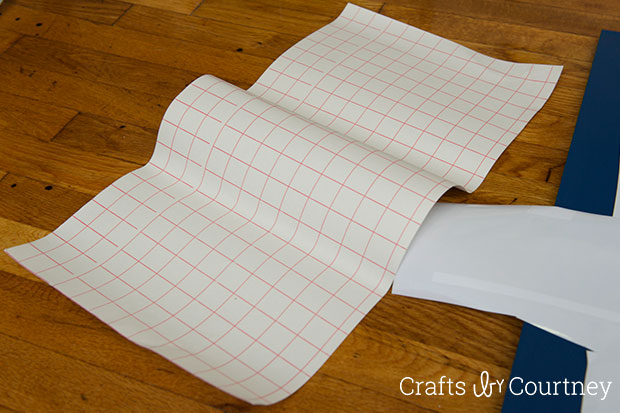
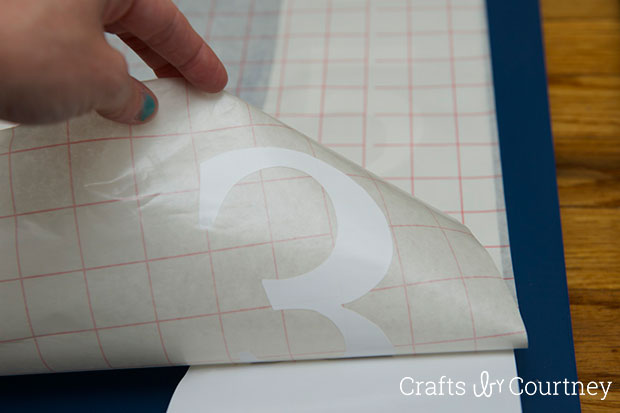
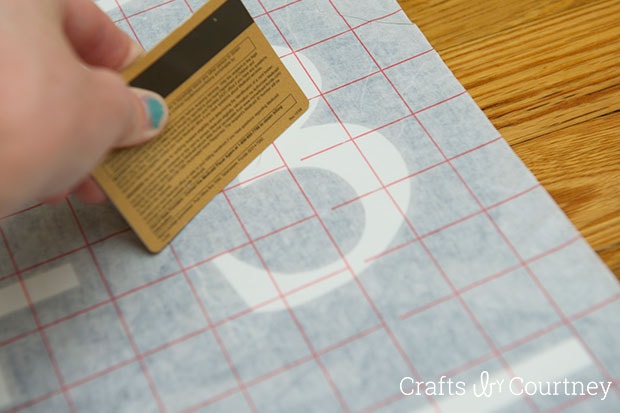
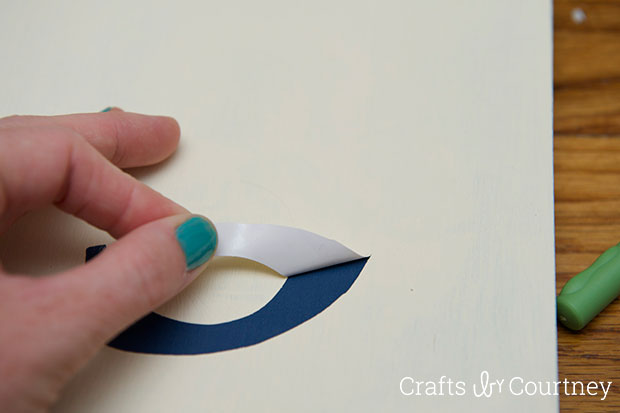
Step 3 – Transfer Your Vinyl

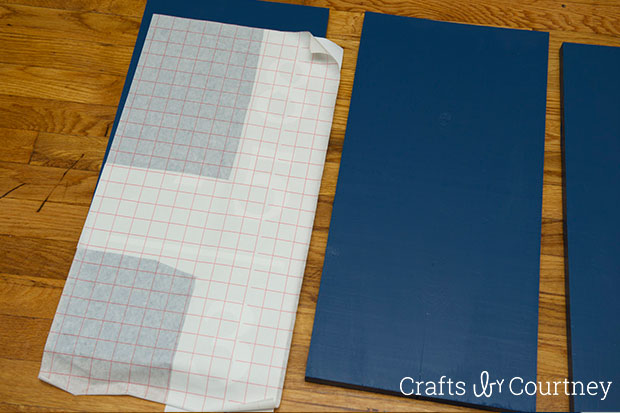
I pulled out my “handy dandy” transfer paper. After I pulled off the extra vinyl around my numbers I stuck the transfer paper on top and smoothed it down with a credit card.

Then when I pulled my transfer paper up, it was ready to be placed on my wood.

Pottery Barn Knockoff: DIY Giant Flash Card Art

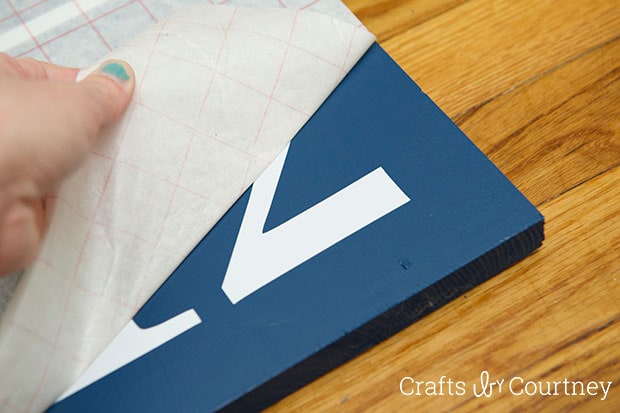
Step 4 – Add Your Vinyl

I carefully laid my numbers on top on my wood and smoothed it down again with a credit card. Then I pulled my transfer paper up and voila a perfect stencil for this project!!

Pottery Barn Knockoff: DIY Giant Flash Card Art
See how easy that was!

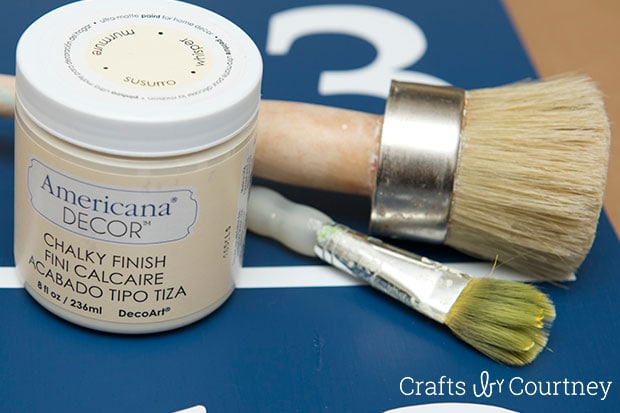
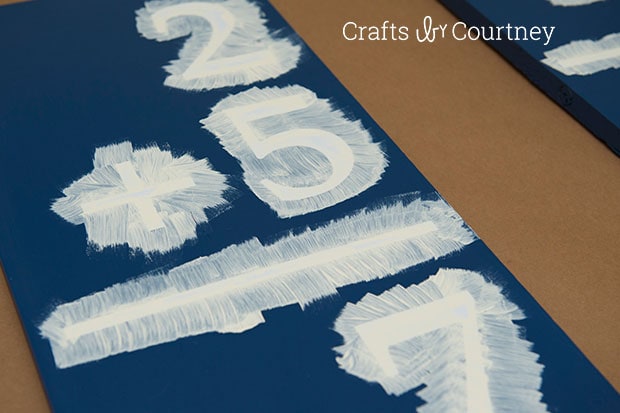
Step 5 – Add Final Coat of Paint

Since I already had extra chalk paint on hand from my side table makeover I did. I decided to use that as my main color. I’m really glad I did, it worked out great! I painted a coat around all my letters first and let dry half an hour.

Then I covered with two more coats of paint and let both coats dry half an hour.

Pottery Barn Knockoff: DIY Giant Flash Card Art

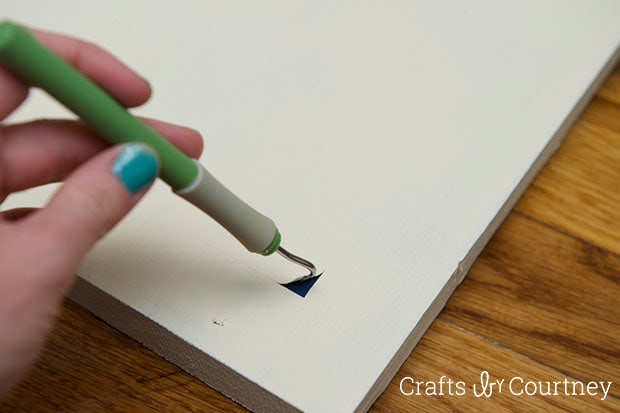
Step 6 – Remove Vinyl

Now my favorite part, taking off the vinyl!!

I used my weeding tool to help remove my vinyl. The vinyl came up great especially with the chalk paint.

Pottery Barn Knockoff: DIY Giant Flash Card Art

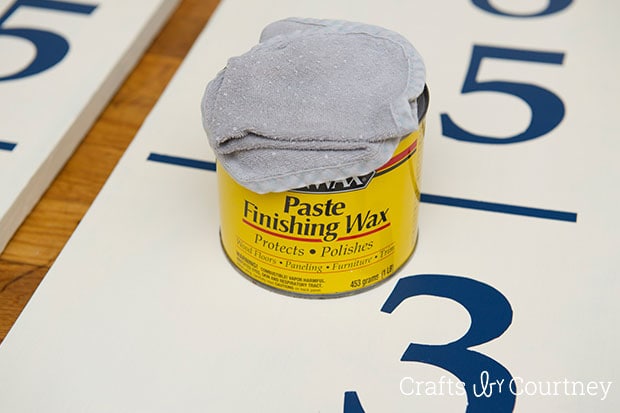
Step 7 – Wax and Distress

I used some finishing wax and covered all the boards before I distressed the flash cards.

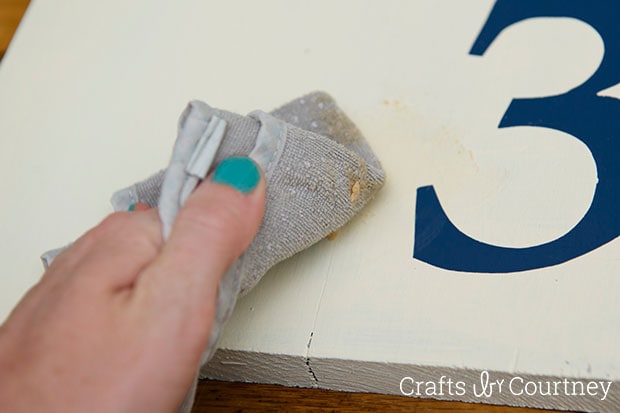
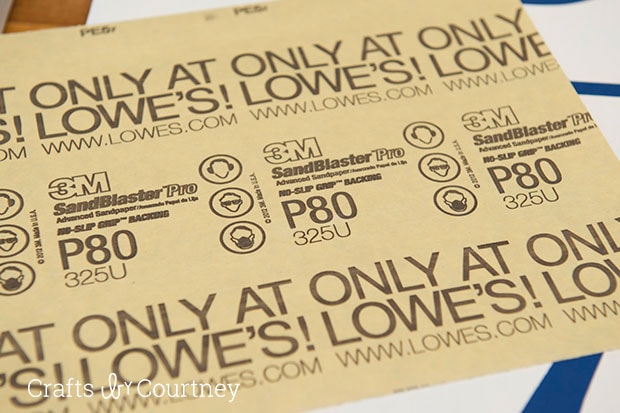
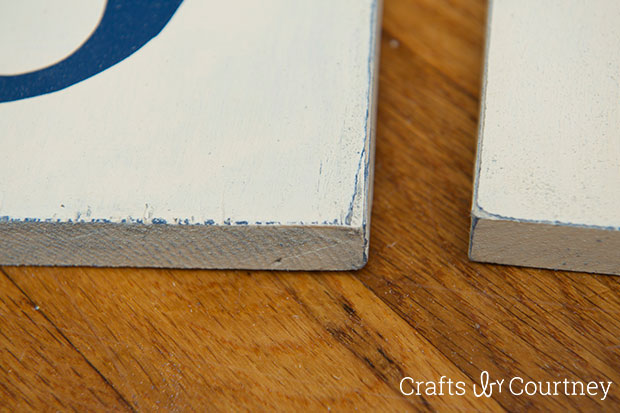
Next it was time to distress!! I used an 80 grade sandpaper and just distressed the edges for this projects. I wanted them to look a little vintage-y.

Pottery Barn Knockoff: DIY Giant Flash Card Art
I just wiped the wax all over my boards with an old washcloth.
Pottery Barn Knockoff: DIY Giant Flash Card Art

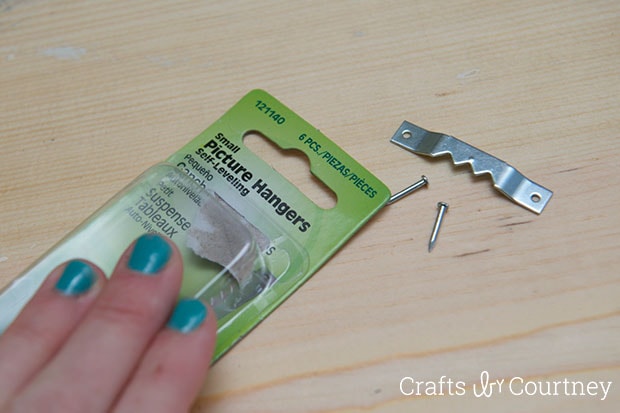
Step 8 – Finishing Touches

Finally I finished the project off by adding some picture hangers on the back. I was super excited to hang them in the boys room!!

Pottery Barn Knockoff: DIY Giant Flash Card Art
giantflashcard24

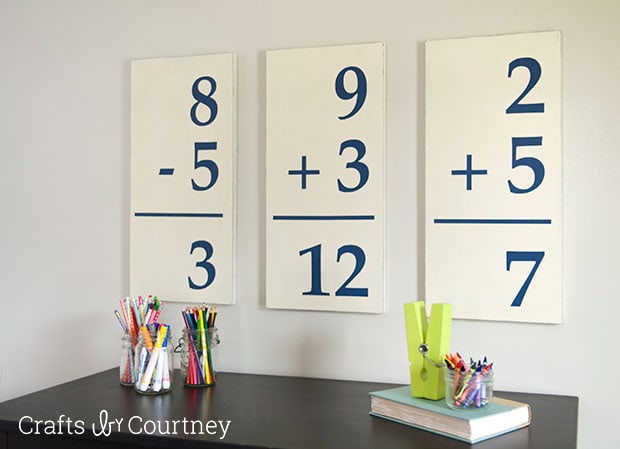
I think this project turned out great!!I can’t wait to work on more projects and finally finish the boys room. This project would look great for any play room or learning room decor!

Pottery Barn Knockoff: DIY Giant Flash Cards Pefect for Kids Playroom!!

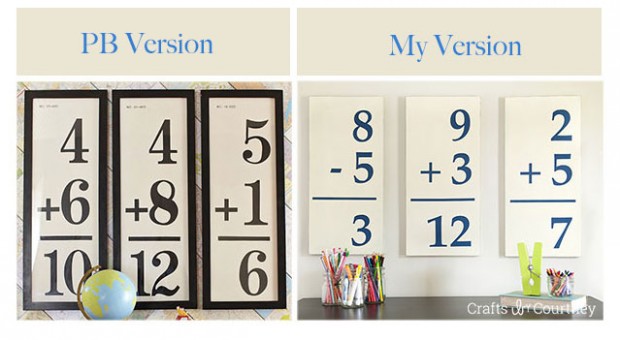
I’m just thrilled with out my flash cards!! Here’s a look at what Pottery Barns version compared to my version looks like. Theirs looks great of course but mine are A LOT cheaper!!

Pottery Barn Inspired Giant Flash Cards

I was so excited to join this #creativebuzz challenge group and I’m looking forward to doing many more projects like this with them.

Make sure to stop by and check out all the other amazing ideas from these talented ladies!!

9 Creative Number Themed Crafts #CreativeBuzz

  1. Telephone Table Makeover by One Krieger Chick
  2. Month by Month Picture Ombre Frame by Color Me Meg
  3. Giant Flashcards Playroom Decor by Crafts by Courtney
  4. Neon Number Tees by Sugar Bee Crafts
  5. Soft Baby Blocks by seven thirty three
  6. Number Wreath by Just Us Four
  7. DIY Growth Chart by A Glimpse Inside
  8. Back to School Countdown Printable by All Things with Purpose
  9. #2 Pencil Treats by Made to be a Momma

Love, Courtney

About Courtney Sanchez

Hi, I'm Courtney and I LOVE crafting! I am a mommy to 3 awesome boys (who keep me very busy) and wife to a loving husband. Crafts by Courtney is where I like to hang out ;)

Leave a Reply

Courtney Sanchez

Hi, I'm Courtney!

Welcome. Here is where I share the fun how-to crafts I've done with my kids and for my home. I also really love DIY parties too! Read More…

My Socials

  • Facebook
  • Instagram
  • Pinterest

Newsletter

Subscribe to my email newsletter for more craft ideas, tips and valuable resources.

The TOP 4

  • Terra Cotta Pot DIY Lighthouse Garden ProjectTerra Cotta Pot DIY Lighthouse Garden Project
  • 33 Awesome Birthday Party Ideas for Boys33 Awesome Birthday Party Ideas for Boys
  • DIY Robot Costume with Duck Tape®DIY Robot Costume with Duck Tape®
  • Painted Stick Nature CraftPainted Stick Nature Craft

Looking for more?

Over on Instagram

craftsbycourt

Another fun day at the greenhouse transplanting Ri Another fun day at the greenhouse transplanting Rivieria Midnight Blue.  These flowers are so beautiful full grown. ✨I have to say I’ve really enjoyed working at my local green house these past couple weeks.  Seeing all the amazing flowers, transplanting them and getting my hands dirty.  I just love it!! 🌿It was such a beautiful day here in NC, just makes you appreciate the warm weather so much.  Ready for Summer 🌻🌞
Salon days with Hannah are my fav days 🤍Cut a Salon days with Hannah are my fav days 🤍Cut and color by @beauty_itwith_grace
Spring is here!! Well kinda... It's been cold and Spring is here!! Well kinda... It's been cold and rainy here in NC. But tomorrow it's should be warmer weather and the sun out! I'm excited about that!Sharing a Spring project I made on the blog a couple years ago using @decoart acrylic paints!Head over to the blog for full tutorial, link below 👇
Sharing a lighthouse project I did several years a Sharing a lighthouse project I did several years ago on the blog!! Actually it's one of my favorite projects.Link to full tutorial below 👇#craftblog #craftsbycourtney #creativehappylife #homeblogger #craftblogger #diy #diyaddict #farmhousedecor #crafting #crafter #tutorials #homedecor #summerwreath #farmhousestyle #dollartreeaddict #dollartreecrafts #summercrafts #coastalliving #coastaldecor #coastalcraft #coastaldecor #coastalstyle #lighthouse #lighthousecraft #foamcraft #nautical #nauticalcrafts
Happy first day of Spring!! 🌺🌸🌼🌻🌷 Happy first day of Spring!! 🌺🌸🌼🌻🌷Ready for warmer weather here in North Carolina!
Had to stop by a cute little beach by my old house Had to stop by a cute little beach by my old house in Apollo Beach in Florida.  It’s crazy how I took all these little beaches by my house for granted when I lived there.  I’d be at them everyday now if I could. 🌊😩🐚✨😉
Follow on Instagram

Who I Work With

Crafts by Courtney   ·   Copyright © 2013 - 2023