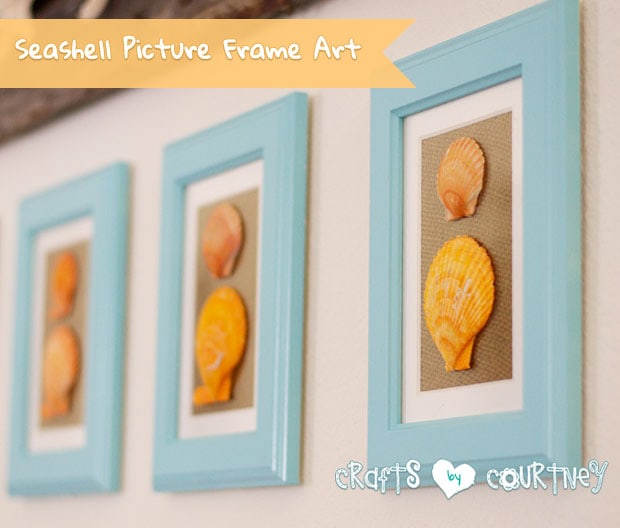
I’m just loving the beachy vibe in my house right now. Since I just finished my pallet starfish craft. I wanted to make something to go with it. I got these frames at Ikea a couple months ago and knew they would be perfect to complete my beach themed wall.
Getting Started
I found these beautiful orange shells in bags I got at the Dollar Tree. I was pretty impressed that the Dollar Tree has bags of shell there. Plus, they were good size bags (bags this size at Michael’s were almost $5 each).
I should know by now the Dollar Tree has everything. I think I got a total of 15 bags there and used them all!!
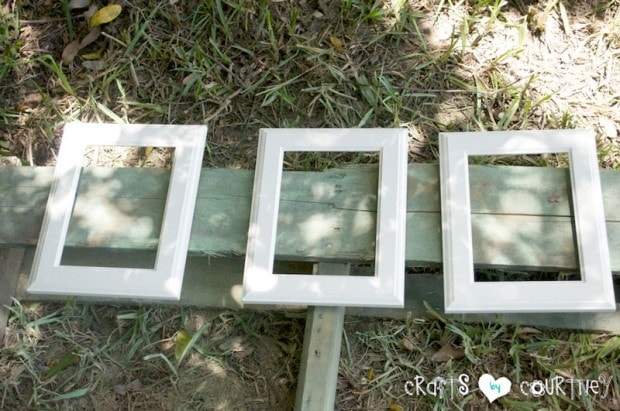
Step 1 – Paint Your Frames
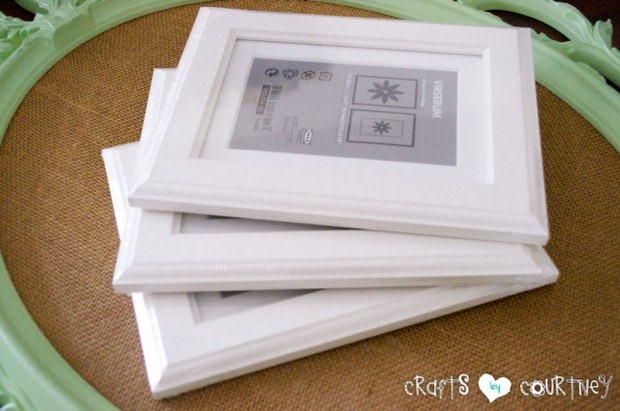
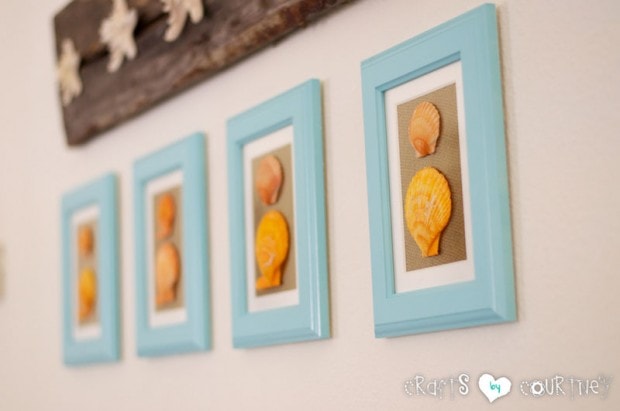
Like I said, I got my frames at Ikea ($2.00 each, a total bargain). But you can grab a couple frames anywhere.
I spray painted the frames with two coats of this beautiful blue spray paint. I’m in LOVE with this color. I have to keep myself from painting everything in the house this color.
Step 2 – Add Your Background
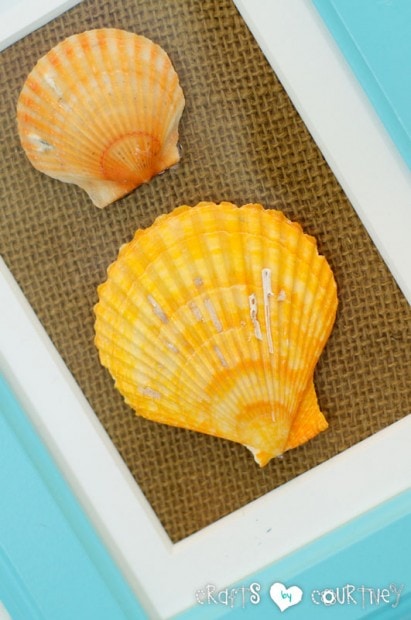
I didn’t want to go with a pattern since I really wanted my shells to pop in the frames. I had recently just bought 4 yards of burlap and figured why not give it a try.
I cut the pieces to fit perfectly in the back of the frames. It worked out perfect.
Step 3 – Add Your Shells to the Frames
Once I had my placement of the shells I decided to just hot glue them to the glass. I tried it without the glass and I was not happy with the results.
I pulled out my “Trusty” hot glue gun and dabbed a little on the back of each shell. Then, I lightly pressed each shell to the glass.
Quick Tip: Only add enough glue to secure the shells to the glass. Too much will make it difficult to re-use the glass for a different craft.
Step 4 – Finishing Touches
Once I had everything in place, I used my “Handy Dandy” command strips to hang my frames perfectly on the wall (I just love those things). I’m constantly changing that area up for the holidays so it helps not making new nail holes.
I hope you got some great inspiration from this post. I made some new art for my wall and it costs me less then $20 (including the pallet craft I did above it)! Here’s a look at my entire beach theme décor throughout the house!
Love, Courtney