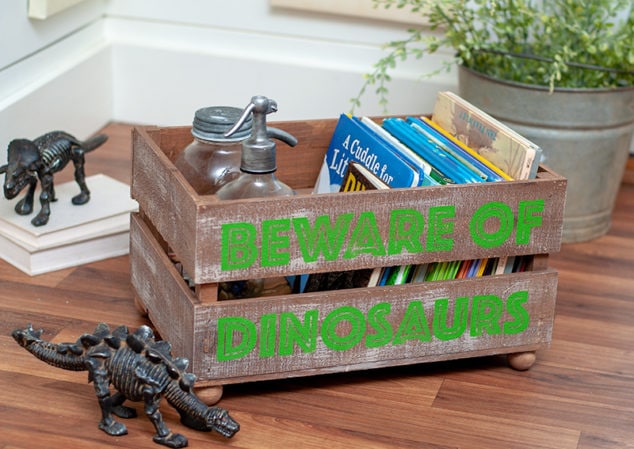
Hello everyone! Thanks for stopping by, today I’m sharing a new project… Dinosaur Room Crate Makeover!!
As you all know I’m apart of the core blogger team for DecoArt. Every month we have a fun challenge to create a project using a DecoArt product. This month our challenge was using any of the Americana Multi-Surface Satin Acrylics for an organization project.
Since our theme was organization, what’s the best place in my house to help get organized!?! The boys room… Especially with Christmas right around the corner, were gonna need some more storage space.
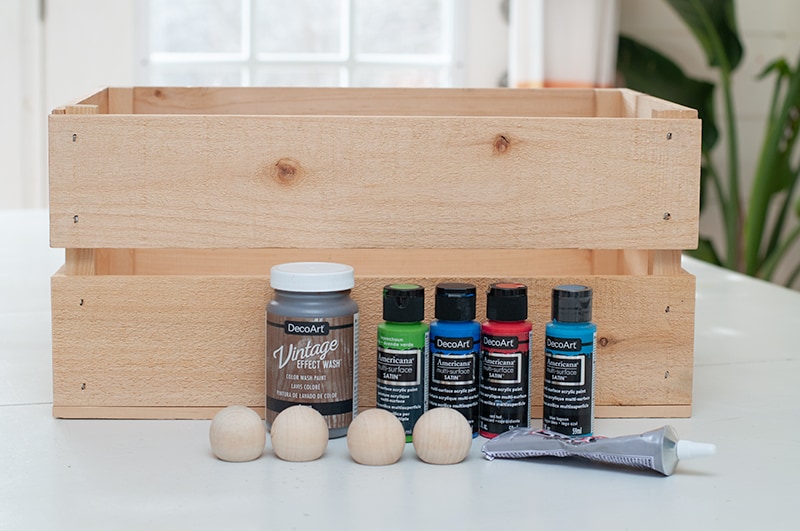
Supplies Needed:
- Wooden Crate
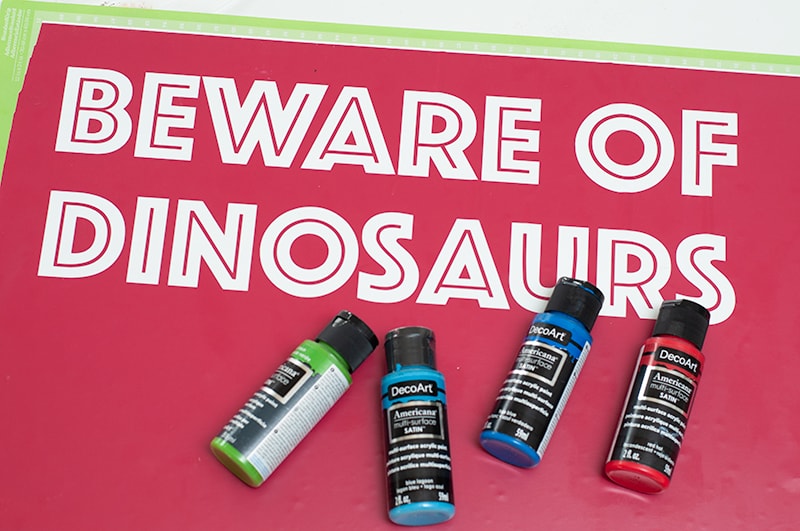
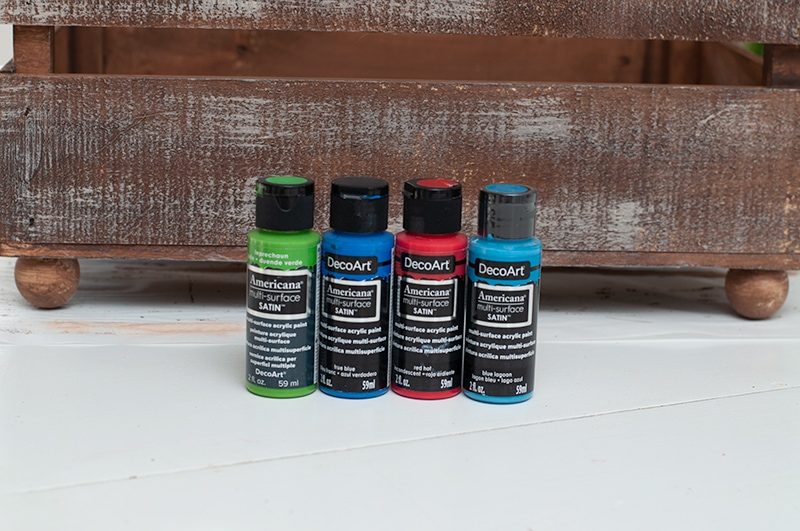
- Americana Multi-Surface Satin Acrylics 2oz – Leprechaun
- Americana Multi-Surface Satin Acrylics 2oz – True Blue
- Americana Multi-Surface Satin Acrylics 2oz – Red Hot
- Americana Multi-Surface Satin Acrylics 2oz – Blue Lagoon
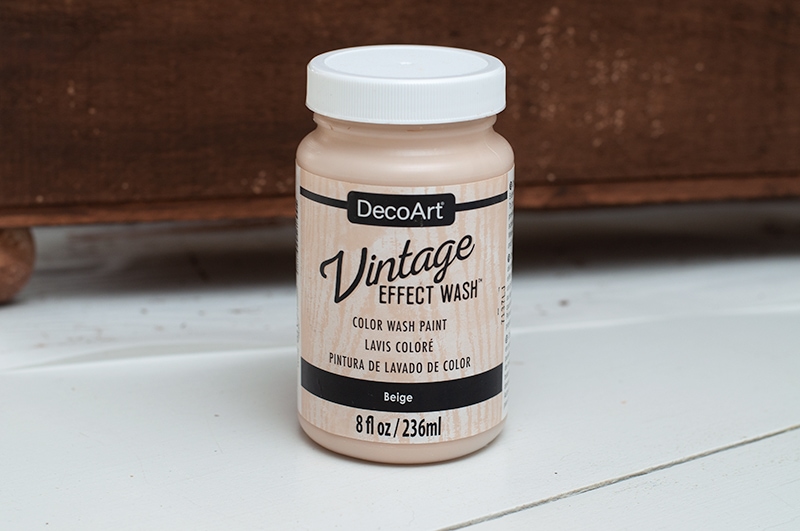
- DecoArt Vintage Effect Wash 8 oz – Brown
- DecoArt Vintage Effect Wash 8 oz – Beige
- Wood Ball Knobs
- E6000 Glue
- Silhouette
Let’s get started!!
Crate Makeover
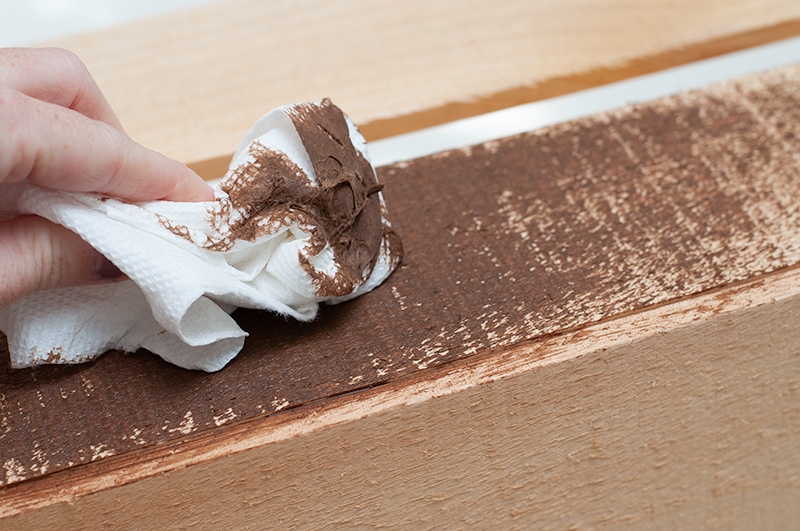
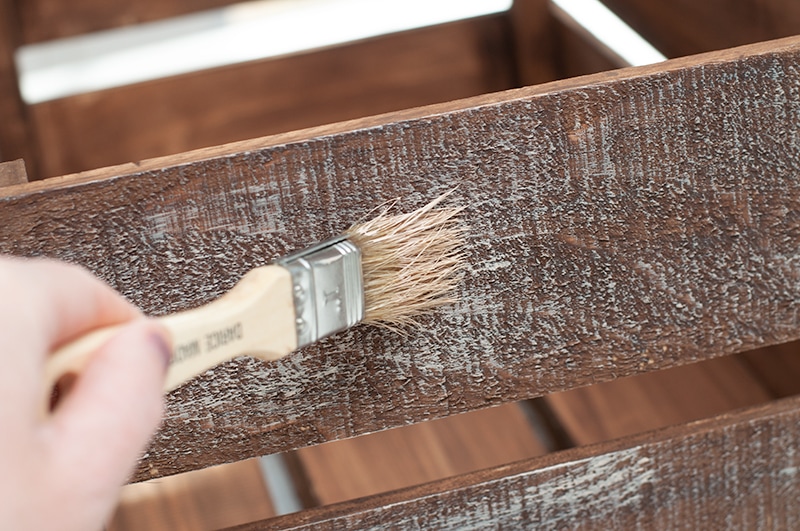
Step 1 – Paint on Vintage Effect Wash
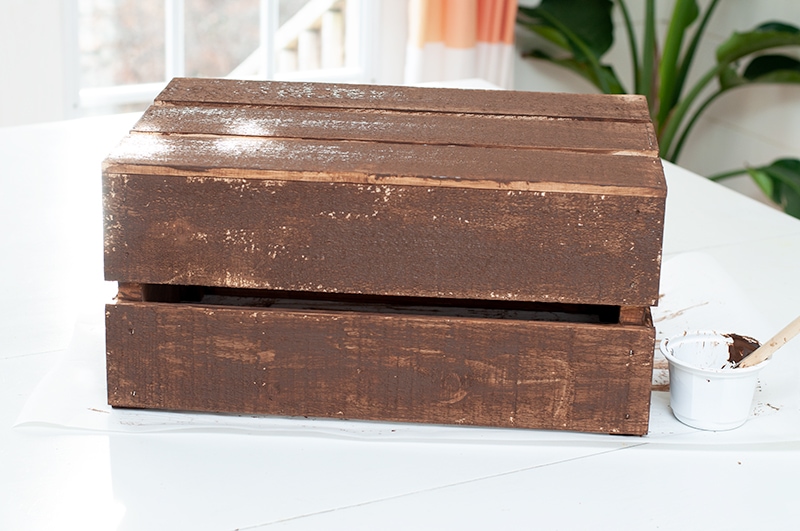
Start off by painting on your Vintage Effects Wash. I painted it on with my paint brush, then wiped it down with a paper towel.
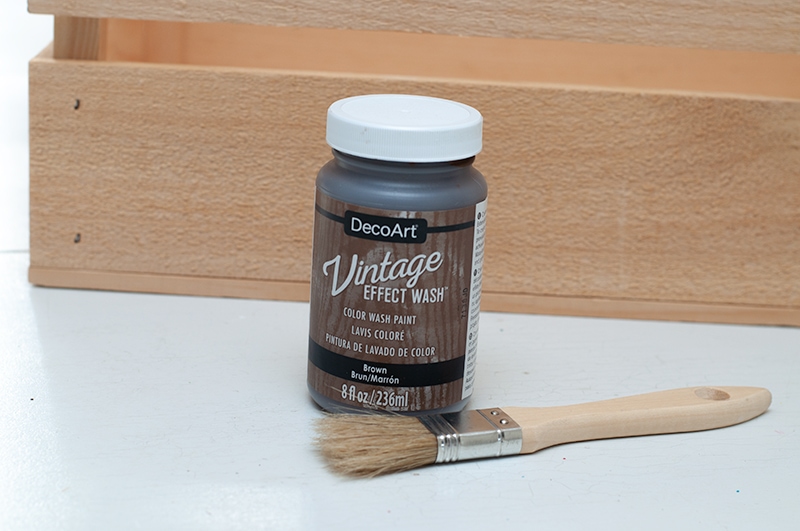
This is probably one of my favorite paints of DecoArt’s, it just looks great!
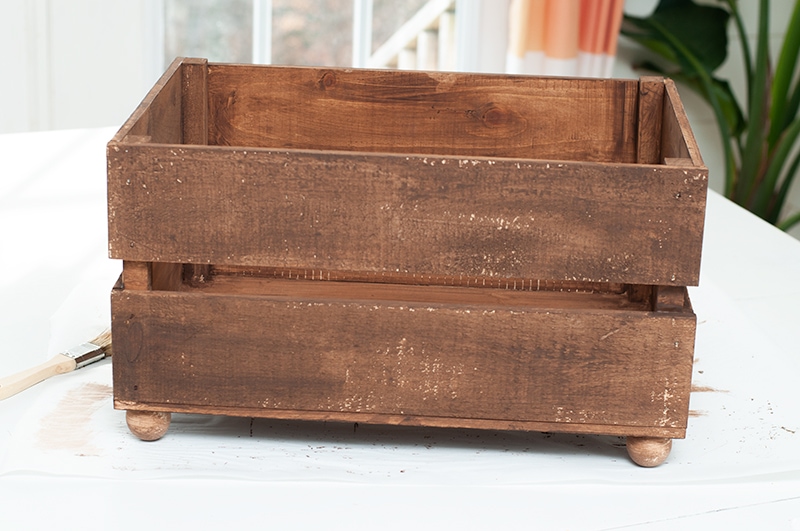
Step 2 – Add Legs
Now it’t time to add your legs, I had these wooden balls on hand and they worked perfect.
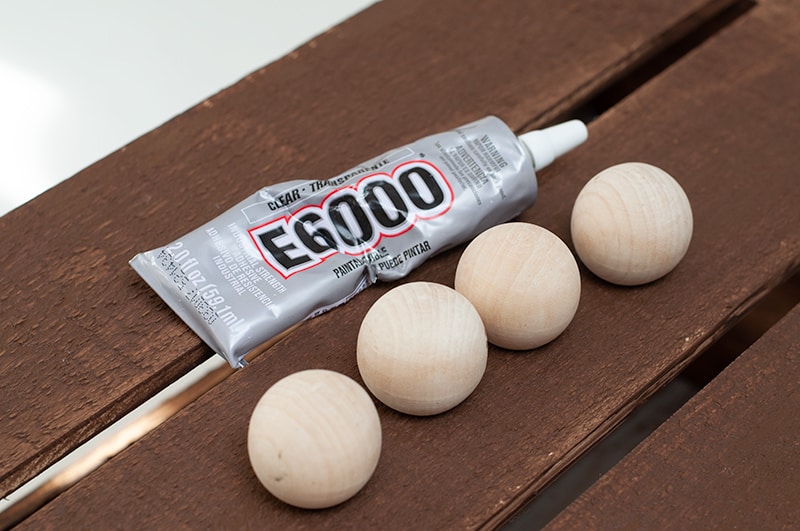

Add some heavy duty glue to the knobs and firmly place them on the bottom of your crate. Let dry 30 minutes.
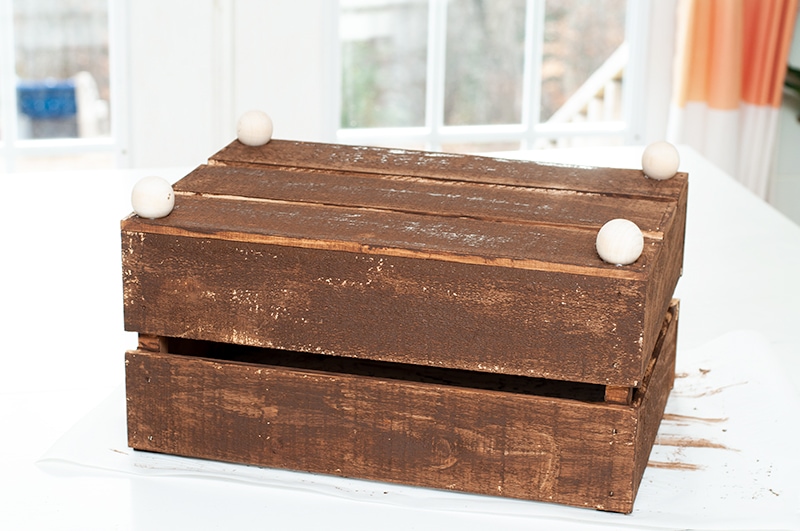
After your glue has dried you can add your Vintage Effects Wash on the knobs.
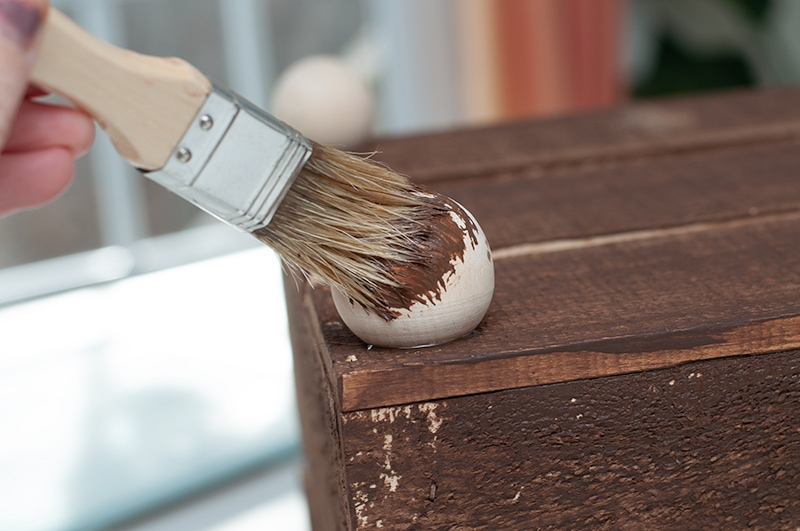
Already has that aged look that will fit in great with my boys dinosaur themed room.
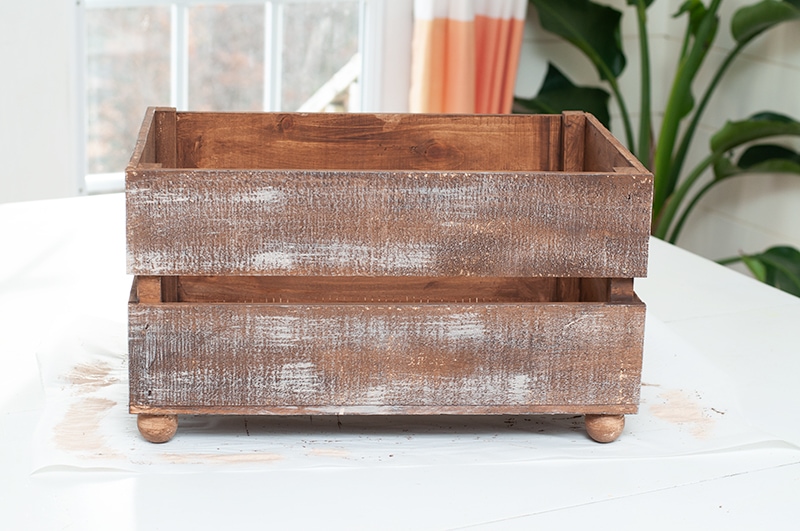
Step 3 – White Wash Your Crate
I felt like the crate needed to have an extra punch, so I lightly went over it with some of the beige.
Step 4 – Cut Stencil
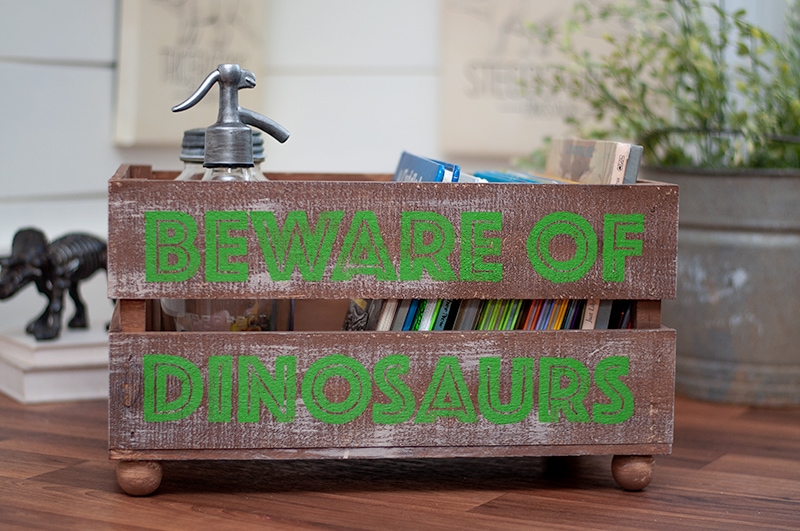
Now let’s add our phase. I cut it using my Silhouette Cameo. I used the Jurassic Park font for this!
Step 5 – Add and Fill in Stencil
I set out all my Americana Multi-Surface Satin Acrylics paint options for this project. Then I let my little guys pick which one was their favorite. They picked as their favorite color! I was super excited, because that was the one I was hoping they would choose!
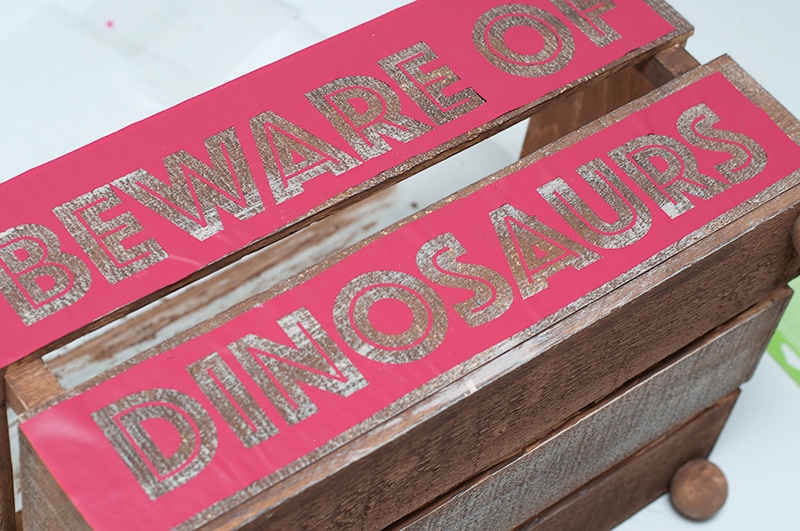
I did a total of two coats for this step. The green gives it that perfect POP of color the project needed!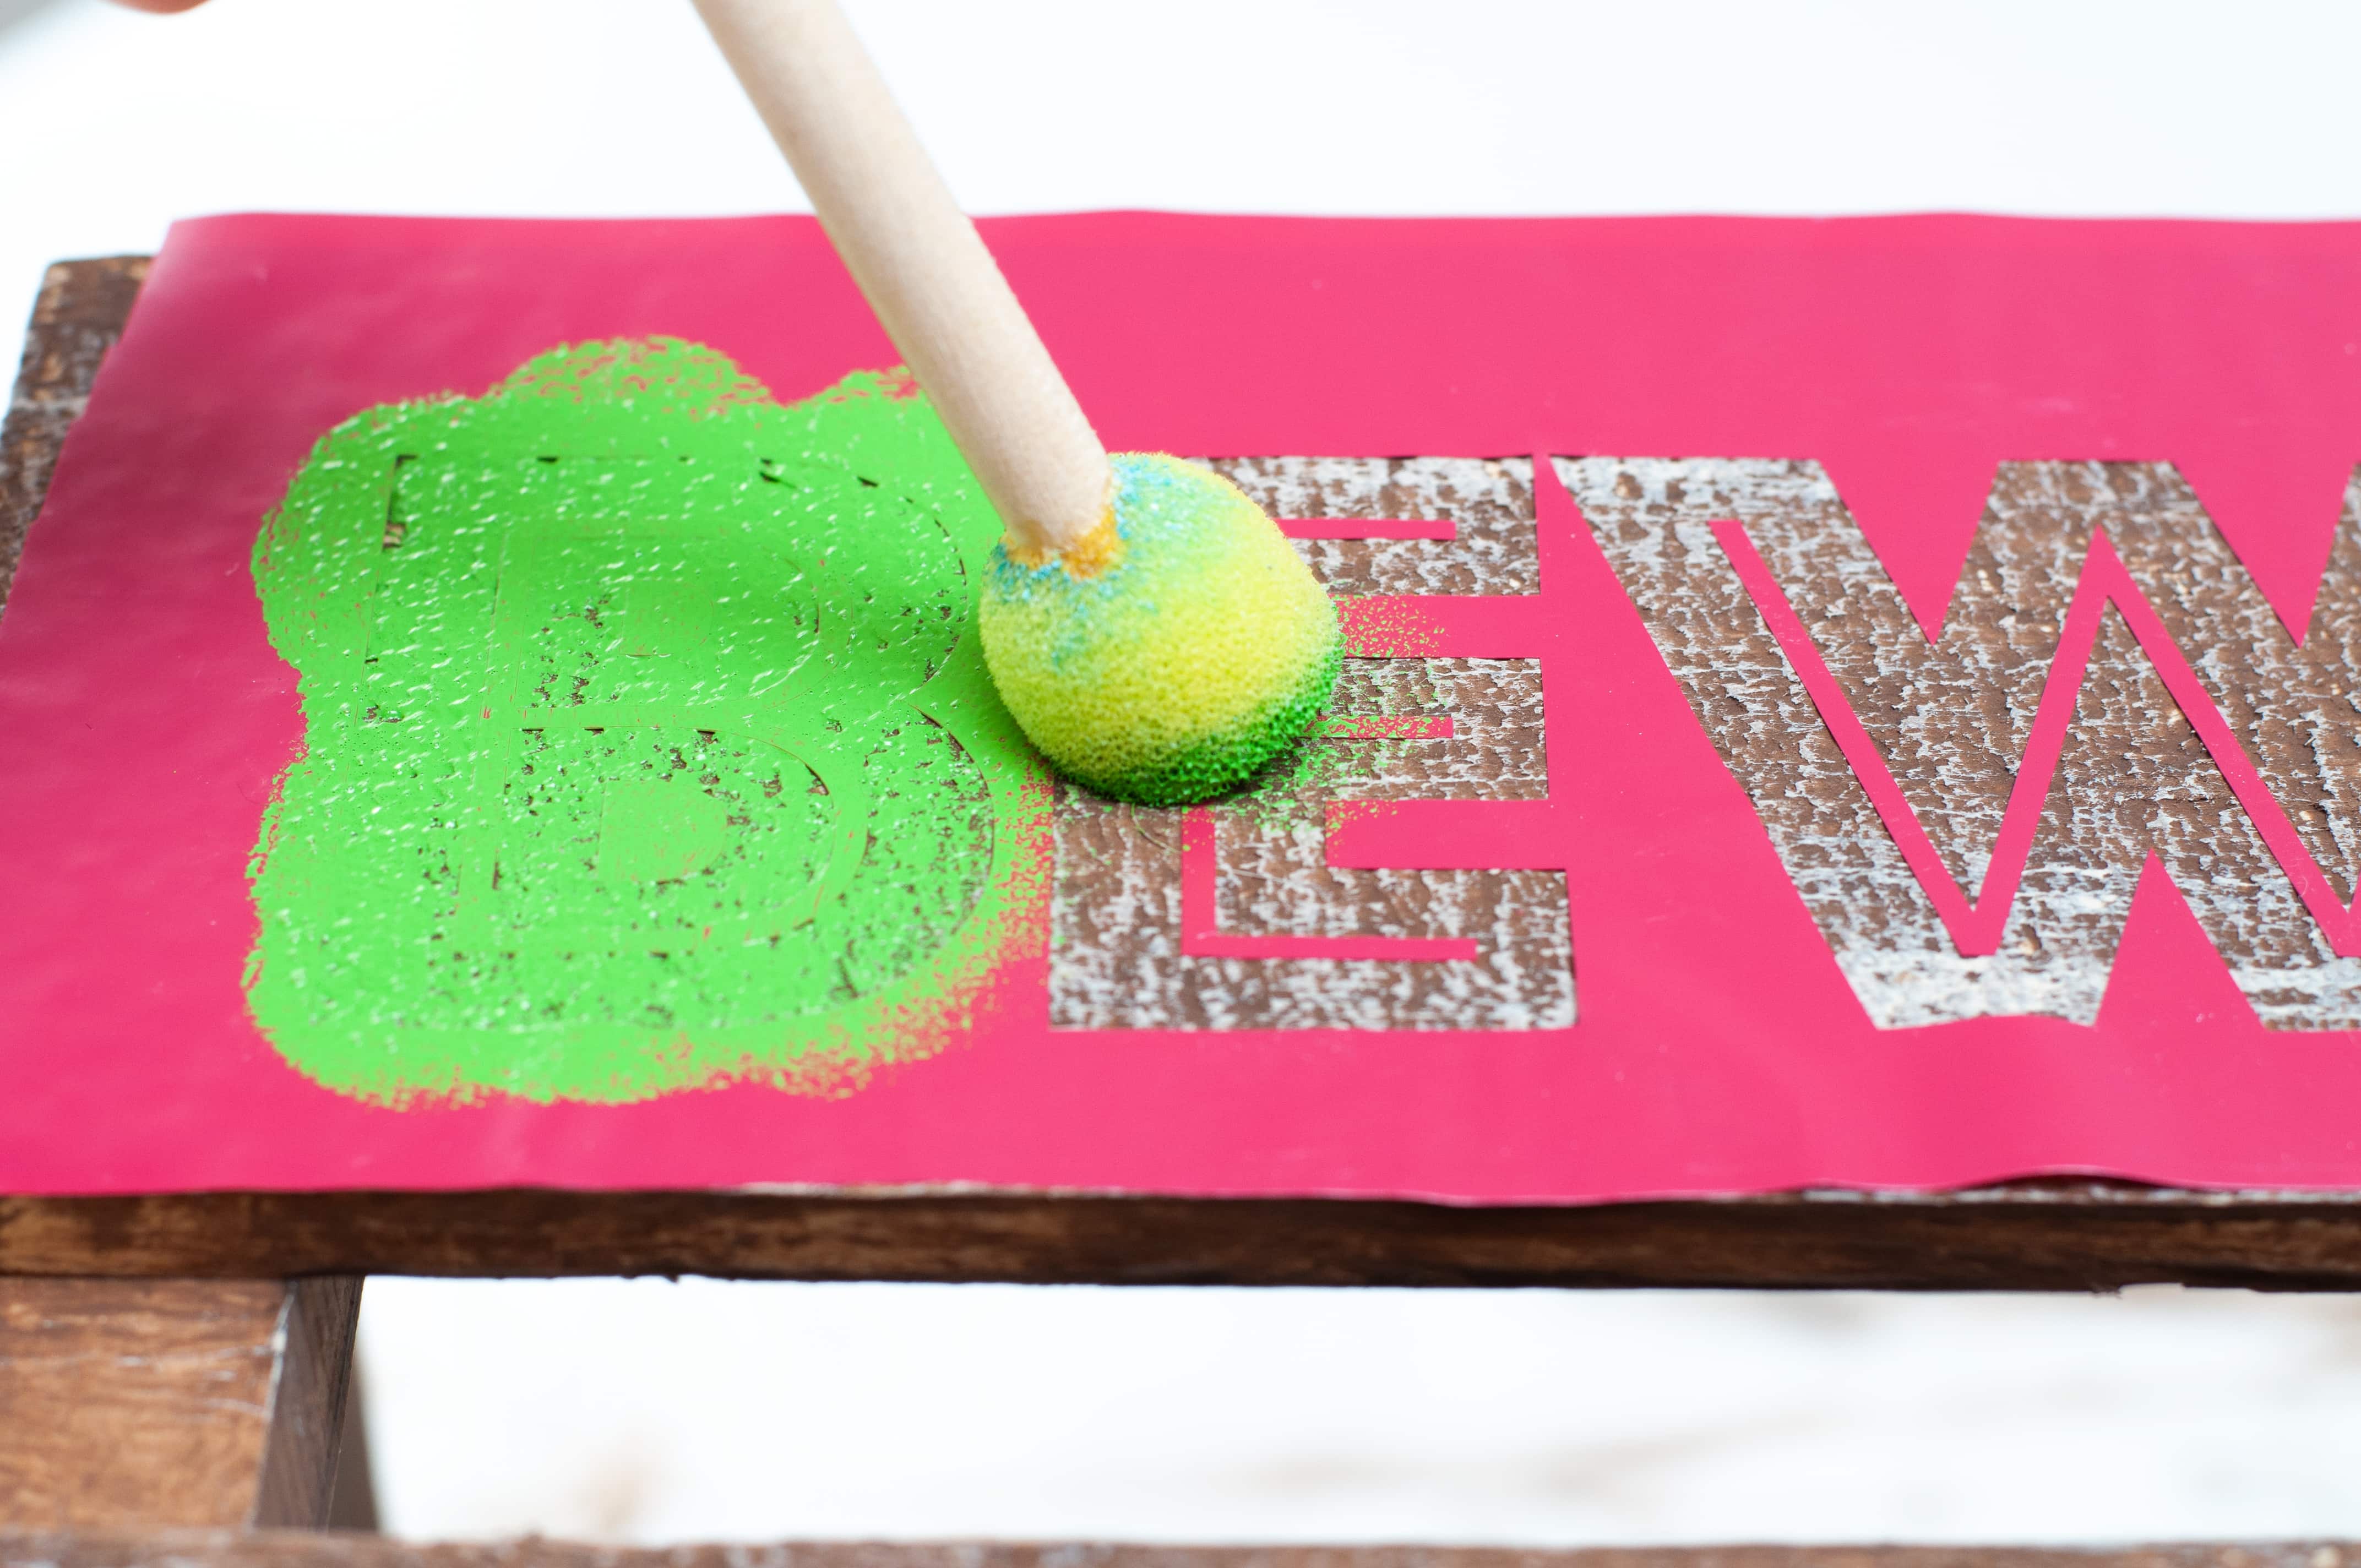
Finishing Touches
This will go great with the Dresser Makeover I did last year, for my boys room.
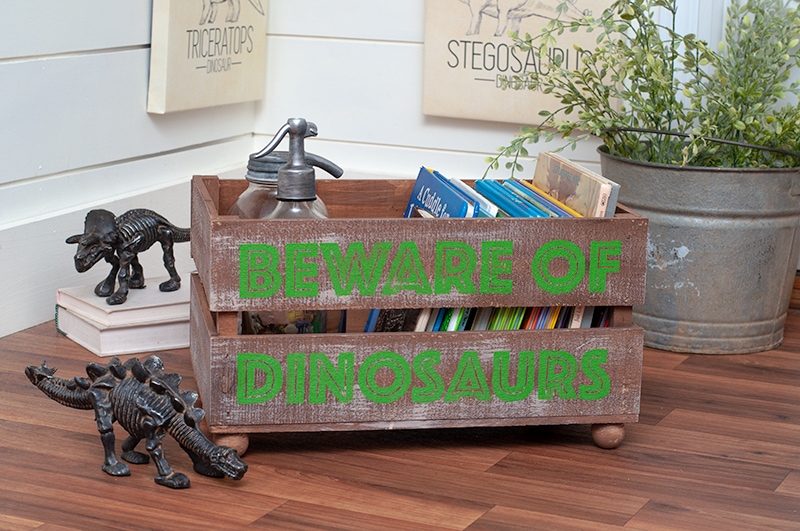
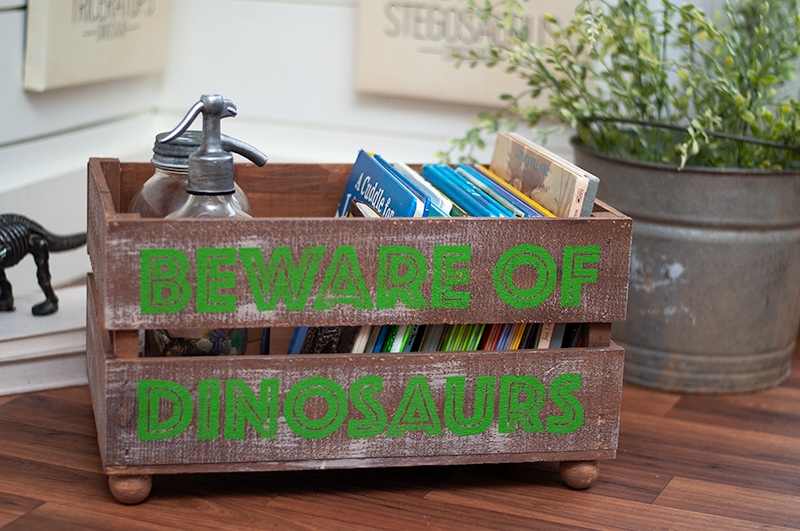
Dinosaur Crate Makeover
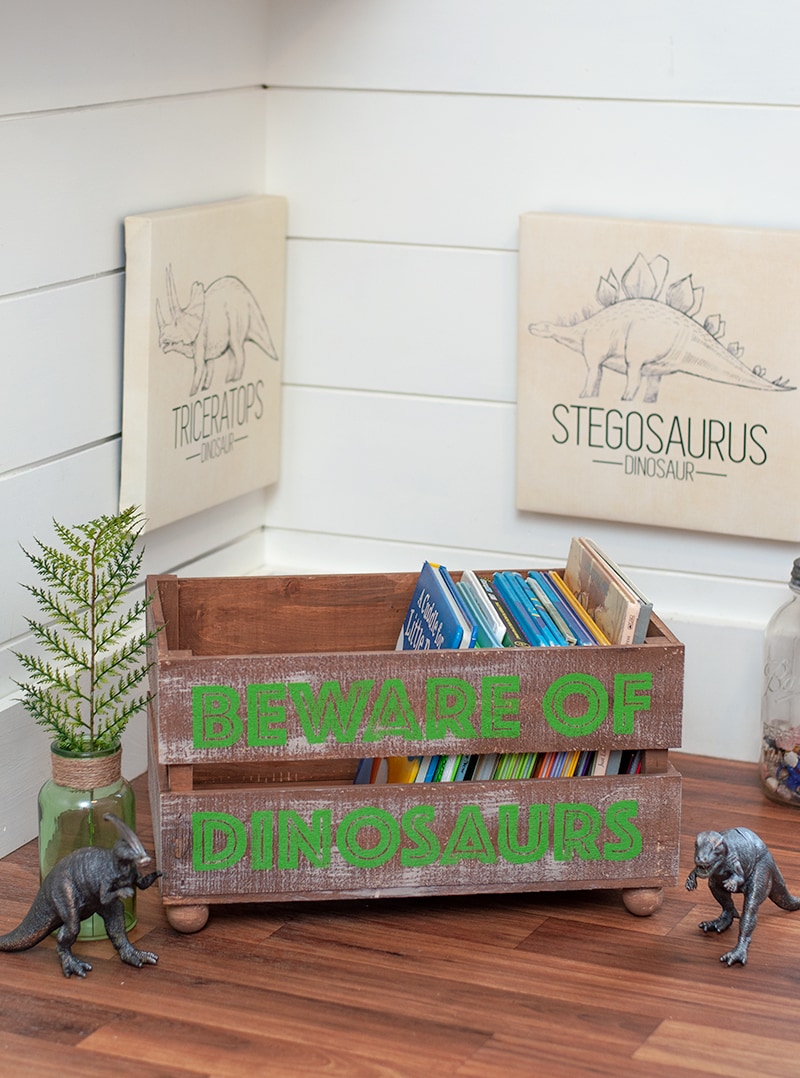
I plan on making another one so both boys have one in front of their beds. This will help keep some of their toys/books organized in their room.
Simple crate makeover you can do in no time, I love that!
Looking for some more Dinosaur Project!?!
Amber from Damask Love had a great crate makeover over at the DecoArt Blog!
Love, Courtney