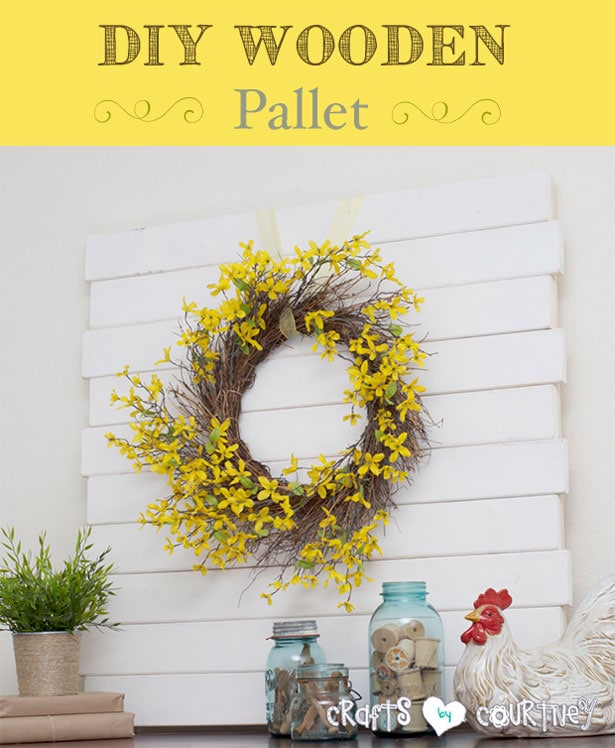
I’ve REALLY been wanting to build my own wooden pallet mantle backdrop for awhile now. Something light, so my Spring decor will really POP against it!
I’ve had a pallet board I upcycled from an ACTUAL pallet for my beach home decor and that has worked great over the past couple of months. But, I really just wanted to give this area a NEW look!
ANY excuse for new craft projects, right?!?
Getting Started
I bought 6 wooden boards (6′ x 3″ x 3/4″) at Lowe’s for a $1.68 each — and I was able to cut them in HALF (which gave me 12 boards at 3′ x 3″ x 3/4″).
From there, I went to my craft STASH and pulled out my white paint, wax and 10 wood screws (1.25″ long).
I was ‘uber excited to get crafting on this project. I don’t USUALLY pull out the power tools for my craft projects (I usually stick with a glue gun)…

Sandpaper isn’t picture here…sorry.
Step 1 – Cut and Layout Your Wood
I wanted my wood pallet to be a PERFECT square, so I measured it out, and had the good people at Lowe’s cut my wood for me :)
To make my square, it ended up being 10 boards (side-by-side) and 2 on the BACK to keep them in place.

Step 2 – Paint Your Wood
I painted two coats of white paint on my wood and let DRY for an hour.

Step 3 – Sand Your Wood
I wanted my pallet to look a little “aged”, so I went over the edges with some sandpaper and lightly sanded EACH painted board.

Quick Tip: For best results, stick to sanding the EDGES of the boards (the paint comes off really easy).
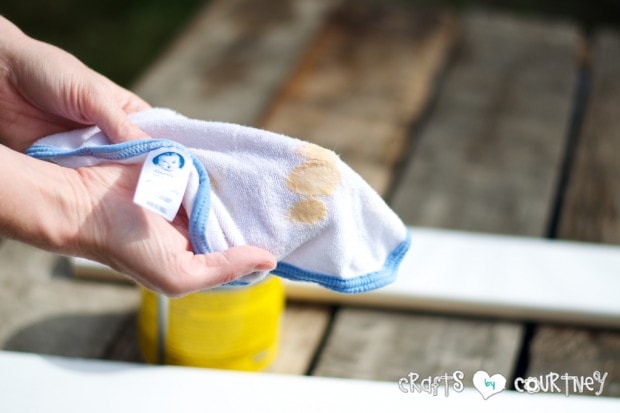
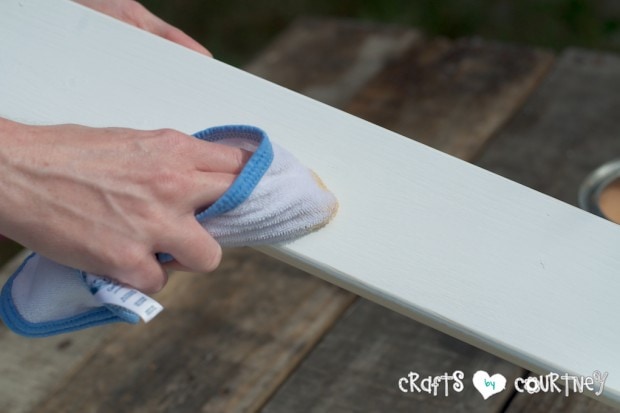
Step 4 – Wax Your Wood
This step is NOT necessary, but I always like to go over wood crafts (like my jumbo paint palette knockoff) with a coat of finishing wax. It leaves a nice and SMOOTH finish!

Step 5 – Put Your Pallet Together
Once my pallet was painted, sanded and waxed, I was ready to put it TOGETHER…super excited about this part!
I went down both sides (adding a screw to EACH piece of wood) to firmly keep the boards in place.
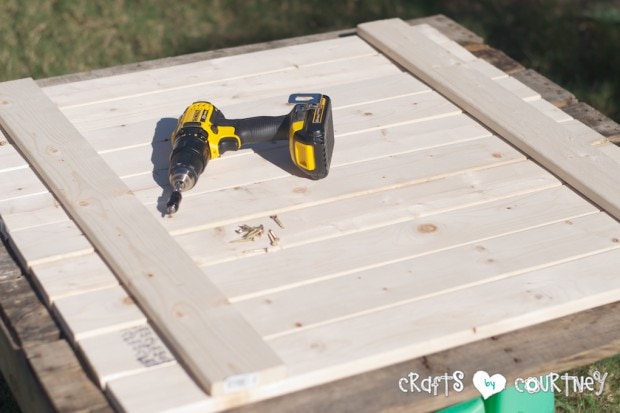
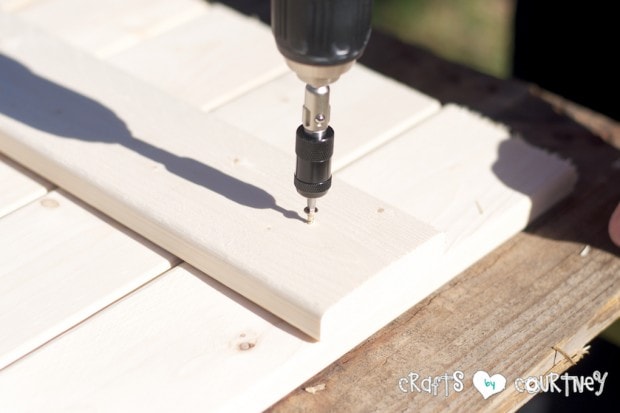
Quick Tip: Get creative with this part! We chose to STAGGER the boards for a unique stepping effect!
Step 6 – Finishing Touches
I LOVE how this DIY wood pallet centerpiece turned out! The first projects I added to it were my stenciled heart frames and Valentine heart trees!
BUT…now that my Valentine’s Day decor is down, I can’t wait to decorate it with my Spring and Easter home crafts!

VOILA’ that’s it! Super simple, right?!? I had this project done in NO TIME and it was totally on budget!
VOILA’ that’s it! Super simple, right?!? I had this project done in NO TIME…
I spent about $12.00 on the wood (and had the rest of the supplies I needed). PLUS, I’ll be able to keep this project up for awhile now! I can’t wait to put my beach decor on it when it’s time to decorate for Summer!
Love, Courtney