
Yay, Halloween is here! I’ve needed my holiday craft fix for awhile now. I haven’t done one since the fourth of July. We’ve done a lot of summer crafts, but my favorites are holidays.
I thought spider web marble art would be a great idea. I’ve already done one spider craft with the boys. You can’t have too many spiders in the house right??
Getting Started
I used white paint as my spider web (and thought it would really look nice against a gray background). I grabbed some marbles and my spiders and we were ready to get started!!
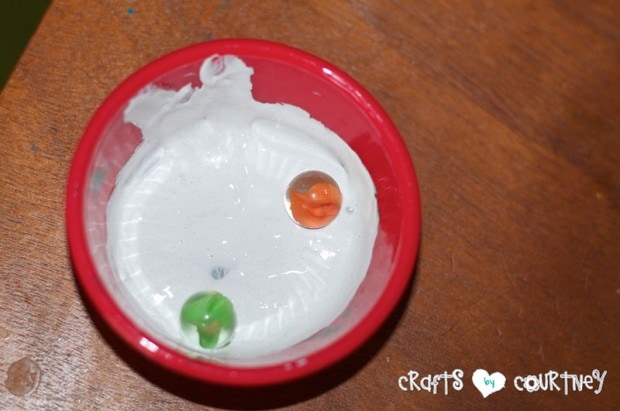
Step 1 – Cover Your Marbles with Paint
I got a small bowl and poured white paint in and added 2 marbles. I had my son roll them around in the paint until they were completely covered.
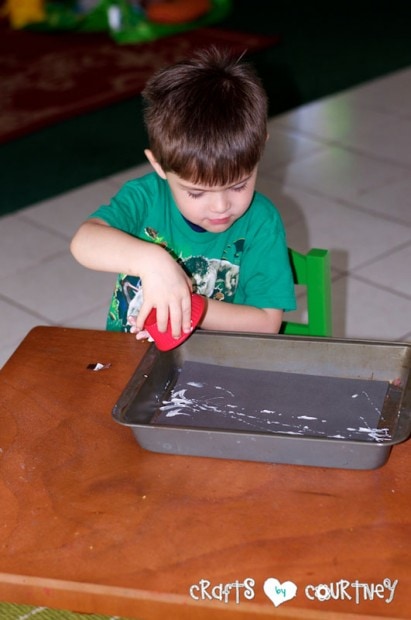
Step 2 – Place Your Marbles on the Cardstock
I placed my paper in a large baking pan. I’ve seen where people have put them in boxes, but my baking pan is the perfect size for cardstock paper. Once the marbles were covered in paint, I had him drop them on the paper.
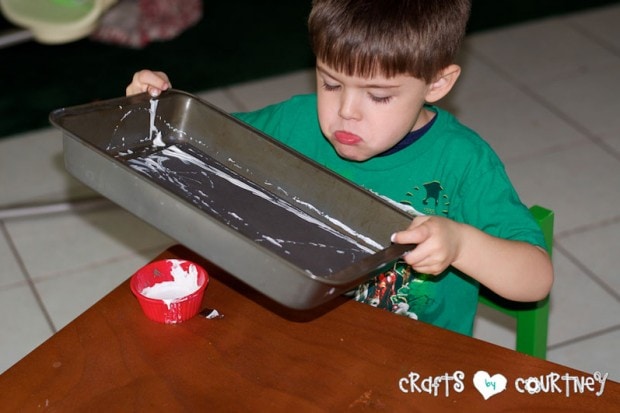
Step 3 – Creating Your Spider Web
He picked the baking pan up and started rolling the marbles back and fourth (and front to back). He had a good time with this part!
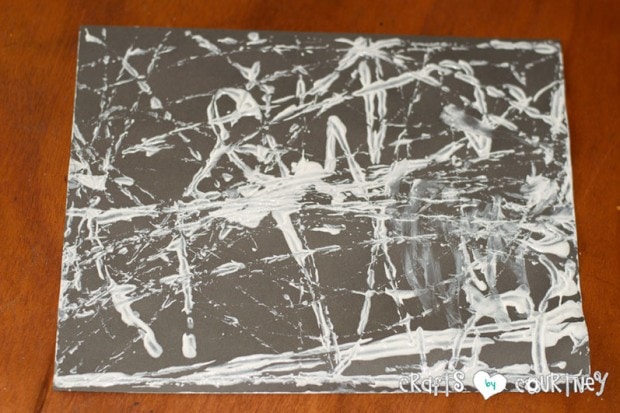
Step 4 – Finishing Touches
It really depends on how dark you want your spider web to be. We only did this routine one more time. I didn’t want our spider web to be too thick.
I had a bag of spiders I got from the Dollar Tree and glued on a couple orange ones. I thought the orange really popped against the gray background.
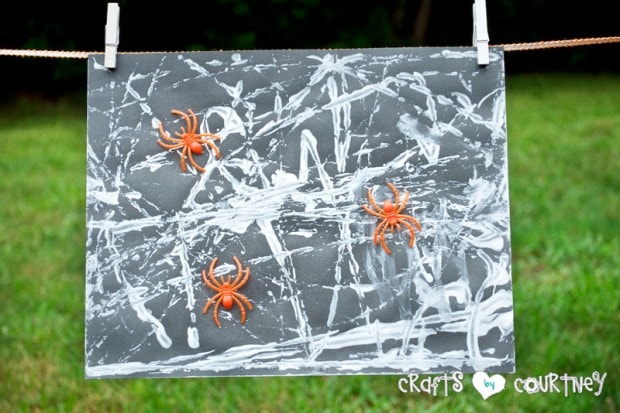
Once we were done, I added it to our Halloween craft board. Two Halloween crafts done (and it’s just the first week of October). Wow, we’re on the ball!!
I really like the marble art. I think the effect the marbles makes looks really nice. What’s a creative way you have done marble art?
Love, Courtney