
Hello friends, I hope your week is going well! It’s a because Fall day here in North Carolina! I’m sitting at my desk writing this post and looking out at the leaves falling from the trees. This is a beautiful time of year. We are truly blessed.
So today’s post is inspired by Fall. I love getting the house ready for each season and changing out my decor. Today I’m sharing a new Fall Sign I made for the house.
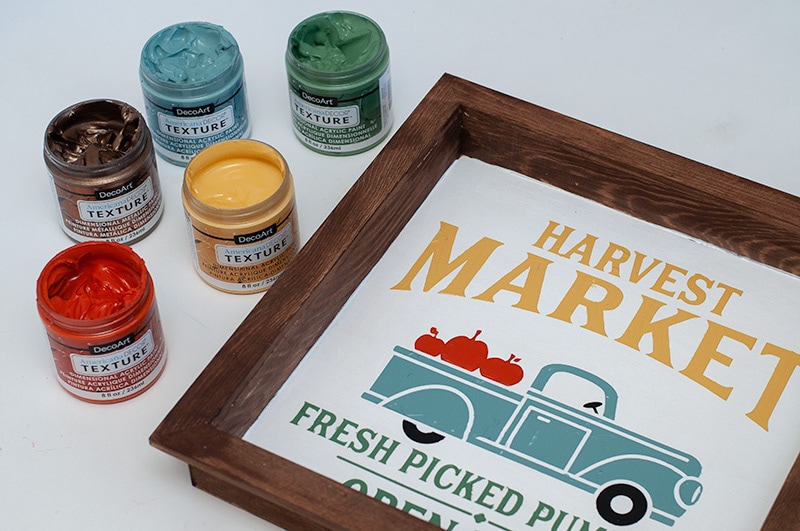
As you all know I’m apart of the core blogger team for DecoArt. Every month we have a fun challenge to create a project using a DecoArt product. This month our challenge was using any of the NEW Americana Decor Texture paints.
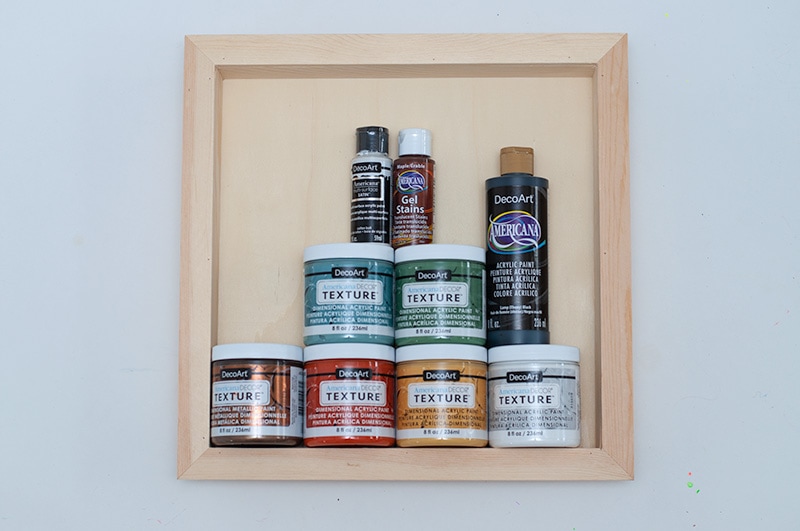
DIY Fall Sign Supplies:
- Americana Decor Texture 8oz – Burnt Orange
- Americana Decor Texture 8oz – Moss Blue
- Americana Decor Texture 8oz – Meadow Green
- Americana Decor Texture 8oz – Harvest Gold
- Americana Gel Stains 2oz – Walnut
- Americana Multi-Surface Satin Acrylics 2oz – Cotton Ball
- Americana Multi-Surface Satin Acrylics 2oz – Black Tie
- Palette knife
- Wooden Shadow Box
- Silhouette Cameo
- Vinyl
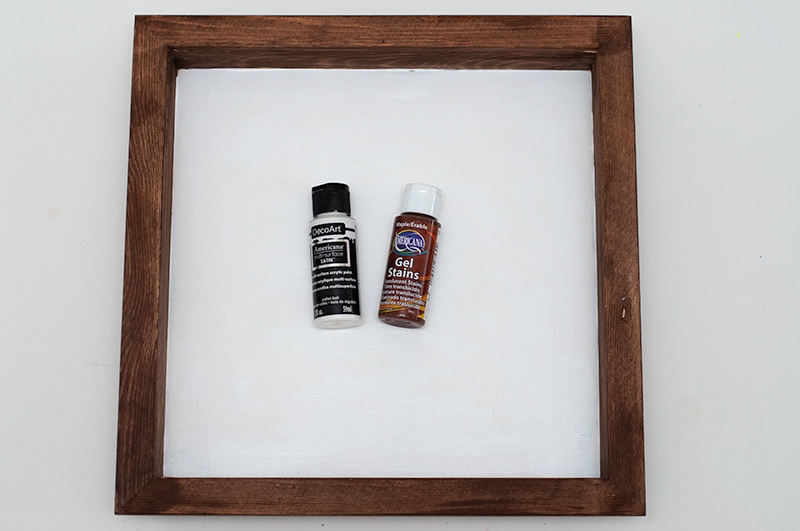
Step 1. Paint Shadow Box
First I went around the box and stained it with the DecoArt Gel Stain. I only needed one coat, which it great (and it’s doesn’t stain my hands). After the stain has dried I filled in the center with Americana Multi-Surface Satin Cotton Ball.
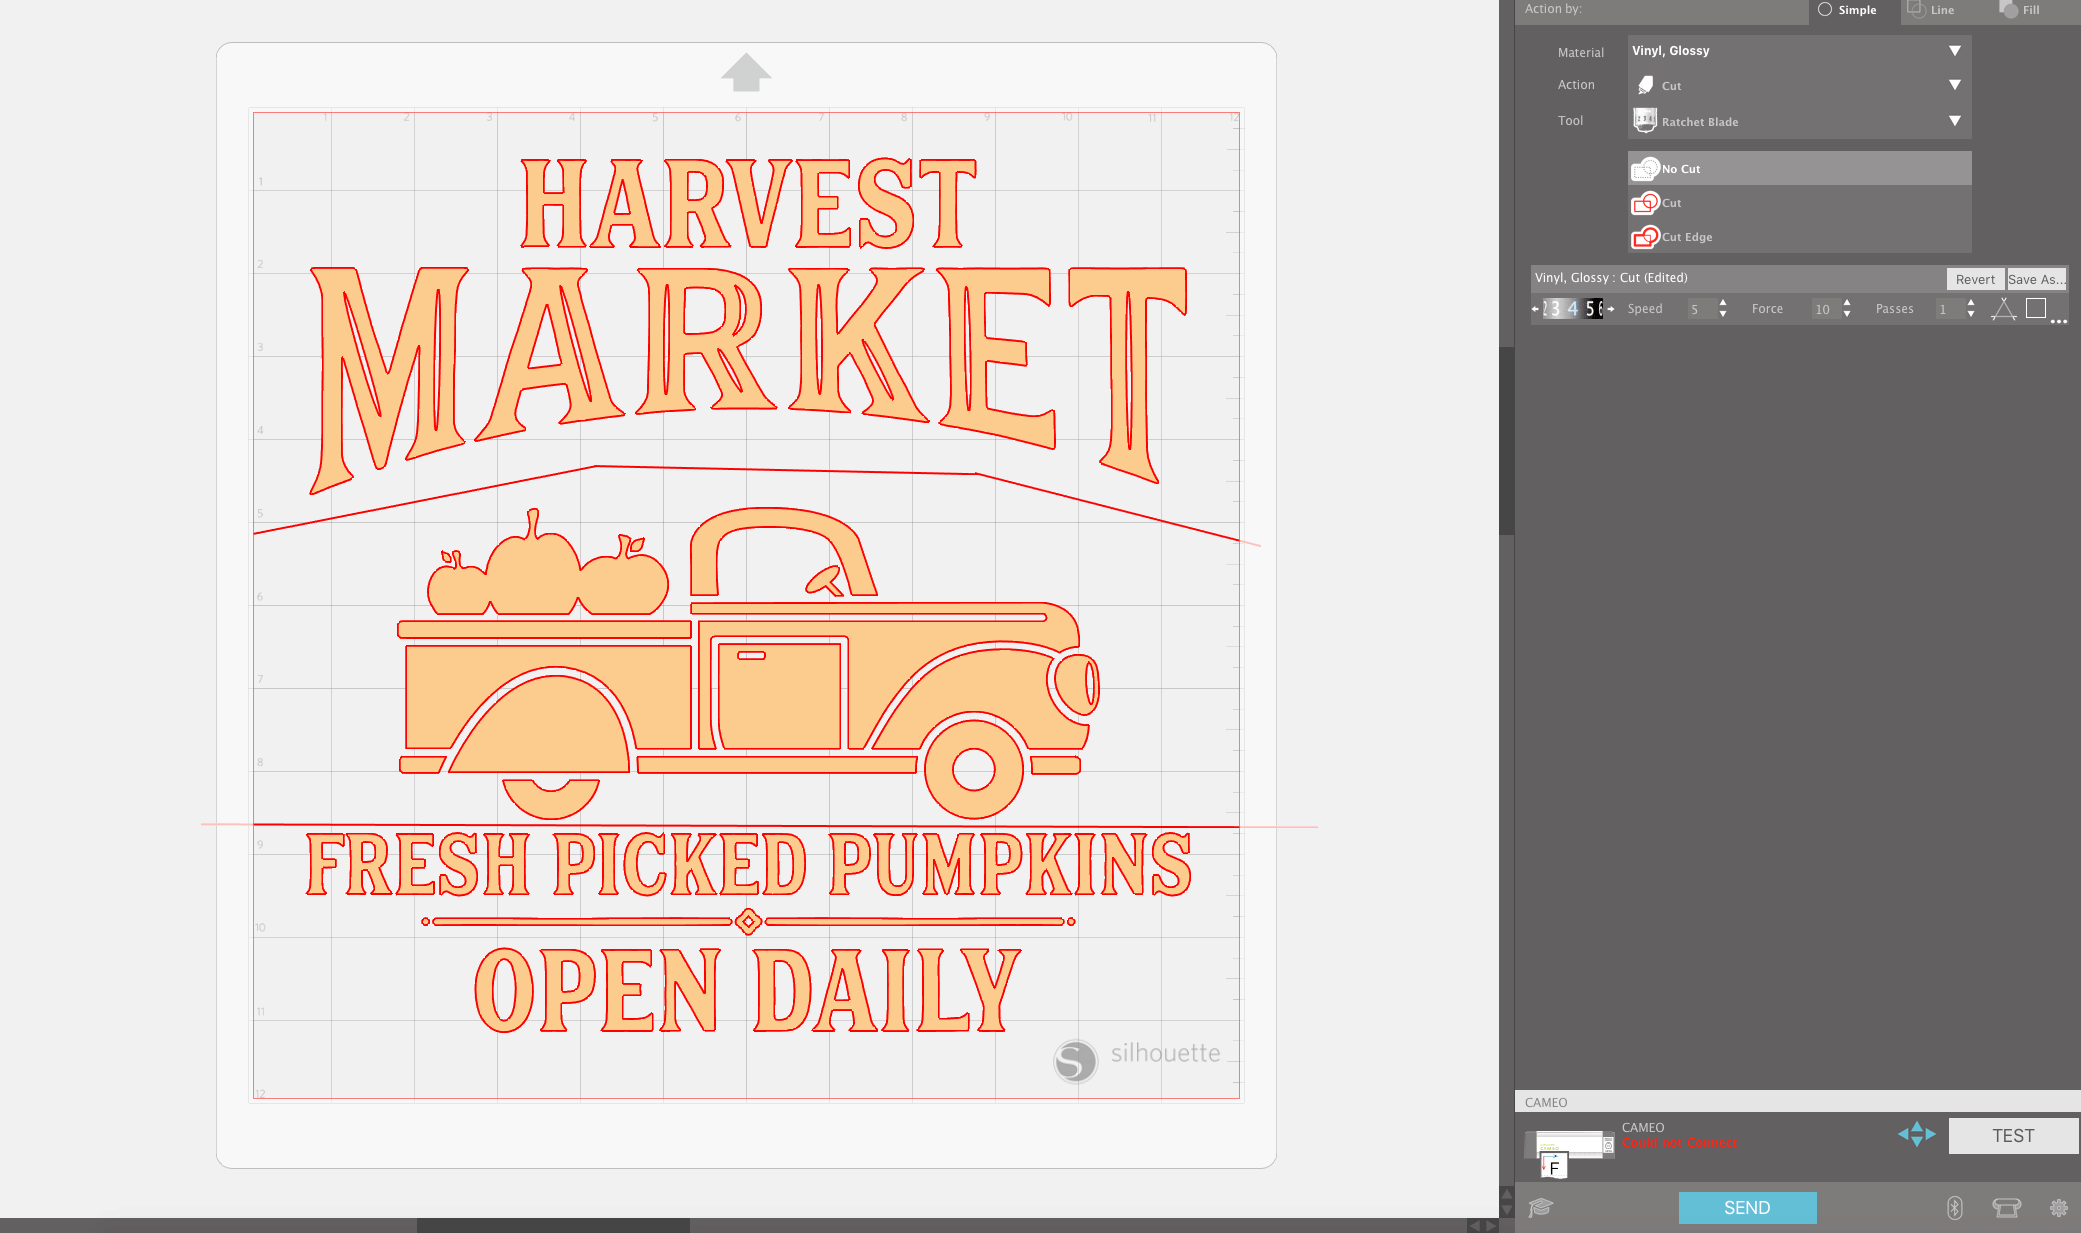
Step 2 – Cut Stencil
Next I cut my stencil, using my Silhouette Cameo. I found this file in the Silhouette library for .99 cents. I look for all my stencils there, they have a HUGE selection!
I actually cut my stencil into three spots, so that I can do a section at a time.
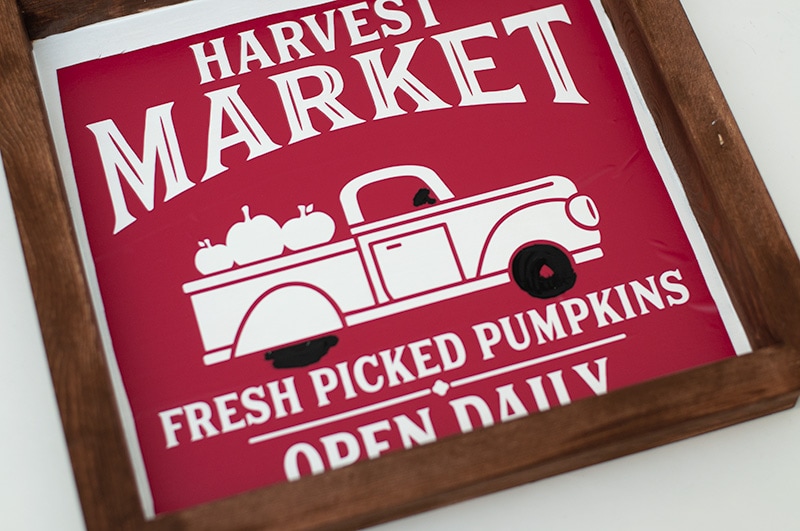
Step 3 – Transfer Stencil
After I cut my stencil in vinyl I added some transfer paper to the top so that I can easily add it to my wooden sign.

Make sure to smooth out all the bubbles so that none of your texture paint will bleed through. I also went over the steering wheel and tires with black acrylic paint.
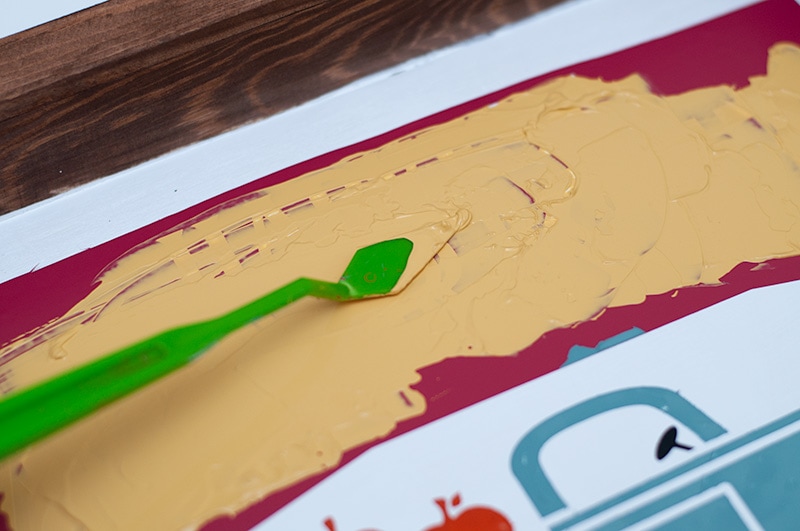
Step 4 – Add Texture Paint
Now the fun part!! Let’s add out texture Paint!
This was my first project using the Texture Paint and I was pretty excited!

You will need to use a palette knife for this step
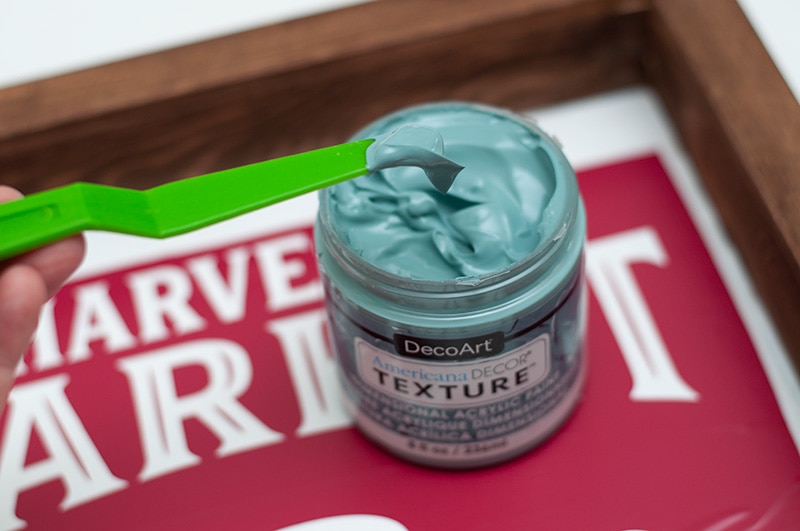
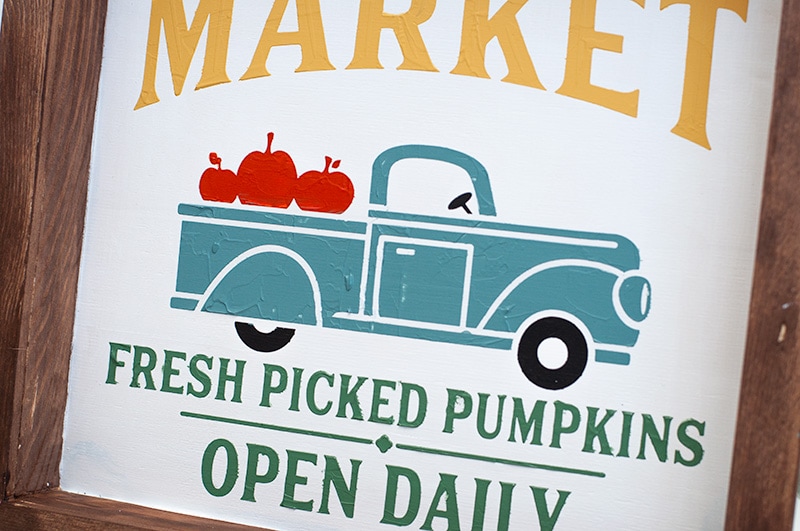
Go over your stencil with the palette knife, filling in all your spots. I did not smooth the texture paint down. I like the look of seeing texture in the truck and letters.
Since I cut the stencil in three spots, I immediately removed the stencil. Do not wait to let the paint dry or it will pull the textured paint off. I learned that while testing it out.
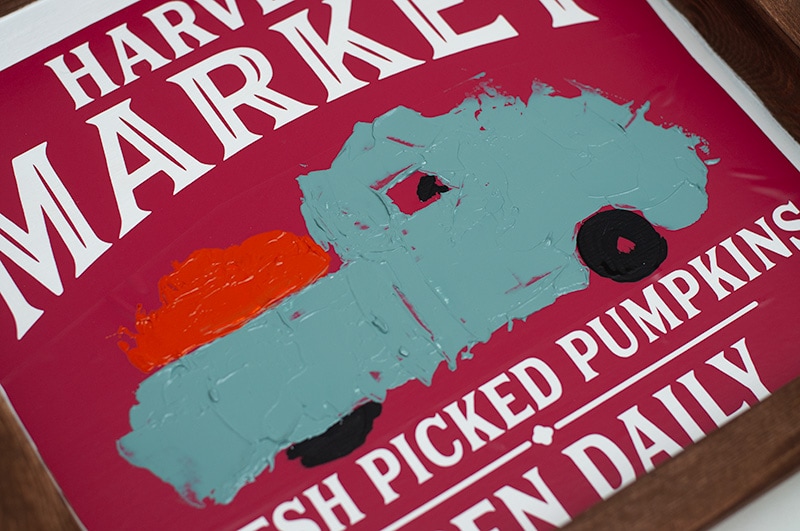
Let’s add our next color and follow the same step. AGAIN REMOVE stencil immediately.
The texture is looking great!
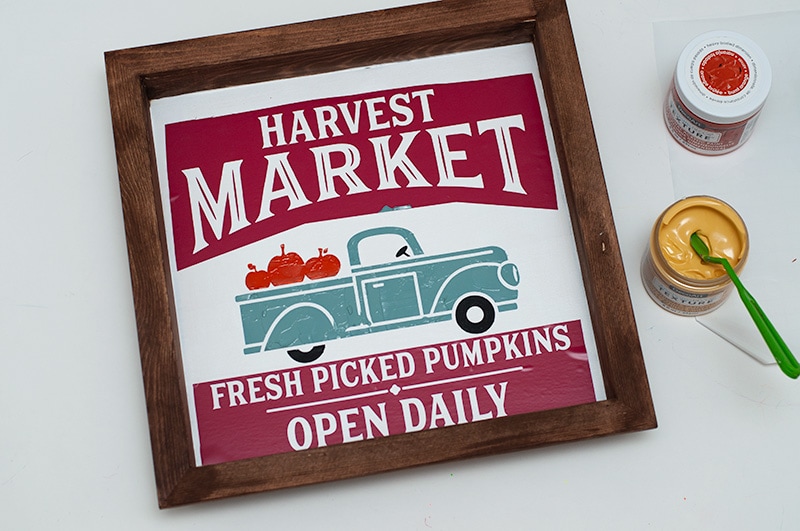
Finishing Touches
Can you see the texture here?


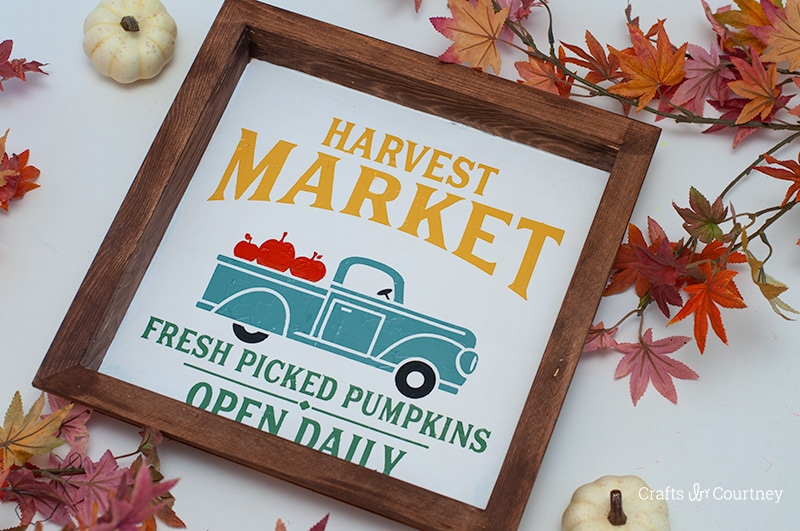
I really like how it turned out and now I’m inspired to get the rest of the house ready for Fall. If you follow my blog then you know I’m all about a Coastal Fall. But I like adding other pieces of non coastal items to my Fall decor as well.
Looking for more Fall Sign ideas? Here’s a DIY Fall Sign I made a couple years ago.

As always thanks for stopping by and checking out my latest project!
Love, Courtney