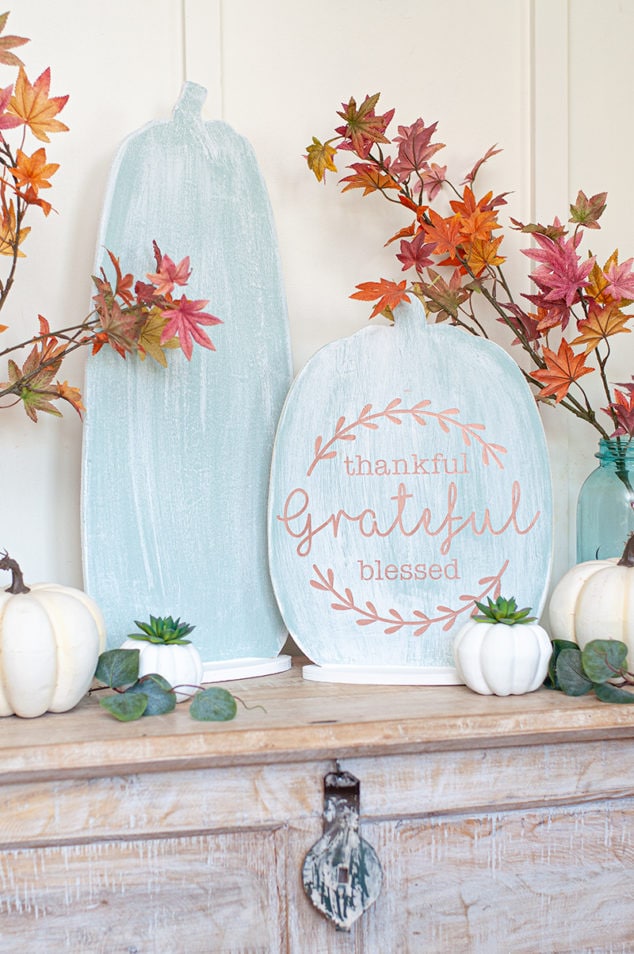
Hi friends, today I’m sharing a new Fall project… A Reversible Sign, perfect for your Thanksgiving, Fall and Halloween decor/entertaining. I’m all about entertaining during the Fall season. I usually host the Friendsgiving dinner at my house and a Halloween party as well. What’s most important about entertaining… The decorating of course. We all decorate so we can entertain and have everyone over to get that special Fall feeling when entering your home.
I wanted to create a reversible sign just for that. When I have the annual Friendsgiving dinner I will use the Grateful side. Then when I have my Halloween party I will use the Trick or Treat side. You can set it up next to your party table, food display, or even when they walk in the door, it’s the first thing they see.
As you all know I’m apart of the core blogger team for DecoArt. Every month we have a fun challenge to create a project using a DecoArt product. This month our challenge was doing a Fall Entertaining project using their Chalky Finish paint and paring it with the Matte Metallics.
So on to the craft!!
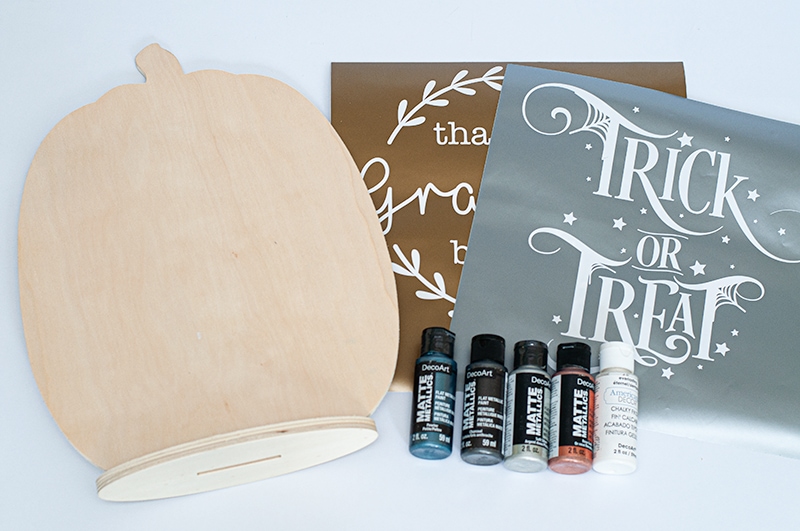
Supplies Needed:
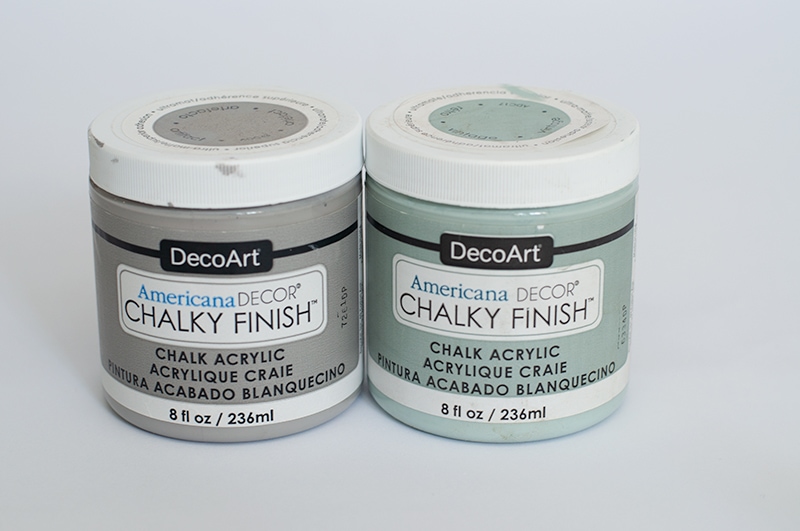
- Americana Decor Chalky Finish Paint 8oz – Vintage
- Americana Decor Chalky Finish Paint 8oz – Yesteryear
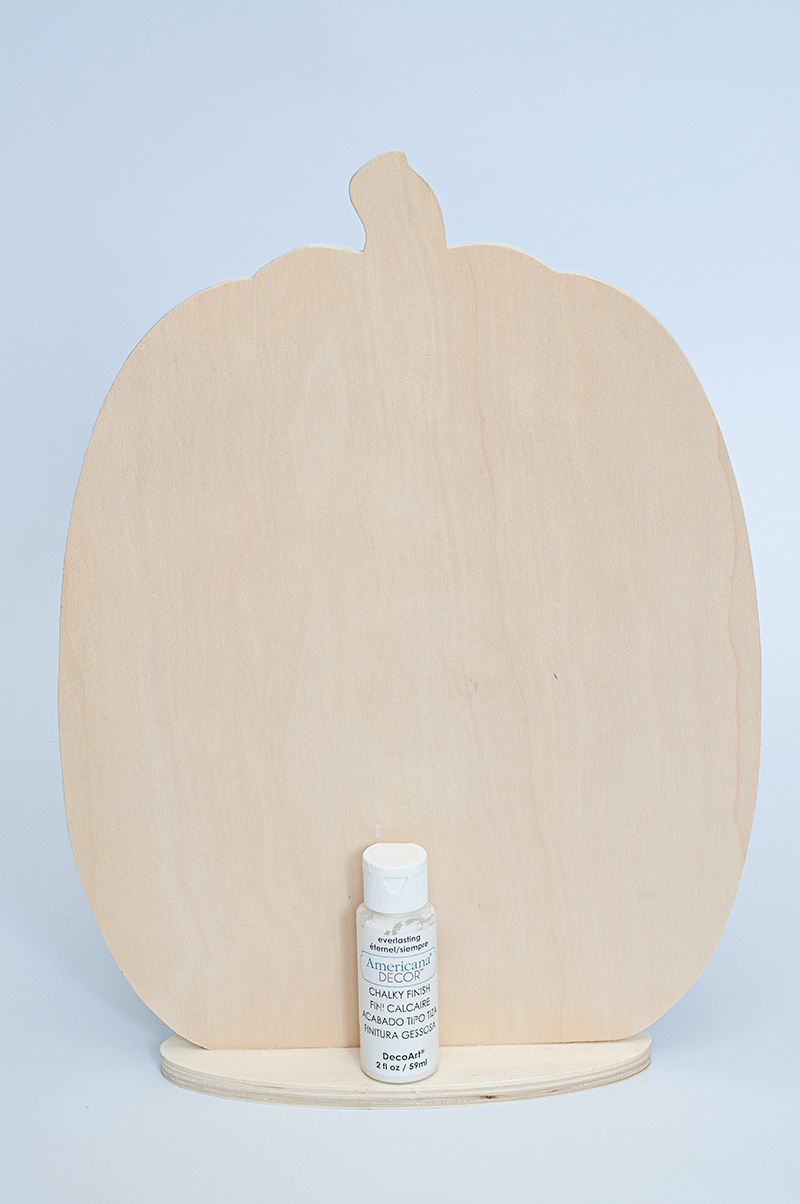
- Americana Decor Chalky Finish Paint 8oz – Everlasting
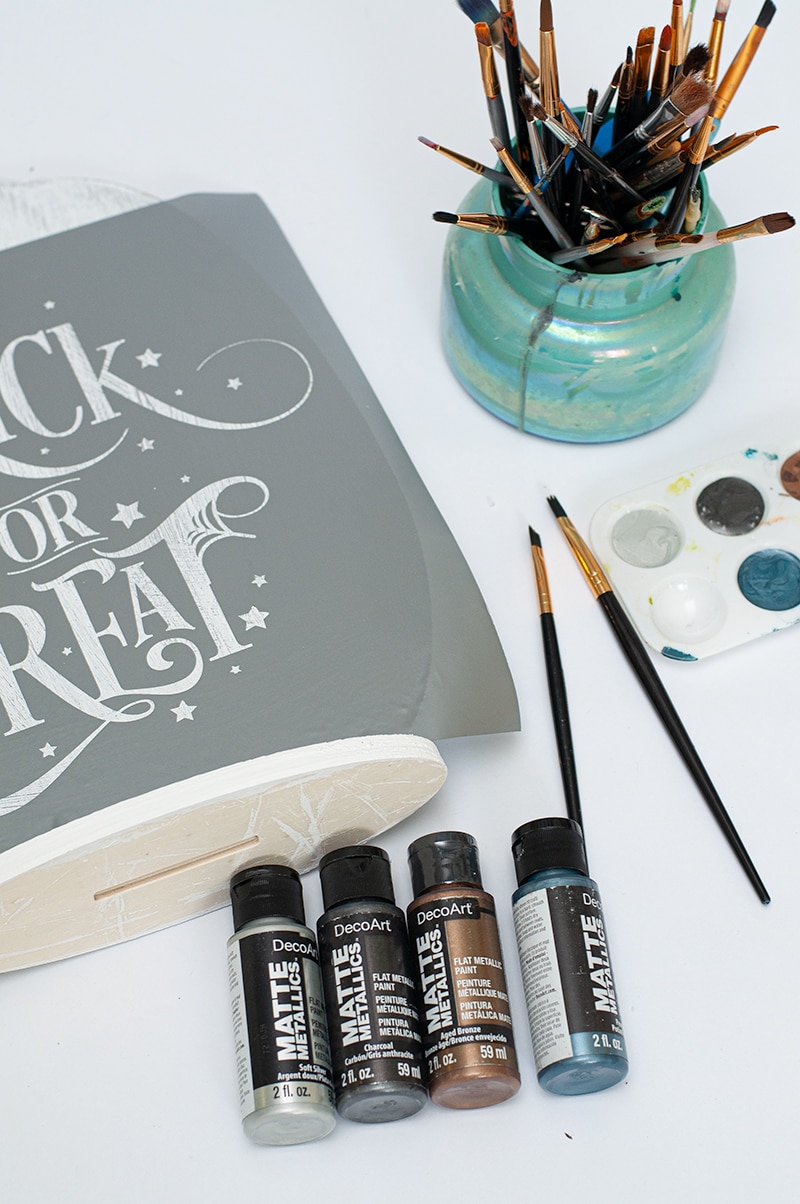
- DecoArt Matte Metallics 2oz – Aged Bronze
- DecoArt Matte Metallics – Soft Silver
- DecoArt Matte Metallics 2oz – Charcoal
- DecoArt Matte Metallics 2oz – Turquoise
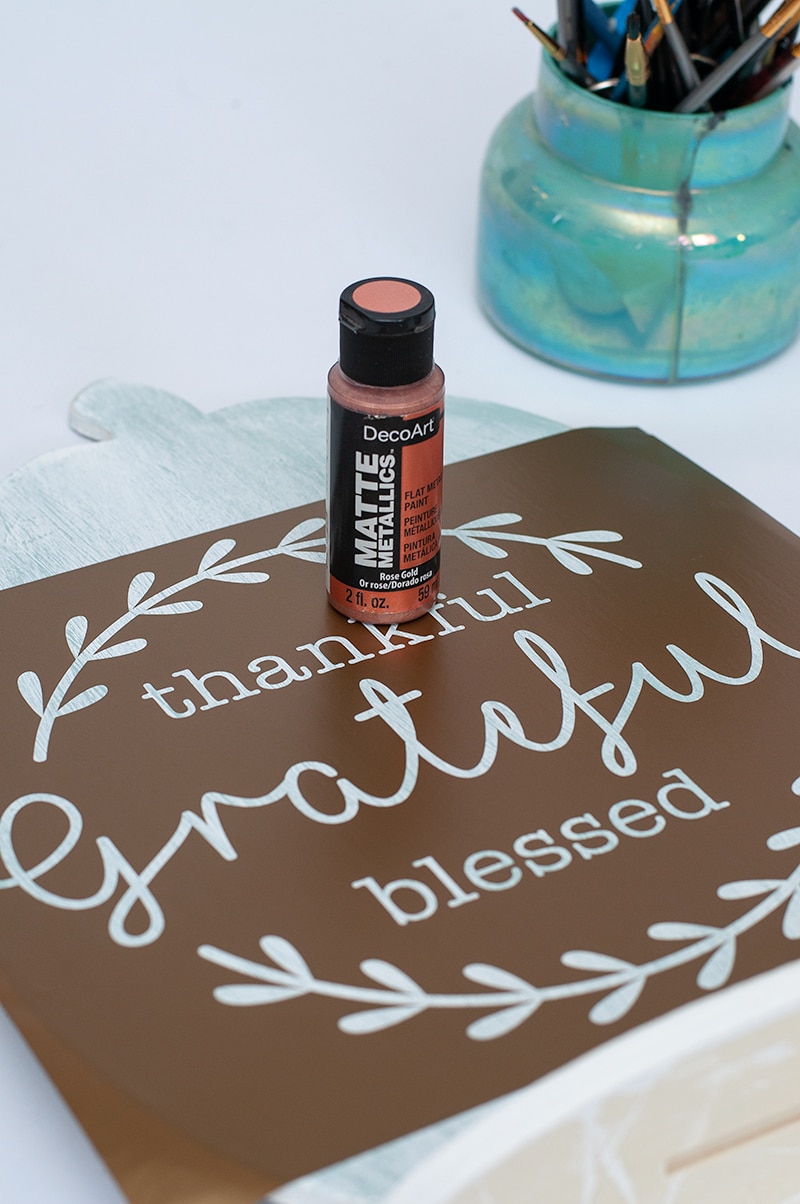
- DecoArt Matte Metallics 2oz – Rose Gold
- Paint Brush
- Sandpaper
- Cutting Machine
- Vinyl
- Transfer Paper
- Wooden Pumpkins (ACMoore)
Fall Reversible Sign
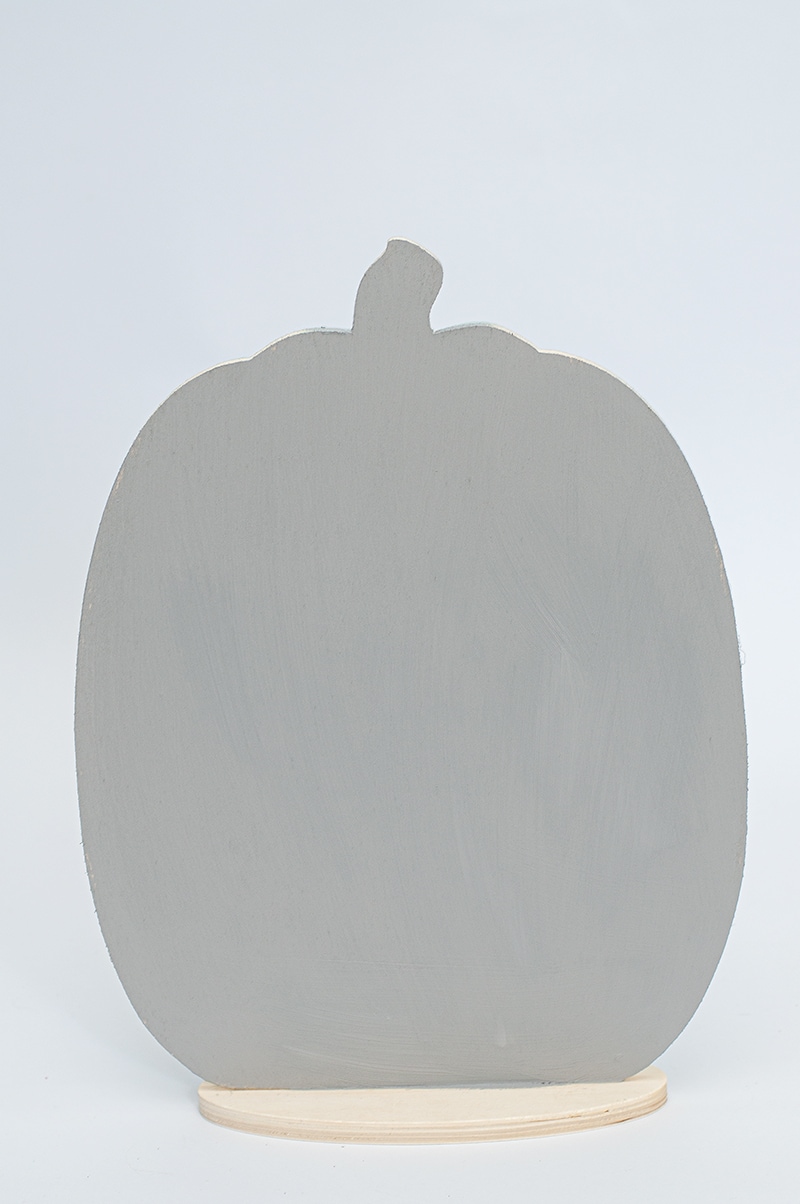
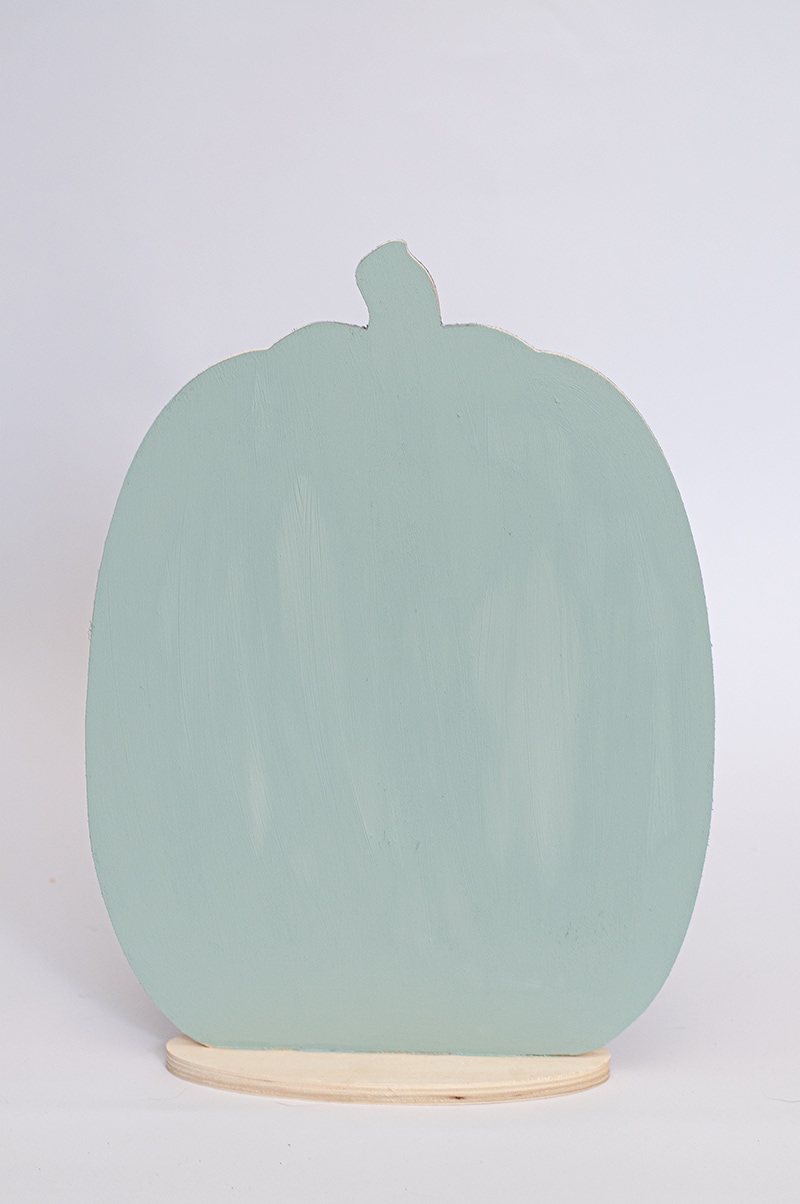
Step 1 – Paint Pumpkins
Let’s start off by painting your first coat on both sides of the pumpkins. I used the Americana Decor Chalky Finish Paint for this step. Honestly out of all the DecoArt products this is my absolute FAVORITE!
I went with a lighter blue to go with my coastal Fall theme and a gray for the Halloween side.
Each side only needed two coats of paint. This paint dries pretty quickly.
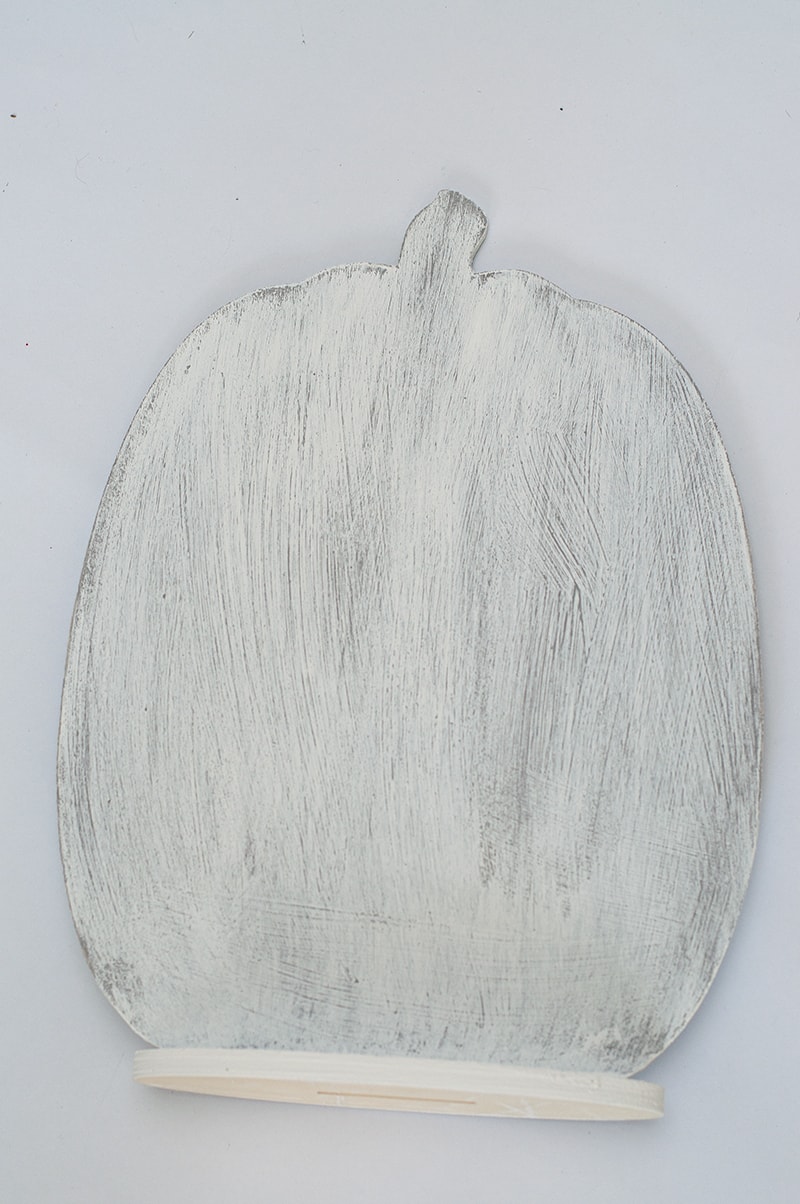
Step 2 – Dry Brush Pumpkins
Next, I wanted to just dry brush my white chalky paint on. I lightly went over both sides with my paint brush.
Then I painted the bottom stand of the pumpkin solid white.
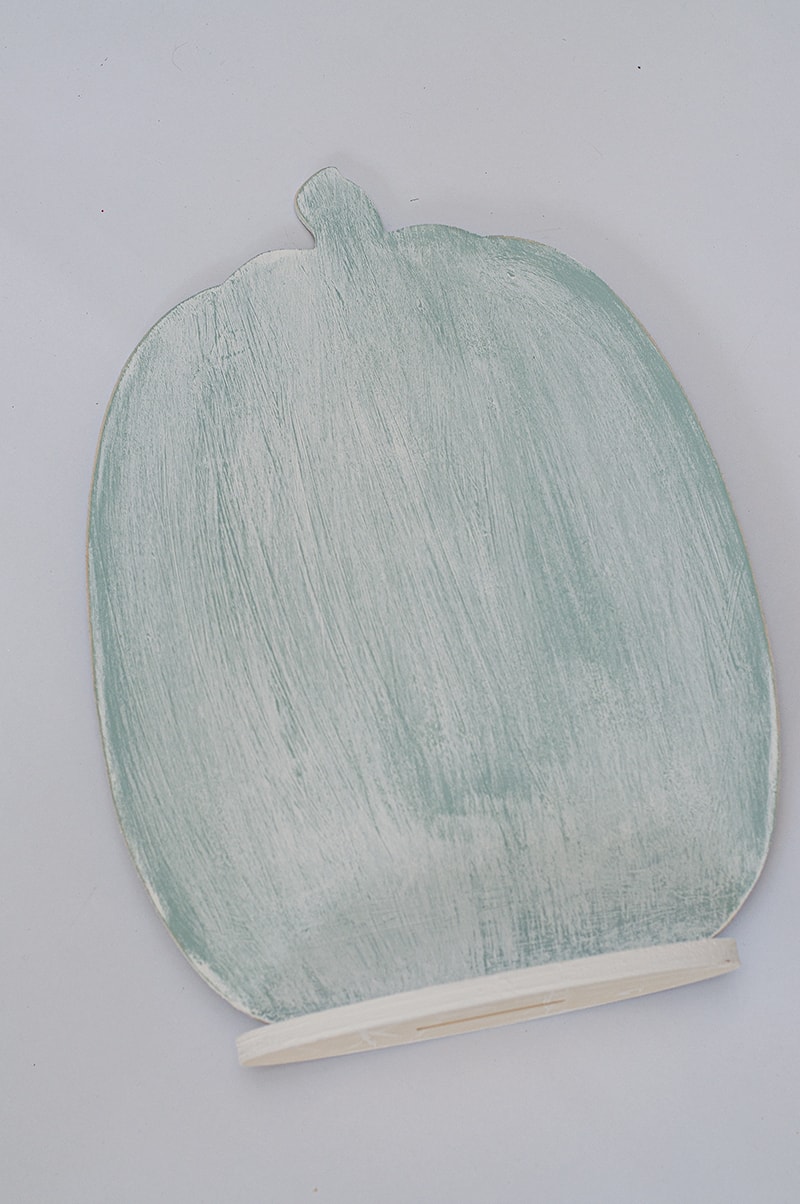
Once my paint dried I lightly went over the pumpkin with sandpaper.
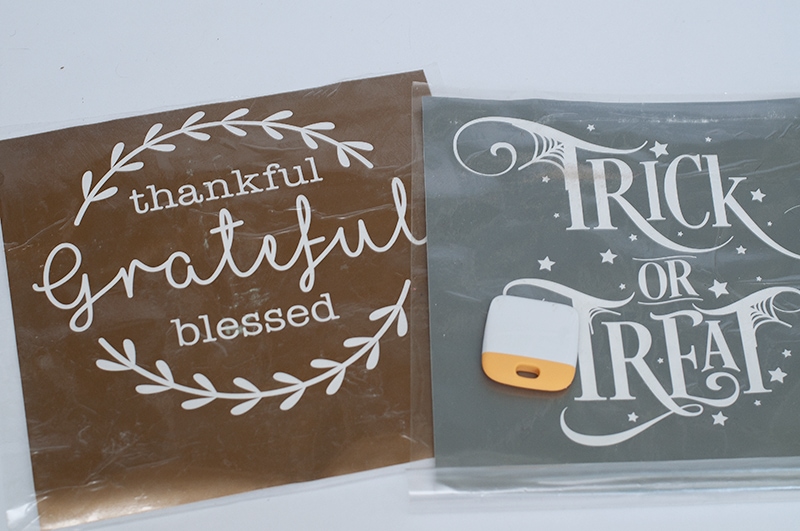
Step 3 – Cut Stencil
Now the fun part picking out and cutting your stencils. I always find great stencils in the Silhouette library. I made sure to weed and ad transfer paper on top.
Step 4 – Add Stencil
Once I transferred my stencil over I made sure to use my “hand dandy” scrapping tool to rub any bubbles out.
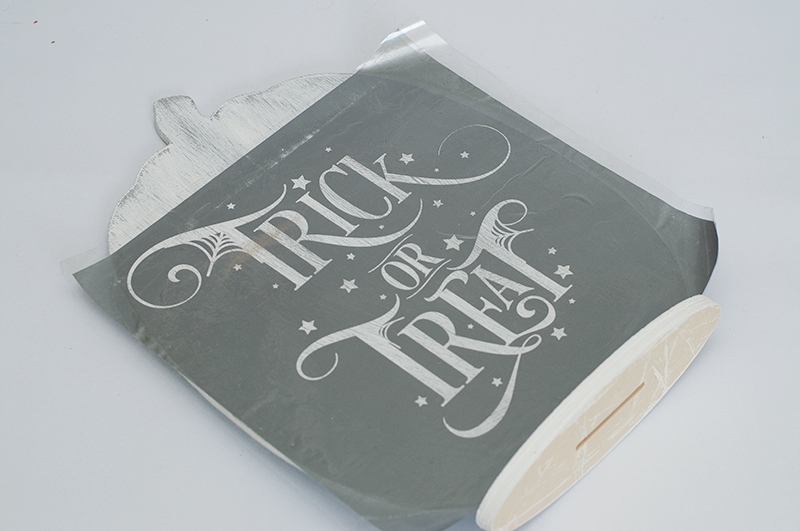
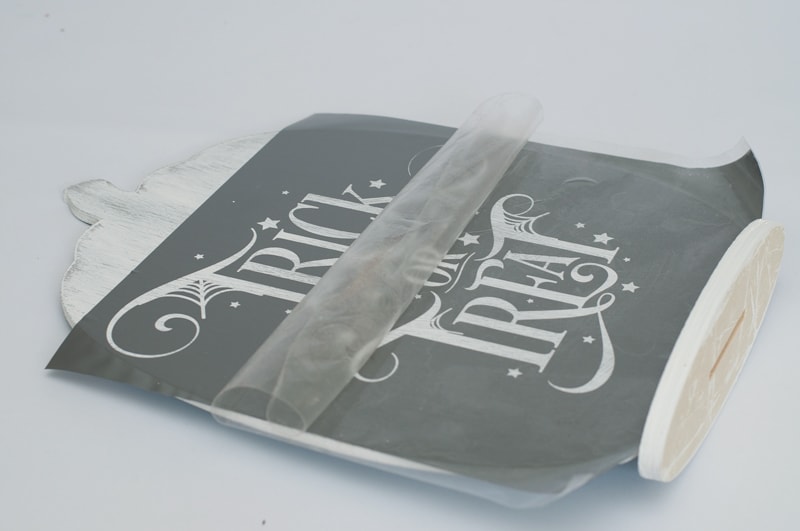
Step 5 – Transfer Stencil
Lightly pull your transfer paper off, so not to tear your vinyl or pull up any vinyl.
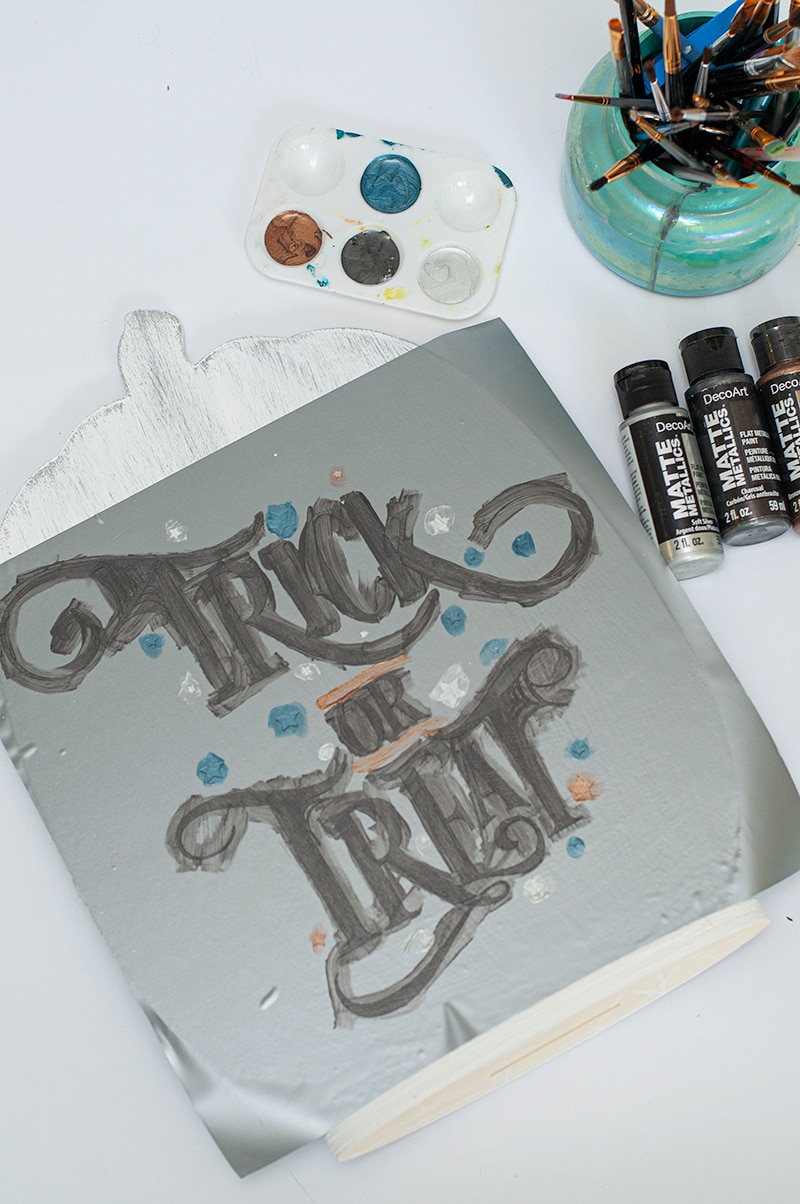
Step 6 – Add Paint
Now the fun part… Adding our paint!
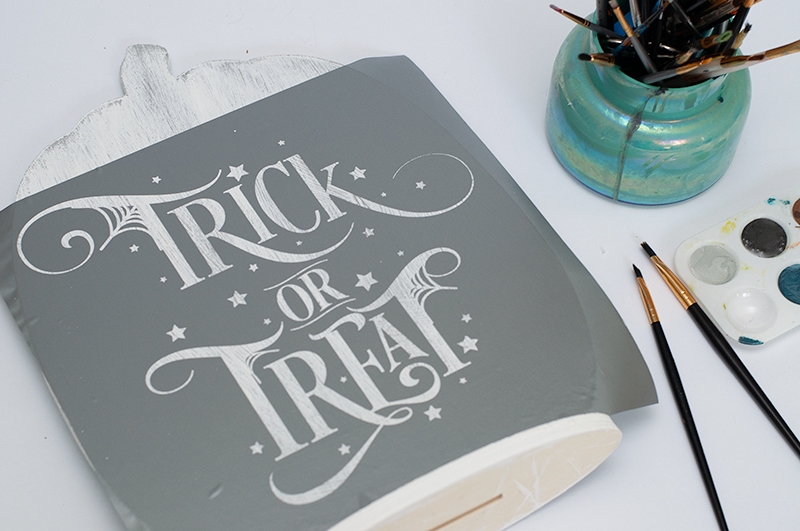
I made sure to pick out the perfect Halloween colors for this project.
- DecoArt Extreme Sheen 2oz – Aged Bronze
- DecoArt Extreme Sheen 2oz – Soft Silver
- DecoArt Extreme Sheen 2oz – Charcoal
- DecoArt Extreme Sheen 2oz – Turquoise
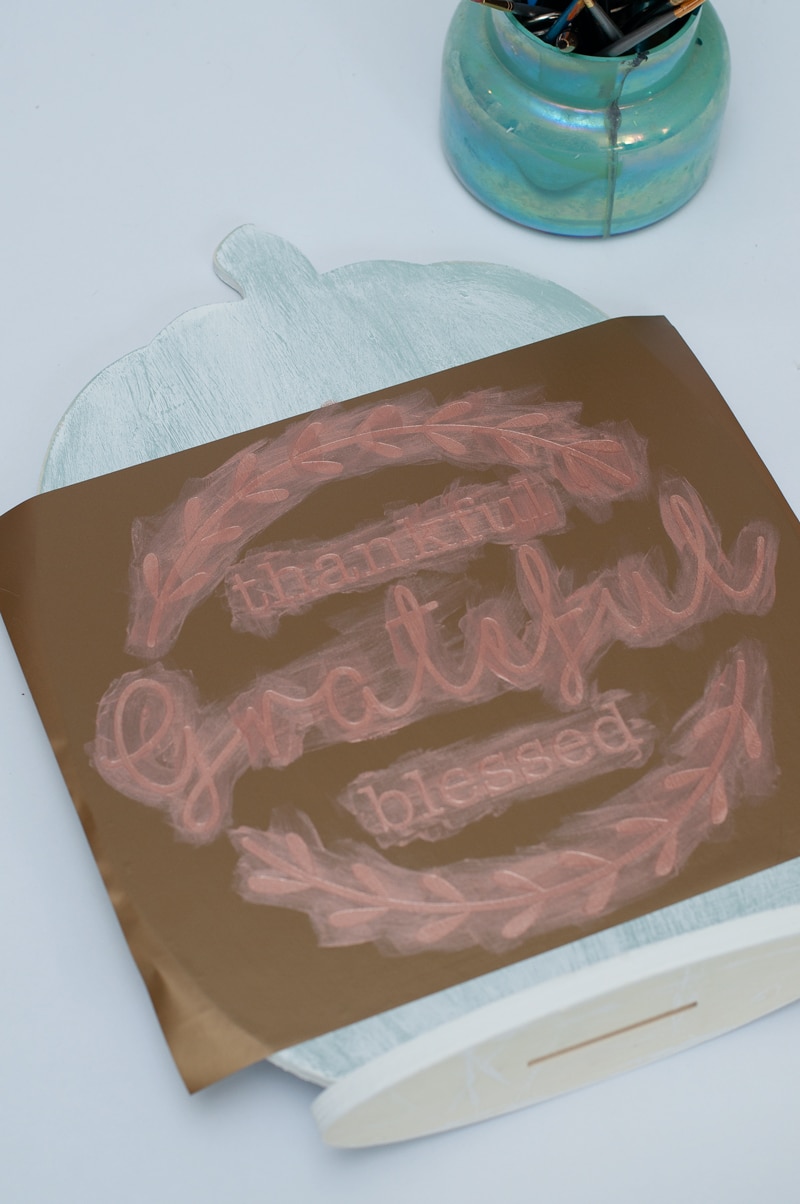
I did a total of three coats, letting each coat dry a couple minutes.
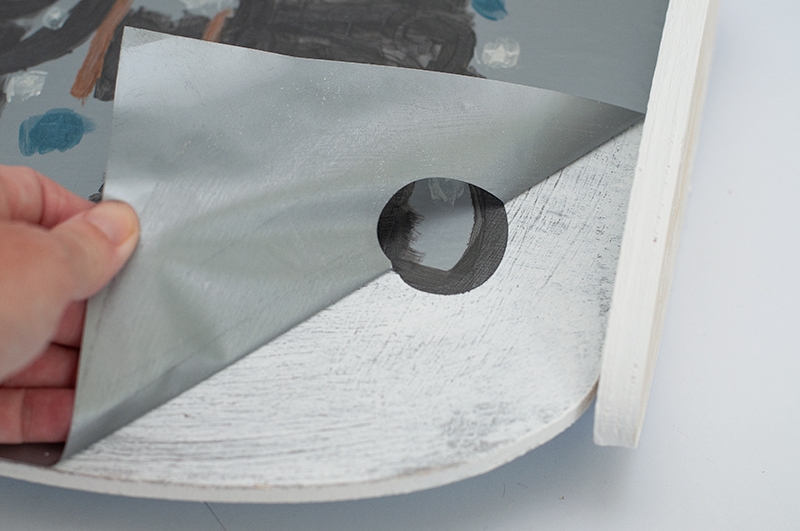
Step 7 – Remove Stencil
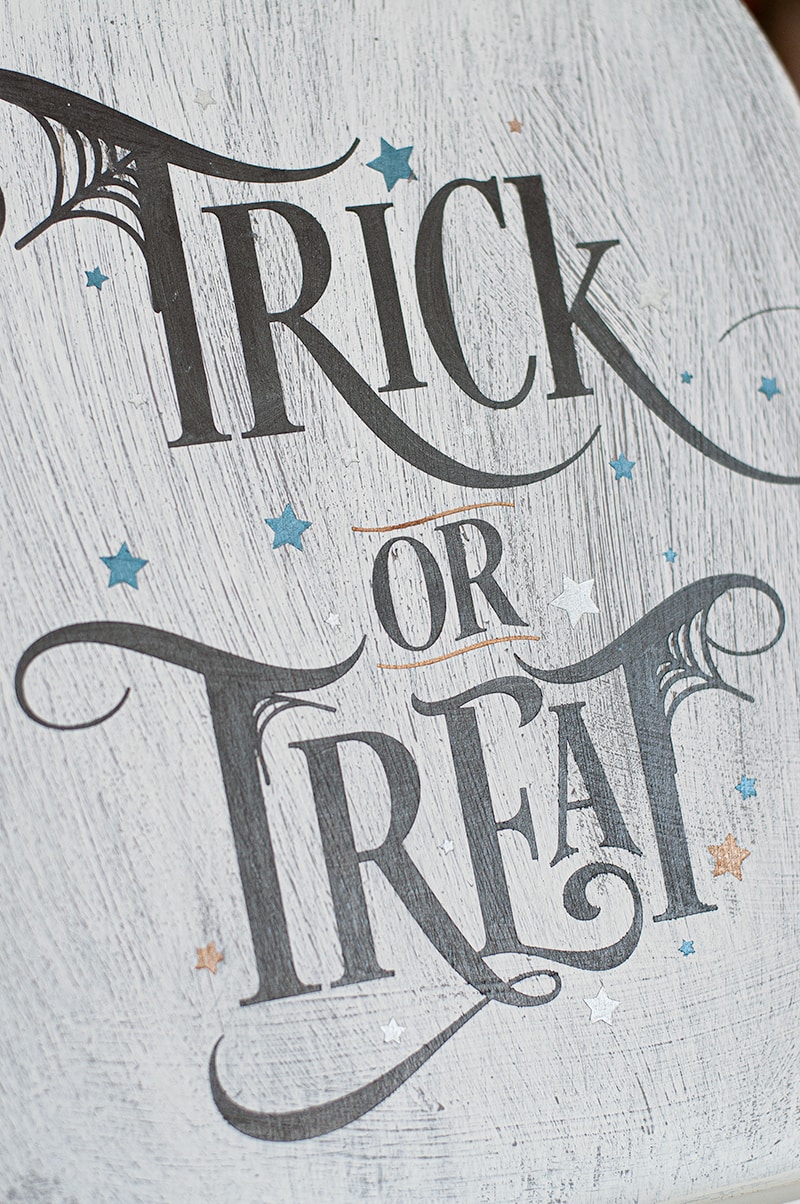
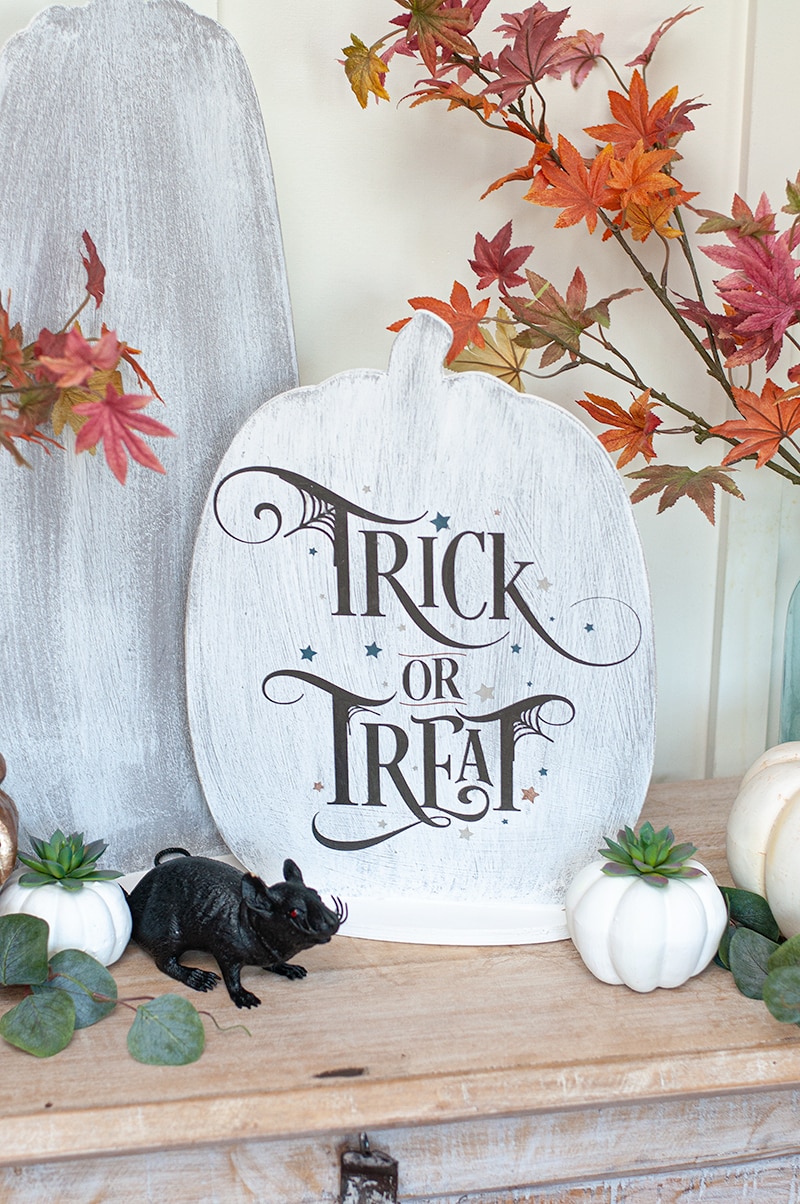
Now it’s time to pull your stencil up and reveal that awesome sign! You can really see the metallic effects from this paint.
Repeat Process
For the Thanksgiving side I repeated the same process. But I used the Rose Gold paint. Which I think may be my favorite!
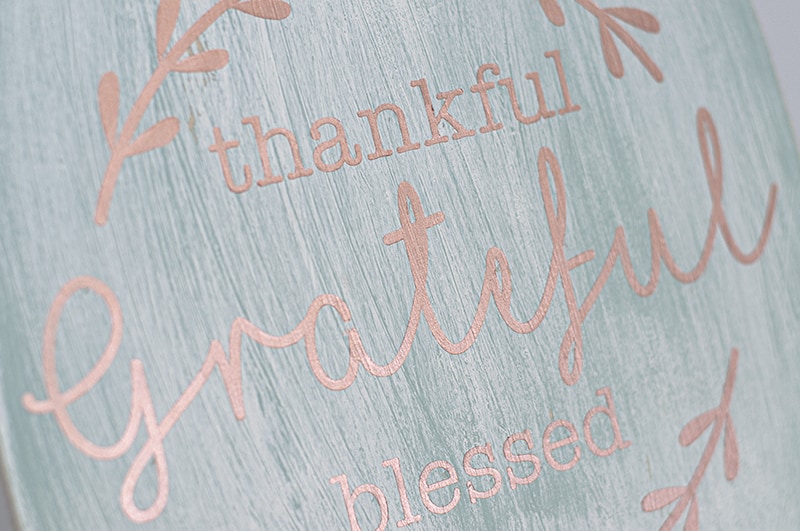
You can really see how great the metallic shows in person.
Finishing Touches
Once everything was dry, it’s time to display. You can use the “Grateful” side for September and November, and the “Trick or Treat” for October.
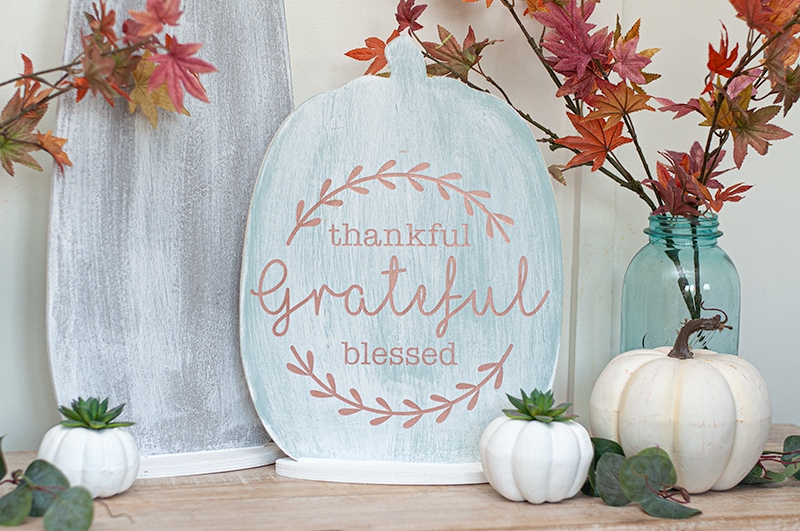
Honestly I don’t know which side I like better, they both turned out great! This is a great reversible sign for the Fall season.
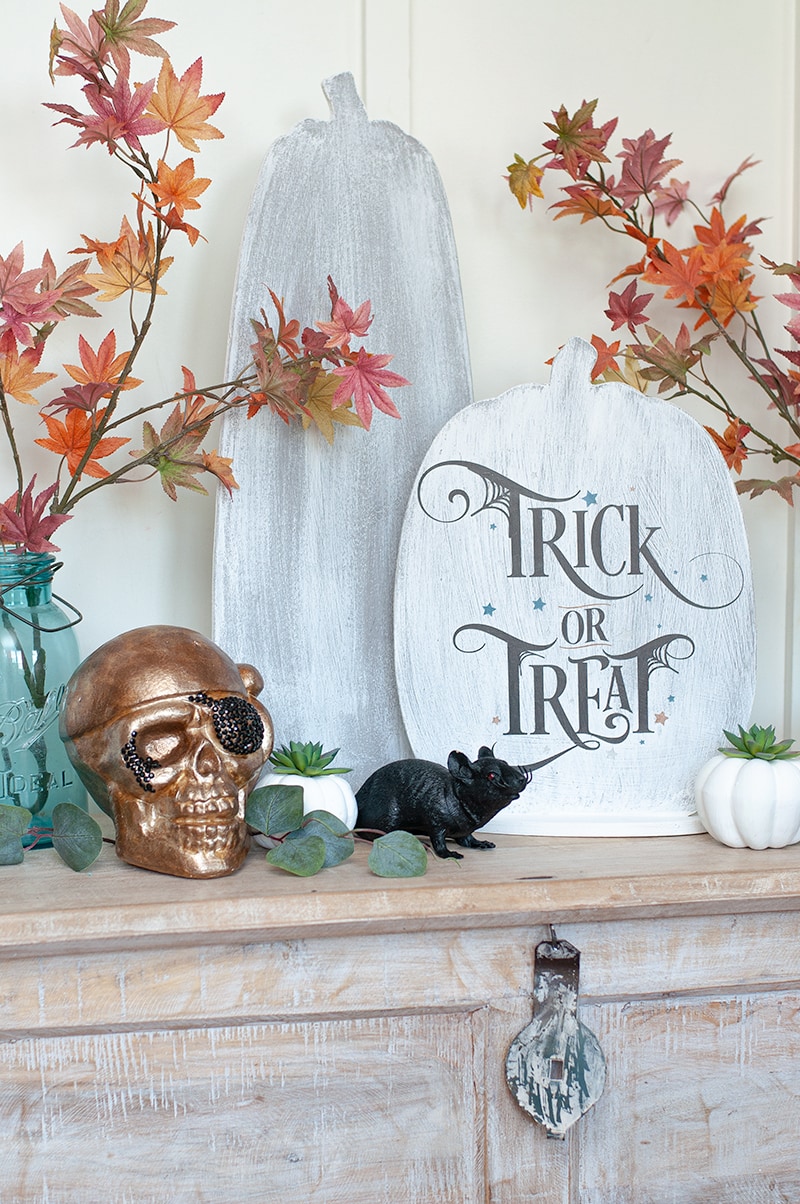
I also paired this project up with a couple pumpkins I got from the Dollar Tree that I used some of the chalky finish on. I pulled out the steam and added a simple succulent to the top! Perfect for a Fall table setting or just place around the house.
As always, thanks for stopping by and checking out my latest project… A reversible sign for Fall and Halloween. Please let me know if you have any questions on how to make the sign.
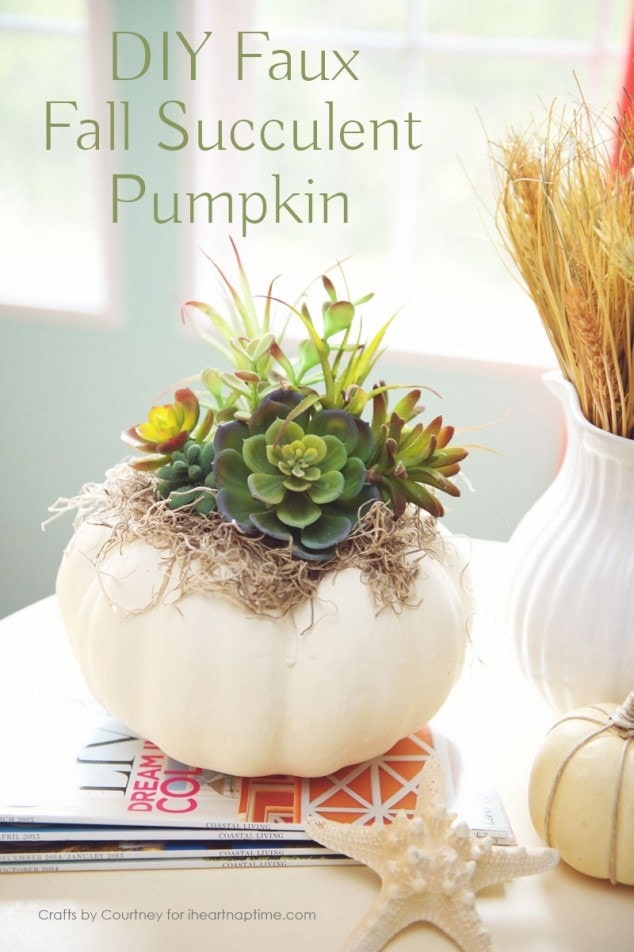
If you’re looking for more Fall inspiration using the chalky finish paint, then check out this succulent pumpkin I made a couple years ago.
Lydi from Lydi Out Loud made some great faux concrete place card holders for her Thanksgiving table setup! Make sure to head over and check that out!
Love, Courtney