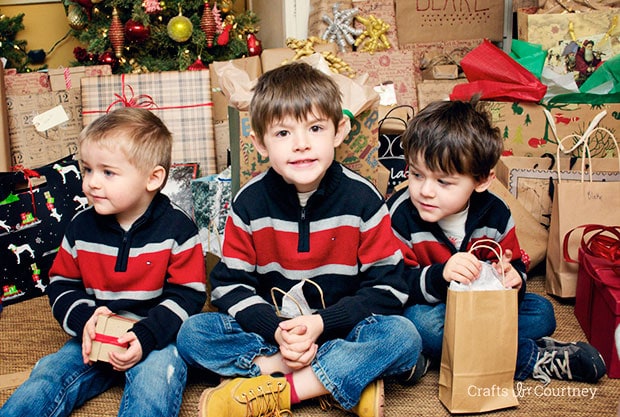
I’m finally having time to write a post, I haven’t written anything since December. It’s been nice spending time with the family and enjoying our holiday together. But sometimes you just need a blogging break. We had a wonderful holiday together, our first Christmas in NC and close to my parents and sisters.
We’ve also had a pretty cold Winter as well, we’re not used to this so we’ve been bundling the boys up pretty good. We weren’t wearing shorts and T-shirts this Christmas that’s for sure. Big difference than our Christmases in Florida. But I guess we’ll get used to it.
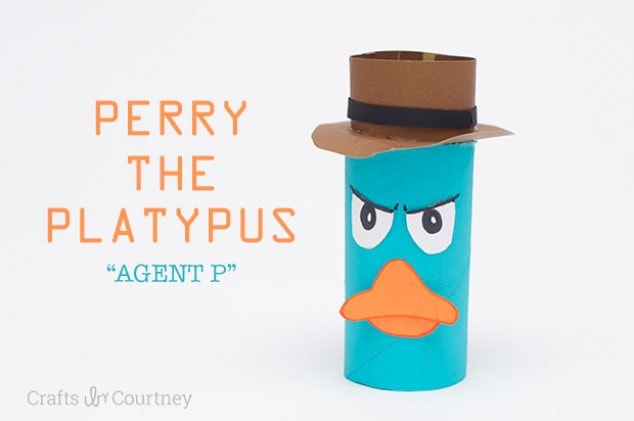
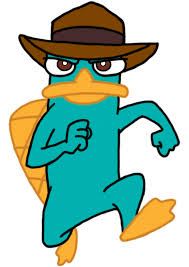
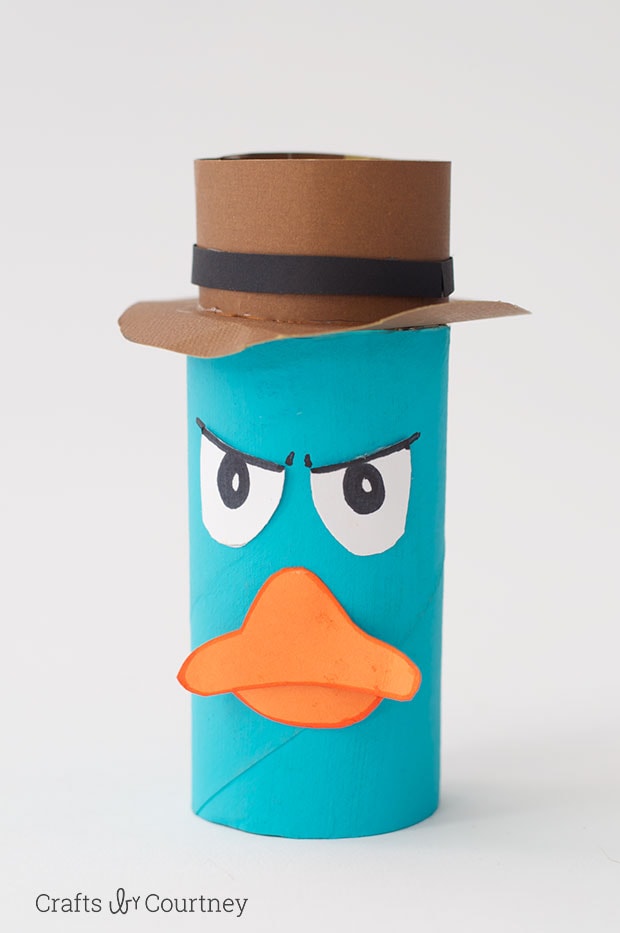
Now on to the craft!! This was one of those crafts that came out of no where. I was browsing through one of my favorite sites and found this cute Perry the Platypus puppet. My boys LOVE Perry, really who wouldn’t. So I knew I had to figure out a craft to do for them.
I was on a mission..
Getting Started
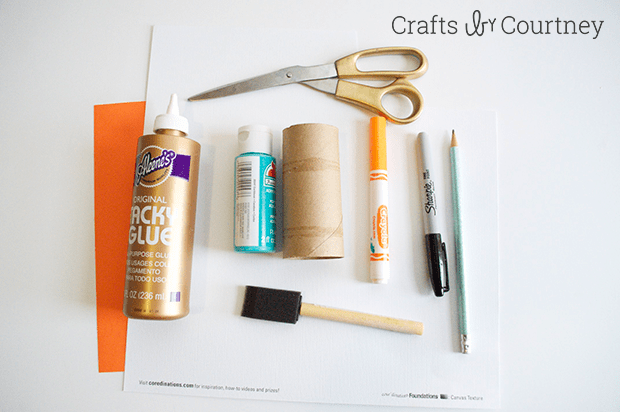
You know me I’m a toilet paper roll hoarder so I had a TON on hand. I rounded up the rest of my supplies and in my best Oprah voice I WAS READY TO GET STARTED!!
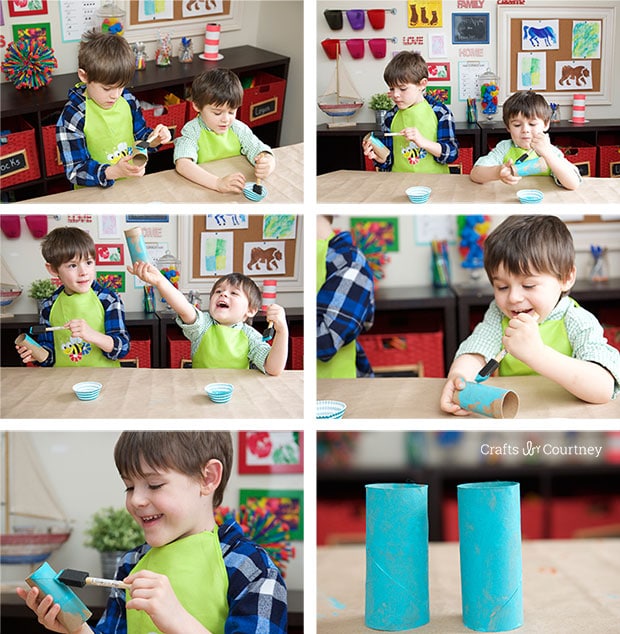
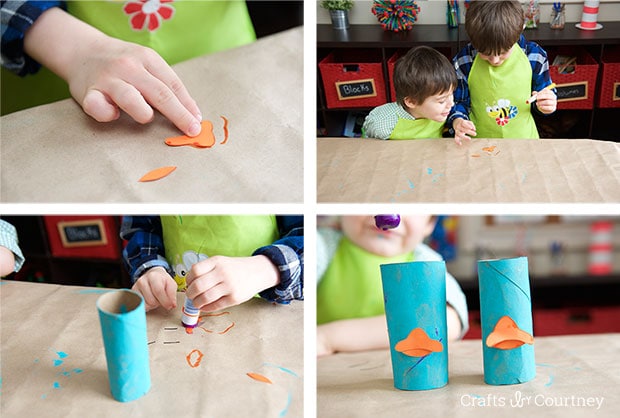
Step 1 – Paint Your Toilet Paper Roll
First I had the boys paint their toilet paper rolls. As you can see they were pretty excited to get started on a craft. We haven’t done one in a couple weeks. I think we all needed a craft time fix.
We only painted one coat of the blue on, and let dry about 20 minutes.
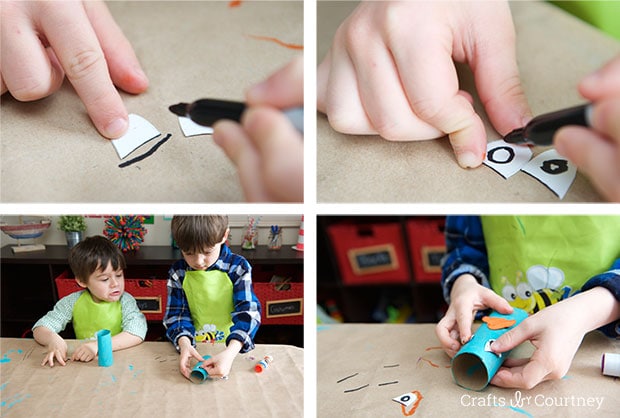
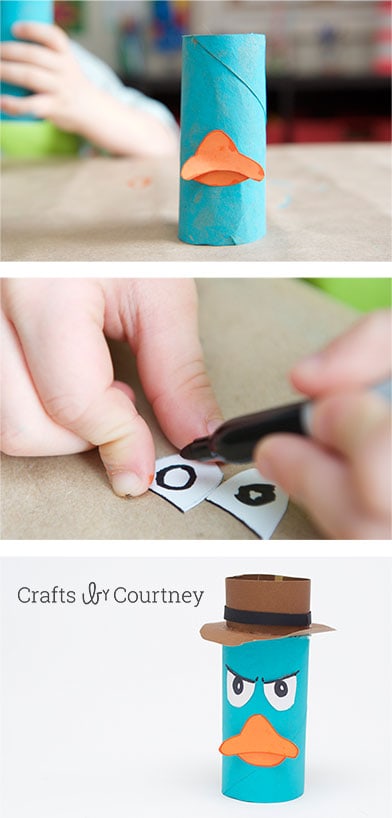
Step 2 – Draw Perry’s Bill
While the toilet paper rolls were drying I traced out Perry’s bill. I went online and found some inspiration for Perry’s face. It was super easy.
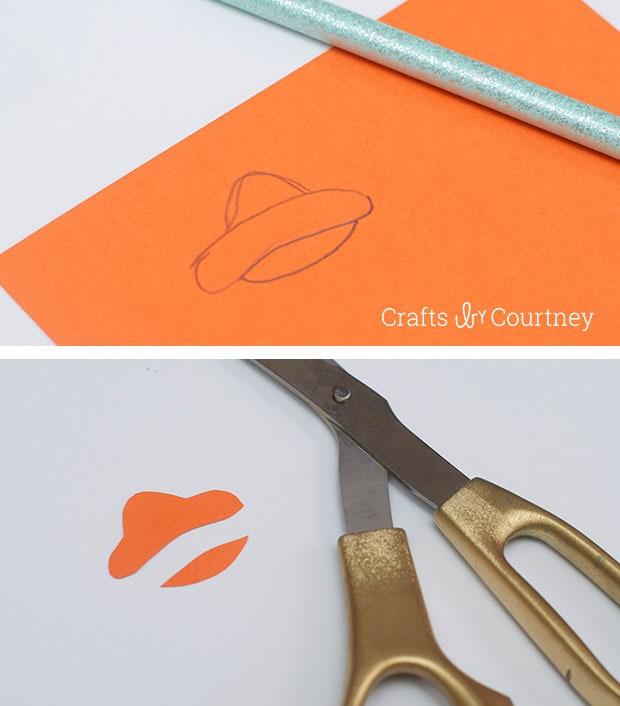
I had to go for classic Agent P!
Step 3 – Trace and Add Your Bill
If you look at Perry’s bill, it has a dark orange shadow around the edge. I thought that would be a perfect touch to Perry’s bill.
My oldest (6) was able to to do this on his bill, but the 3 year old was not able to.
Finally add some paste to the back and press the bill on the toilet paper roll.
Step 4 – Draw Out Eyes
Next I drew and traced out Perry’s eyes. I folded the paper over so that I could have two of the same shapes.
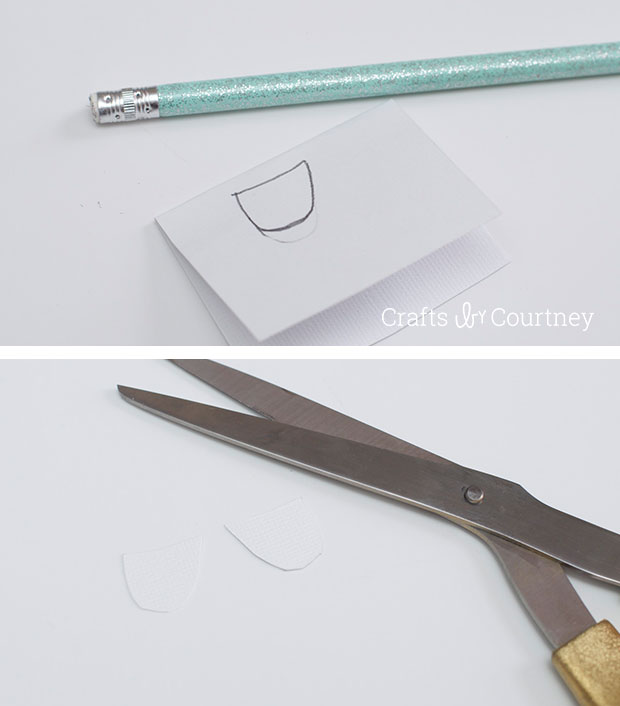
Step 5 – Add Eyes
My little guys were eager to get started on the eyes.
Whenever I make a craft with the kids I always make mine first as an example. So my boys had an idea of what the eyes needed to look like.
Then they pasted their eyes on Perry.
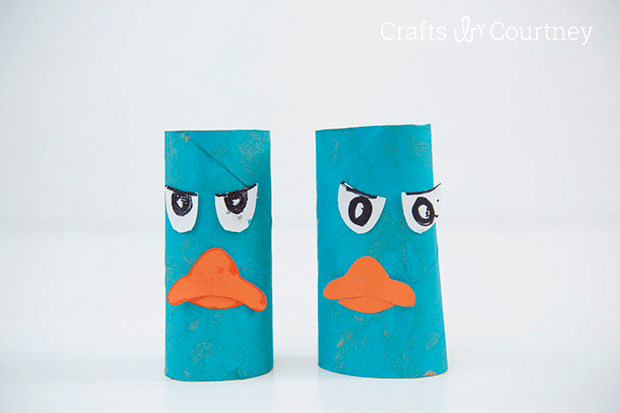
Step 6 – Finishing Touches
Voila all done!! They had their Perry’s done in no time and I think they look pretty cool.
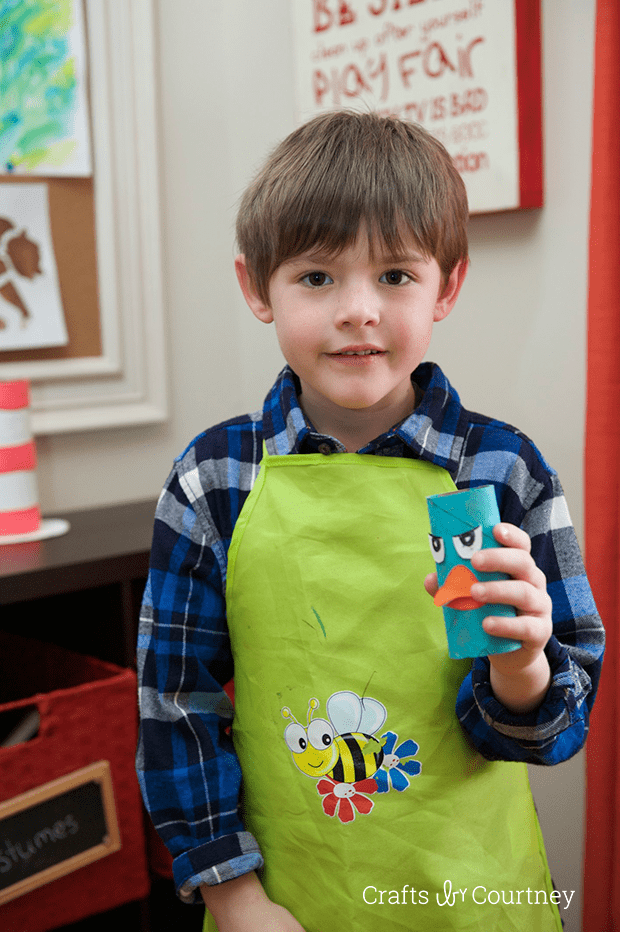
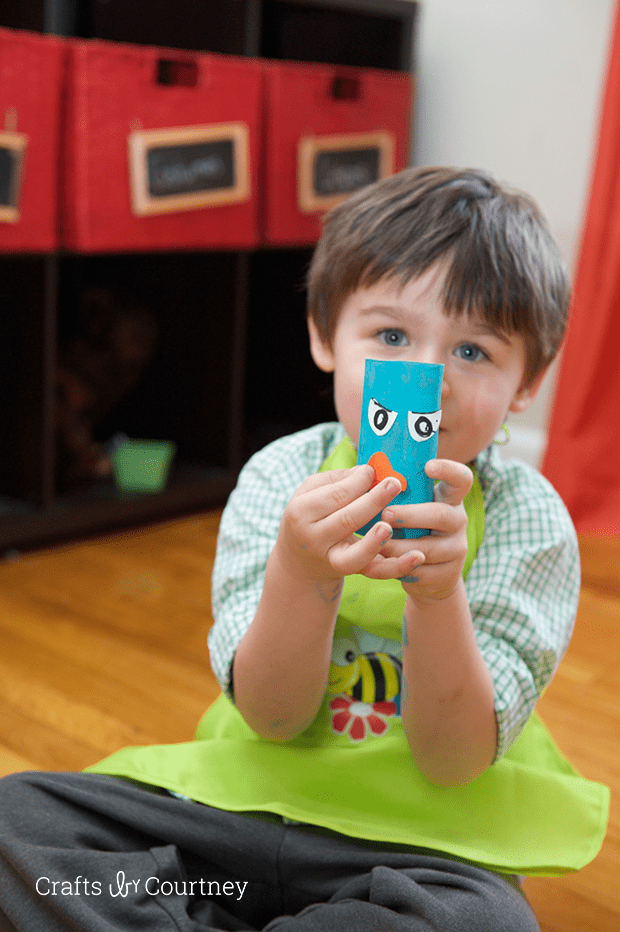
My little guys are super proud to show off their Perry.

It was really nice to get a craft done with the boys. We always enjoys ourselves.
I decided to give my Perry a little fedora hat. He looks super serious now.
We had a fun time working on our craft project today. Now the boys think we should make Phineas and Ferb. So stay tuned I’m on a new mission, wish me luck!!
Make sure to check out these other great how to kids crafts.
Love, Courtney