Crafts by Courtney

How-to Crafts and DIY Parties

  • Home
  • How-to Crafts
    • Home Crafts
      • Holiday
      • Seasonal
      • DIY Decor
    • Kids Crafts
      • Holiday
      • Seasonal
      • Educational
      • Clean
      • Messy
  • DIY Parties
    • Birthdays
    • Just for Fun
    • Holidays
  • Blog
    • My Thoughts
    • Hubby’s Corner
  • About
  • Contact

DIY Robot Costume with Duck Tape®

DIY Robot Costume with Duck Tape®

Craft Materials

Before starting this project, you’ll need the following materials:

Hi everyone, today I’m sharing a new DIY Robot Costume! I teamed up with Duck Tape® to create this FUN DIY Halloween costume out of a cardboard box and some Duck Tape.

I love working on DIY Costumes for my for boys I have done many over the years.  So I was excited to get the opportunity to work on a new one for my youngest son.  It was a fun project to work on together. We loved coming up with ideas together to create this Robot Costume.

So let’s get started and I’ll show you how we made it!

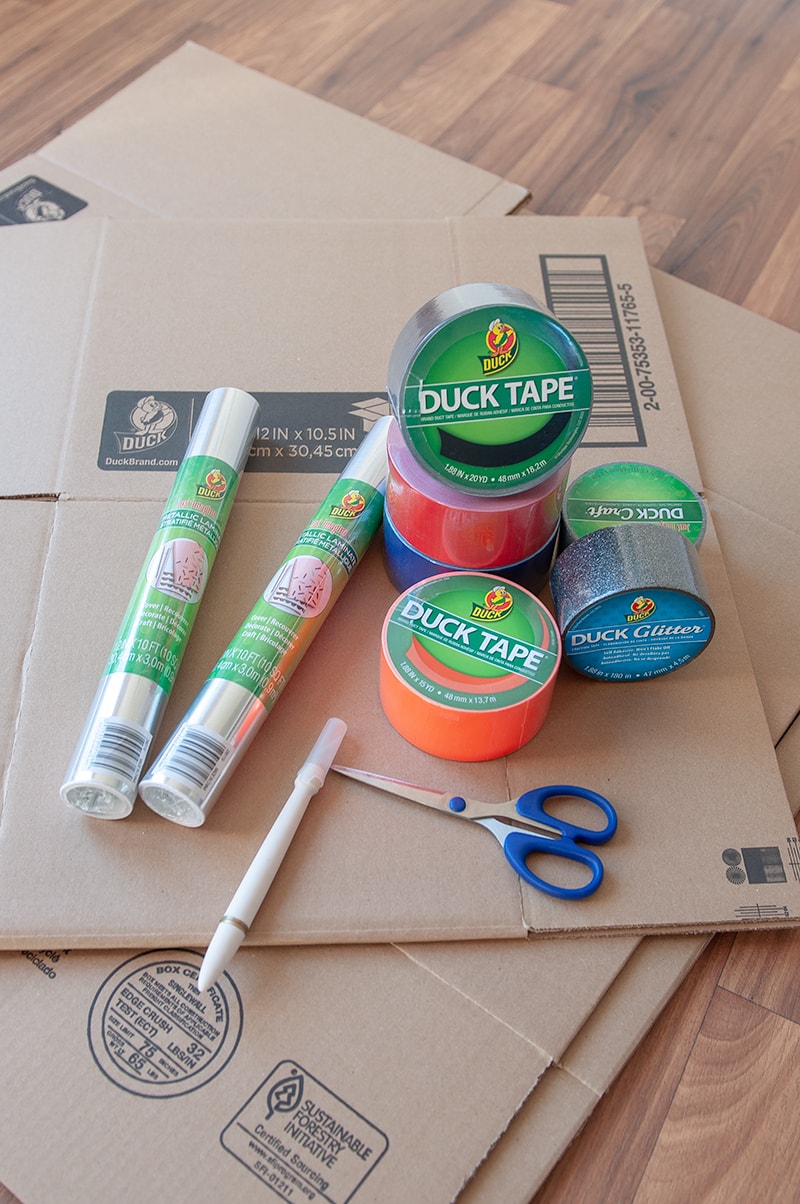
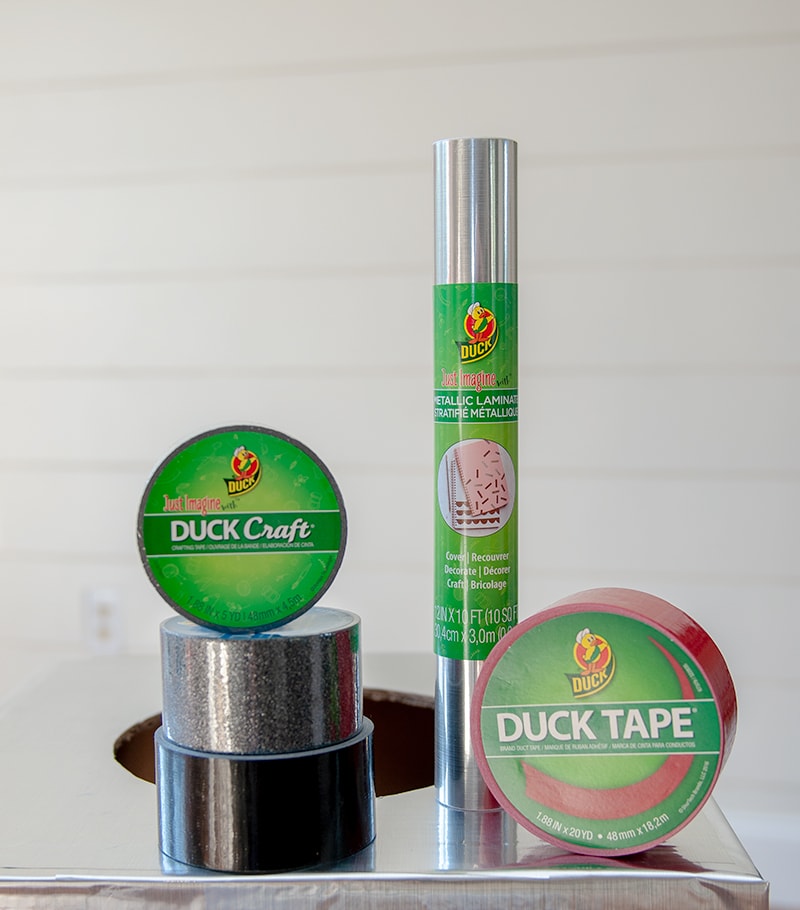
Robot Costume Supplies Needed:

  • Duck Glitter® Crafting Tape – Silver, 1.88 in. x 5 yd.
  • Duck Glitter® Crafting Tape – Black, 1.88 in. x 5 yd.
  • Duct Tape – Red
  • Duct Tape – Black
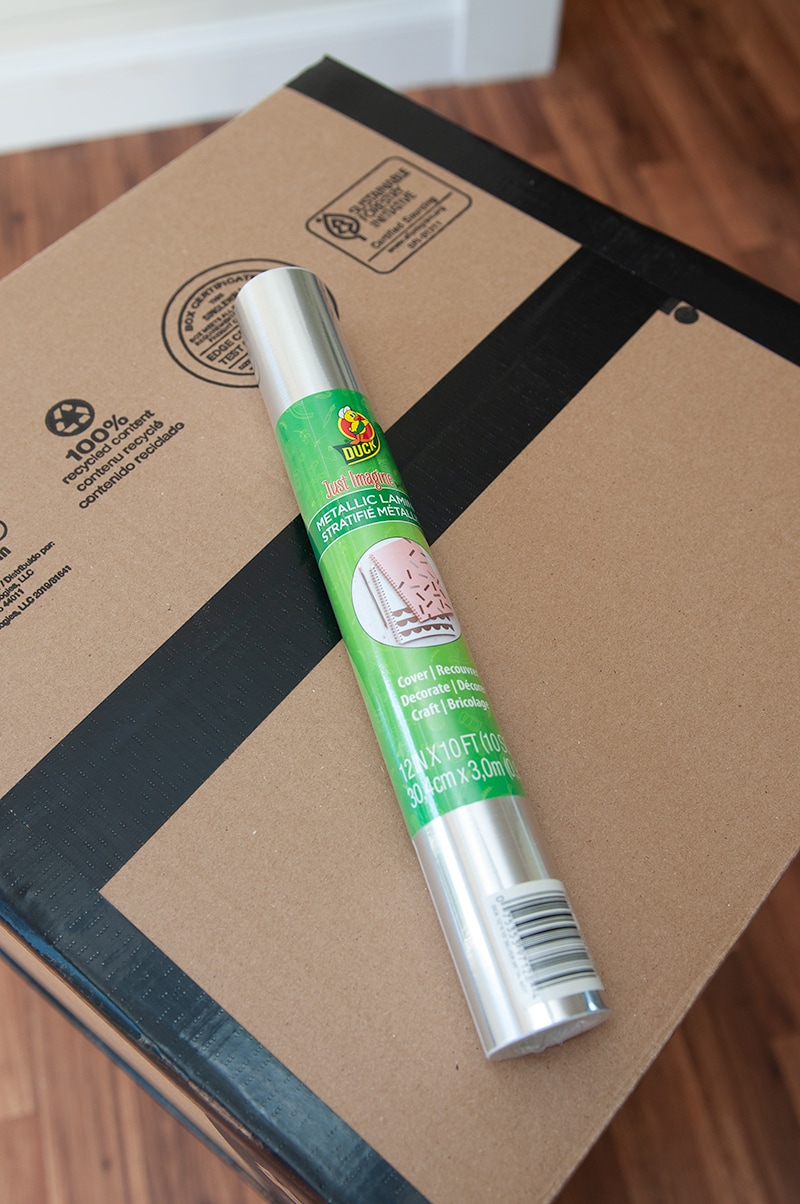
  • (4) Craft Adhesive Laminate – Silver Metal, 12 in. x 10 ft.
  • White Cardstock
  • Hot Glue Gun
  • Box Cutter
  • Silver Pipe Cleaners
  • Duck® Brand Kraft Box – Brown, 6 in. x 6 in. x 6 in
  • Duck® Brand Kraft Box – Brown, 16 in. x 16 in. x 15 in.
  • Duck® Brand Kraft Box – Brown, 12 in. x 12 in. x 10.5 in

Getting Started

DIY Robot Costume with Duck Tape®

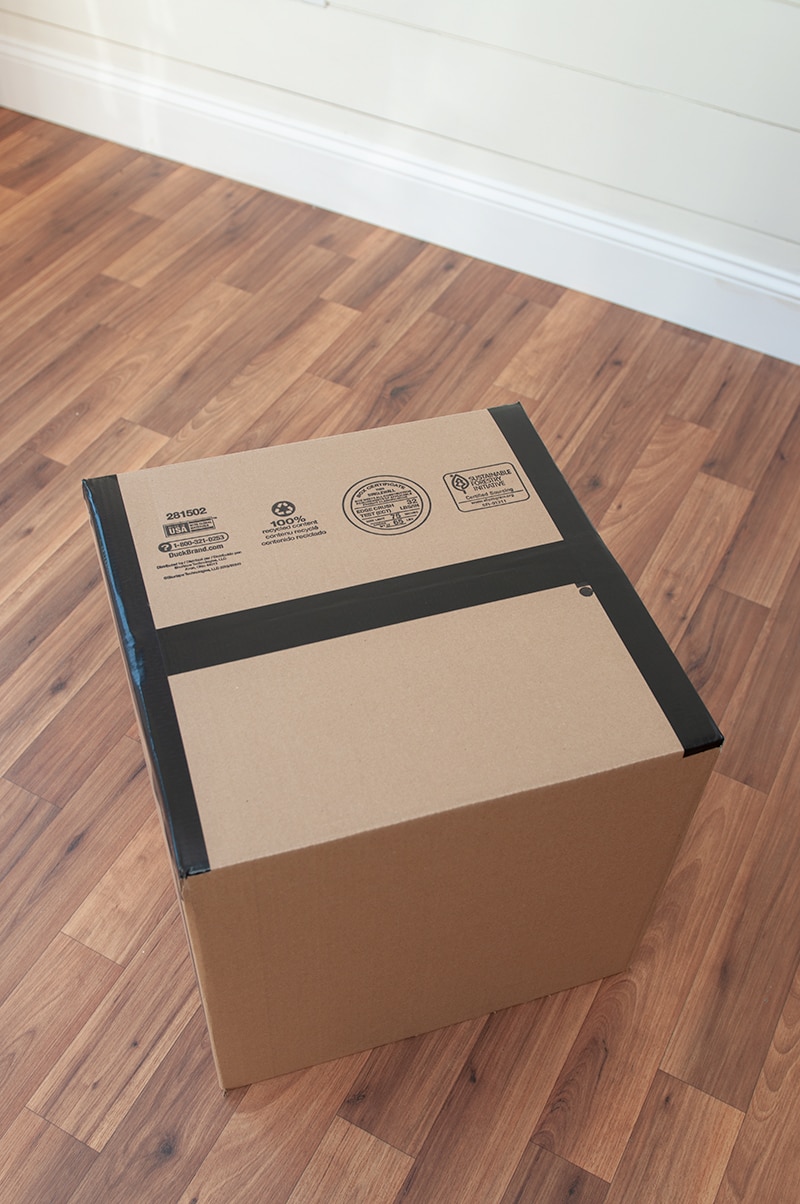
Step 1 – Create Your Robot Body

Start off with two 16x16x15 boxes for the body of the robot.
DIY Robot Costume with Duck Tape®
Use your “trusty” box cutter to cut off all four bottom flaps for the top box.

DIY Robot Costume with Duck Tape®

Next flip over and tape off the top part of the box.  Make sure to reinforce it as best as you can.

DIY Robot Costume with Duck Tape®

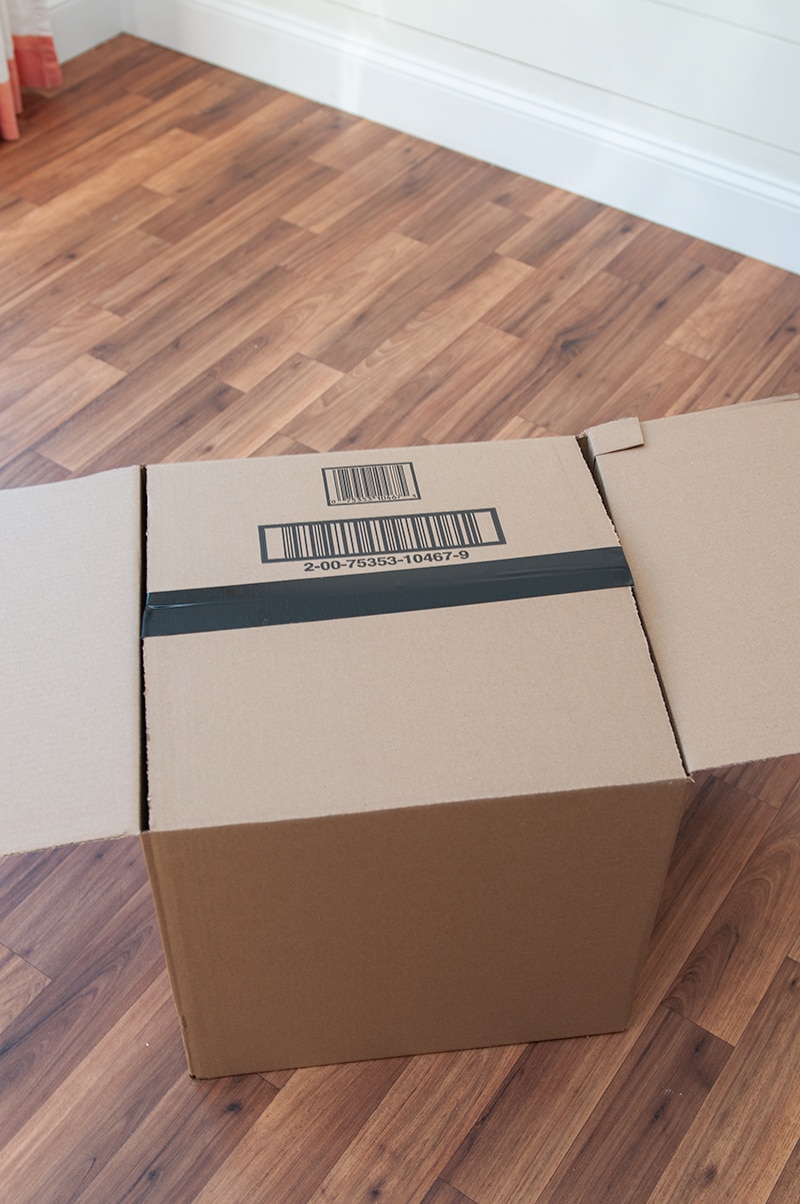
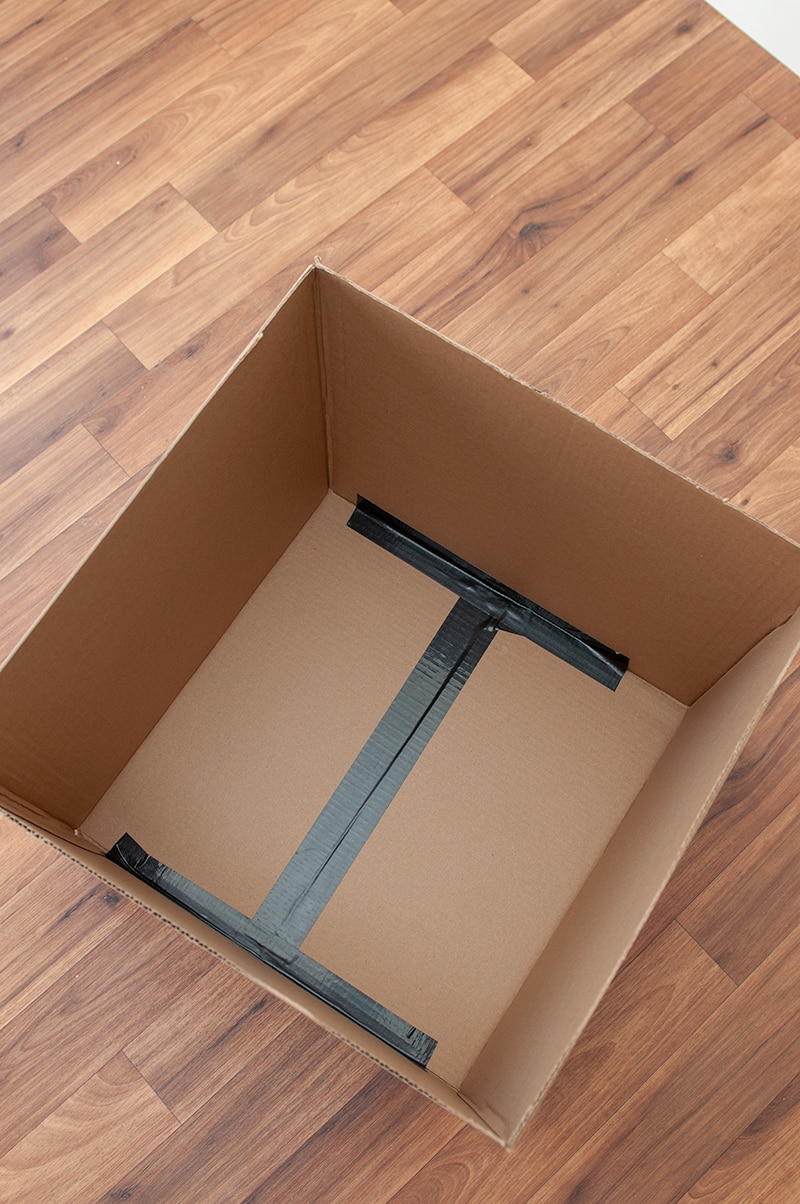
Tape the inside of the box as well.

DIY Robot Costume with Duck Tape®

Finally tape the outside of the top box.

DIY Robot Costume with Duck Tape®

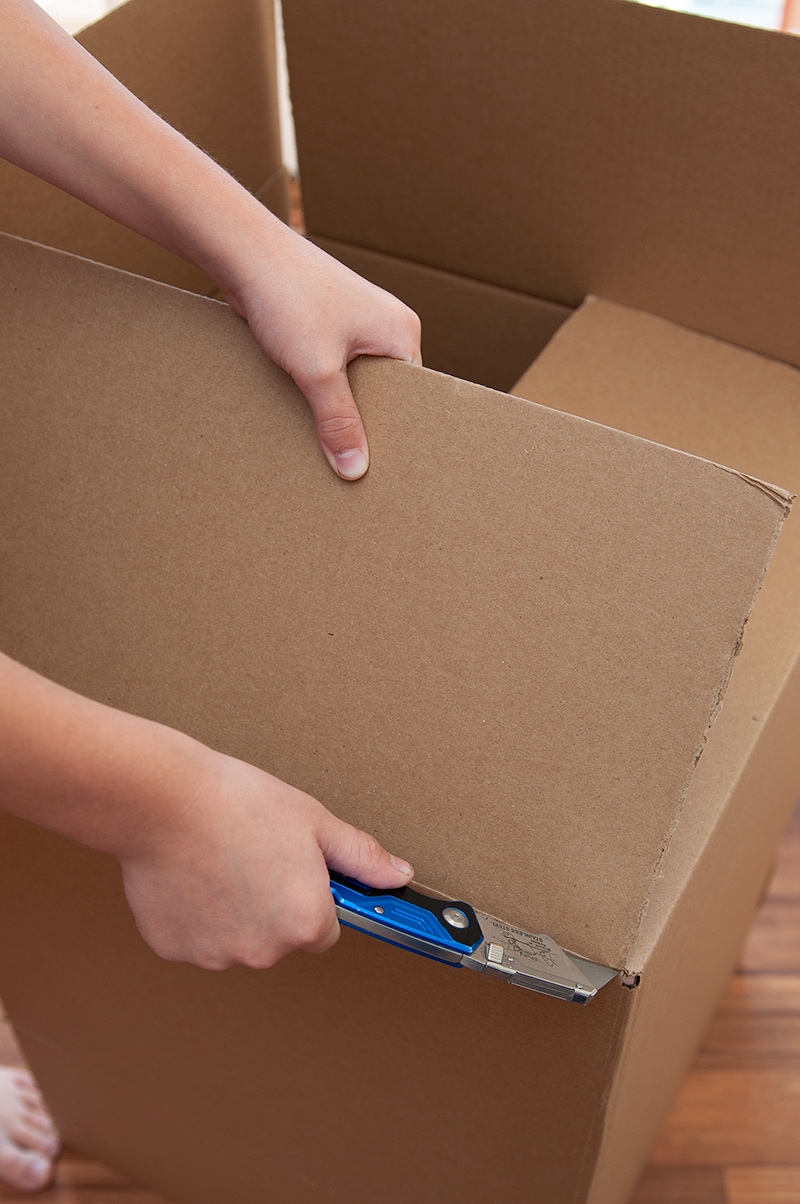
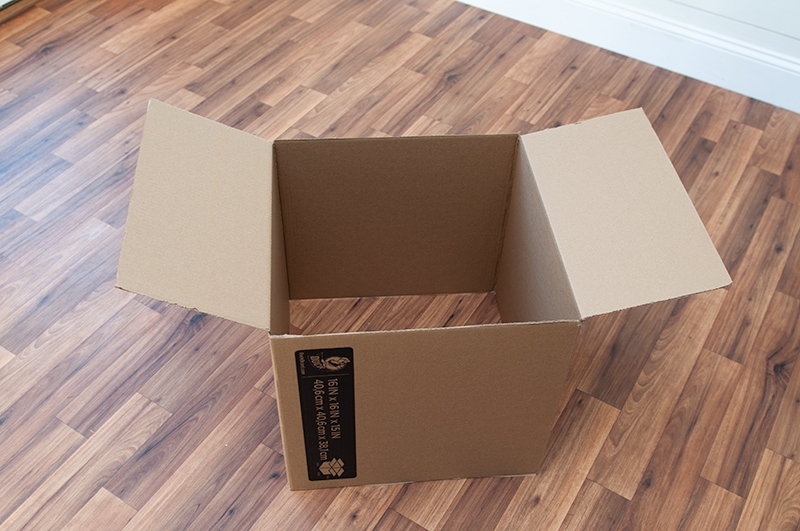
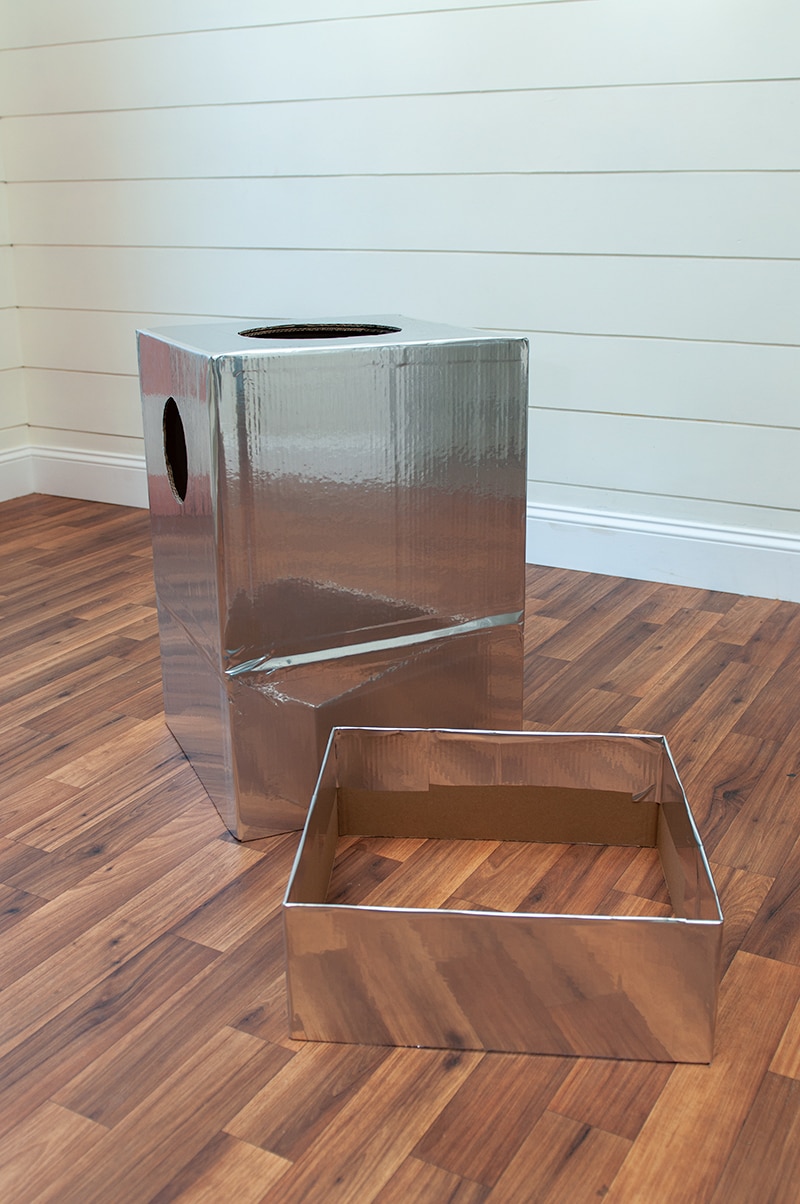
For the second box, cut off all four of the bottom flaps and two of the top flaps.

DIY Robot Costume with Duck Tape®

Step 2 – Combine the two Boxes

Now it’s time to combine the two boxes.  I slipped the two flaps into the first box and taped them up, just to help reinforce the robot body a little more.

DIY Halloween Costume

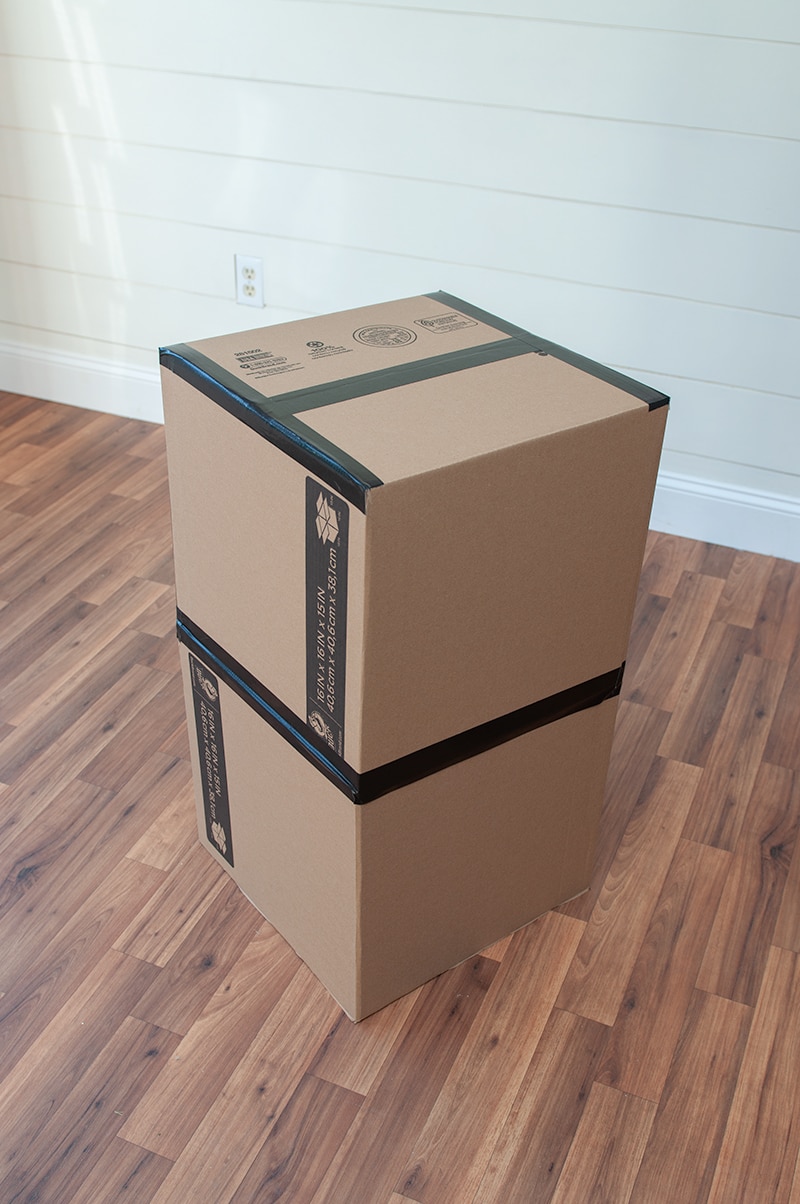
Then I went around the outside of the boxes and taped them together.

DIY Halloween Costume

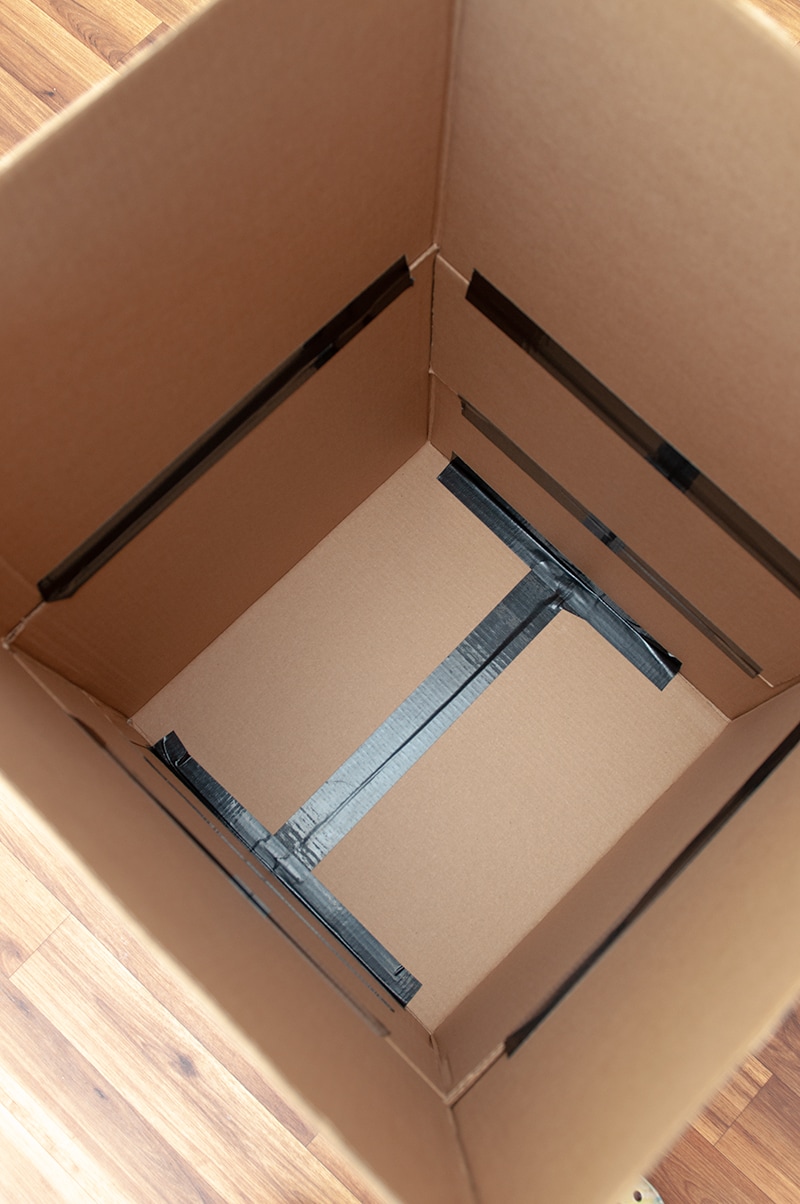
Finally add tape anywhere you can think of on the inside to help keep the structure secure.

Voila, you have your first step done!!

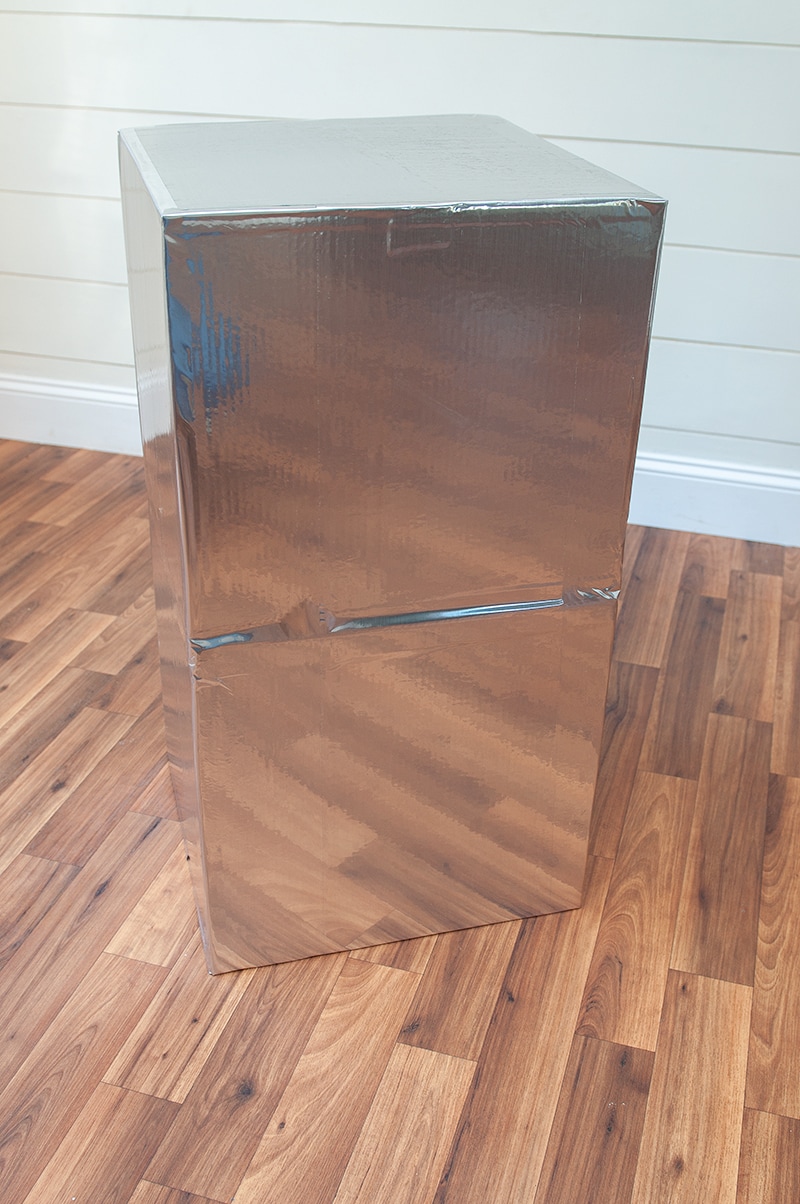
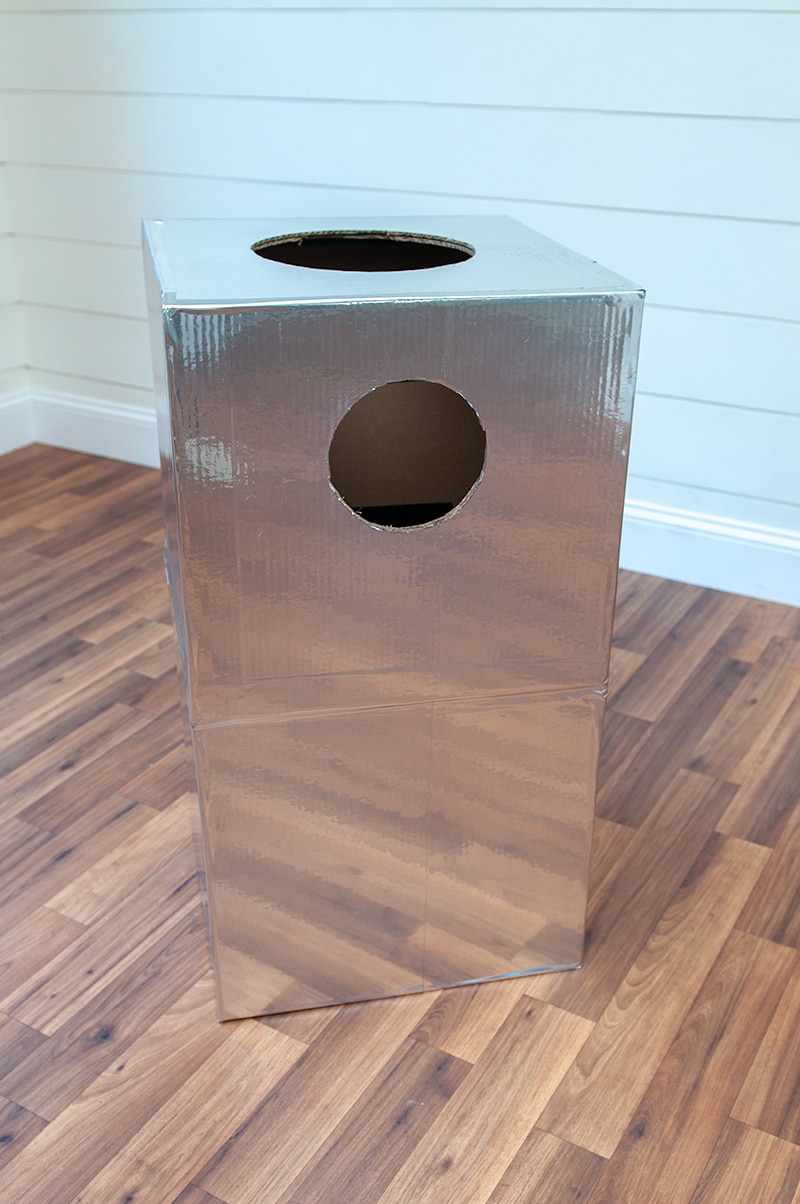
Step 3 – Cover Boxes

Time to cover your box with the metallic laminate!  I seriously thought this was the perfect covering for a robot costume.  It’s adhesive so I didn’t need to glue it down and didn’t turn out dull like if you spray painted the box silver.

DIY Halloween Costume

I started on the sides and worked my way around.  Then I finished by covering the top.  It’s looks seamless!

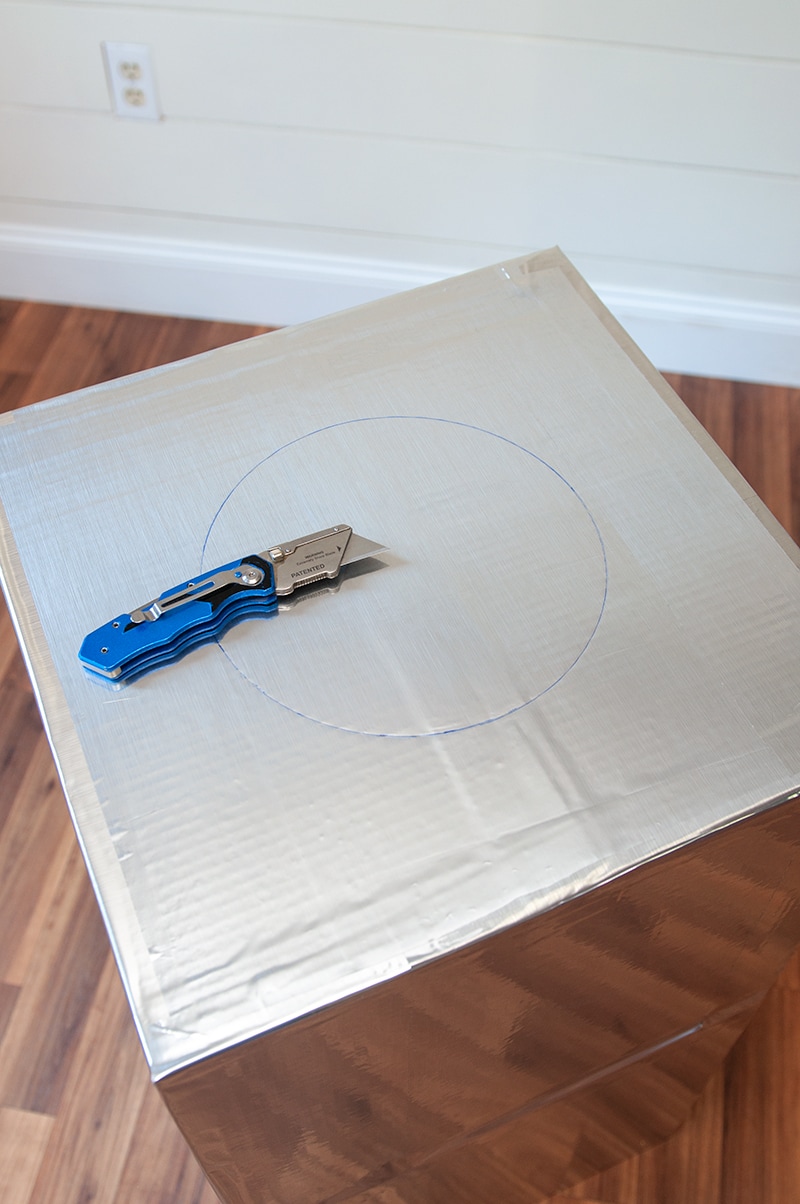
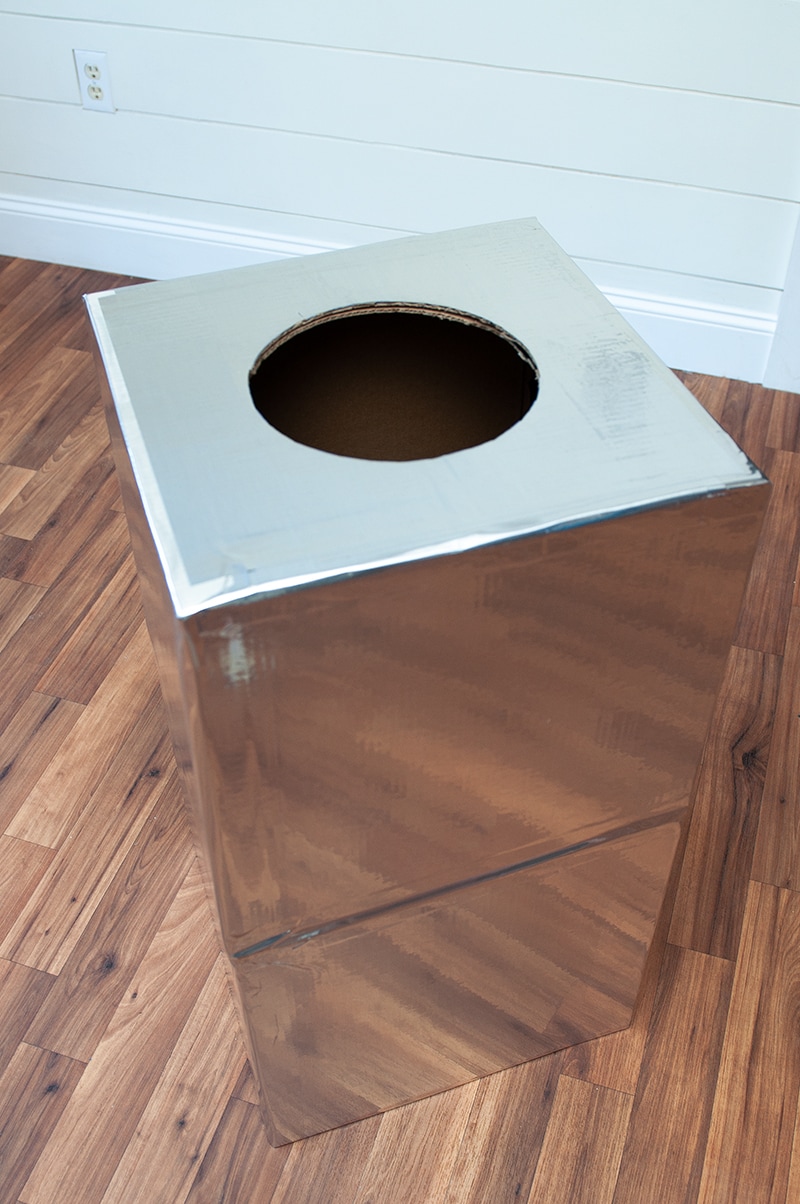
Step 4 – Cut out Hole for Head

Now we need a spot for the head to go through on the top.

DIY Halloween Costume

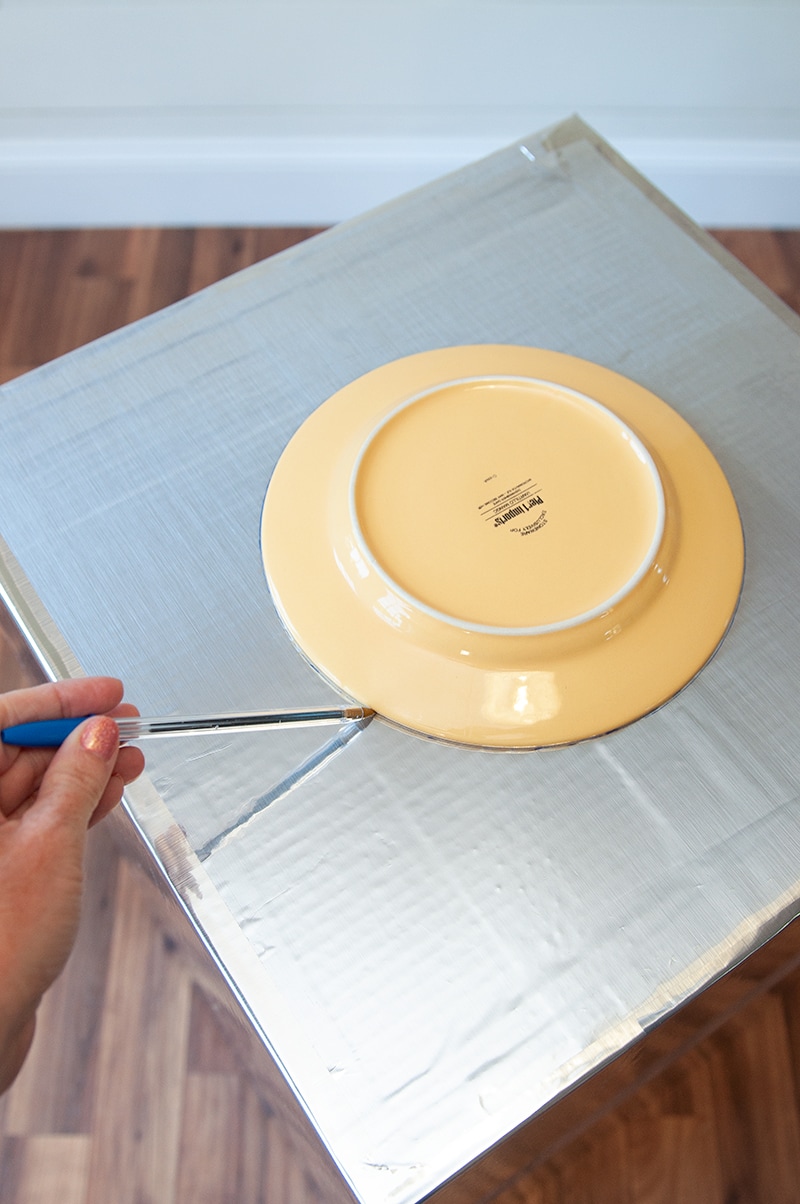
I found a sandwich plate that was the perfect size for the head.  Trace out and use your box cutter to cut out!

DIY Halloween Costume

DIY Halloween Costume

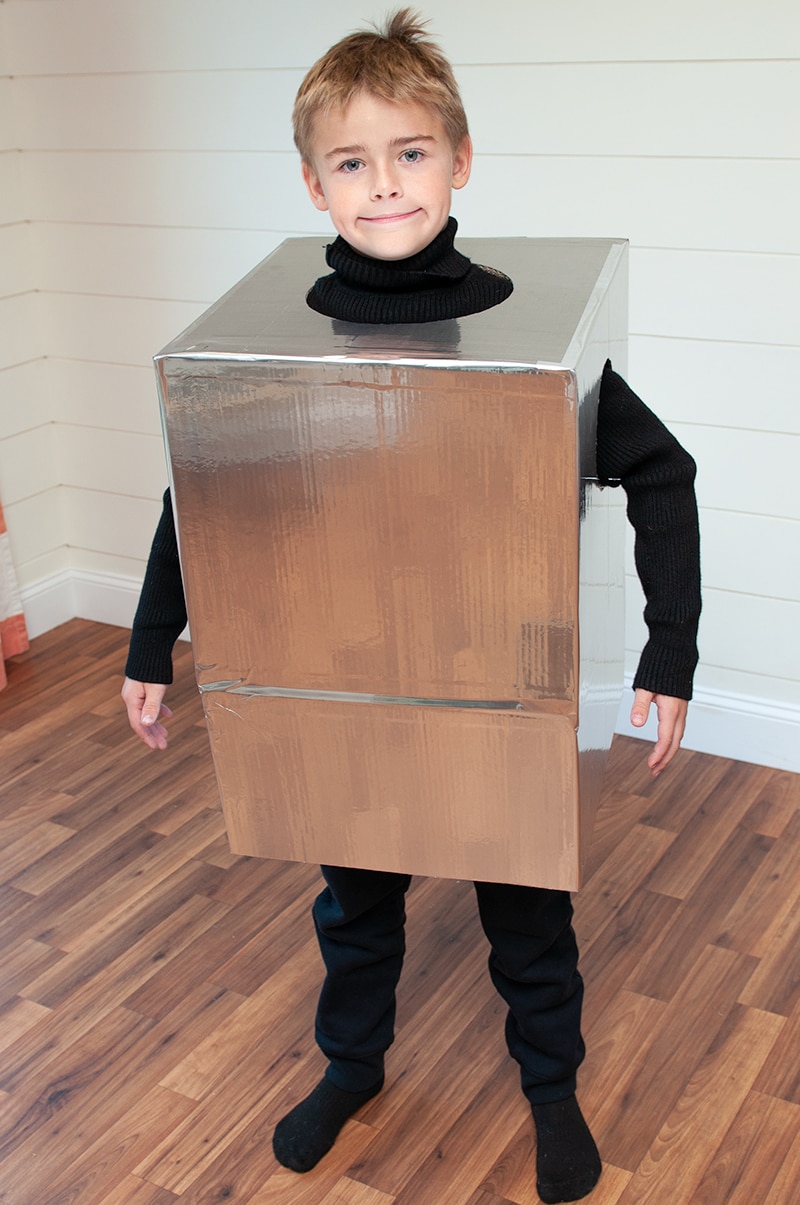
Step 6 – Cut out Arm Holes

Time to measure out the arm holes.  We had our little man try the costume on to see exactly the best place for arm holes.

DIY Halloween Costume

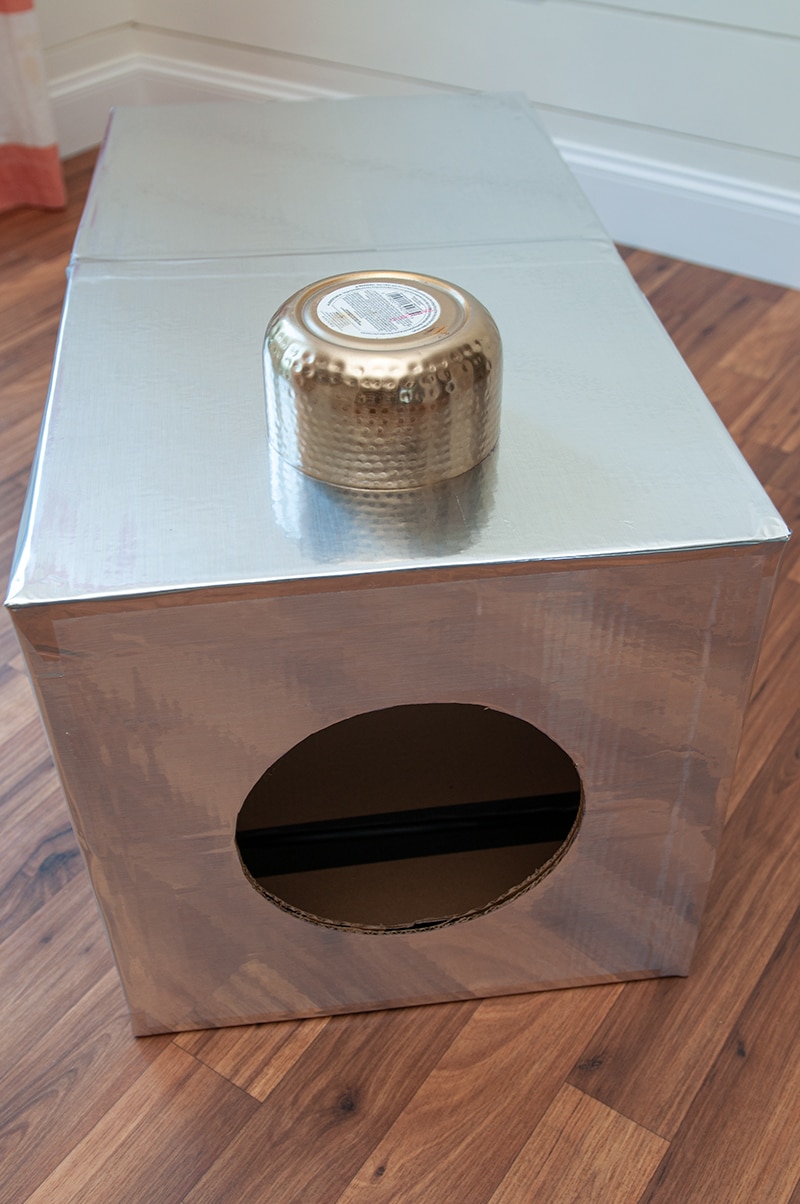
We needed the hole to be a little smaller then the head hole, so I found a candle we had that was a great size.  I traced and cut it out exactly how I did the head.

Step 7 – Cut Costume to Length

The costume was a little too long for our little guy, so we had him try it on.  We wanted it to go a little above his knees.

DIY Halloween Costume

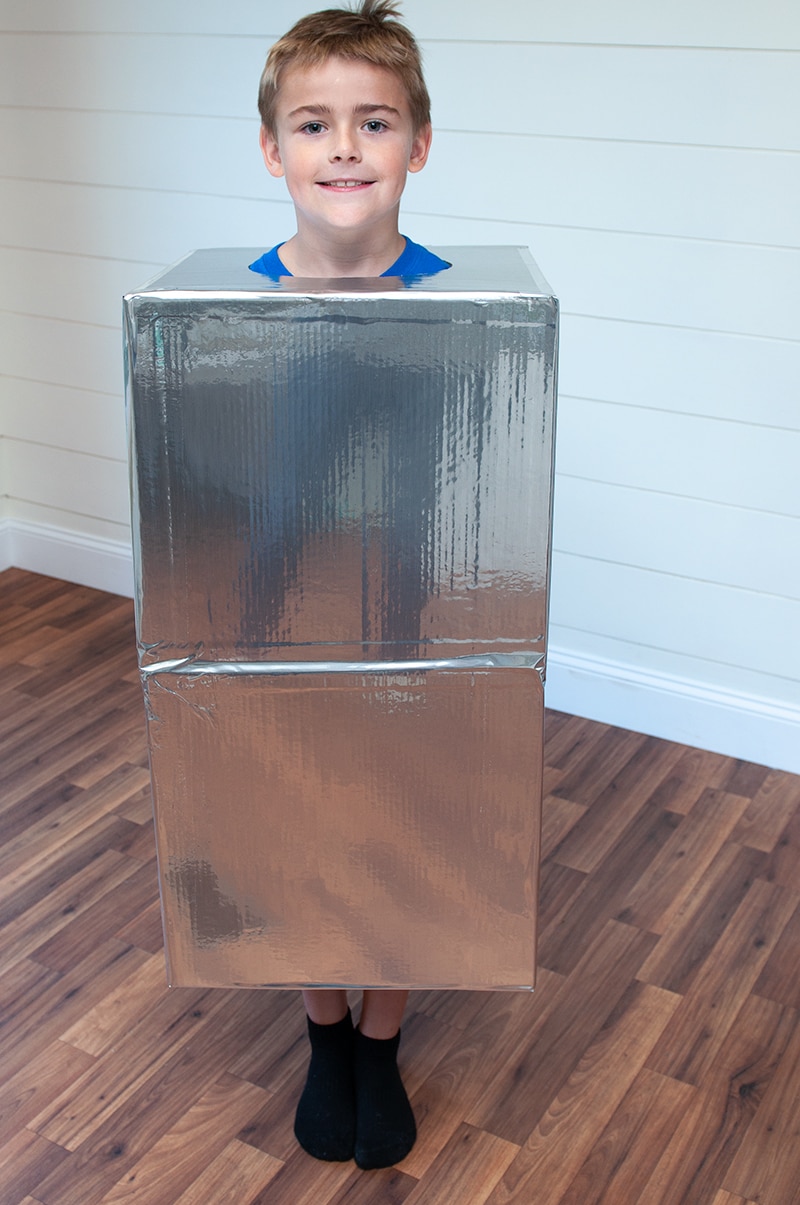
Measure out with a ruler and use your box cutter to cut the extra off.

DIY Halloween Costume

PERFECT!

DIY Halloween Costume

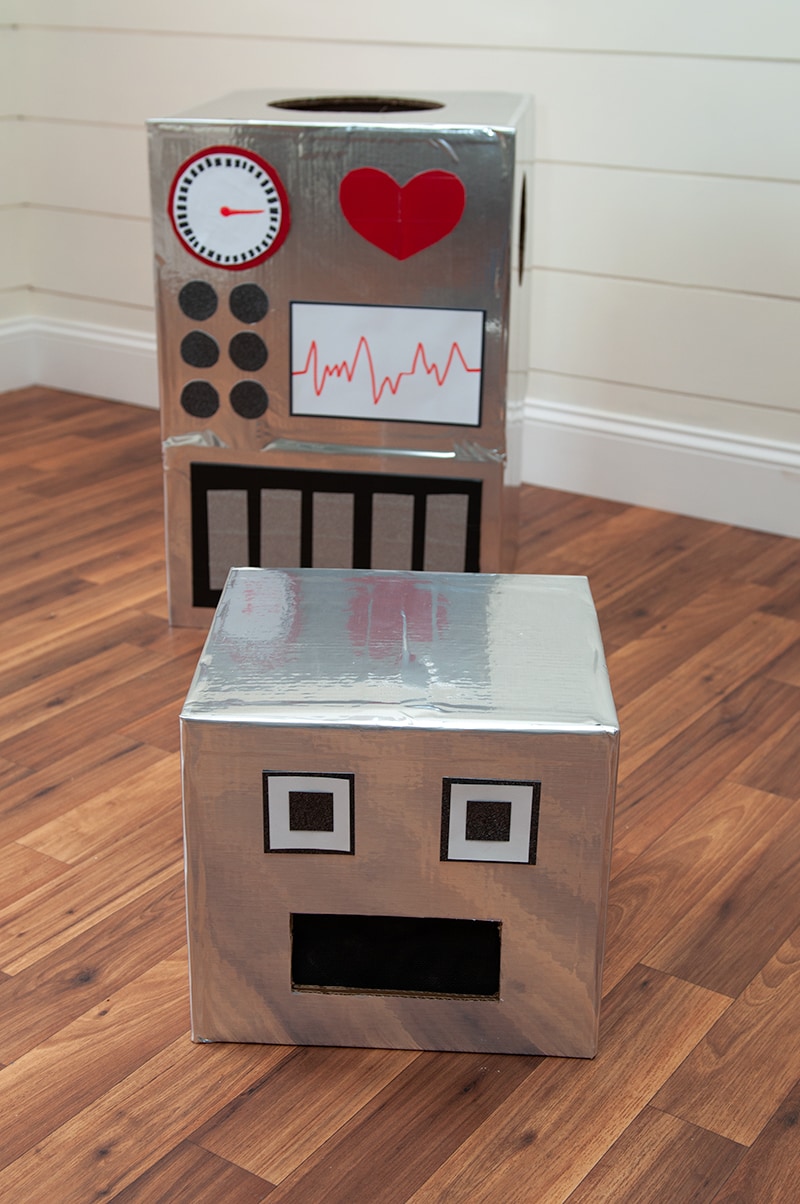
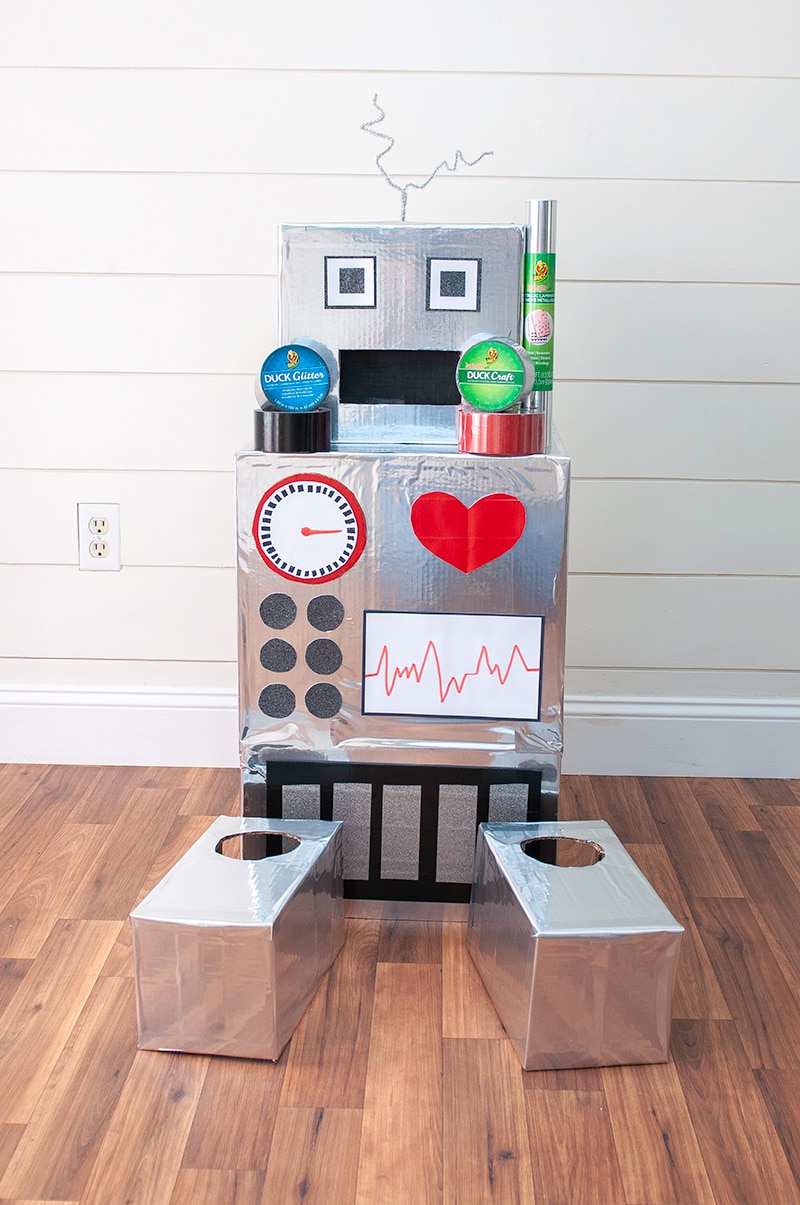
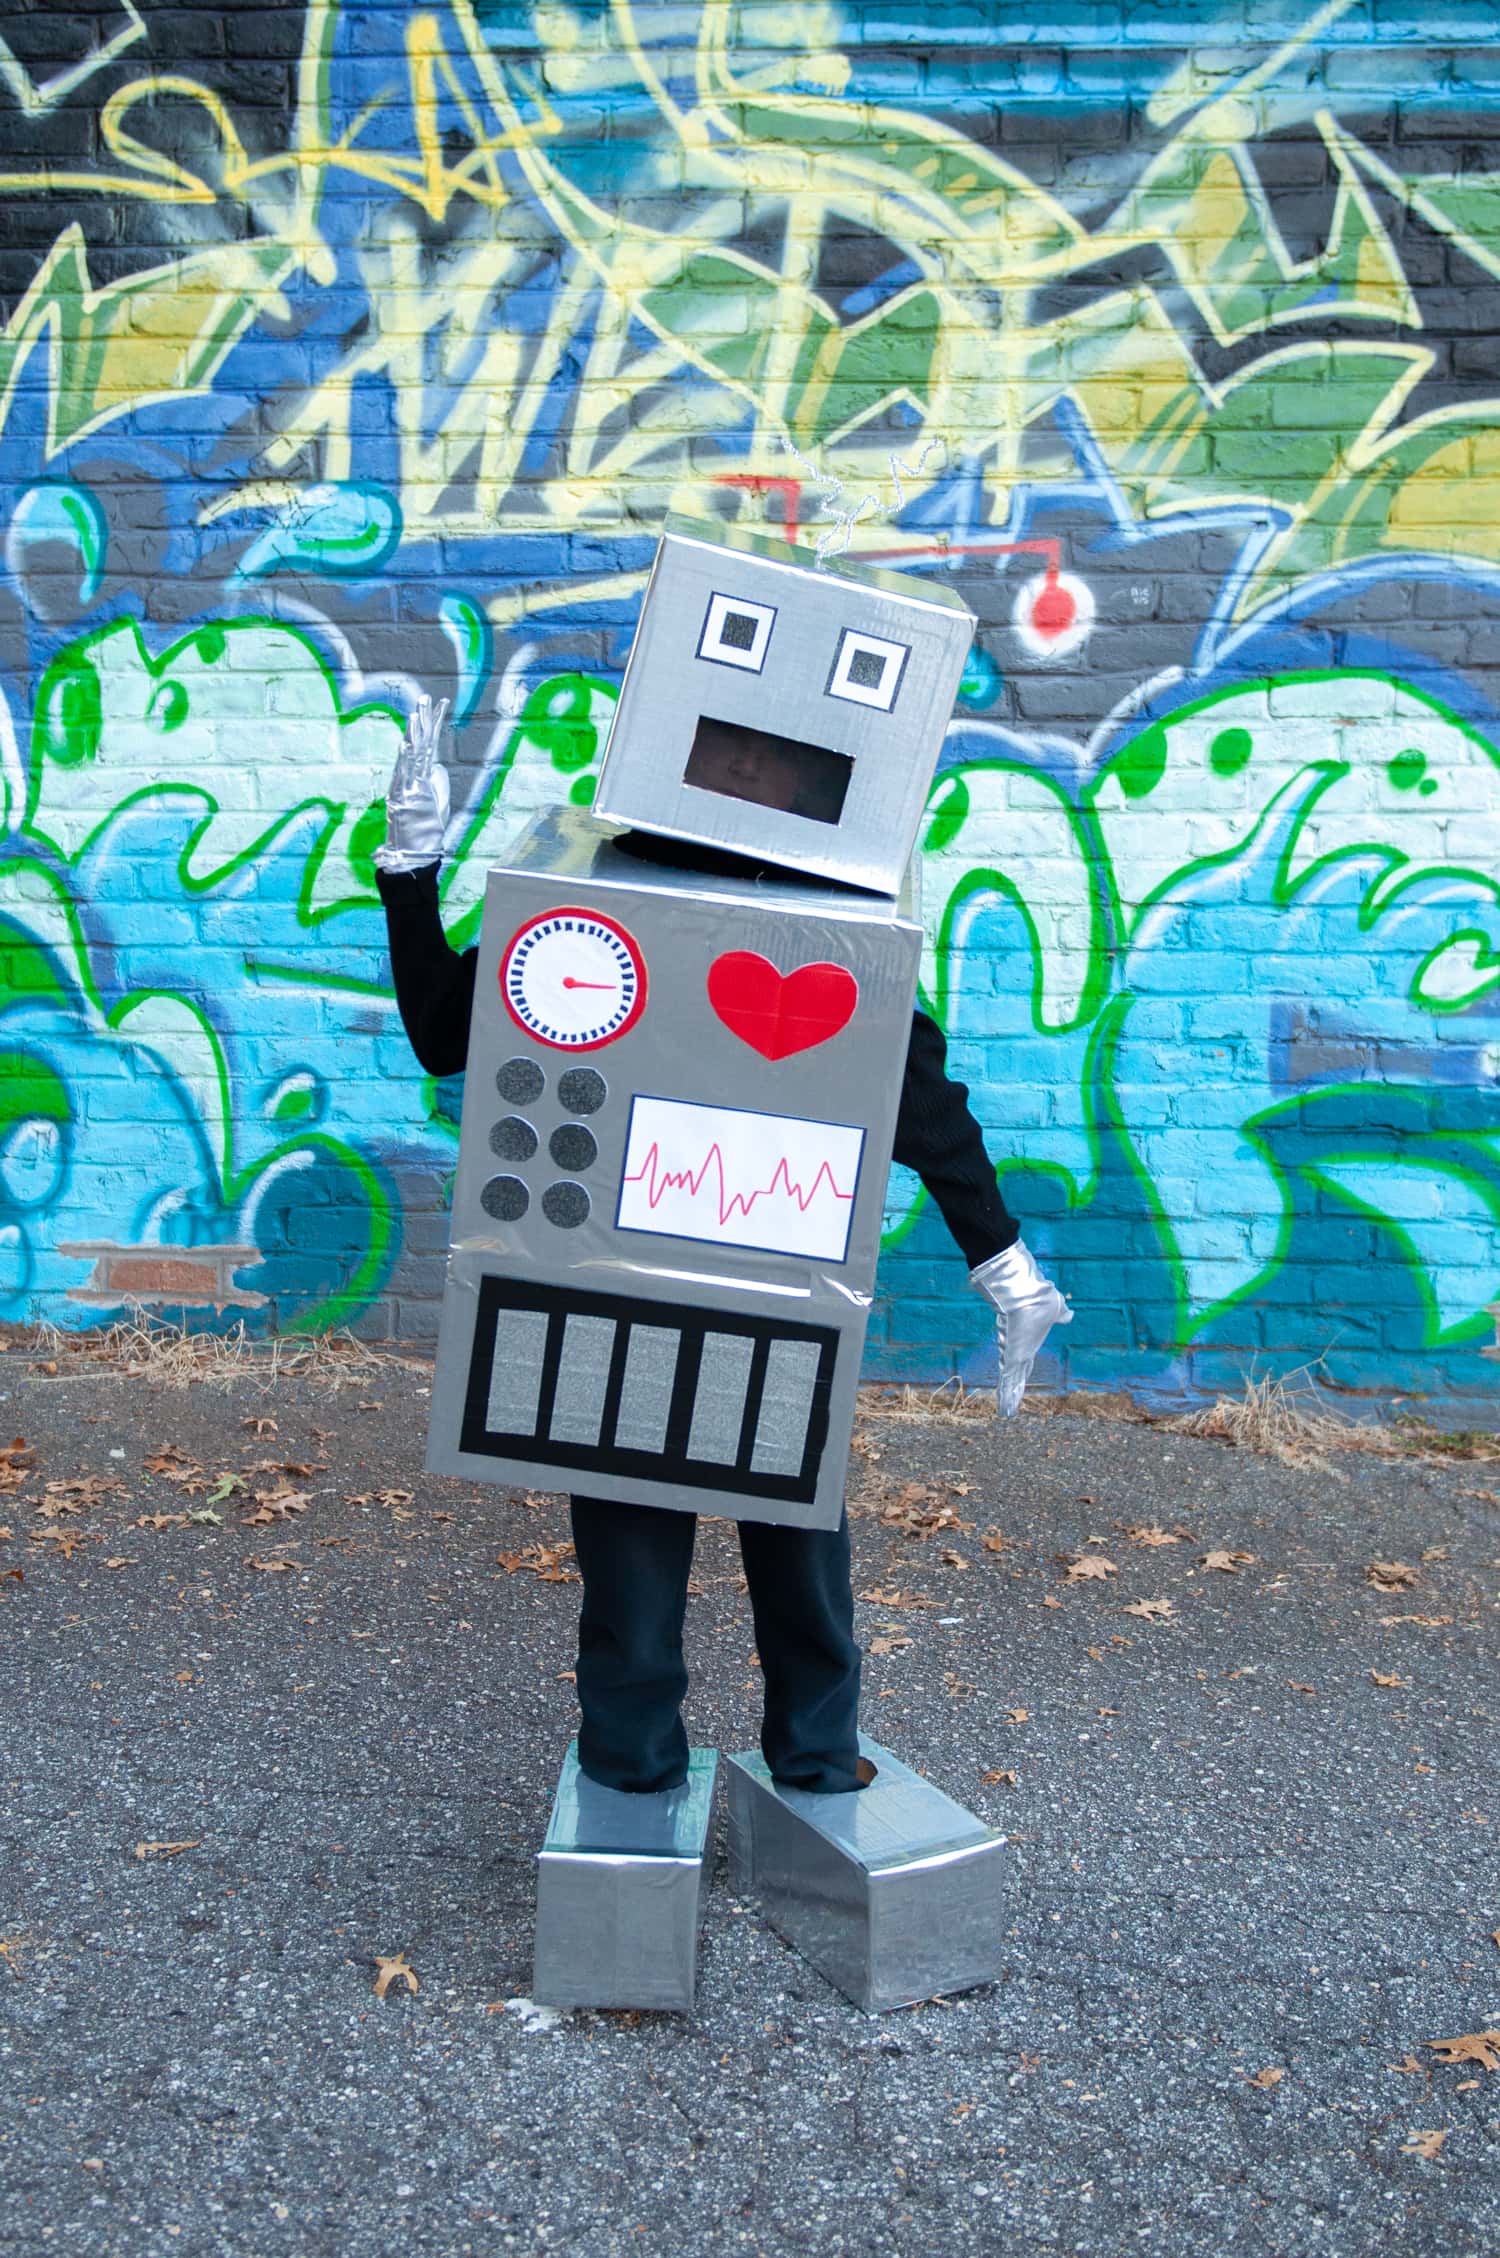
Step 8 – Add Details

Now the FUN part! Adding our details to the robot costume!

DIY Halloween Costume

We looked up some vintage robots on Google and found some great inspiration.

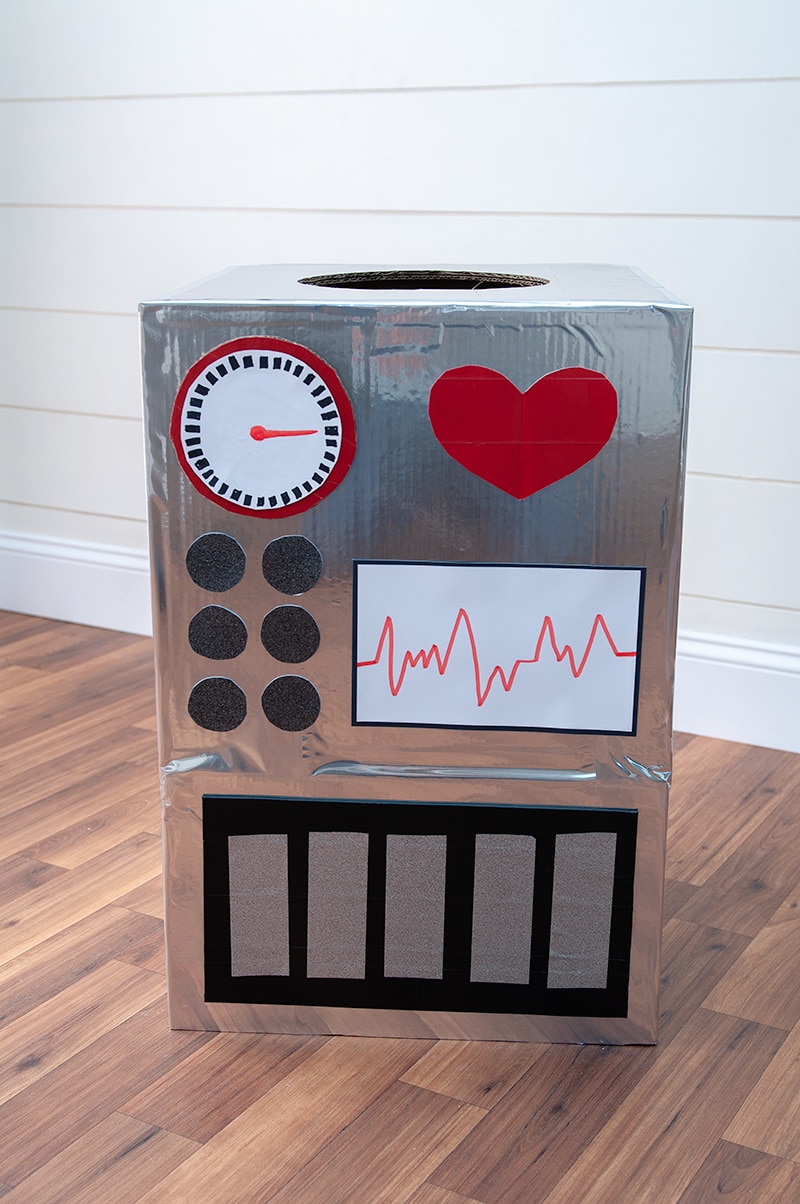
Everything is duck tape besides the white cardstock. I think this part you can get as creative as you want! I used the scrap cardboard to create the red circle and long rectangle at the bottom. I covered both with duck tape.

Looking good so far, right?!! 

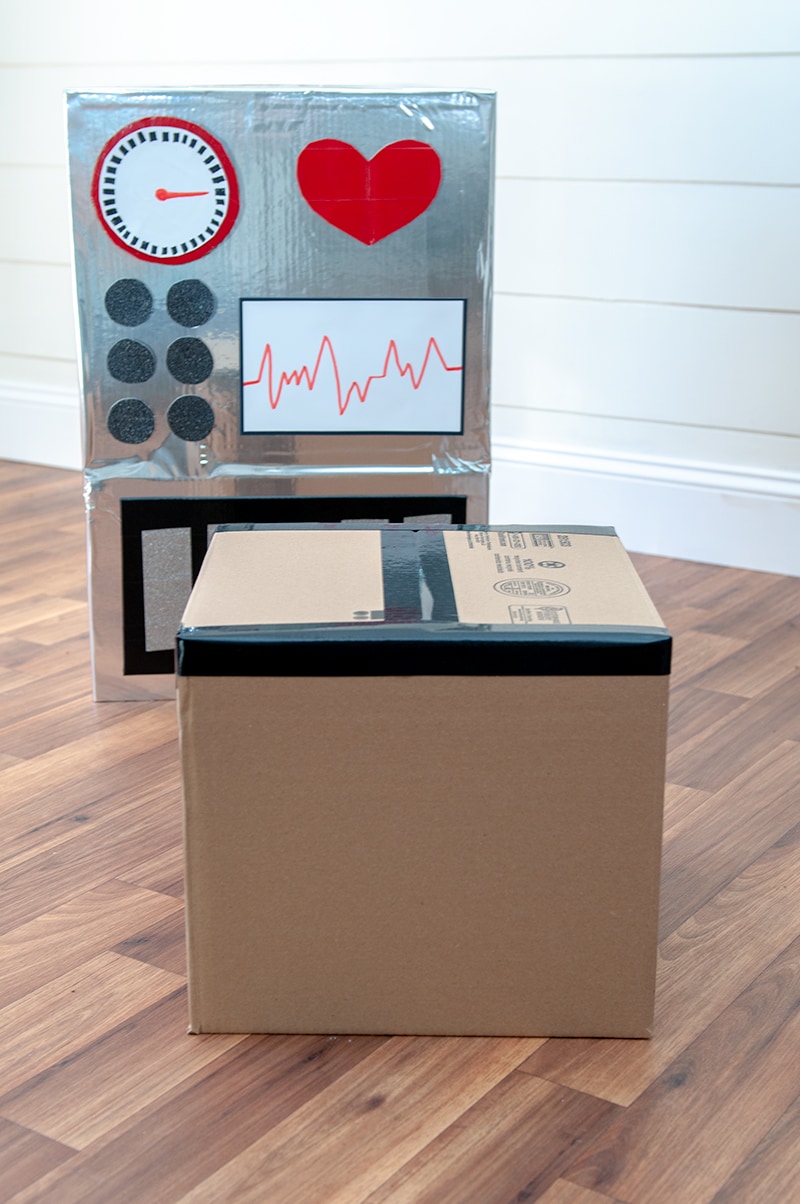
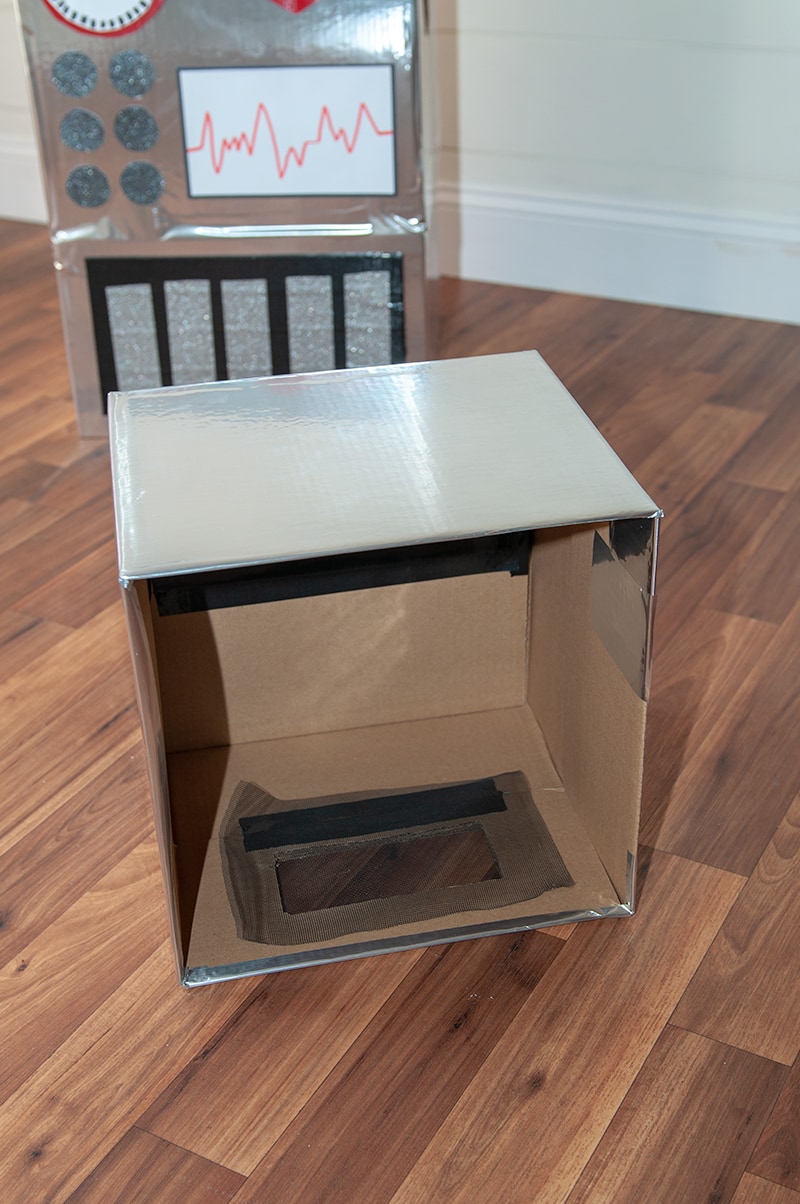
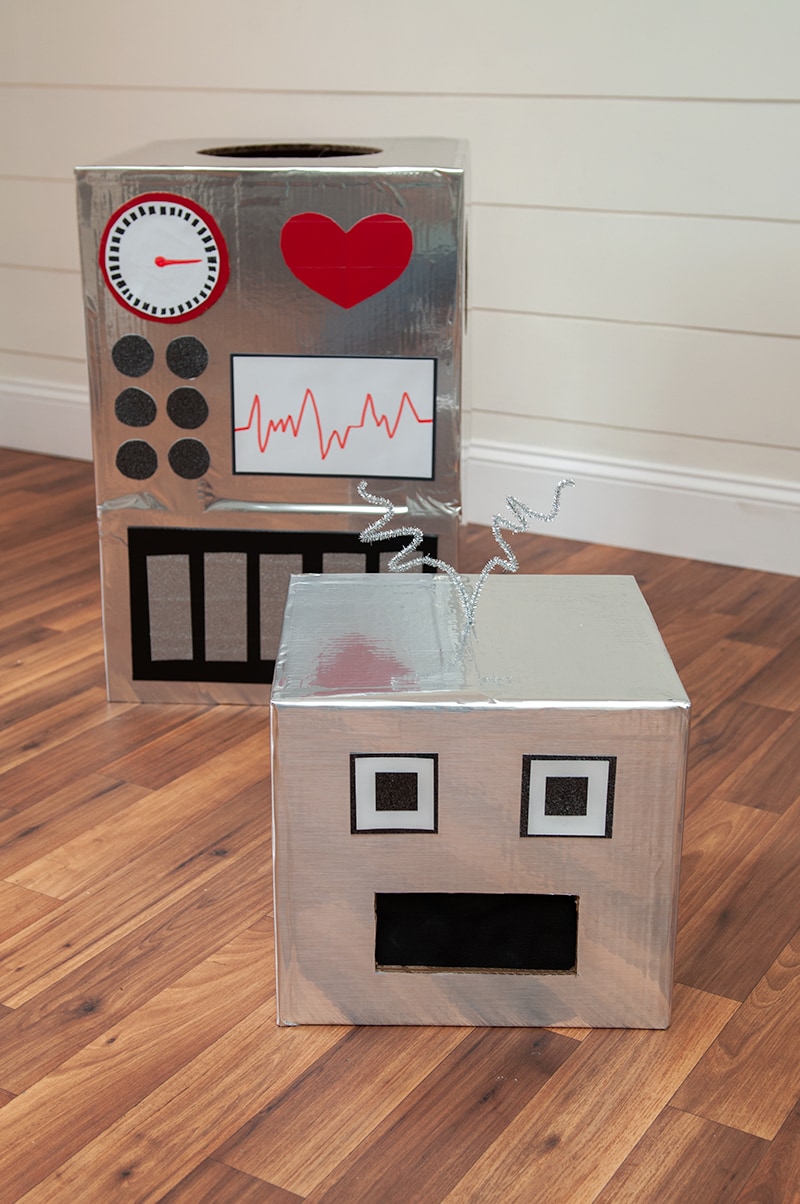
Step 9 – Create Head

For the head I used a 12×1210.5 box.

DIY Halloween Costume

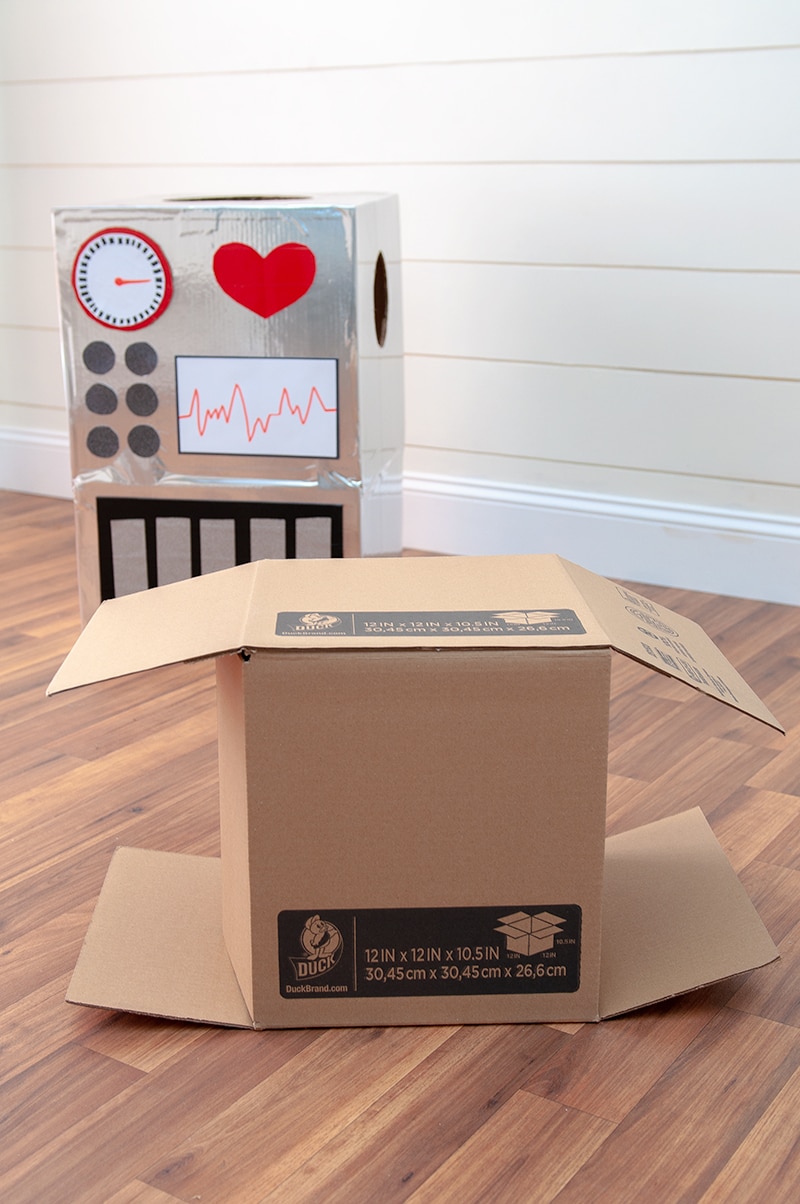
I did the head pretty similar to the top of the robot costume box. I tapped the top of the box up.  Then I pushed the bottom flaps up inside the box to make the head more secure.

DIY Halloween Costume

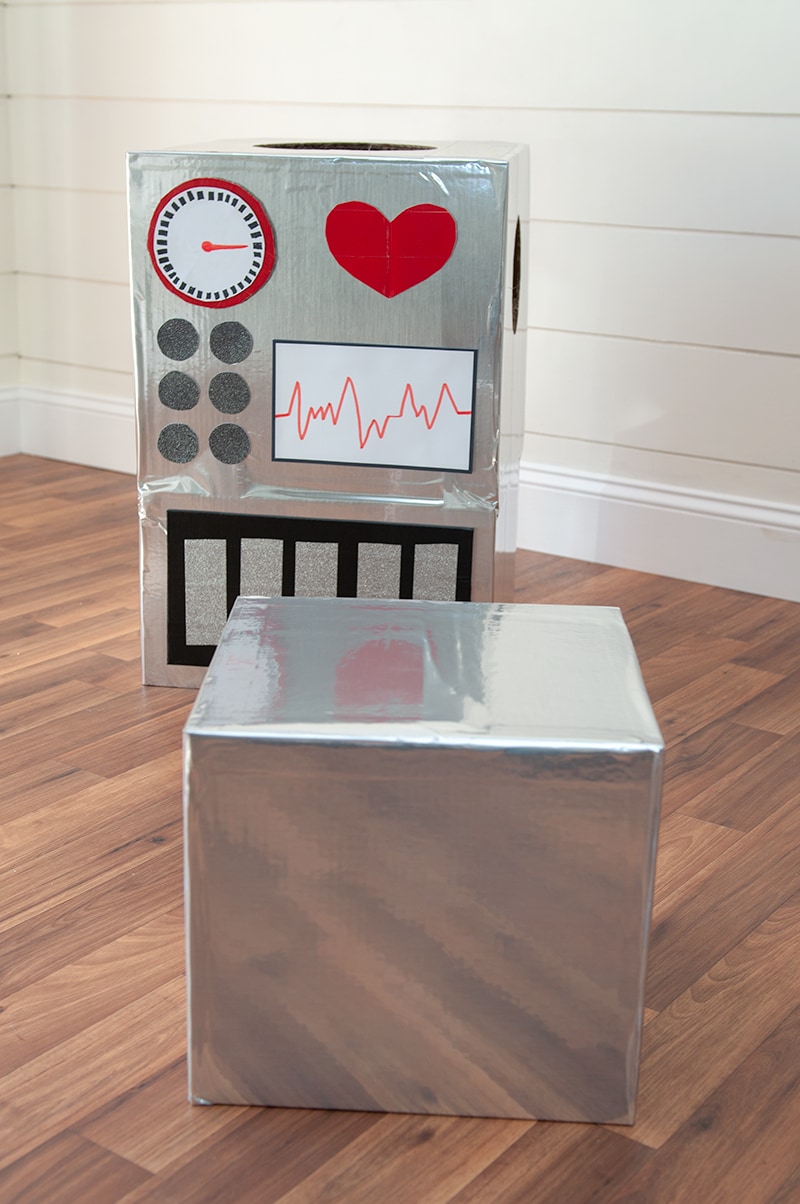
Then I covered the box with the metallic laminate too!

DIY Halloween Costume

Step 11 – Add Mouth

After we finish adding the metallic laminate it’s time to add the mouth.  I had my son put the head on to see where his eyes lined up.  Measure out and use the box cutter to cut out mouth.

DIY Halloween Costume

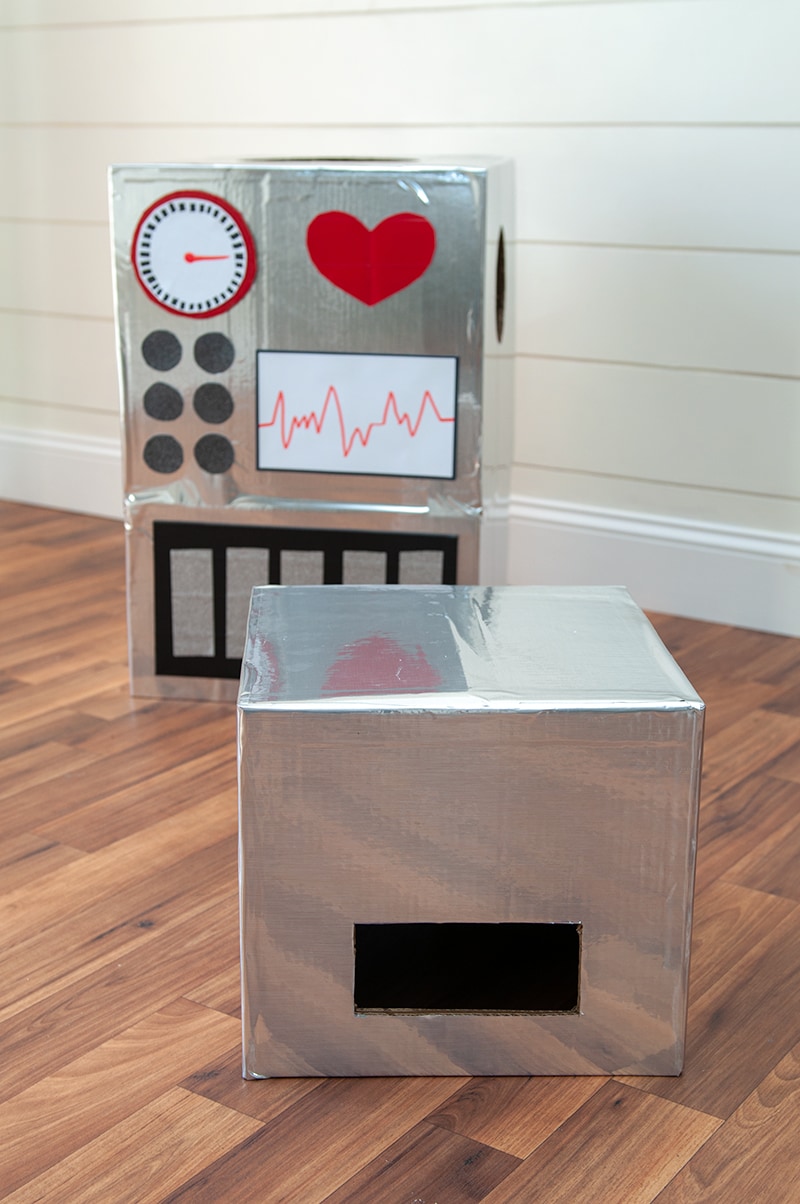
Once the mouth was cut out I added some screen inside the head.

DIY Robot Costume

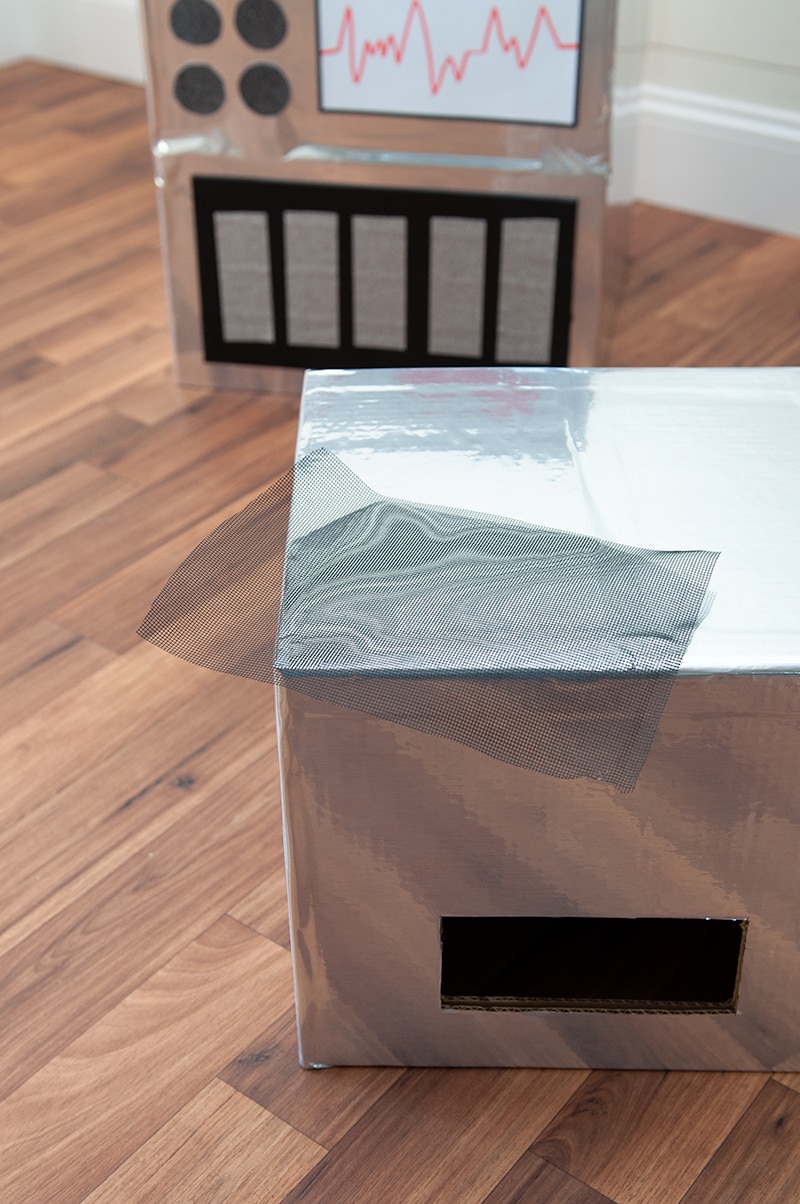
I cut to size and used some hot glue to keep in place.

DIY Robot Costume

Step 12 – Add Eyes

Since my son will be seeing out of the robots mouth, I just made some eyes instead of cutting out eyes into the head.

DIY Robot Costume

The glitter is the duck tape glitter and the white part is cardstock. Glue into place.

DIY Robot Costume

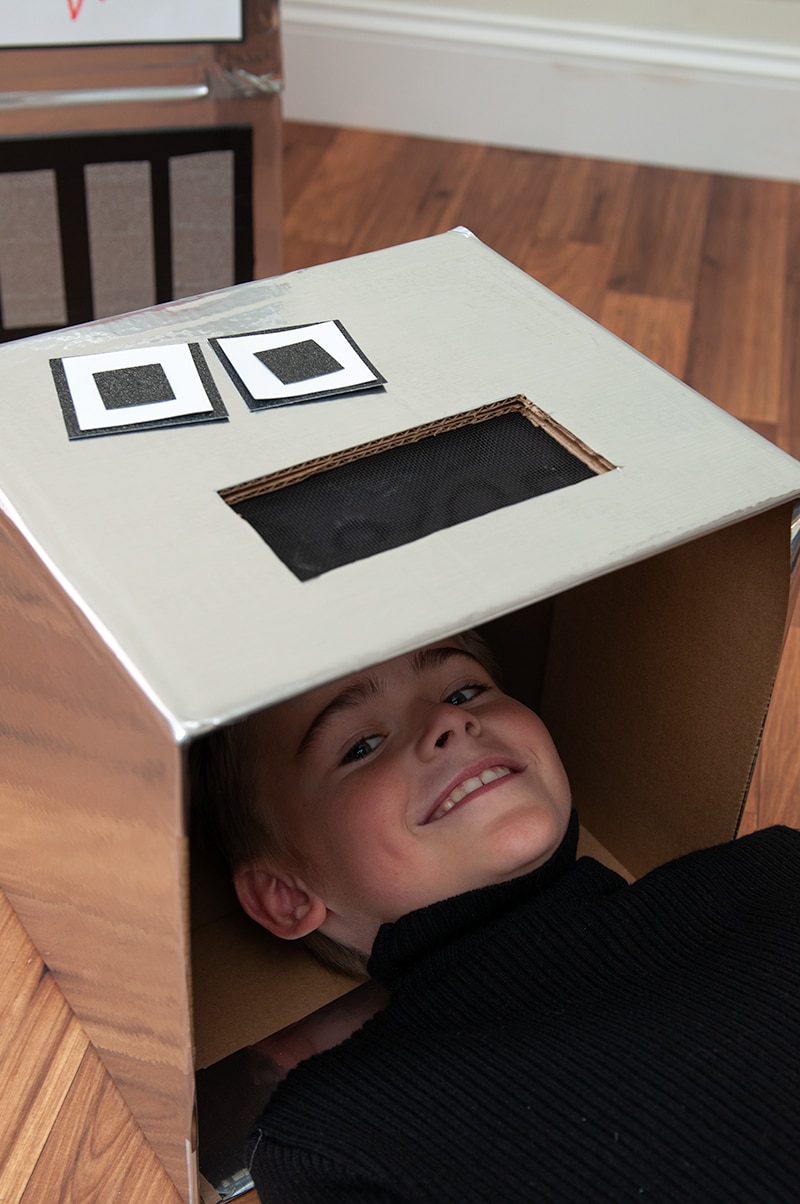
I think my son is getting excited about his costume!

DIY Robot Costume

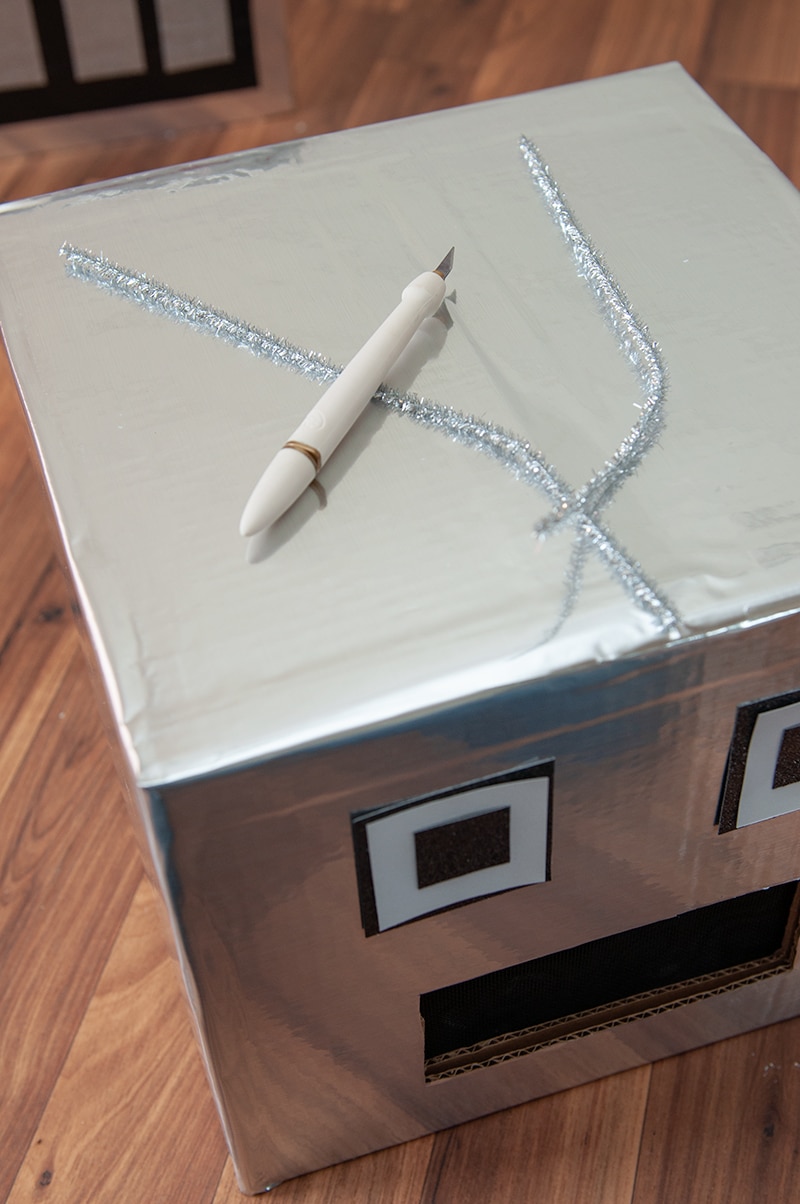
Step 13- Add Antennas

For the antennas use a box cutter or X-Acto knife and cut a slit into the top.  Then gently push the pipe cleaners through. Turn the box over and bend of the ends.

DIY Robot Costume - DIY Halloween Costume

DIY Robot Costume

Step 14 – Create Feet

Last by not least lets make some feet cover!  This step is optional, but I think it’s a nice touch

DIY Robot Costume

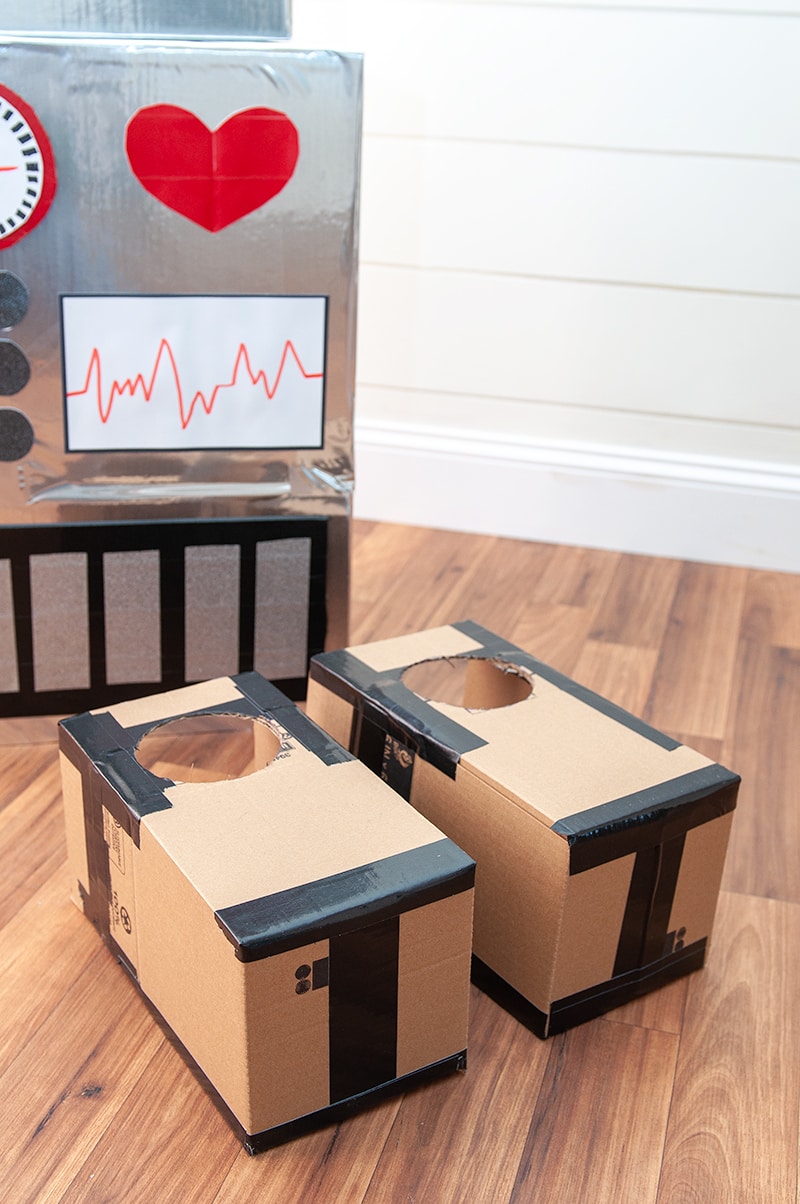
We used two 6x6x6 boxes and some of the extra scrap pieces for the shoe covers.  My hubby made these covers, he was testing it out and ended up making both while I was out.  I didn’t get step pictures.

DIY Robot Costume

He taped up the end of the boxes, and extended the front with the scrap pieces.

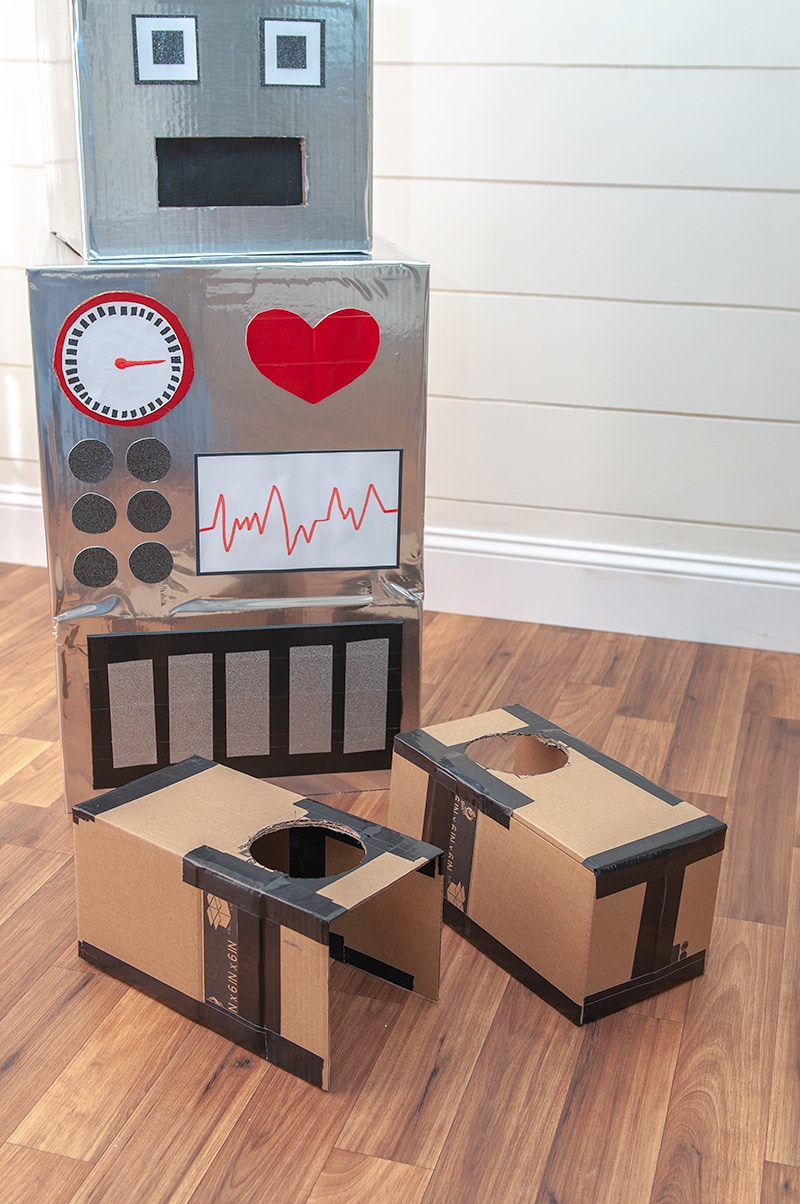
Then we cut out a hole on top so my son can slip his foot inside. After that we cut out the bottom of the shoe cover.

DIY Robot Costume

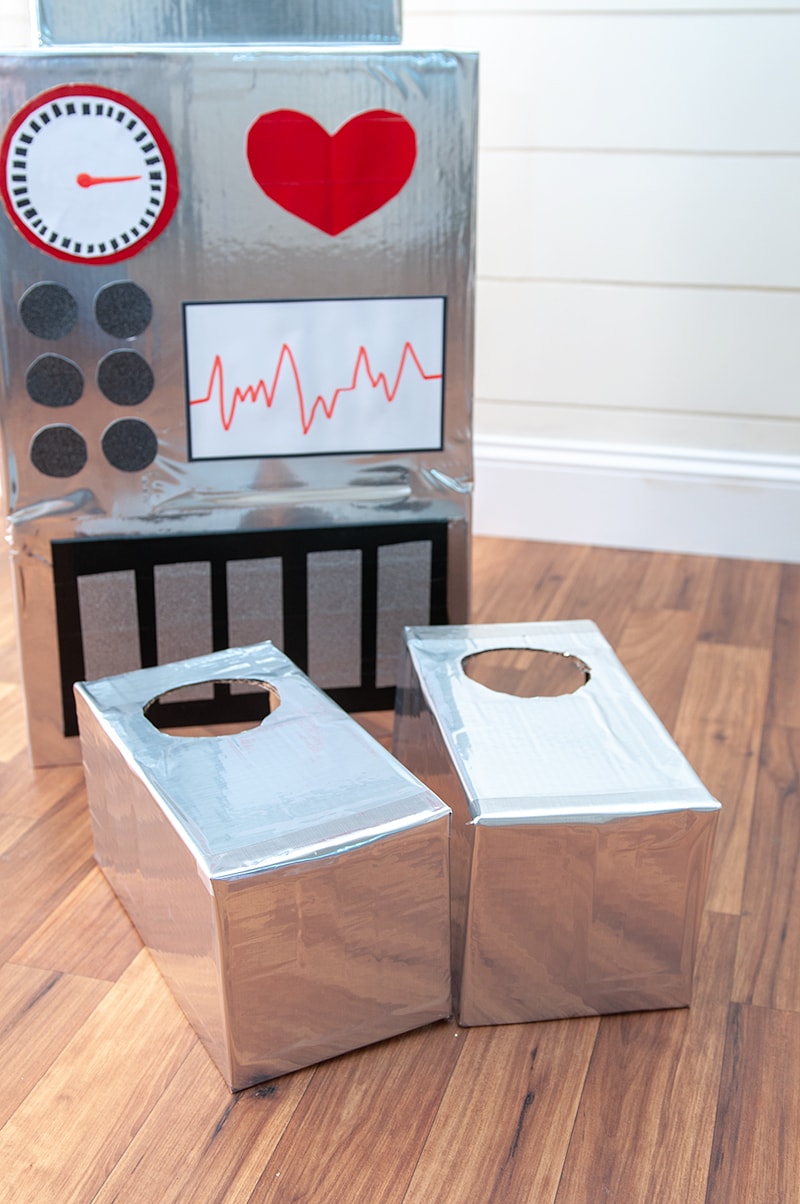
Finally cover them in the metallic laminate and your finished!!  If the boxes wont work, then I think a larger tissue box would work as well, depending on the shoe size.

Finishing Touches

To finish the costume off we ordered a black turtle neck, black pants and silver gloves from Amazon.

DIY Robot Costume - DIY Halloween Costume

DIY Robot Costume - DIY Halloween Costume

DIY Robot Costume - DIY Halloween Costume

DIY Robot Costume - DIY Halloween Costume

DIY Robot Costume - DIY Halloween Costume

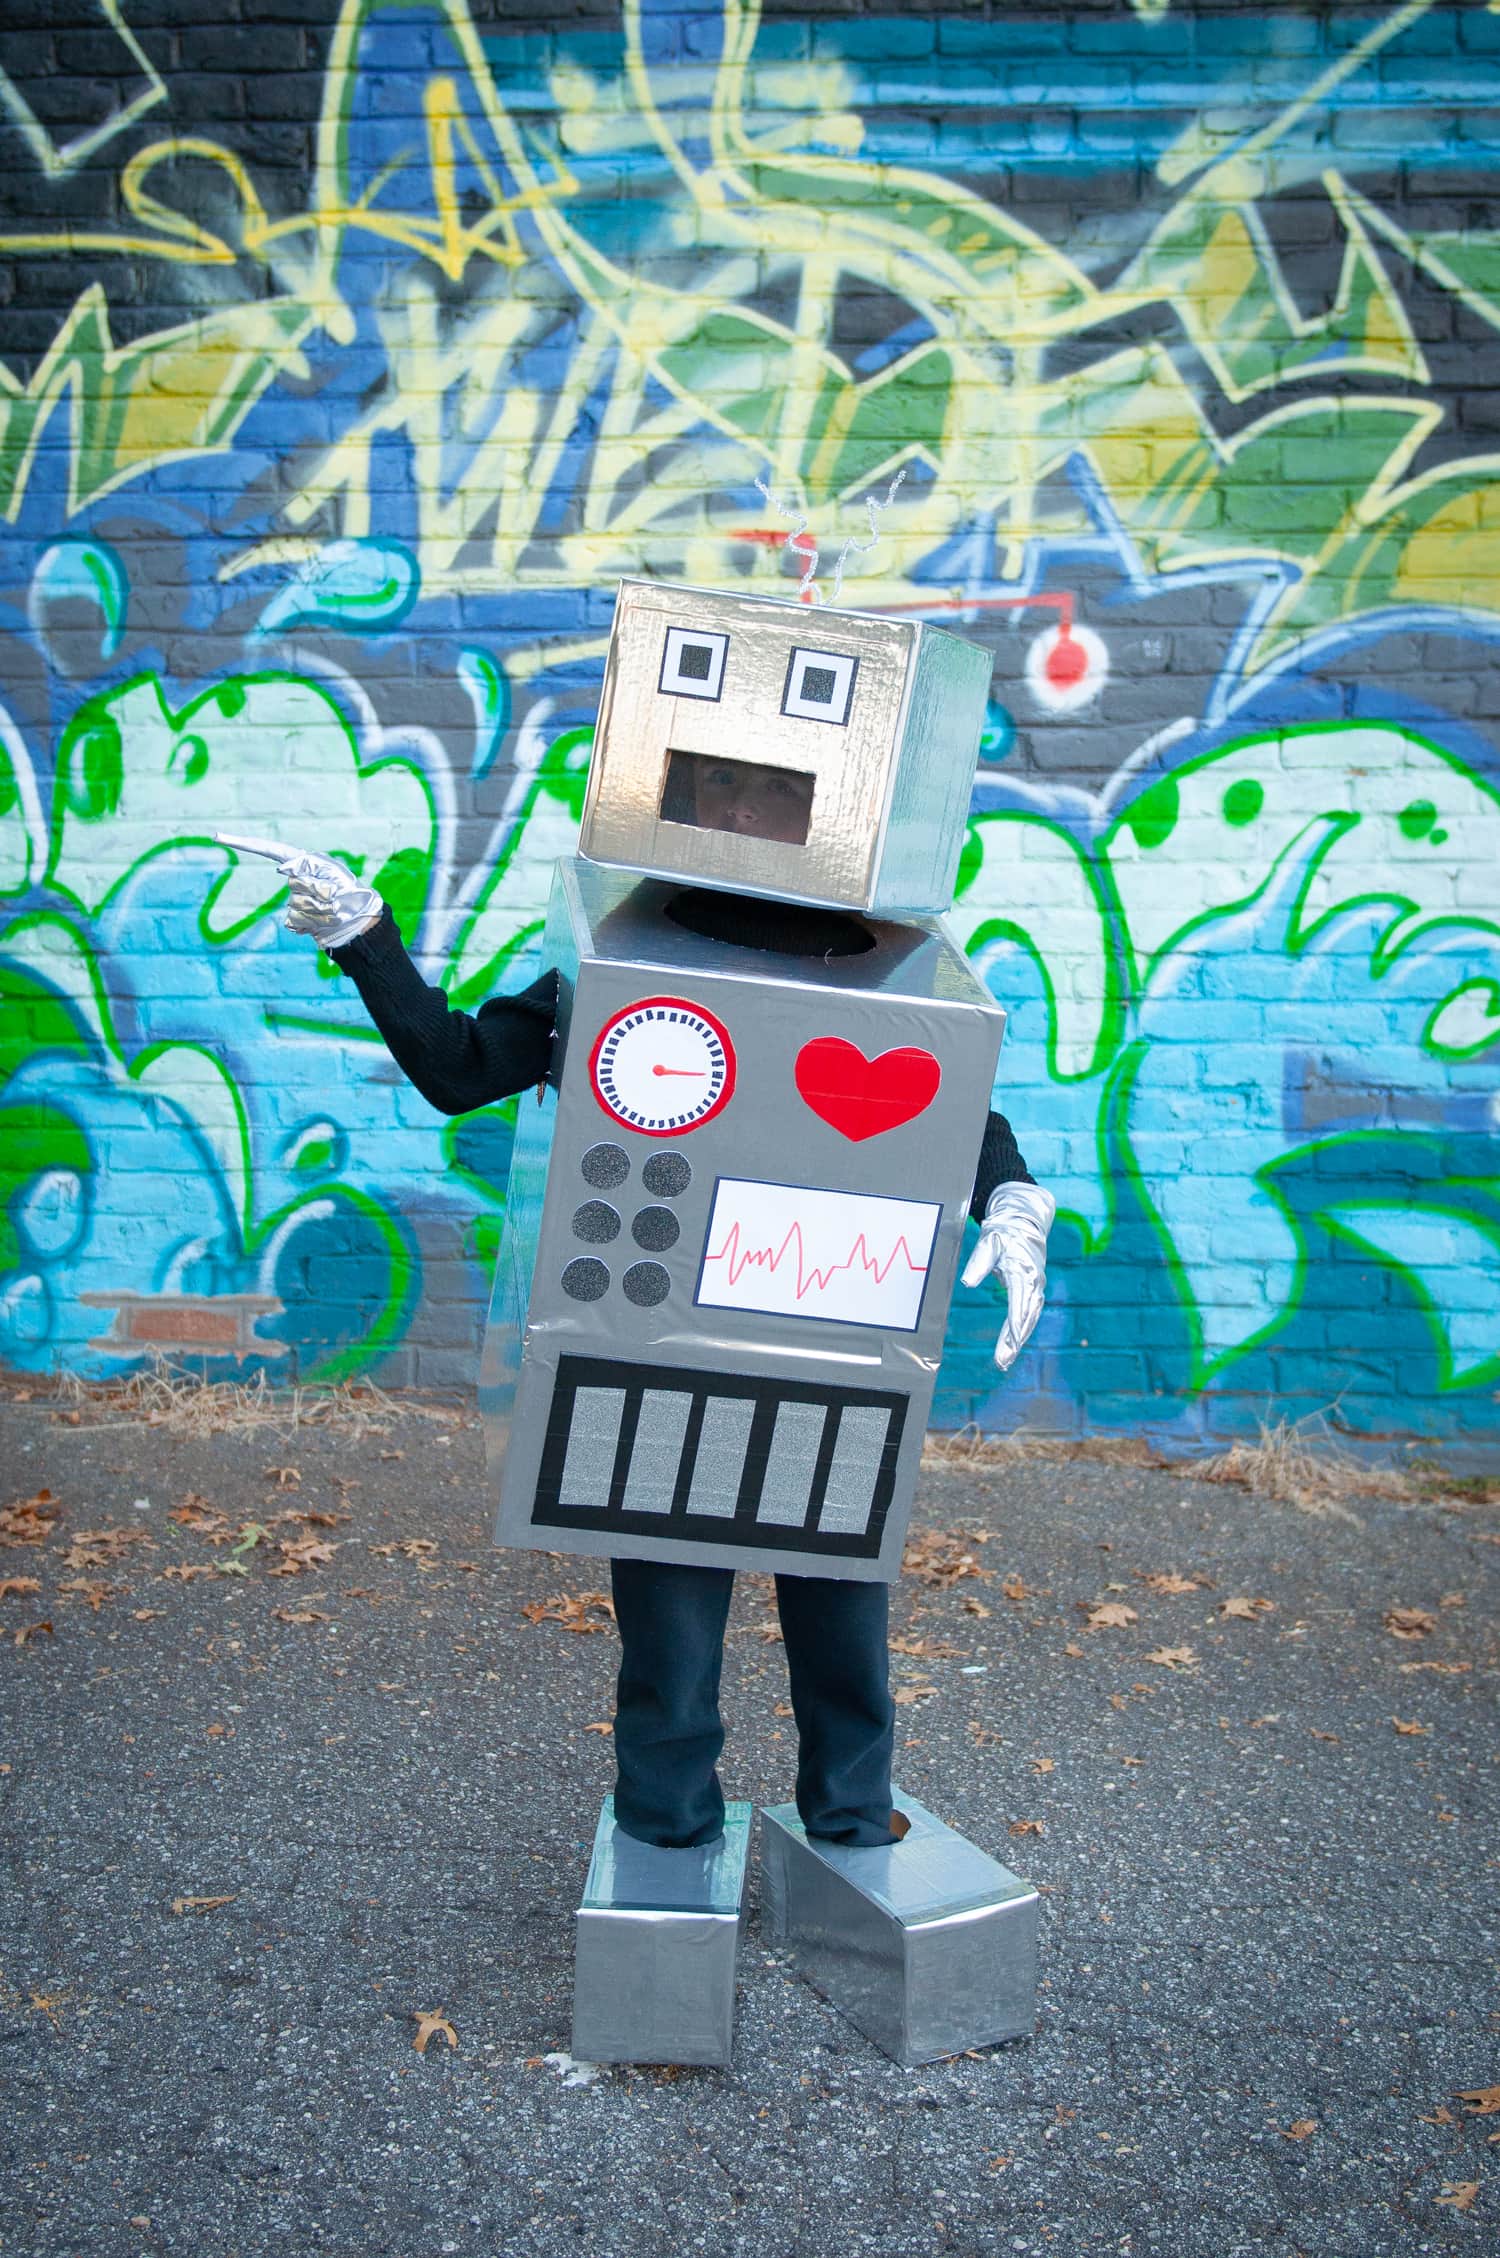
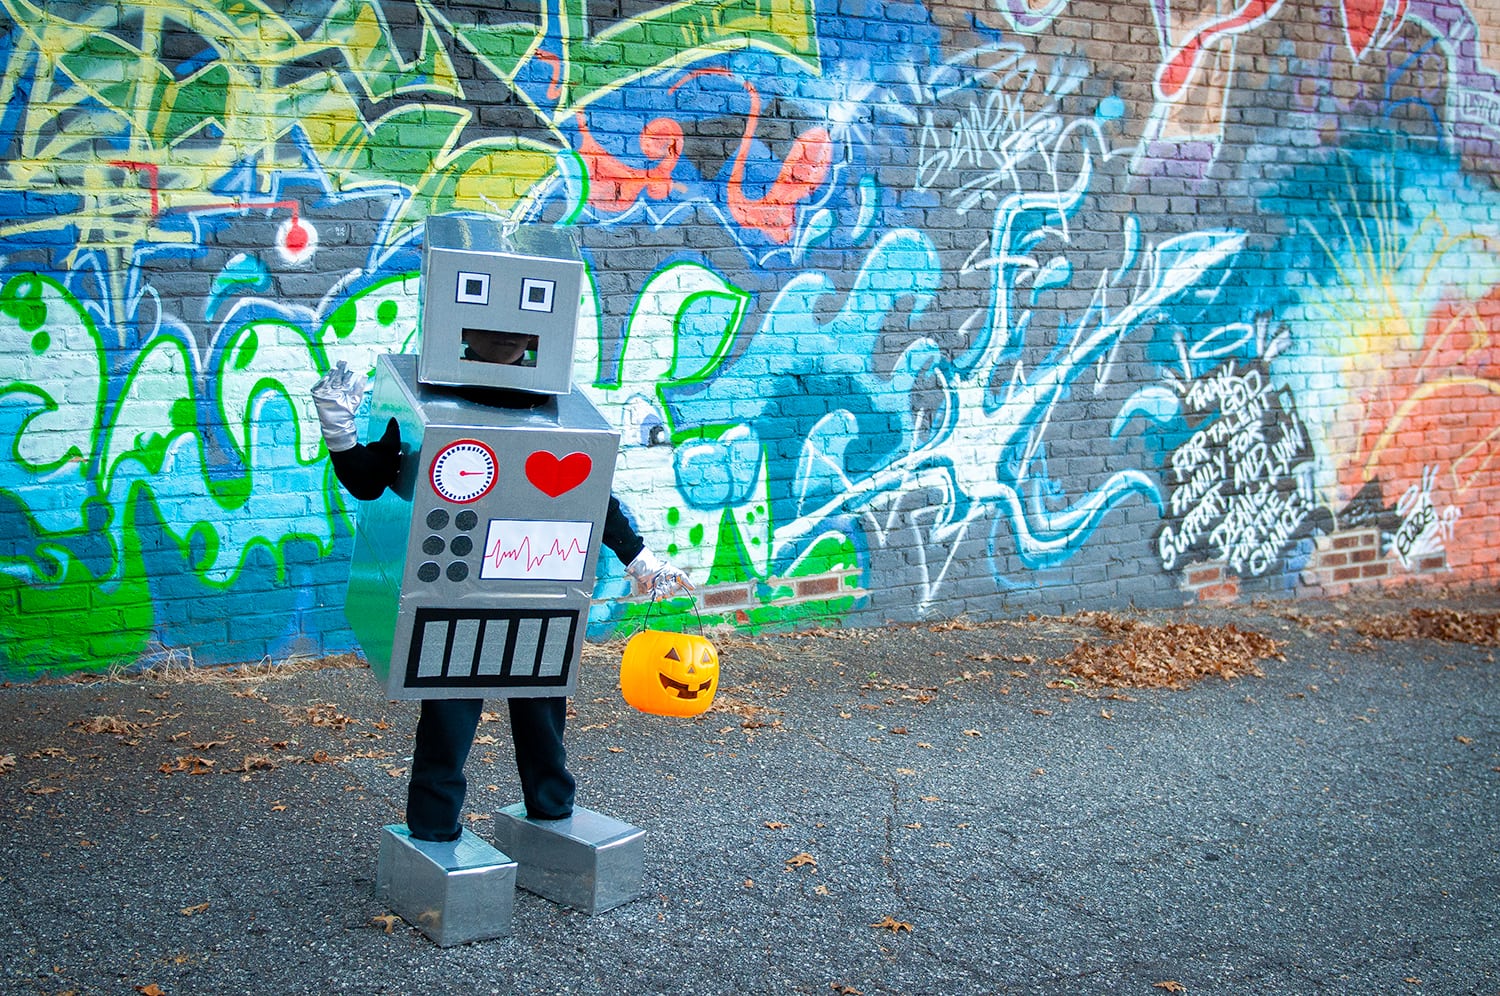
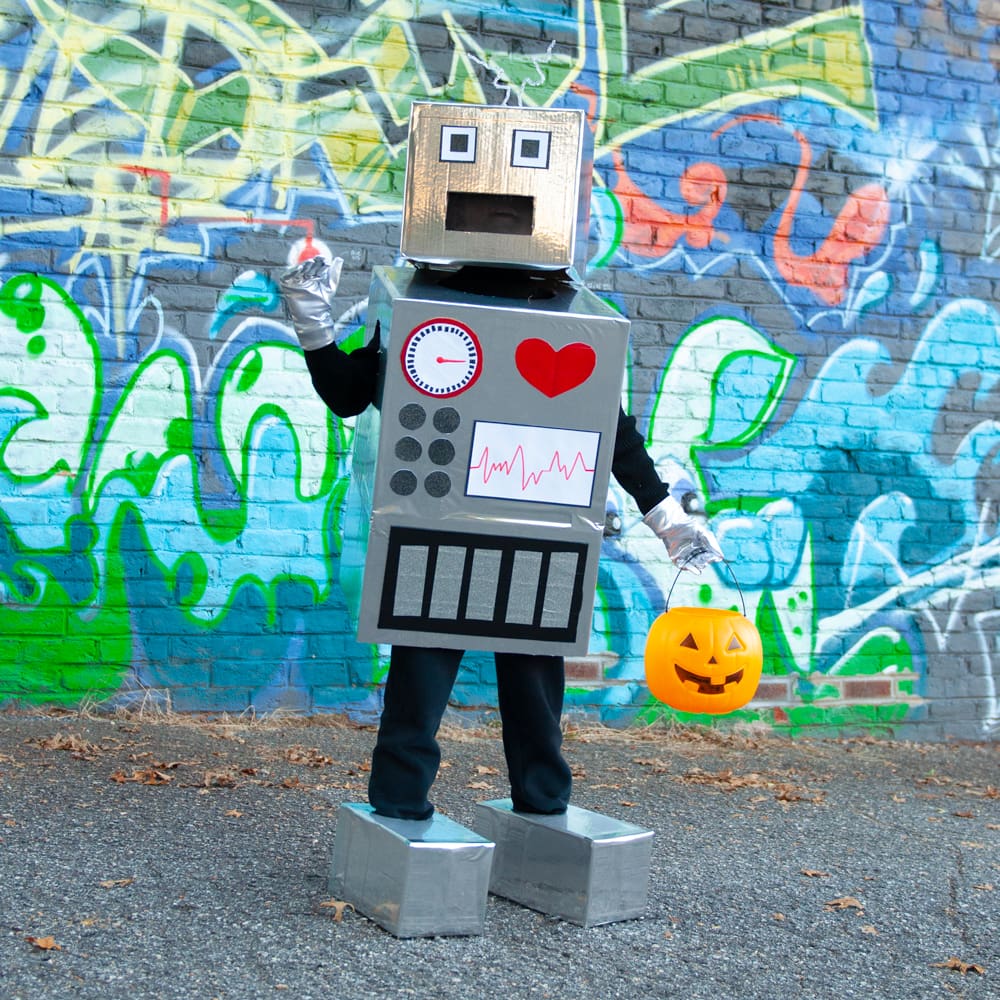
As always thanks for stopping by and checking out my latest project.  I think this costume will be a hit at truck or treating this year! If you have any questions about the process of making the costume, please don’t hesitate to contact me!

Looking for more DIY Costumes? Check out this Hot Air Balloon Costume I did a couple years ago.

Or this TMNT Costume!

Courtney's signature

About Courtney Sanchez

Hi, I'm Courtney and I LOVE crafting! I am a mommy to 3 awesome boys (who keep me very busy) and wife to a loving husband. Crafts by Courtney is where I like to hang out ;)

Leave a Reply

Hi, I'm Courtney!

Welcome. Here is where I share the fun how-to crafts I've done with my kids and for my home. I also really love DIY parties too! Read More…

My Socials

  • Facebook
  • Instagram
  • Pinterest

Newsletter

Subscribe to my email newsletter for more craft ideas, tips and valuable resources.

The TOP 4

  • 33 Awesome Birthday Party Ideas for Boys33 Awesome Birthday Party Ideas for Boys
  • Terra Cotta Pot DIY Lighthouse Garden ProjectTerra Cotta Pot DIY Lighthouse Garden Project
  • Beaded DIY Wind Chimes For KidsBeaded DIY Wind Chimes For Kids
  • DIY GALAXY PAINTING CRAFT FOR KIDSDIY GALAXY PAINTING CRAFT FOR KIDS

Looking for more?

Over on Instagram

craftsbycourt

Happy Thursday friends! One of my favorite decor a Happy Thursday friends! One of my favorite decor accessories is... you guessed it, FOWERS! I have flowers all over my house, several in each room actually. I even switch them out for the seasons. One of my favorite places to find faux flower arrangements is @homegoods. They have the bet selection to choose from. 🌺🌻
.
.
.
.
#bedroommakeover #bedroominspo #blueandwhitedecor #coastalfarmhouse #coastalfarmhousestyle #farmhouseliving #farmhouse #whitebedroom #bedroominspiration #mybedroomstyle #bedroomstyling #ashleyfurniture #worldmarketfinds #coastalvibes #mystylishspace #bedroomlove #stylishhome #blueandwhiteforever #coastalinteriors #flowersofinstagram #flowerinspiration #flowerdecor #flowerstyling #
One of my favorite pieces in my master bedroom is One of my favorite pieces in my master bedroom is this light fixture I got at @worldmarket. I have been eyeing it for years, and knew when I finally decided to give my bedroom a makeover I had to have it! What a difference a light fixture can make in a room. I love just laying in bed and staring at it, kinda obsessed.
.
.
.
#lightfixture #lightfixturelove #lightfixturesofinstagram #lightfixtureobsession
#bedroommakeover #bedroominspo #blueandwhitedecor #coastalfarmhouse #coastalfarmhousestyle #farmhouseliving #farmhouse #whitebedroom #bedroominspiration #mybedroomstyle #bedroomstyling #ashleyfurniture #worldmarketfinds #coastalvibes #mystylishspace #bedroomlove #stylishhome #blueandwhiteforever #coastalinteriors
.
.
After being in our house for 7 years we finally de After being in our house for 7 years we finally decided in August to start our bedroom makeover. We've put this room off last and focused more on the other rooms in the house since we moved in. For our 20 year wedding anniversary, we decided it was time to give OUR bedroom a makeover now. I feel like it's been a long process, but I'm so happy with what's been done so far. It's so bright and airy in here now, a perfect way to relax and unwind for the day. We still need to shiplap the walls, but I wanted to share a sneak peek.
.
.
.
.
#bedroommakeover #bedroominspo #blueandwhitedecor #coastalfarmhouse #coastalfarmhousestyle #farmhouseliving #farmhouse #whitebedroom #bedroominspiration #mybedroomstyle #bedroomstyling #ashleyfurniture #worldmarketfinds #coastalvibes #mystylishspace #bedroomlove #stylishhome #blueandwhiteforever #coastalinteriors
Miss Scarlett sweet face! 😍🐾 . . . . #master Miss Scarlett sweet face! 😍🐾
.
.
.
.
#masterbedroom #masterbedroomdecor @our_coastal_farmhouse #coastalliving #coastaldecor #coastaldecor #coastalfarmhouse #goldenretriever #goldensofinstagram #goldensofinsta #dogsofinstagram #goldensretrieverofinstagram
BIG smile from Scout this morning! Happy Monday fr BIG smile from Scout this morning! Happy Monday friends! I've been working on a master bedroom refresh since August and I'm getting so close to finishing and sharing with everyone! I just need to shiplap those walls, but finding decor is so much easier and fun!
.
.
.
.
#masterbedroom #masterbedroomdecor @our_coastal_farmhouse #coastalliving #coastaldecor #coastaldecor #coastalfarmhouse #goldenretriever #goldensofinstagram #goldensofinsta #dogsofinstagram #goldensretrieverofinstagram
It’s Sunday! I’m so excited for this beautiful It’s Sunday! I’m so excited for this beautiful day. I'm sharing a project I did a couple years ago, a Terra Cotta Pot Lighthouse for my front flower bed🌸🌼. I used @decoart Outdoor Living Paints and It's been 4 years and this Lighthouse has held up great! 🎨Full Tutorial Link Below 👇👇
.
.
.
.
.
#decoart #decoartprojects #outdoorlivingpaint #garden #lighthouse #makersgonnamake #crafty #diy #diygarden #handmade #maker #garden_styles #outside_project #yardprojects #summerproject #outdoordecor
Follow on Instagram

Who I Work With

Crafts by Courtney   ·   Copyright © 2013 - 2022