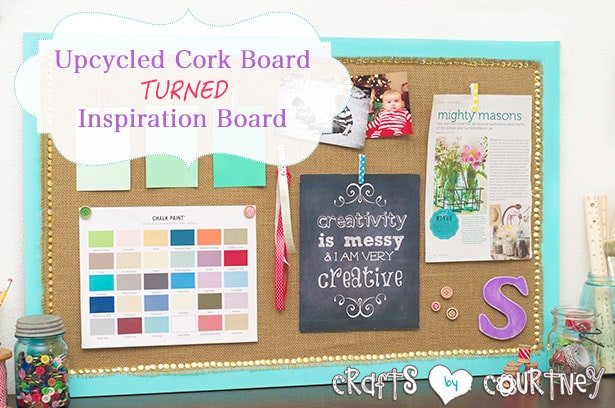
I’ve had this cork board for a couple years now. I originally bought it to keep in my boys’ room to hang pictures and the kids’ crafts.
But unfortunately, my 2 year old was INTENT on destroying it. He would rip the pictures off and eventually it started pulling the cork off :(
I originally bought it to keep in my boys’ room to hang pictures and the kids’ crafts.
After FINALLY getting fed up with putting the pictures back everyday, I decided to just take it out of their room. While walking it to the garage, I thought, “Why not give it a makeover?”
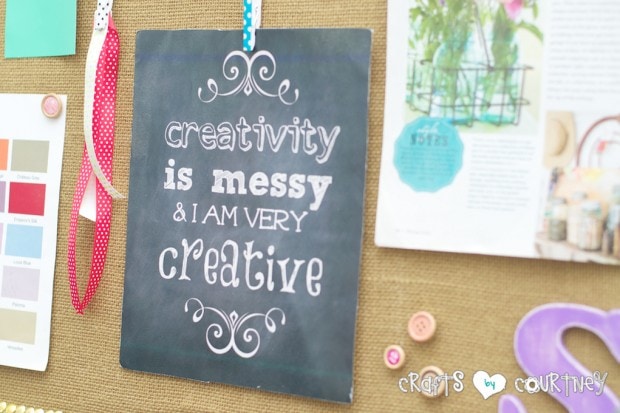
I love me some good craft projects. So I started thinking of a plan…inspiration board perhaps?
Getting Started
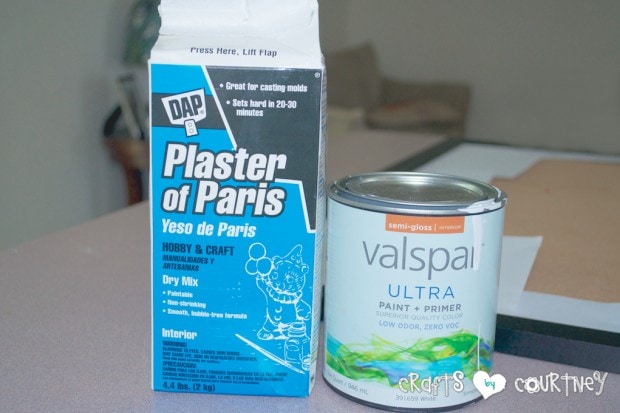
I already had all my supplies on hand (I love NOT having to buy anything for a craft project). The Plaster of Paris was $8.00 at JoAnns, but I used my “Handy Dandy” 40% off coupon to get it even cheaper!!

My finishing wax is not shown in the picture, but it’s a MUST for this project!
Step 1 – Mix Your Chalk Paint
I poured my paint in a plastic cup about half way full. Then, I added 4 teaspoons of Plaster of Paris. You don’t need much of this (especially for a project this small).
I’ve made the mistake before and added 4 tablespoons and it was WAY too thick…you want it smooth. If it’s too thick, then you can add a little water to thin it out.
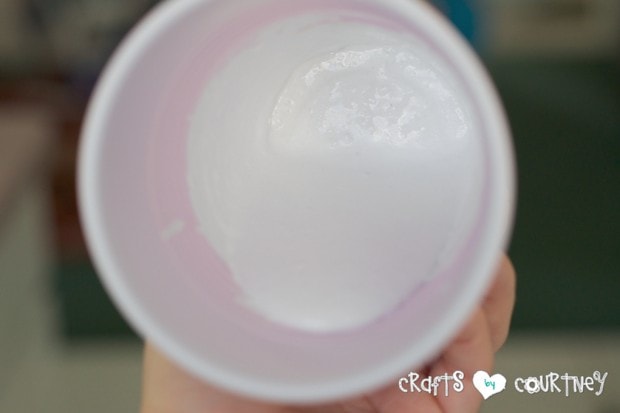
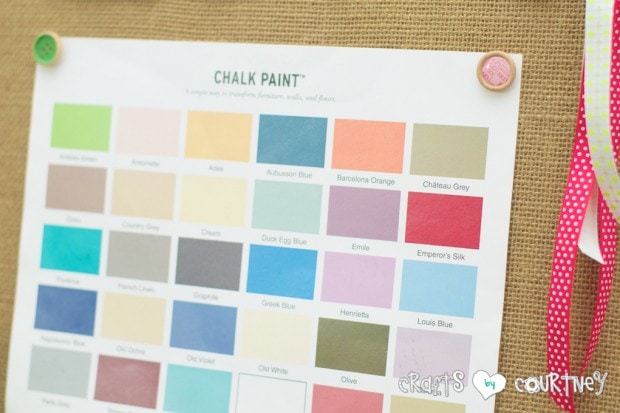
Side Note: This is not “real” chalk paint, just something I’ve seen crafters make. I’ve read a few different tutorials on how-to make it.
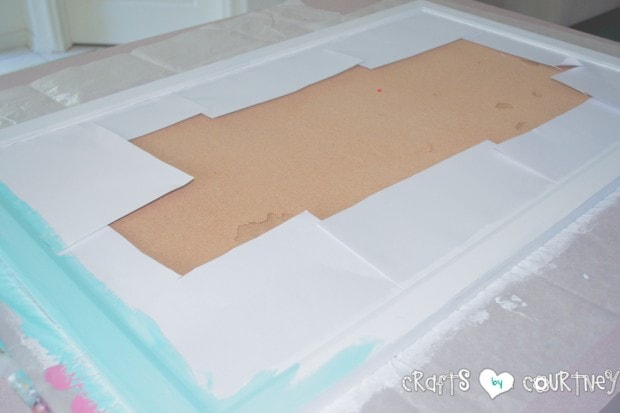
Step 2 – Paint Your Base Coat
Since I added the Plaster of Paris, it will stick to ANYTHING. You don’t have to sand before painting.
I only needed 2 base coats of paint over my frame.

I added HEAVY cardstock in between the frame and cork board (so I didn’t paint on the actual cork).
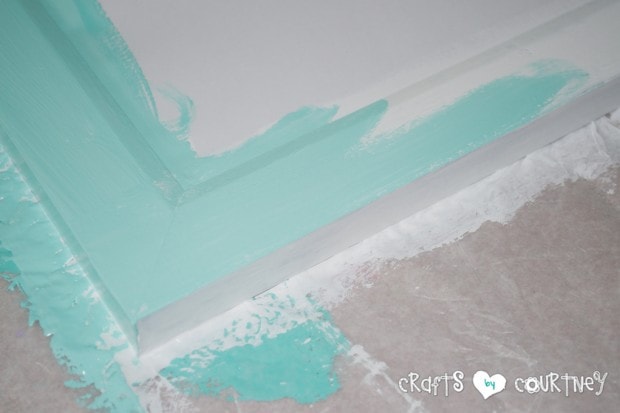
Step 3 – Paint Your Colored Coat
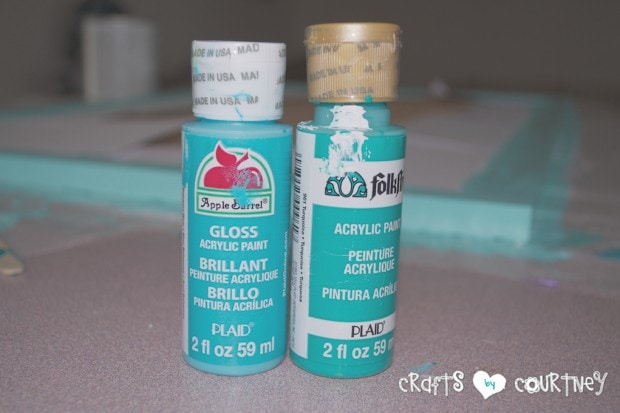
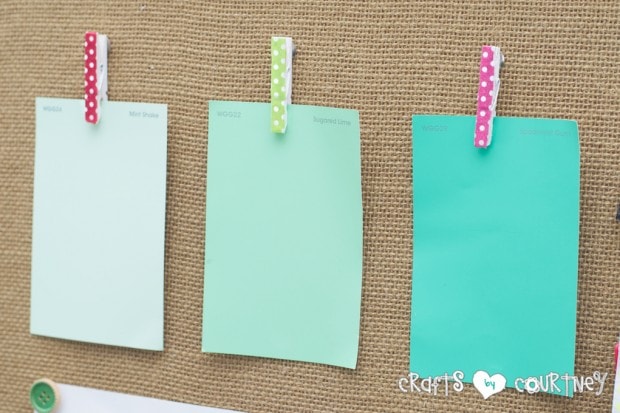
I let my paint dry for about an hour (I spent the time cleaning up the, LOL). I added my two acrylic paint colors into the REMAINING white paint to create that “perfect” color.
I painted 2 coats, and let dry for another hour (I wanted to ensure the paint was COMPLETELY dry before adding my burlap).
Step 4 – Apply Your Wax
As you can see below, I added my wax at the END of the process. I should have applied it before adding the burlap. I guess I was too excited to start adding my burlap!
Since I already added the burlap, I had to make sure that I didn’t get any wax on it. I used an old washcloth and LIGHTLY applied my wax to the boarder.

I bought my wax at Lowe’s for $8.00. I’ve used it for SO many projects and still haven’t made a dent in it.
Quick Tip: You don’t need much finishing wax to get that, “Perfect look!”
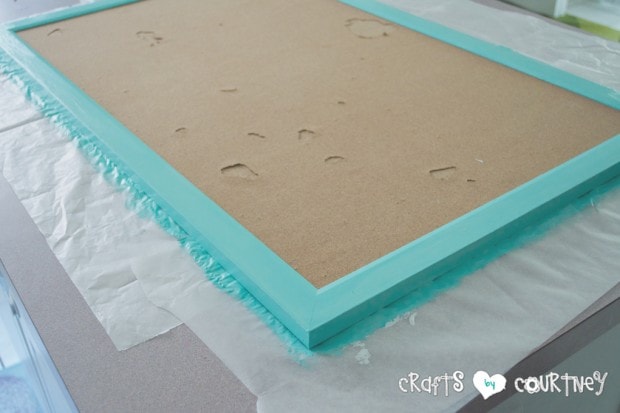
Step 5 – Cut and Align Your Burlap
I laid my burlap over the cork board and cut it to fit the frame (I made sure to let a little hang over the edges).
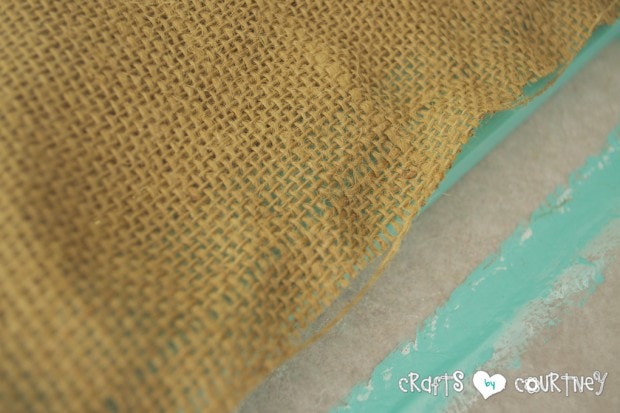
Quick Tip: When you know where you want to cut your burlap, just pull a string of the burlap out. It will make a straight line to follow with scissors :)
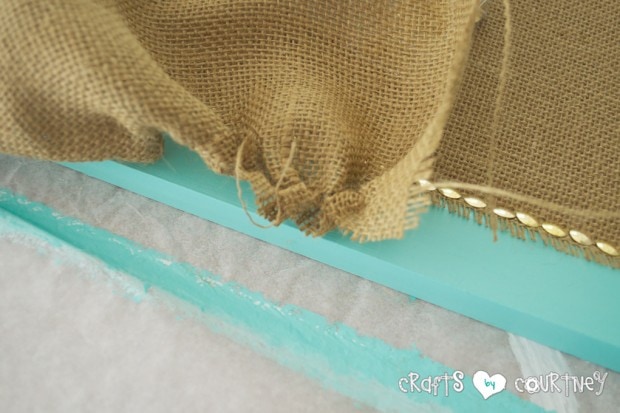
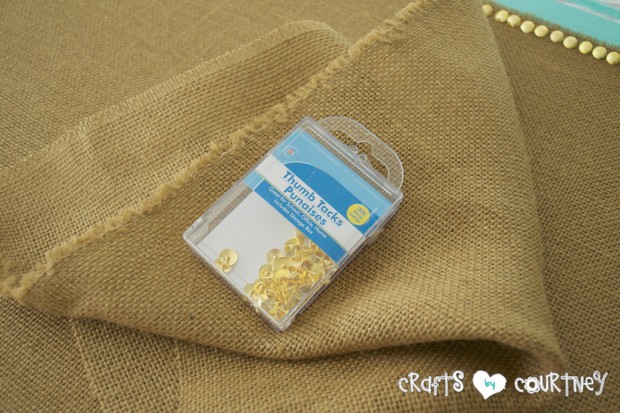
Step 6 – Place Burlap and Add Thumbtacks
Once I had my burlap positioned perfectly, I just started adding tacks to one end of the frame and worked my way around.
Make sure to pull the burlap tight the ENTIRE time. You don’t want bubbles or loose areas.
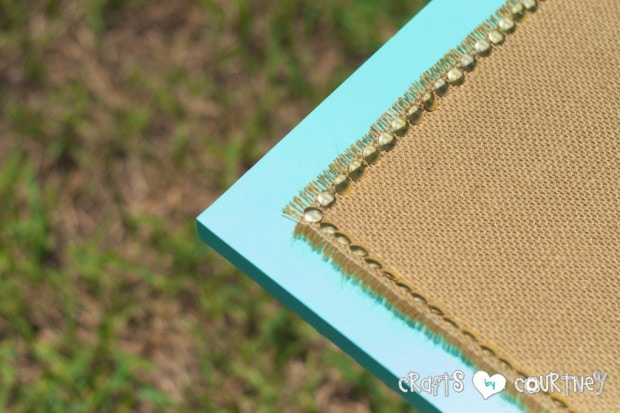
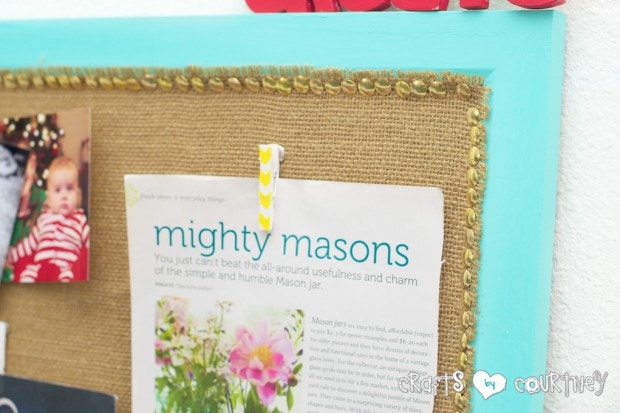
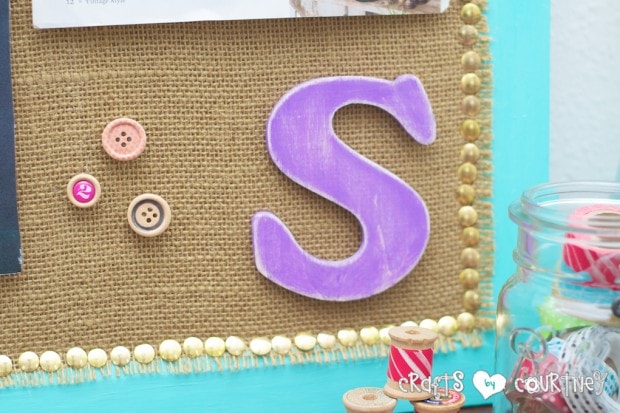
Step 7 – Finishing Touches
Once I added my tacks around the ENTIRE frame, I went back over the excess burlap with my scissors. I wanted the burlap to be a little fringed on the ends.
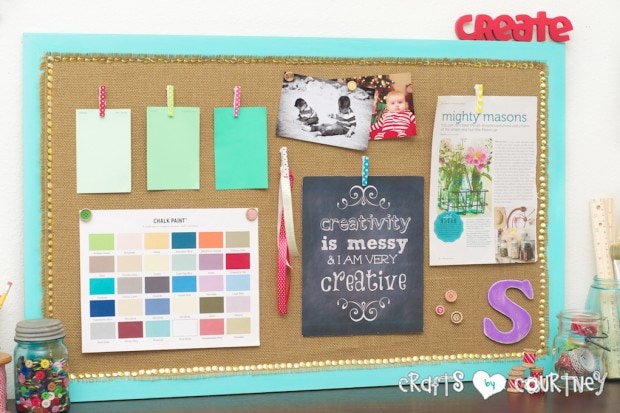
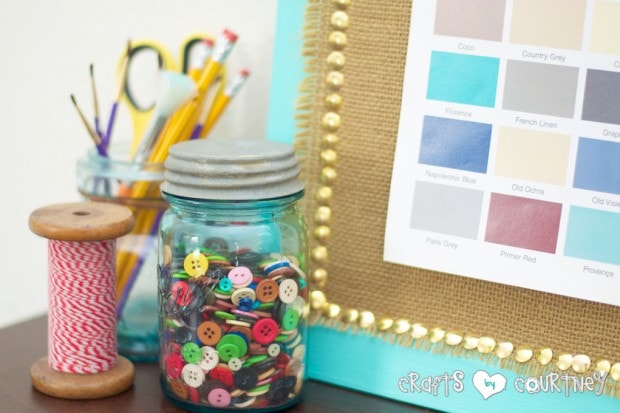
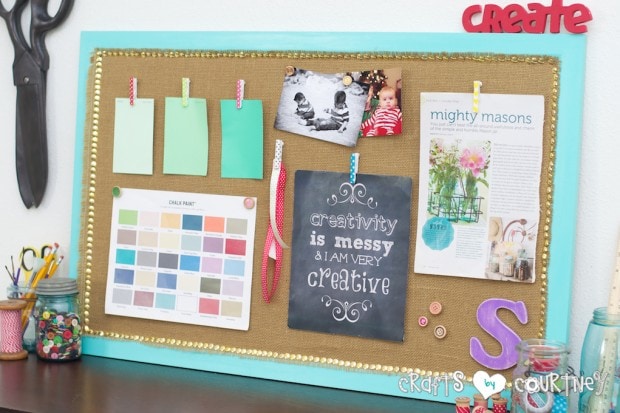
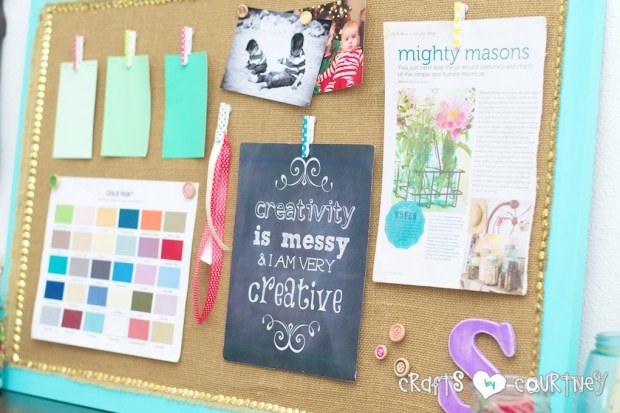
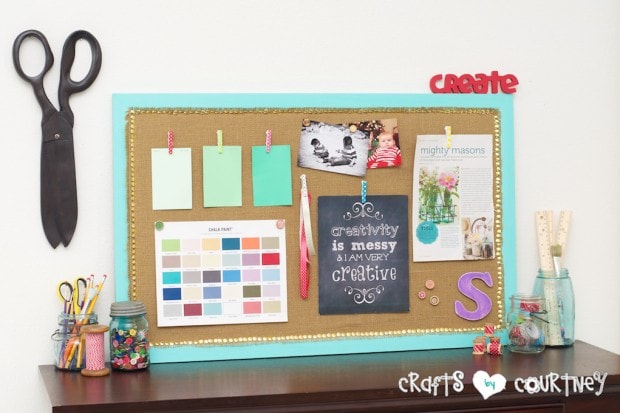
This was one of those projects that came out of nowhere! That MORNING I was taking a damaged cork board out of my kids’ room, and that EVENING, I had a beautiful new mood board to start adding my craft inspirations on.
This was one of those projects that came out of nowhere!
I guess it’s my real life “Pin Board“. I really love my “new” inspiration board! It really helps me keep my new ideas organized :)
Love, Courtney