Hello friends, as you all know I’m apart of the core blogger team for DecoArt. Every month we have a fun challenge to create a project using a DecoArt product. This month our challenge was using any of the new 2oz Americana Decor Outdoor Living Paints for an outdoor project. This outdoor paint has alway been in an 8oz jar, but they just released the new 2oz size for smaller projects.
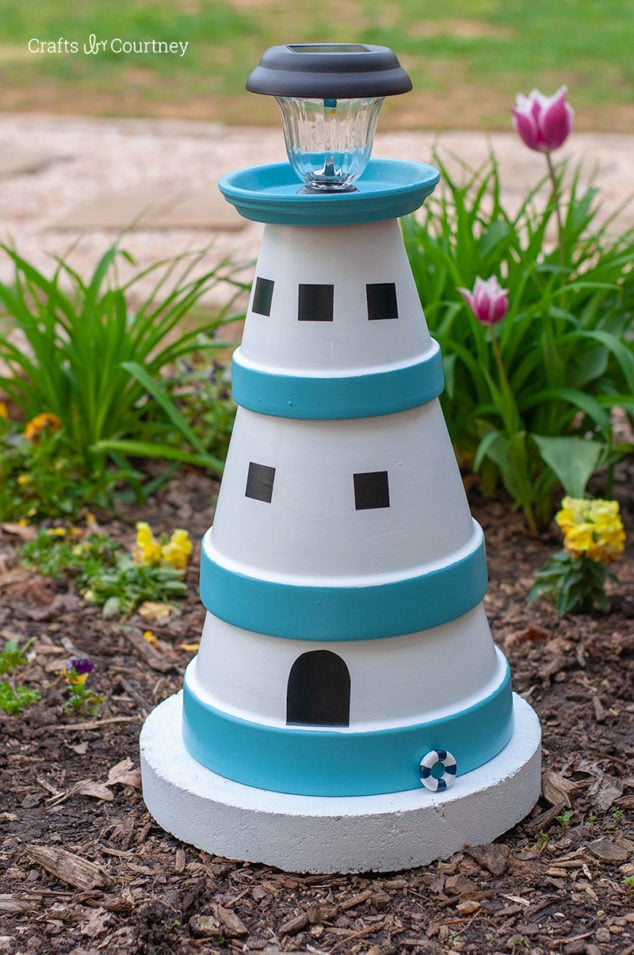
For my challenge I decided to work on a project I’ve been wanting to do for awhile now… A Terra Cotta Pot DIY Lighthouse!
I’ve alway thought these projects were so cute and easy to do, and guess what?? It totally was! This looks perfect sitting in my front flower bed, and it matches the Hose Stand I made last year using the Outdoor Living Paint as well.
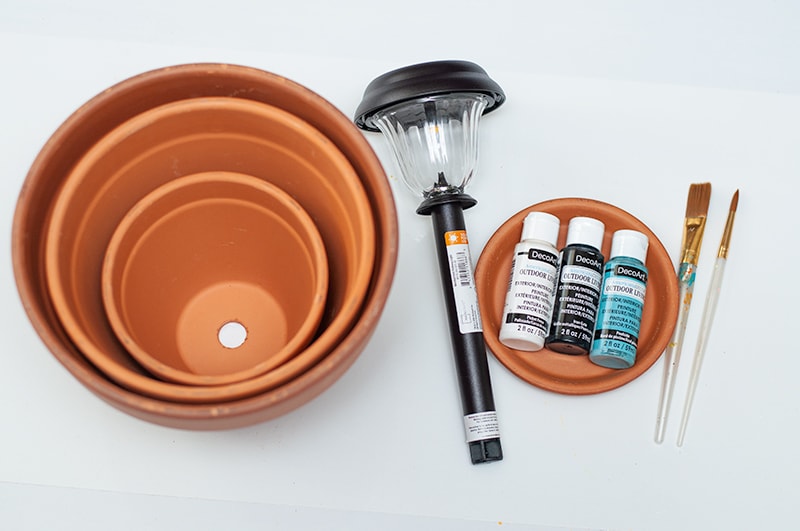
Supplies Needed for Your DIY Lighthouse Project:
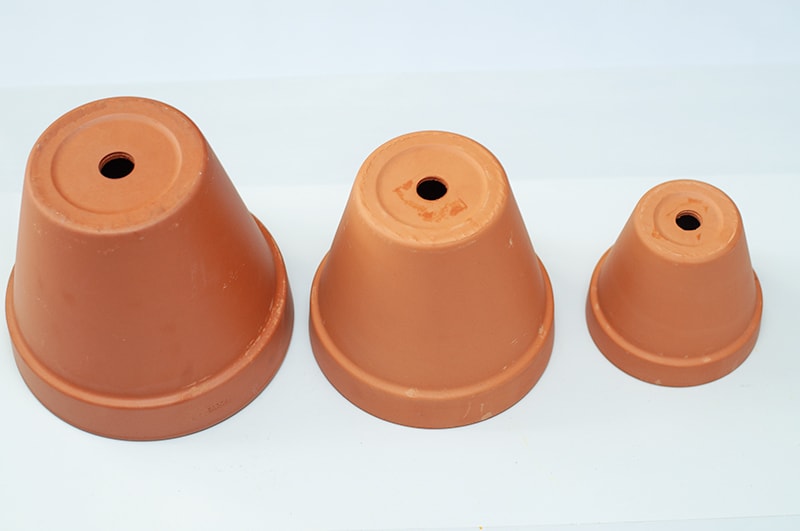
- Clay Pots in various sizes
- Solar Light
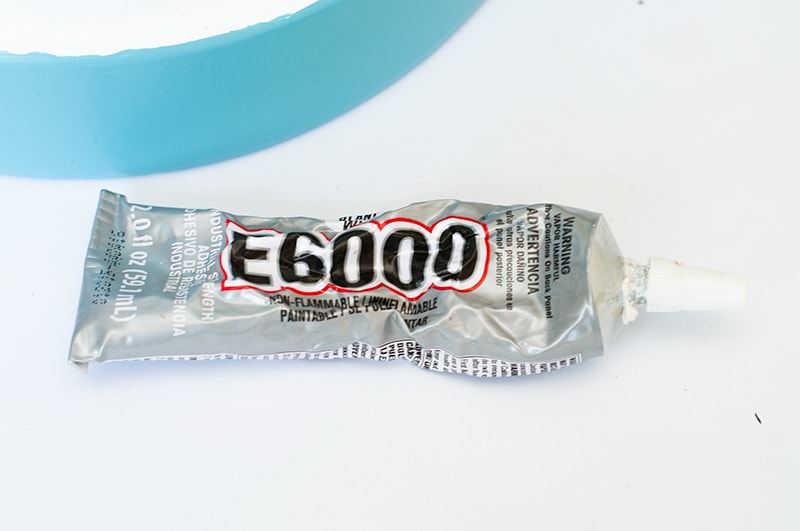
- E6000 Glue
- Paint Brush
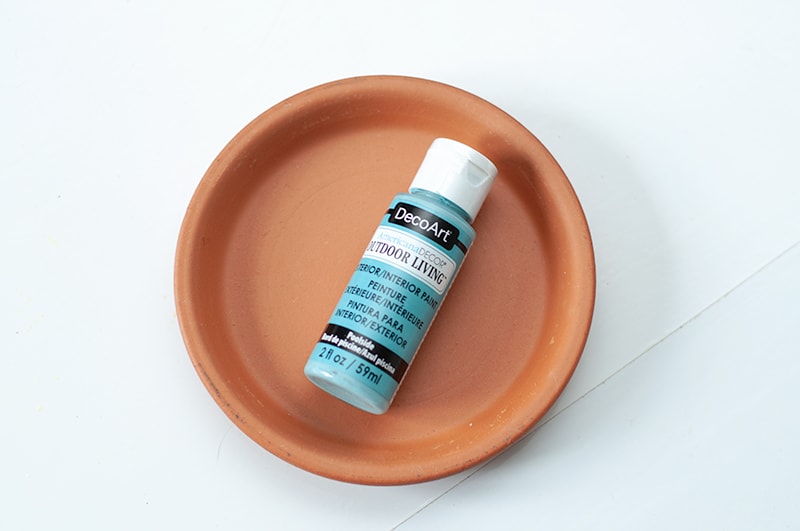
- Americana Decor Outdoor Living 2oz – Picket Fence
- Americana Decor Outdoor Living 2oz – Poolside
Getting Started
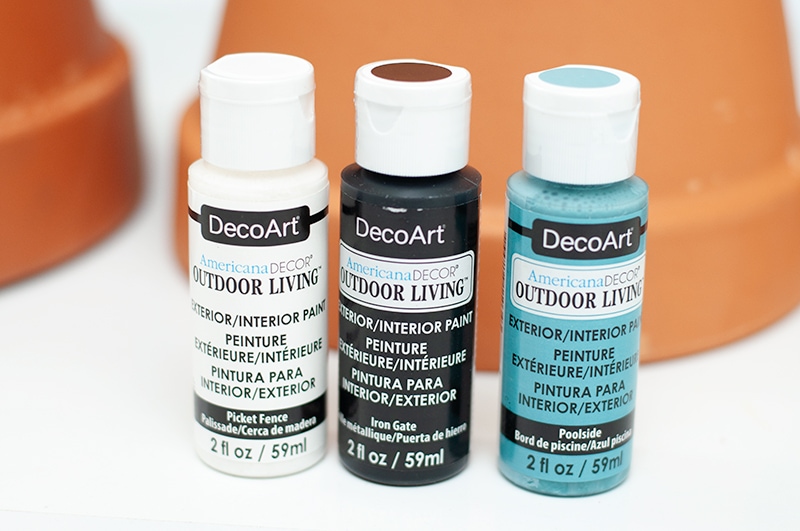
Here are a couple of the Outdoor Living Paint Colors.
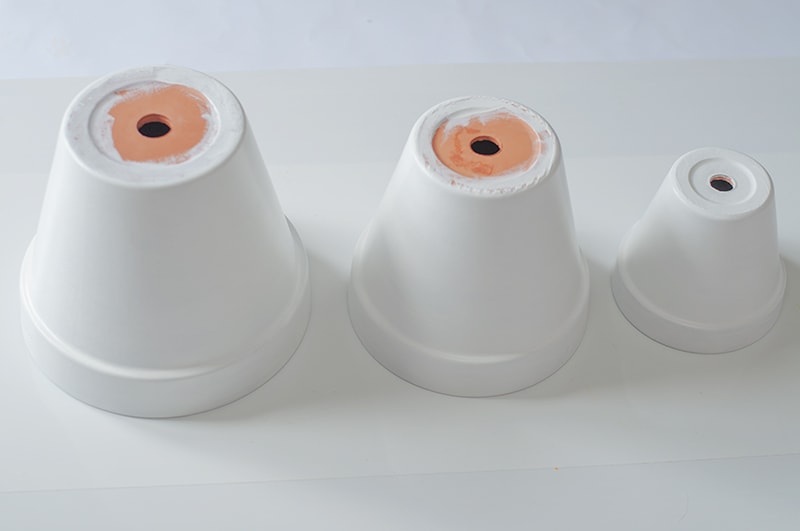
Step 1 – Paint Pots White
I started off painting all my pots white. I needed a total of three coat, letting each coat dry 5 minutes.
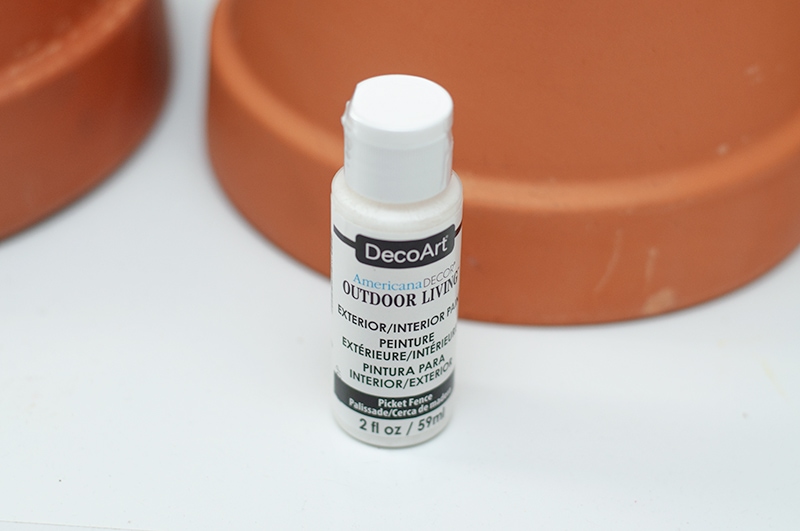
I only needed to use one bottle of this paint, to paint all three pots!
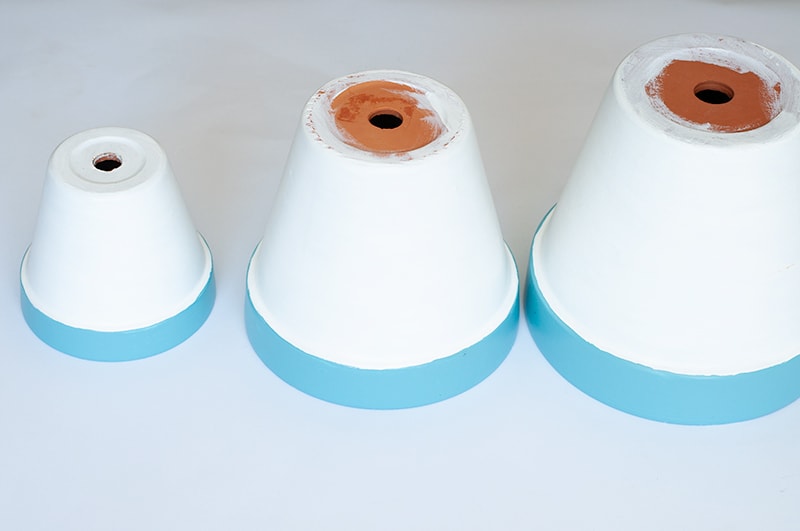
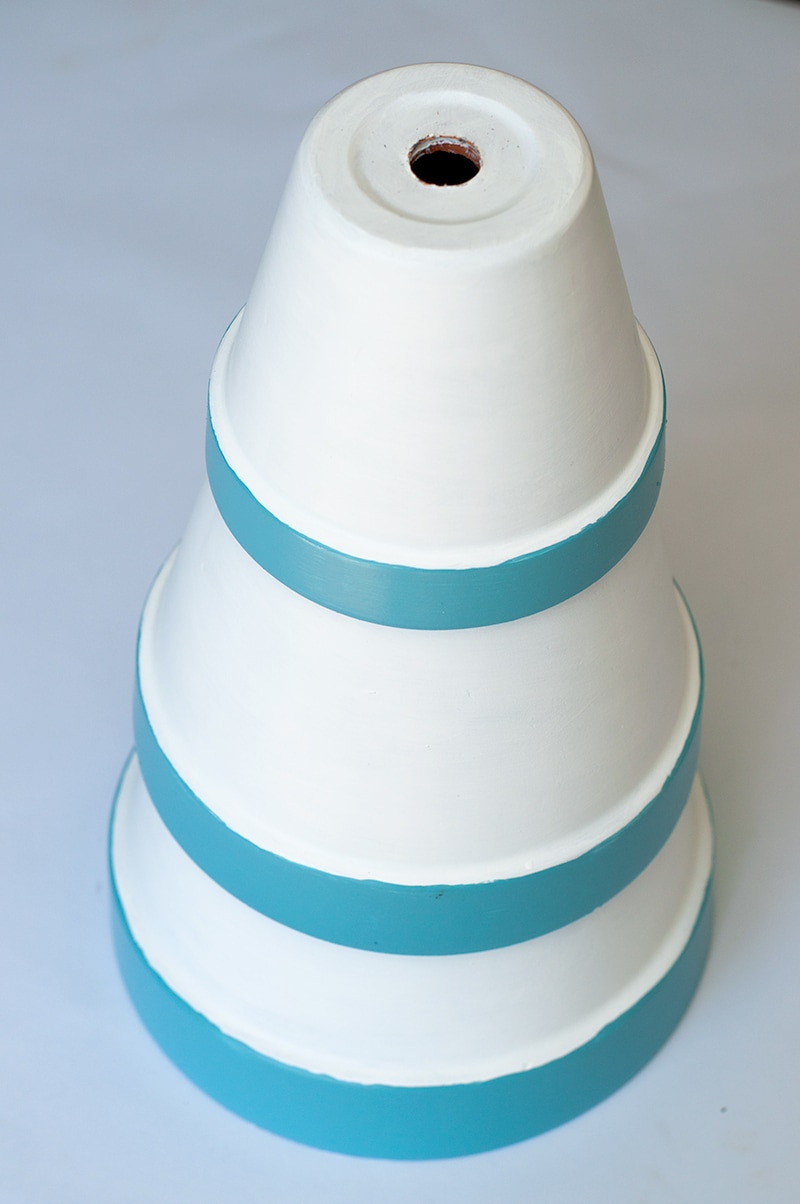
Step 2 – Add Your Blue Accent Color
Now let’s add our accent color to the lighthouse. I went around the bottom of each pot with the Poolside color. I didn’t tape it off, just freehanded it.
I needed a total of two coats for this step. This paint dries really fast, so by the time I’m finished with the last pot, I’m can go over the first pot again.
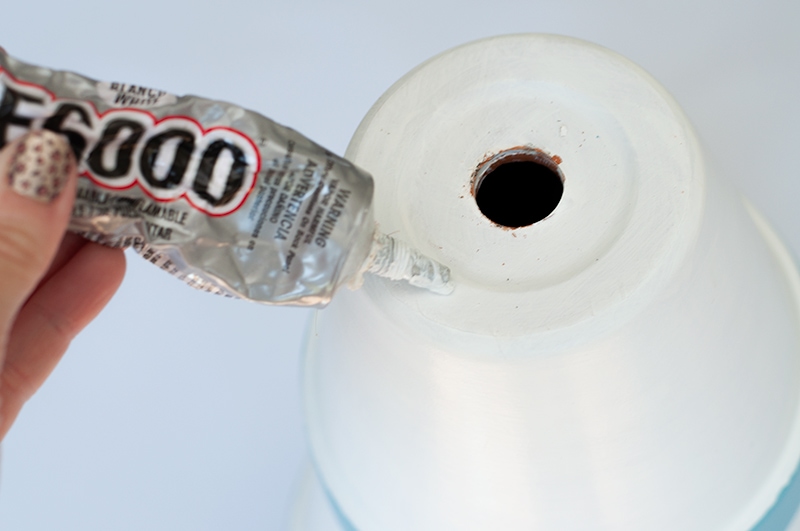
Step 3 – Glue Pots together
Now let’s stick our pots together. I pulled out my “handy dandy” E6000 glue to connect the pots. I added a little glue on the inside edge of the pots and firmly placed them together. For this step I let the pots dry overnight.
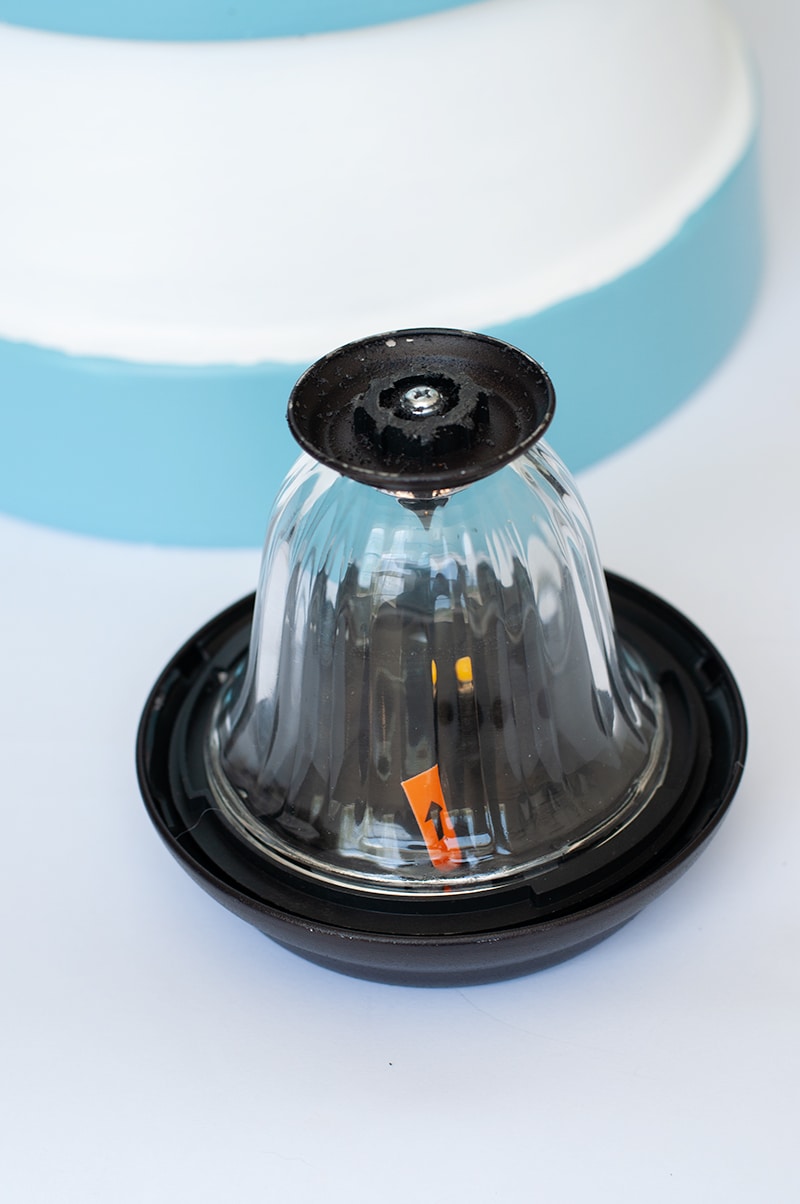
Step 4 – Add your Light
I found a solar light at Wal-Mart to place at the top of the Lighthouse. I used a small hack saw to cut the bottom of the solar light off, so that it would sit flush on the top of the lighthouse. I added a little E6000 glue to this part as well, and let sit overnight.
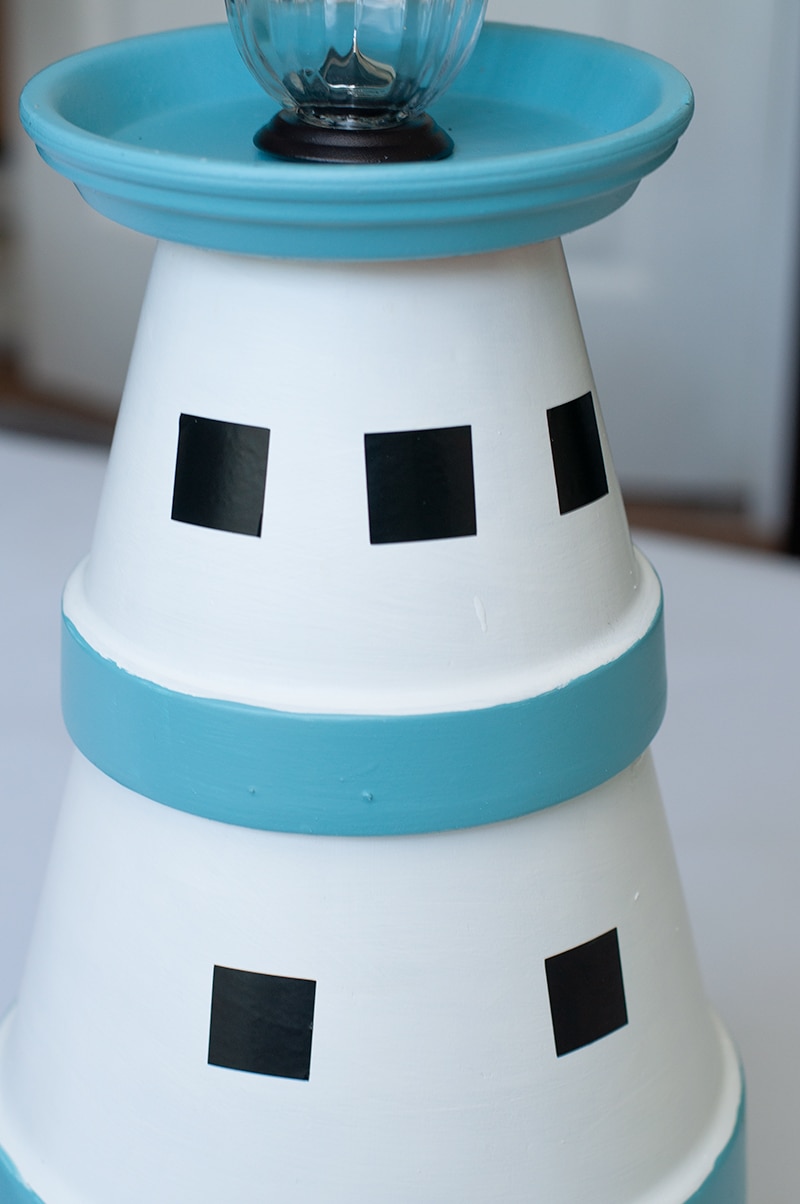
Step 5 – Add Windows
For the window I decided to change this step last minute. I was originally going to use the black Iron gate paint. But I cut out my window shape in black vinyl to use as a stencil. Then I decided to just stick with the black vinyl as my window. That vinyl won’t go anywhere.
But you can always paint in your window as well. Both options will work.
Finishing Touches
Now let’s take is baby outside and display it!
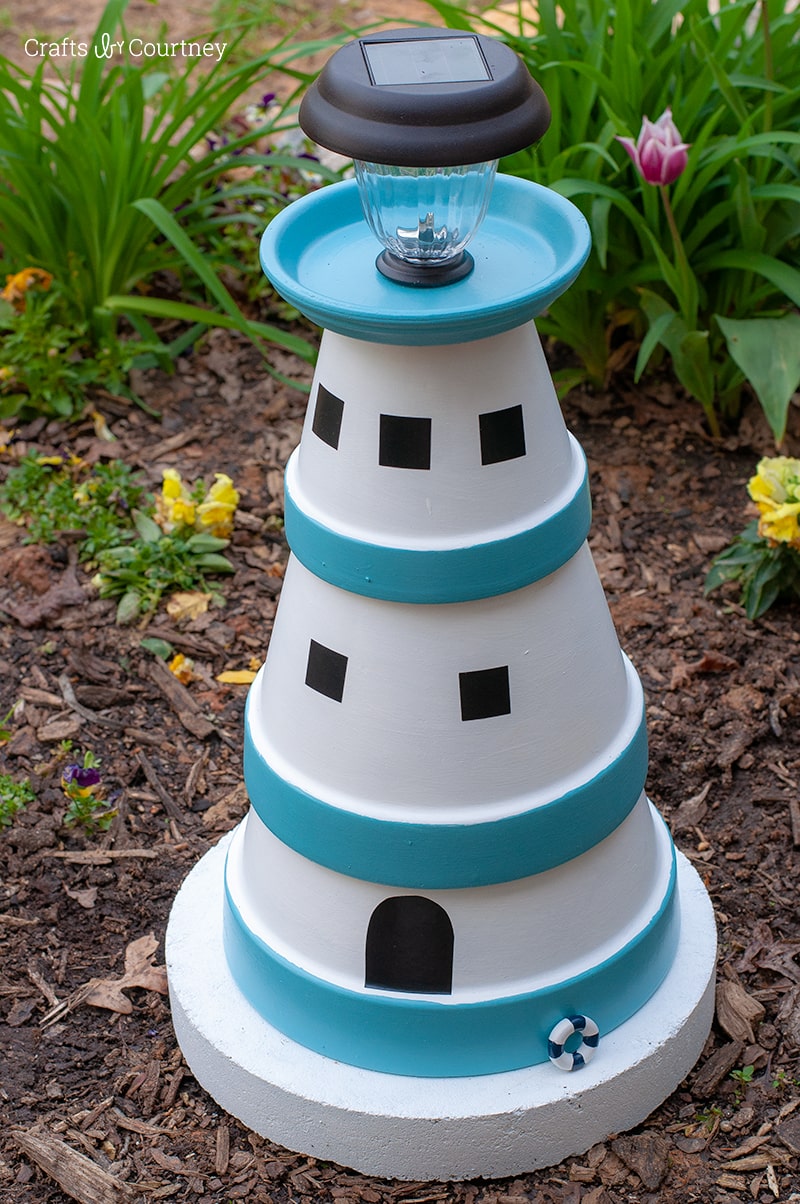
I’m very excited with how this DIY Lighthouse turned out, I really wanted to keep it simple with the details. But you can get pretty detailed with a project like this as well. I pinned some great ideas on my Pinterest page.
A few people have asked me where I got the base for the lighthouse. The base at the bottom of the lighthouse is a round paver I found at Wal-Mart. I used the outdoor paint to paint that as well.
I made this Foam Lighthouses a couple years ago and really wanted to have similar looks.
As always thanks for stopping by!
More Outdoor Projects
Love, Courtney