I’m loving decorating for Fall this year. Especially with the coastal theme I’m going for. I just made these awesome Fall coastal theme pumpkins so of course I needed to make a Fall sign that went with my theme!!
I wanted non traditional Fall colors. I knew right away what color scheme I wanted to use. I used a similar color scheme for my Entertainment Center Makeover.
Getting Started
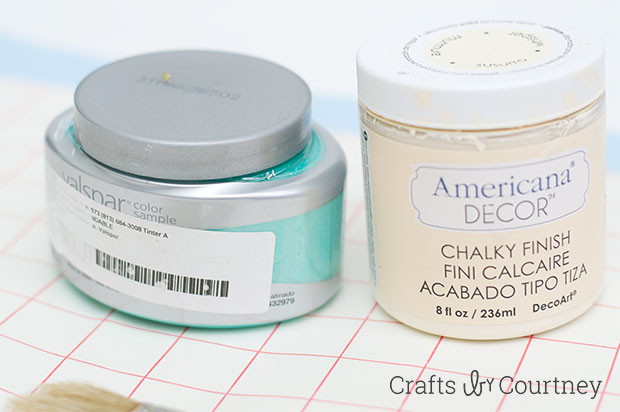
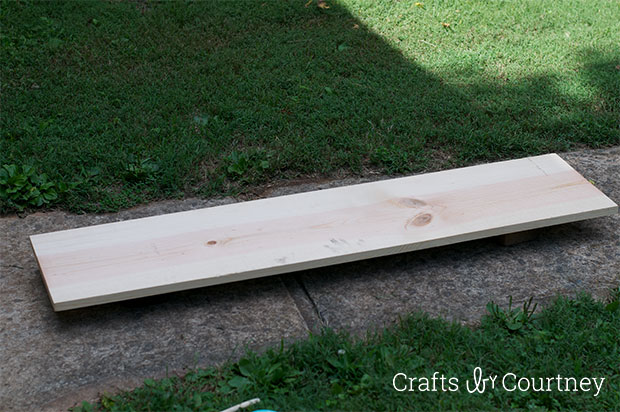
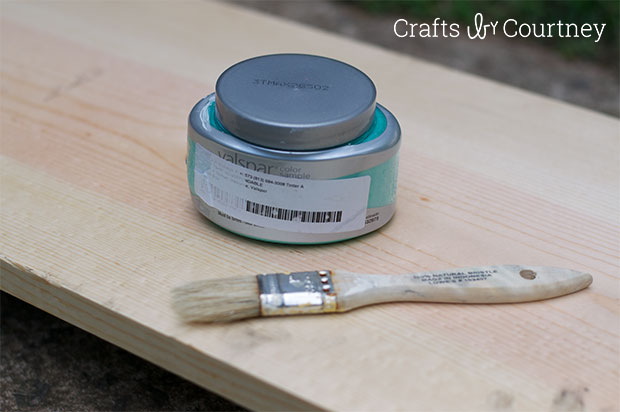
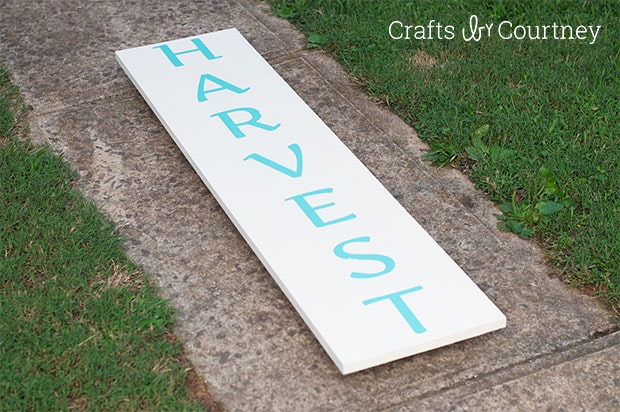
For the sign I used two colors a beautiful turquoise and Americana Decor’s Wisper chalk paint. I found my piece of wood at Lowes (4footx12inches) for $8.00, total bargain!!
As with all my projects, I’m super excited to get started!!

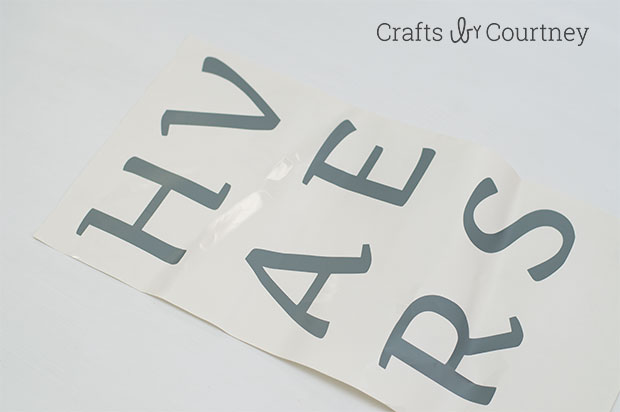
Step 1 – Print Off Your Letters
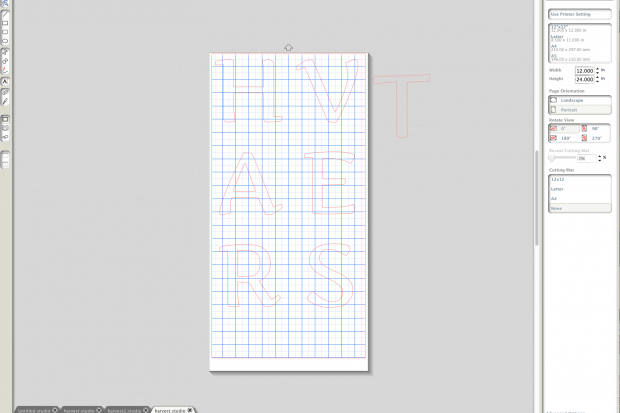
I printed off my letters in vinyl using my “Handy Dandy” Silhouette!! By the way best purchase ever.
I was able to change my page settings to (12″width and 24″ height) and print 6 large letters at one time. I printed the T on a separate sheet of vinyl.
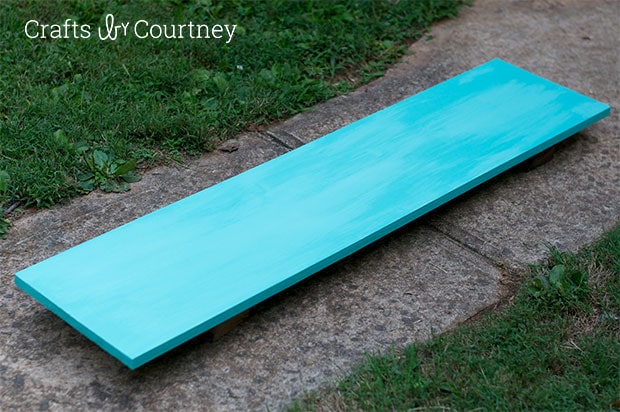
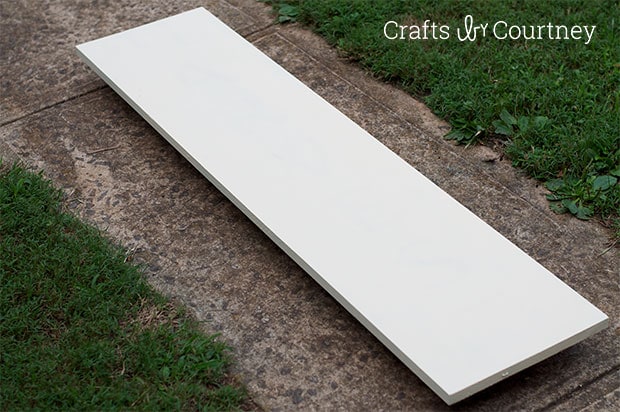
Step 2 – Paint Your Board
I painted 2 coats on the board letting each one dry 20 minutes. This color is so beautiful!
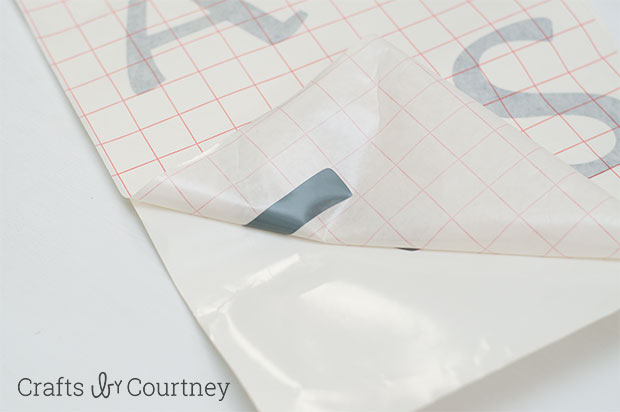
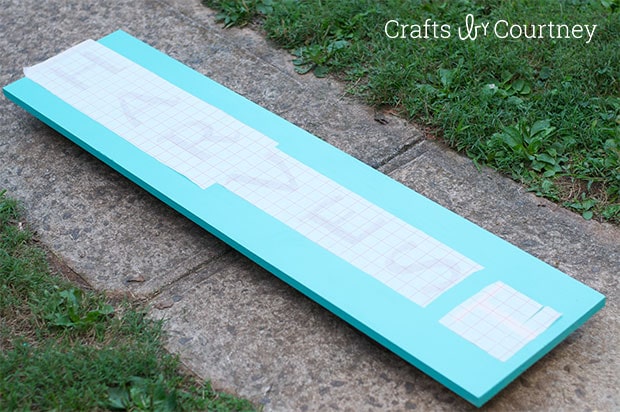
Step 3 – Transfer Your Vinyl
Next I pulled out my transfer paper. I laid the transfer paper on top of the letters and rubbed it with a plastic card to transfers the letters to the … Transfer paper of course!!

Step 4 – Add Your Vinyl
I cut my sheet in half so that I could lay my letters out straight on the wood board. Once I felt like they were perfect, I rubbed them down again with a credit card. Making sure the get the edges good.
Once I felt they were connected I pulled up my transfer paper, Voila a perfect stencil!!

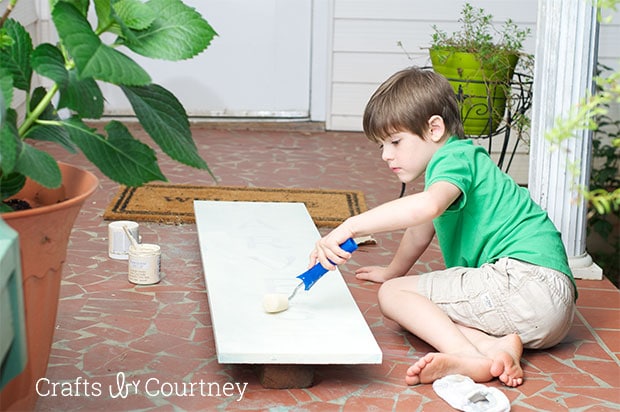
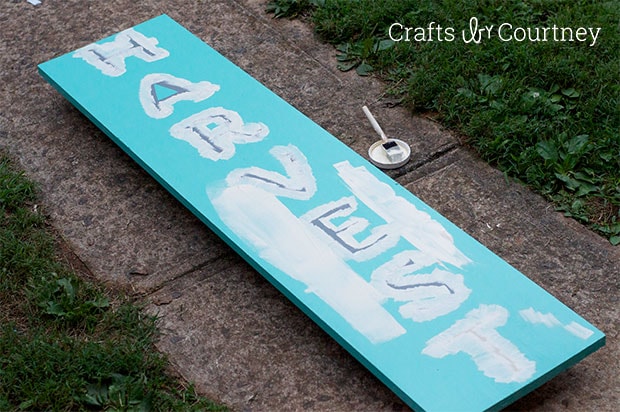
Step 5 – Add Final Coat of Paint
So I enlisted in some help with my painting. My little guy had a lot of fun rolling on the final coat of paint. I used the Americana Decor Wisper chalk paint for this coat. I always paint around the letters first when I do a project like this.
I painted on three layers and let each coat dry 30 minutes.
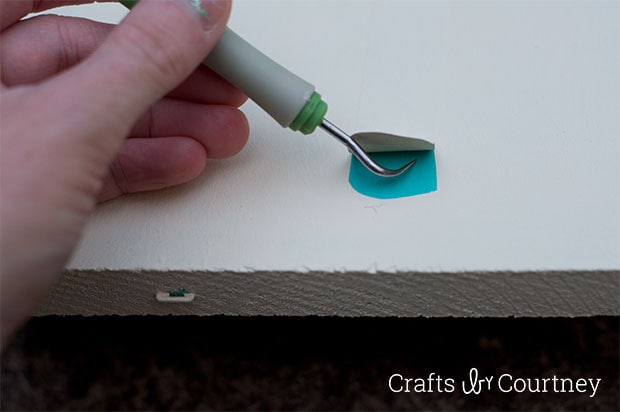
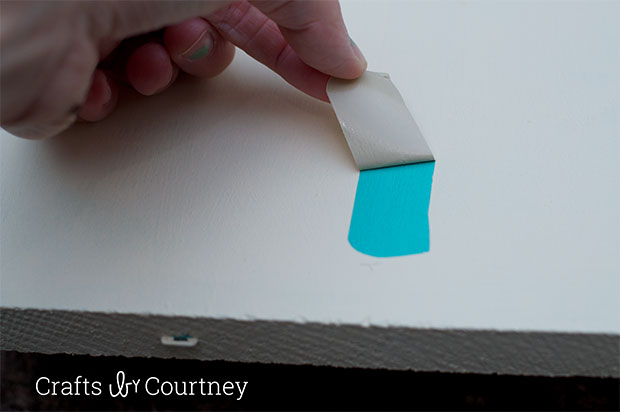
Step 6 – Pull Up Letters
I used my “Trusty” weeding tool to pull off my vinyl. The vinyl is so easy pulling off. LOVE that!!
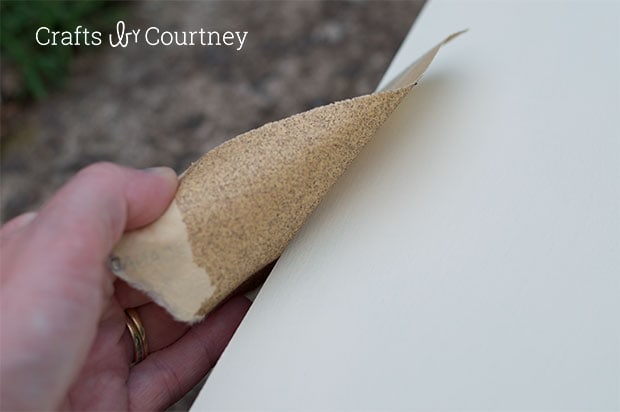
Step 7 – Distress Your Sign
I really wanted to distress this piece, make is look super old. I went over the entire piece with a 100 grade sandpaper.
Any aggression I had, I took out on the sign. ;-)
Step 8 – Finishing Touches
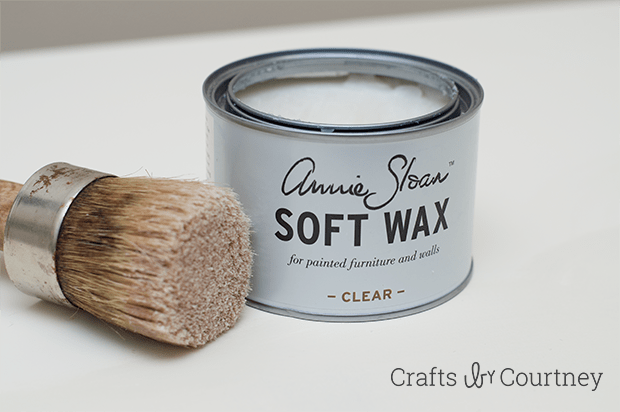
Finally I went over the board with some Annie Sloan wax I had left over from another project. I used my this awesome brush to wipe on the wax.
I let the wax sit for 5 minutes then wiped off any excess with an old washcloth.
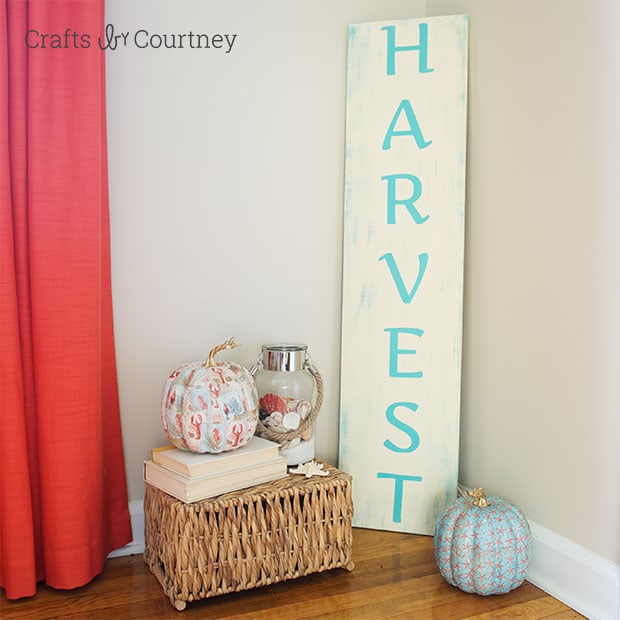
I am so excited with how this sign turned out!!! I just love the color combination, I really feel like it has that coastal Fall look that I’m going for. I added my coastal pumpkins around to complete the look!
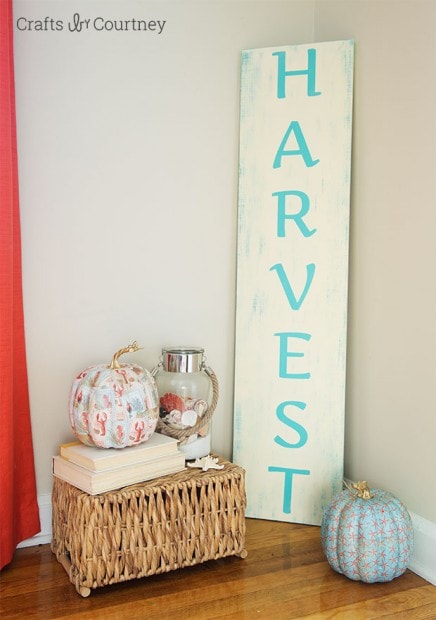
I plan on hanging this in my living room. You’ll see the complete coastal Fall reveal with the Fall home tour blog hop I’m apart of. Make sure to follow me on Facebook to get all my coastal Fall update projects.
I have a couple more great ideas coming up soon!!
Love, Courtney