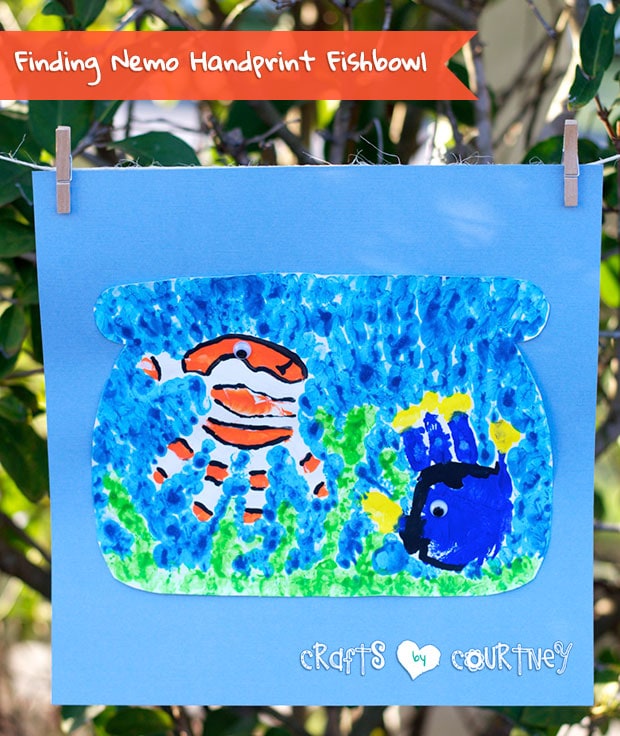
My son is obsessed with Finding Nemo. I think it’s on a loop in the DVD player.
My friend showed me where her son made handprint fish at daycare and thought it would be something I might be interested in doing. Now I can’t take full credit on this craft my husband had a major part in this one.
I was just going to do a basic fish handprint and he thought since our son was into Finding Nemo maybe we should make our fish look like the characters. Plus I was able to have him help me with pictures for this craft. He crafts and takes pictures, what a catch right?
Getting Started
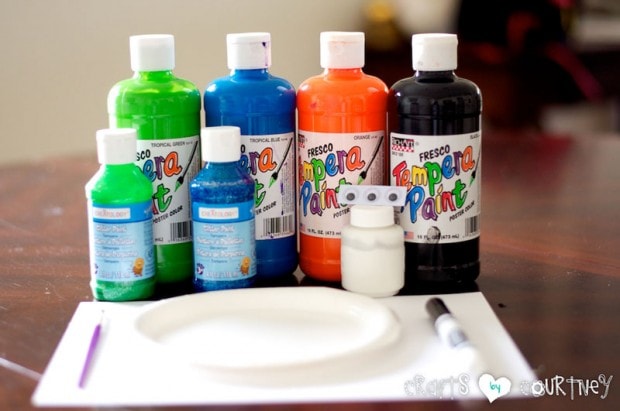
I decided to use cardstock for this project, I love stocking up on it at the craft stores when they go on sale. It really saves me a lot of money when I do. But…if you don’t have time, then I would use your “Handy Dandy” 40% coupon for a pack!
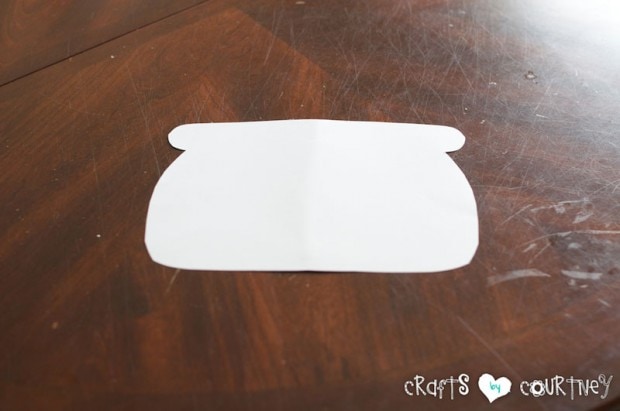
Step 1 – Cut Out Fish Bowl
Using cardstock and scissors, I cut out a basic shape for the fish bowl. I just folded the paper over and traced it. Then, I cut it and voila a fish bowl.
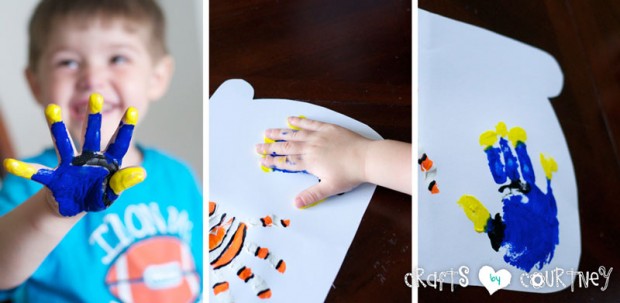
Step 2 – Create Handprint Marlin
We painted orange stripes on my son’s hand first, then filled in the rest with white paint. I gently pressed his hand on the paper and we had our outline of Marlin. Once the paint dried, I outlined Marlin’s body with black paint to finish him off.
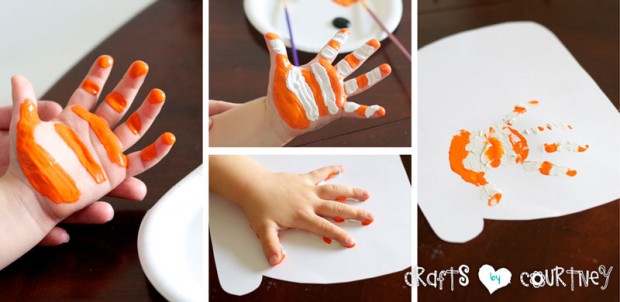
Quick Tip: We decided to make Marlin and Dory since they are the main characters in the cartoon. To make them look as close to the movie characters as possible, we Googled’ pictures of the fish.
Step 3 – Create Handprint Dory
Next was Dory. We really had to look at the picture for this one since she’s pretty detailed. I painted the tips of his fingers yellow. Added some black around the edge, and painted the rest blue. Then, gently pressed the handprint fish on the paper.
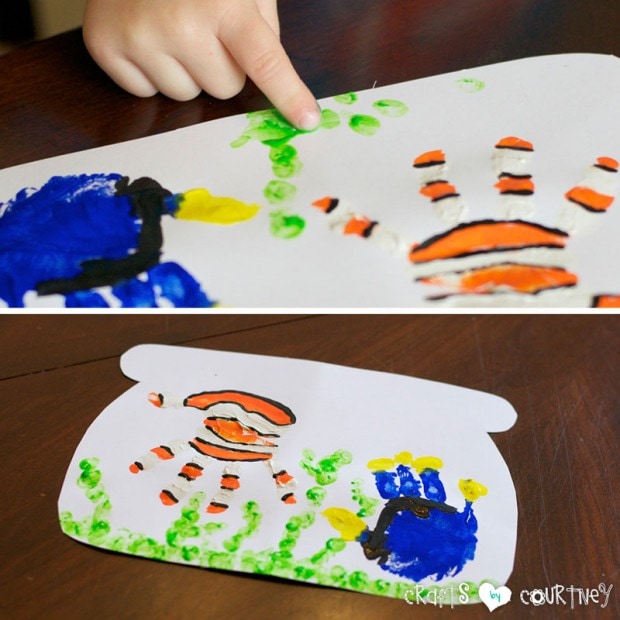
Step 4 – Create the Seaweed
I had my son use his fingerprint to create the seaweed. I just needed to guide him a little with this part. I didn’t want him to get any green on the fish. I think he did a pretty great job avoiding the fish.
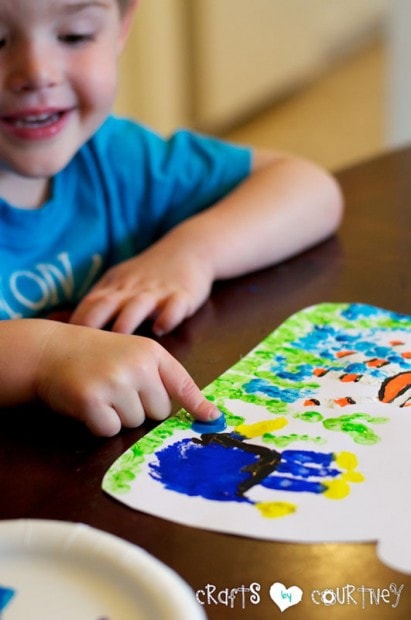
Step 5 – Create the Water
My son created water the same way we did the seaweed by just using his fingertips. The only problem with this is he got tired about halfway through and wanted to stop. There was a little bribing going on with this craft so you might want to start this craft before nap time and finish afterwards.
Step 6 – Finishing Touches
I finished Marlin up by painting on a mouth and adding a googly eye. I also added a googly eye to Dory and added a little more black paint around the outer edge of her mouth.
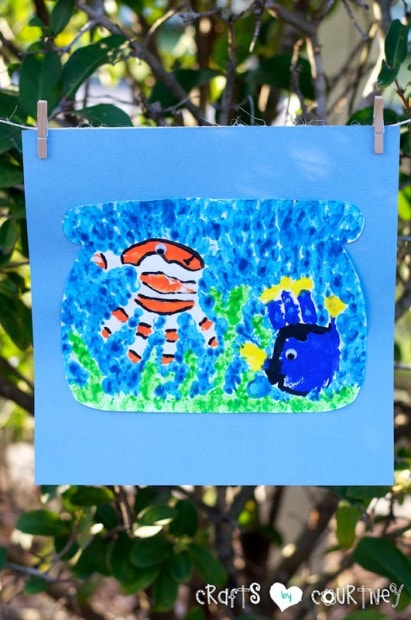
We just made up this handprint fish craft as we went along and I think it’s one on my favorites. My son really liked that his dad was involved in the crafting process. We usually do our crafts while he’s at work and show them when he gets home. The family that crafts together, stays together!
Love, Courtney