Paint and shaving cream art is a fun and messy craft my son is up for anytime. We’ve been cooped up for a couple of days. That’s when I decided it was time to go out and enjoy this Florida winter (76 degrees outside).
This art craft is perfect for the outdoors. I wouldn’t say this is considered a clean craft since it can get a little messy.
When researching this craft, I noticed a lot of people put shaving cream in baking dishes or pie tins. Good ideas, but I thought it would be more fun to have a bigger area to work with.
Getting Started
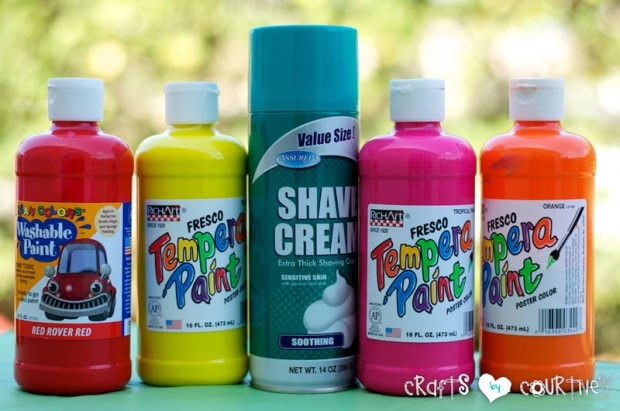
This art craft is very inexpensive. I bought shaving cream at the Dollar Store and already had paint at my house. This art craft is a great time for the kids!
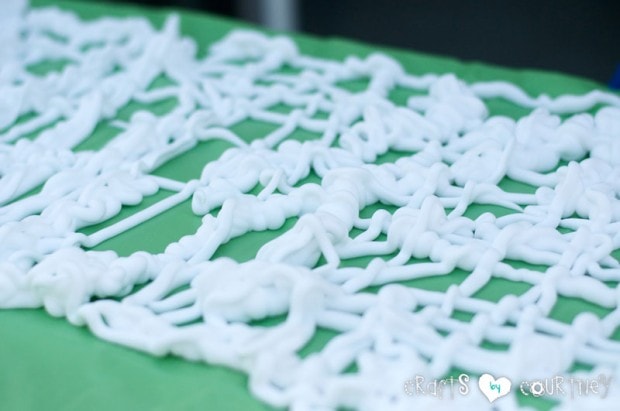
Step 1 – Add the Shaving Cream
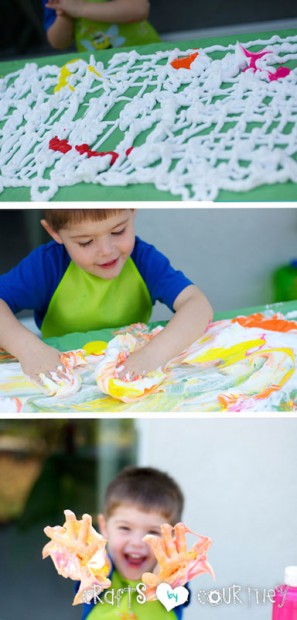
First, place a table cloth over your table (gotta’ prep for an easy clean up). Then, apply the shaving cream in a semi-thick layer all over the table.
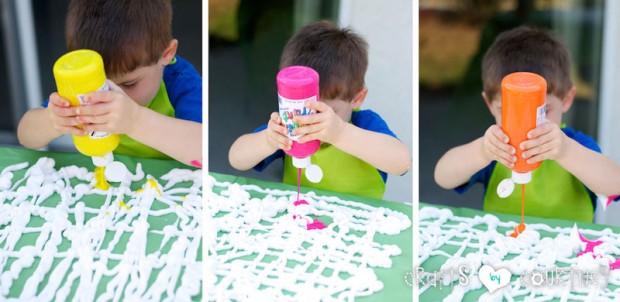
Step 2 – Add Your Paint
Add paint in sections over the shaving cream. I recommend squirting a color at a time to have more control over the “final art piece.”
Step 3 – Get Messy
This step is crucial…have FUN and get messy! How you ask? Just mix the paint and shaving cream till your heart fills with joy!
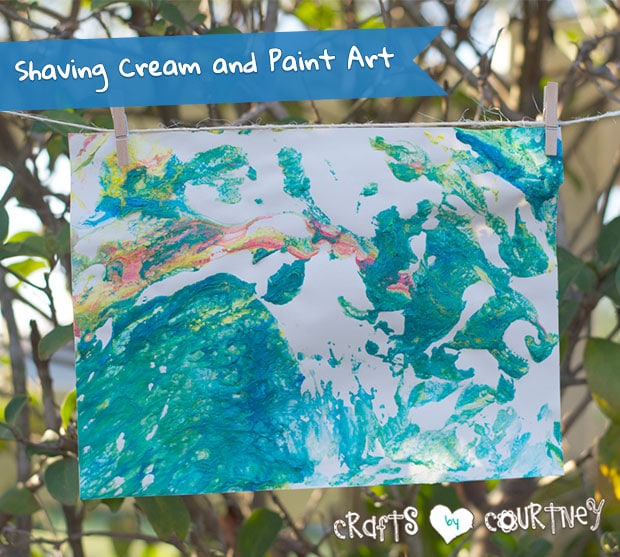
Step 4 – Put Art on Paper
Place the sheet of construction paper over the shaving cream and paint mess. Then, gently push the paper onto the mess and remove it.
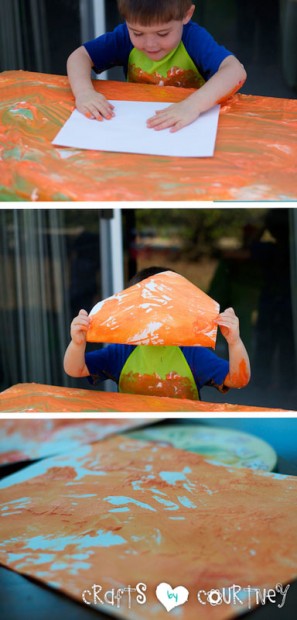
Quick Tip: When removing paper from the paint and shaving cream, be sure to pull away all at once. This will minimize globs and runs on the paper.
Step 5 – Finishing Touches
After you’ve made your fun and colorful mess, it’s time for your shaving cream art to dry. I recommend waiting overnight for the art project to fully dry.
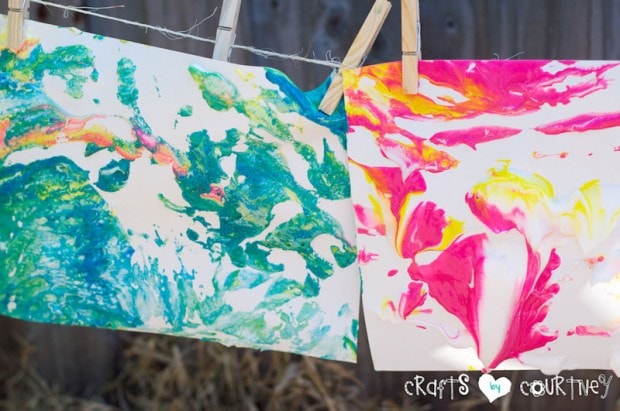
Quick Tip: Hang the shaving cream art on a string using a clothespin or paper clip. This will allow area for the art to dry :)
Next time, I’m going to try this when my oldest son has a playdate at the house. Boys, paint and shaving cream. You can’t go wrong…
Love, Courtney