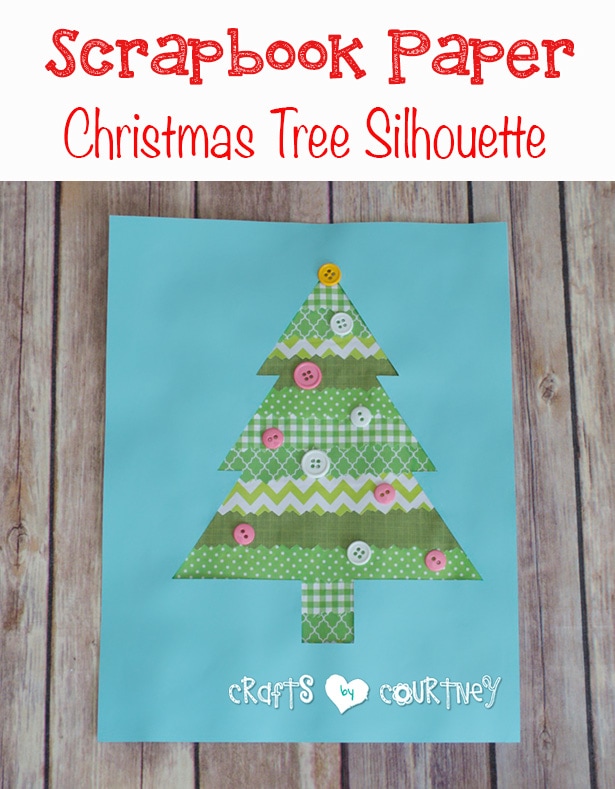
I have been thinking about making this scrapbook paper Christmas tree for awhile now. During Halloween, we made a scrapbook paper Jack-O-Lantern and it was a hit with the boys. So I wanted to incorporate it into a Christmas craft.
Getting Started
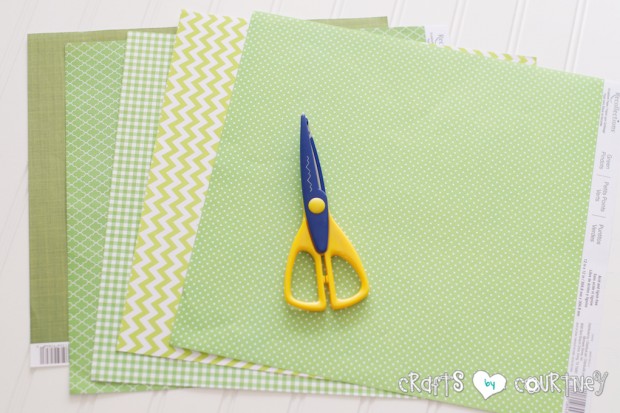
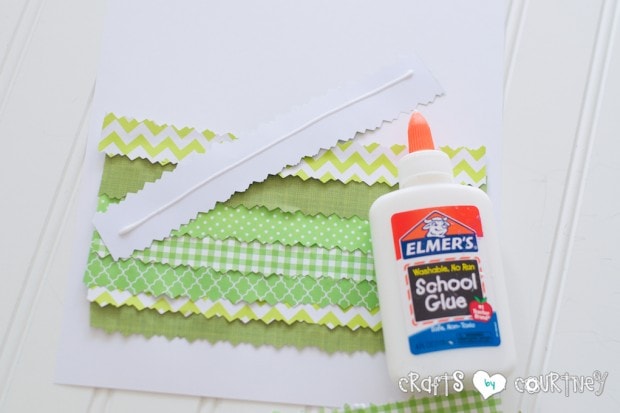
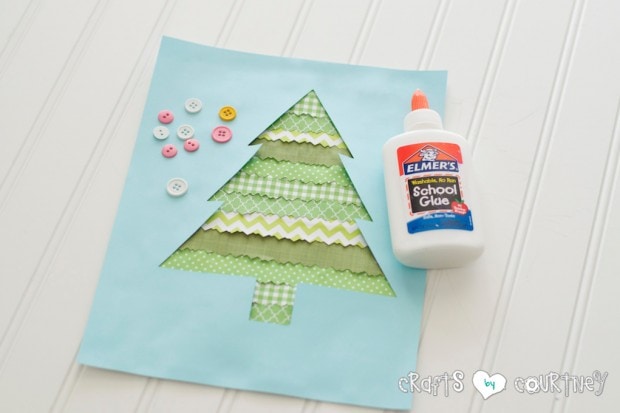
I grabbed a couple different green patterns of scrapbook paper from Michaels for my tree and used cardstock for my tree silhouette.
Side Note: If you think this might look good as a card, then check out these adorable Valentine heart cards my boys made!
I already had a ton of buttons for choose from and decorative edge scissors. We got our glue and were ready to get crafting!!

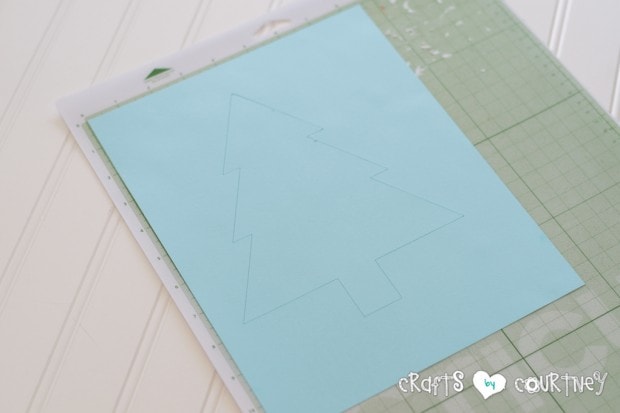
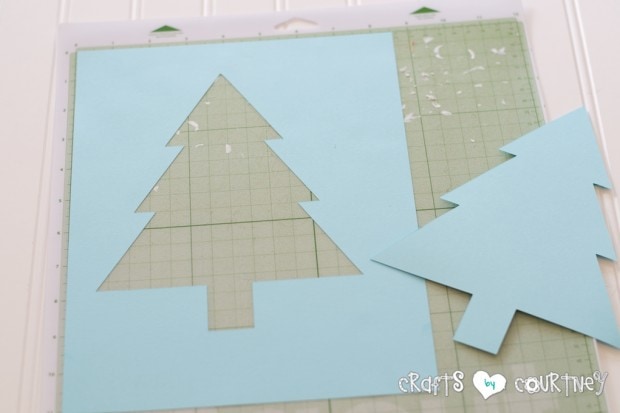
Step 1 – Cut Your Christmas Tree
I have a Silhouette Cameo that I used for my Christmas tree outline. If you don’t have one, you can always trace out your Christmas tree shape (like I did with my Halloween Jack-O-Lantern).
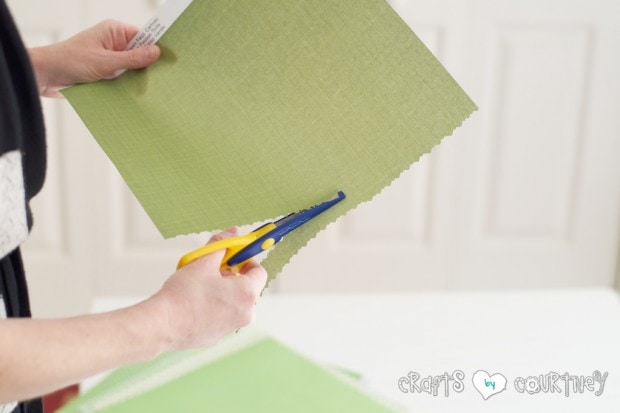
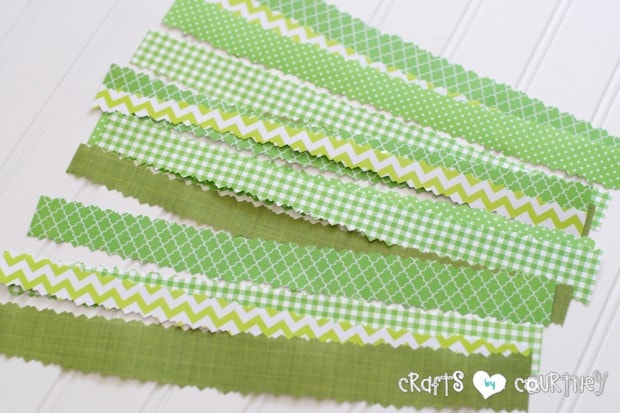
Step 2 – Cut Your Scrapbook Paper
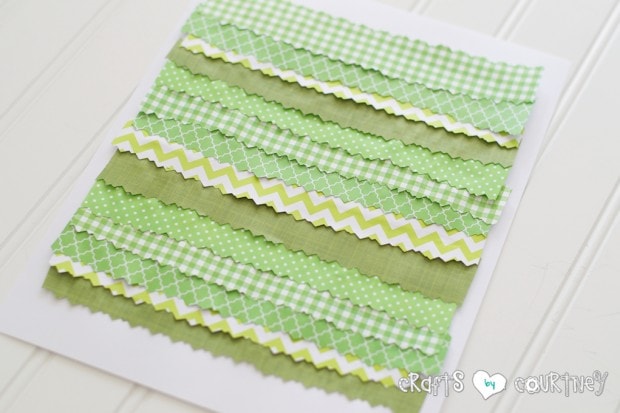
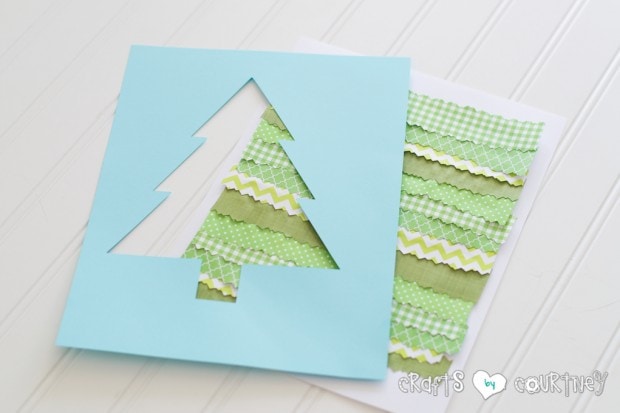
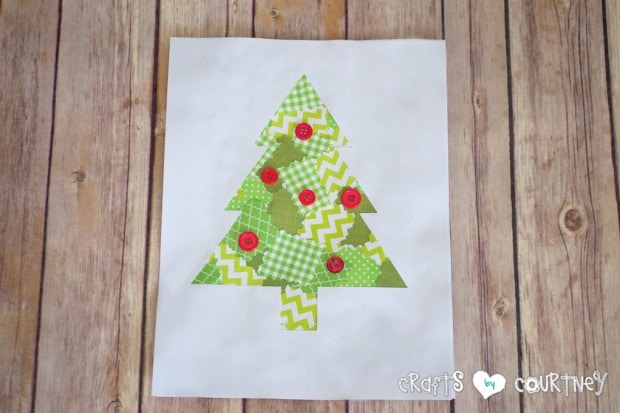
I used my decorative (how fancy) edge scissors to cut my scrapbook paper into strips. Then, layed them over my cardstock and cut off any excess to the sides (so I wouldn’t have any scrapbook paper hanging over the edge).
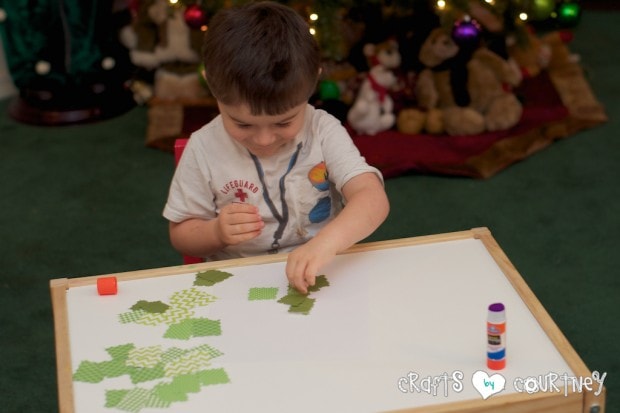
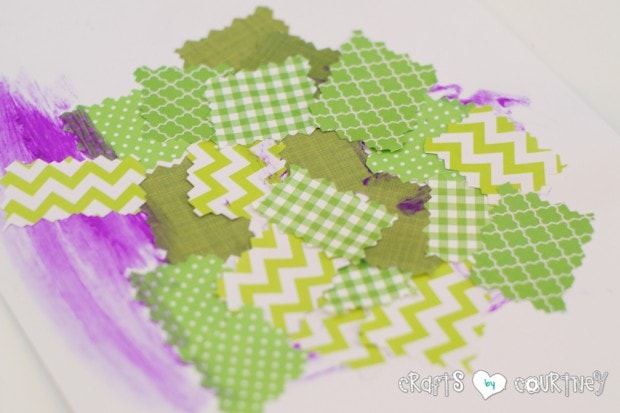
With the extra scrapbook paper I had, I cut them into squares for my 2 year olds Christmas Tree.
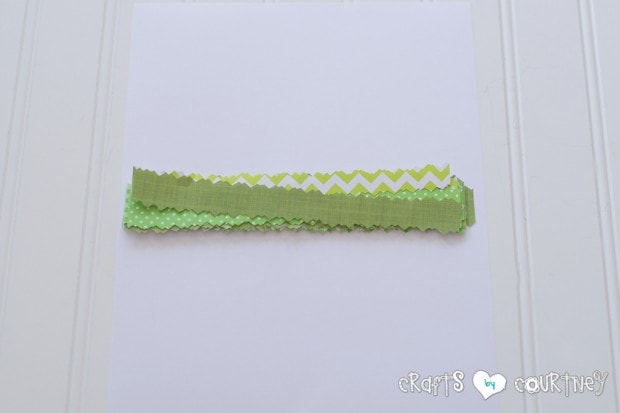
Step 3 – Add Your Scrapbook Paper
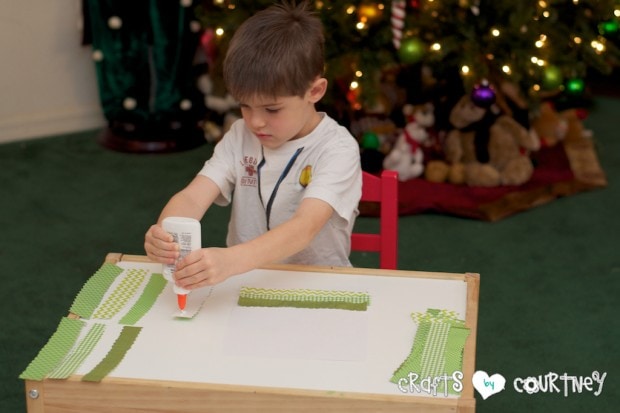
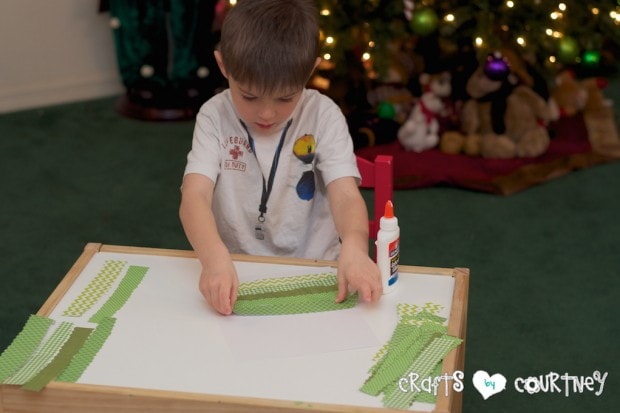
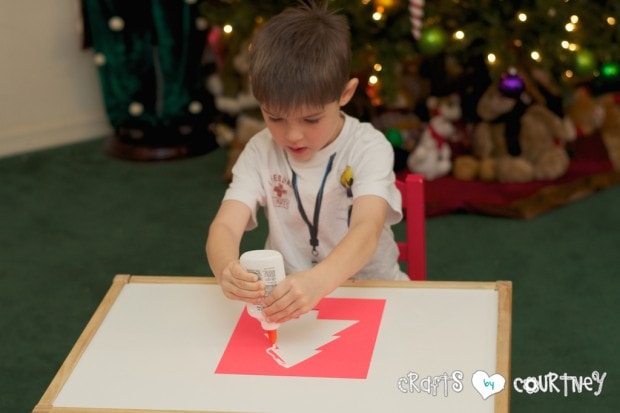
I added a thin line of glue to each of the strips of scrapbook paper (I overlapped the edges a little so that we wouldn’t have a bare spots poking through). My 4 year old was able to do this with no problem.
I knew my 2 year old wouldn’t be able to use the regular glue, so I pulled out the “Trusty” glue stick for his. Since it leaves a purple color, he knows where to put his scrapbook paper :)

Step 4 – Overlay Your Tree Silhouette
We added some glue to the back of our tree outline and gently placed it on top of the scrapbook paper. We went back over and smoothed it down with our hand (making sure to get out any “bumpy” spots).


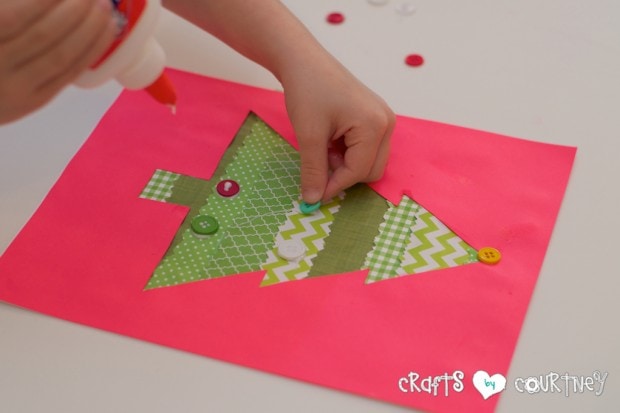
Step 5 – Decorate Your Tree
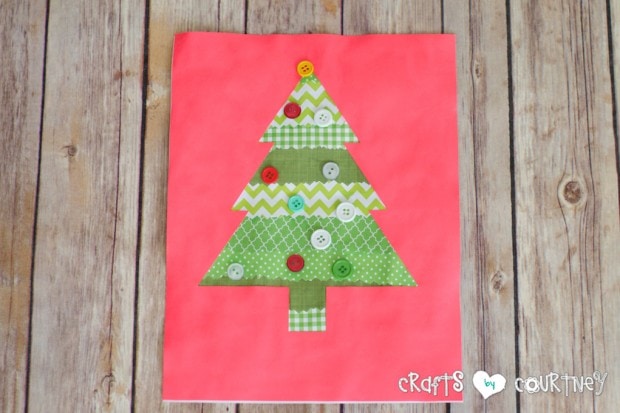
We really wanted to add a little “pizzazz” to our tree, so we thought buttons would be a perfect addition! We dabbed a little glue on the tree and placed our buttons on top, voila!!
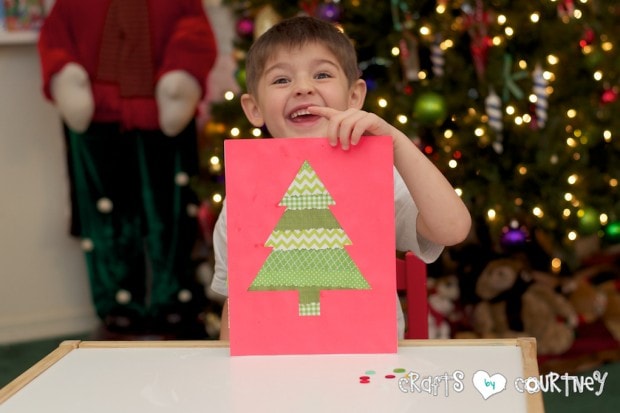
A perfectly decorated Christmas tree!
Buttons make everything pretty! I was actually inspired by this snowflake Christmas ornament we made using buttons and popsicle sticks.
Step 6 – Finishing Touches
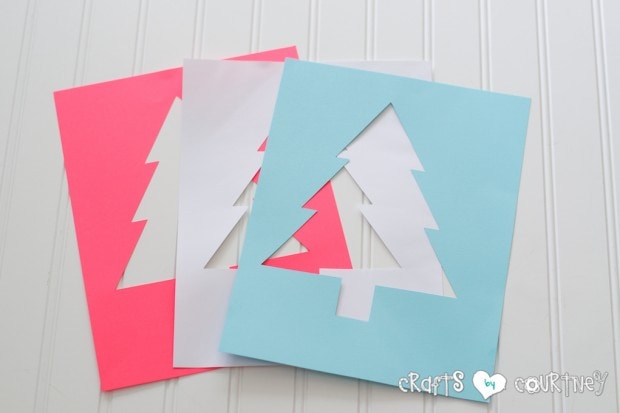
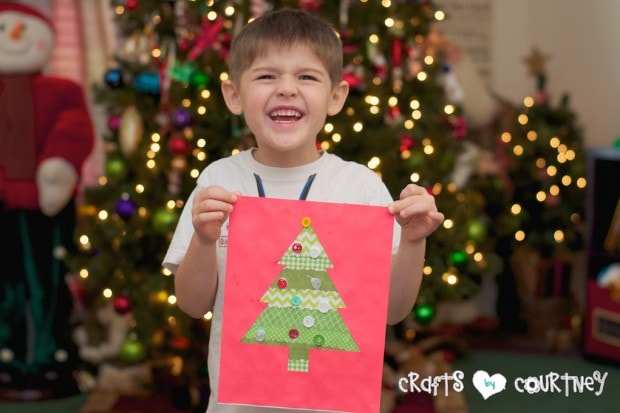
Since I have three boys (at different ages [1,2 and 5]), I wanted them each to make their own Christmas Tree. My oldest made the Christmas tree with the strips of scrapbook paper.
Side Note: If you like DIY and home crafts, I made a quick update to a button heart I made and turned it in to a Christmas tree!
I cut my leftover scrapbook paper into squares for my 2 year old’s Christmas Tree.
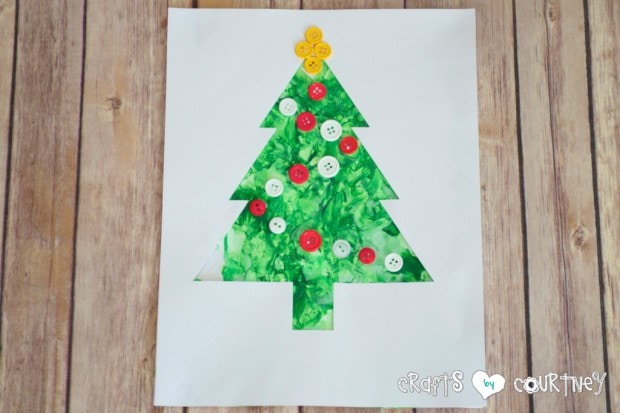
For my one year old’s tree, I knew I wouldn’t be able to reuse the scrapbook paper, so I just had him finger paint the background for his tree. It worked out perfect!!
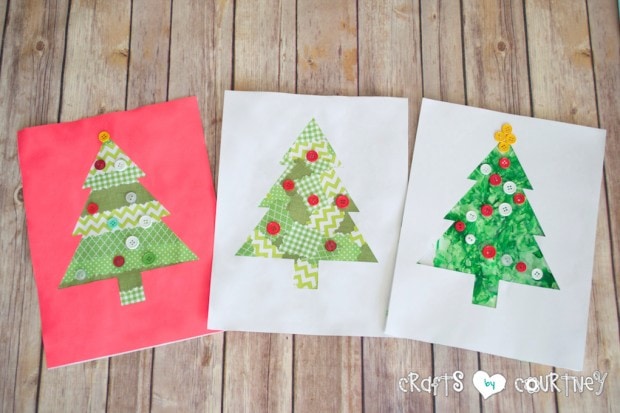

This was such a fun craft to do with the boys, especially since we were able to do the same idea, but three different ways!!
Love, Courtney