Presenting part 4 of my living room furniture makeover!! Yay almost done!
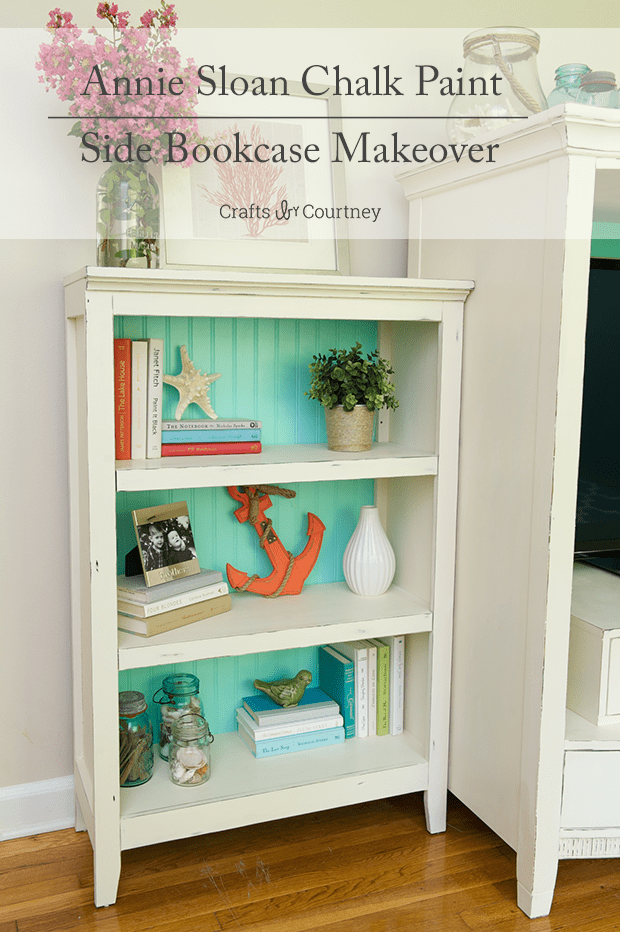
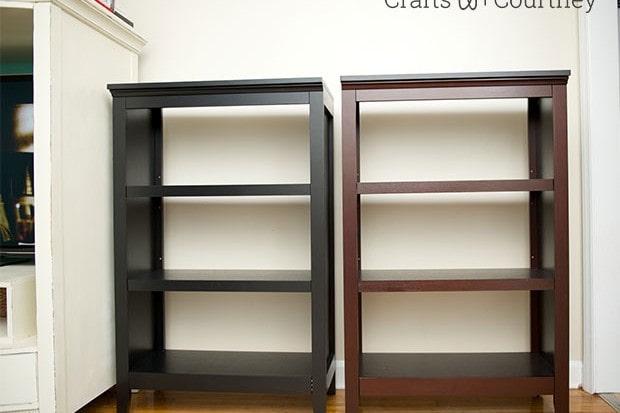
For the final piece of furniture I decided to add two side bookcases I got from Target to the entertainment center. I had the sames ones at the other house, but the kids really destroyed those so I had to buy new ones.
But this time I wanted to give them a new look by adding beadboard and painting the backboard with a pop of color!
Come check it out!
Getting Started
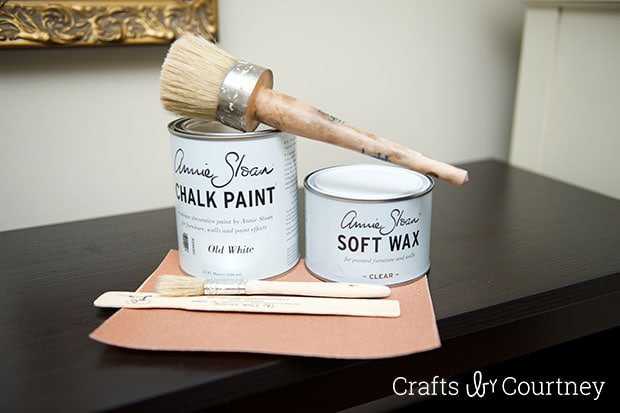
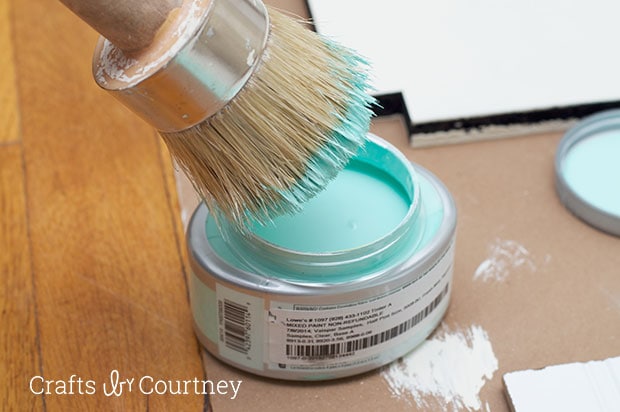
Since I used the Annie Sloan chalk paint on the Entertainment Center Makeover, of course I had to use it on the side bookcases. I absolutely love it! I had to make a quick trip (hour drive) to grab my paint and wax.
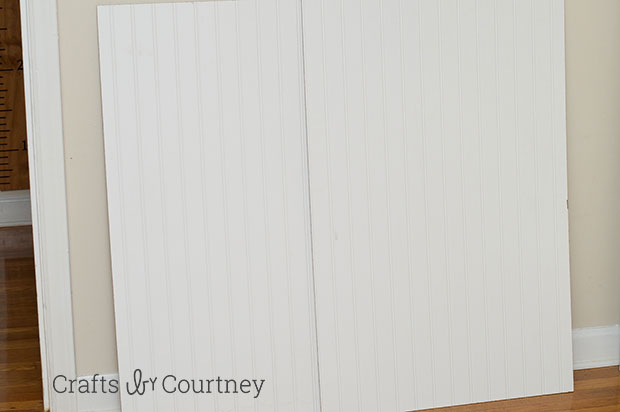
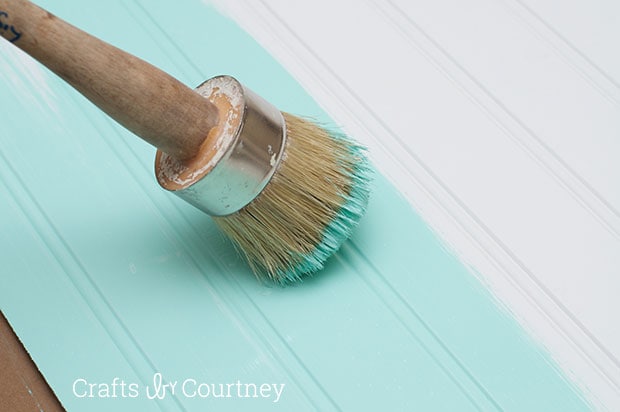
I gave my hubby the task of putting the bookcases together and getting the beadboard from Lowes cut to the perfect size. I love that Lowes will cut your wood for you. Since I decided not to use the Annie Sloan paint for the backboard I grabbed a can of fresh mist paint from Lowes.
Time to get started!!!
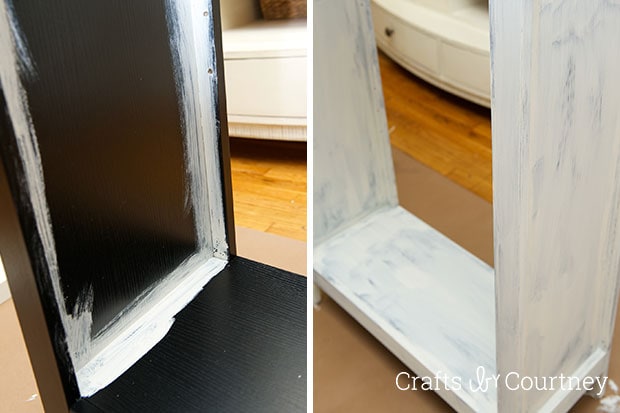
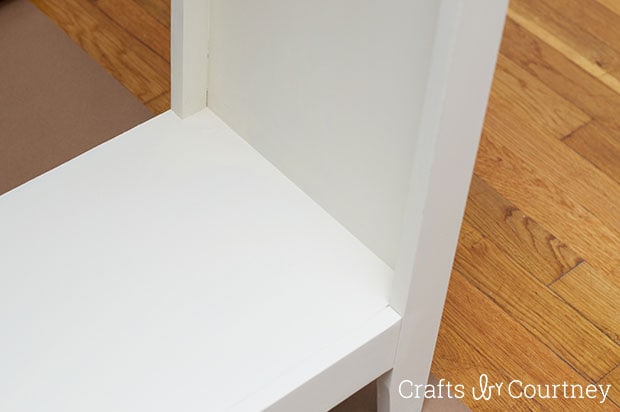
Step 1 – Paint Bookcases
I painted three coats of old white chalk paint and let each coat dry two hours before painting the next.
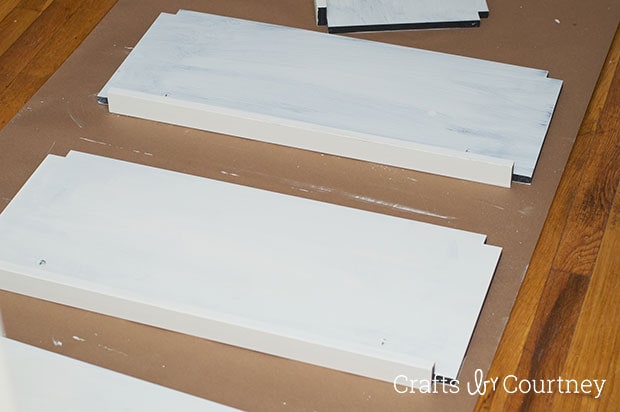
Step 2 – Paint Your Beadboard
I pulled out my beautiful fresh mist paint and painted two coats on the beadboard letting each coat dry an hour this time.
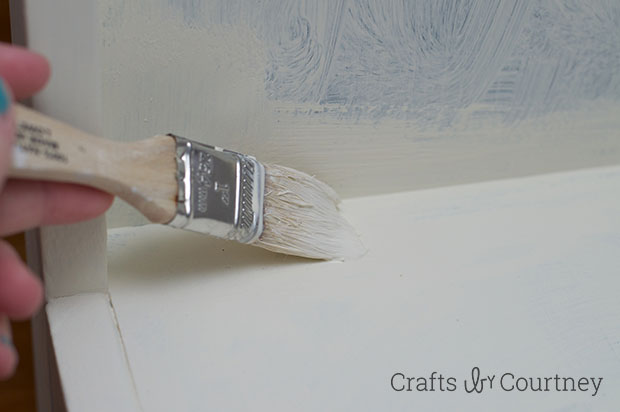
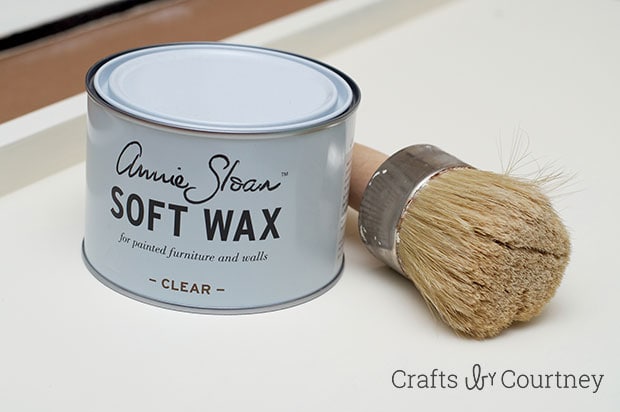
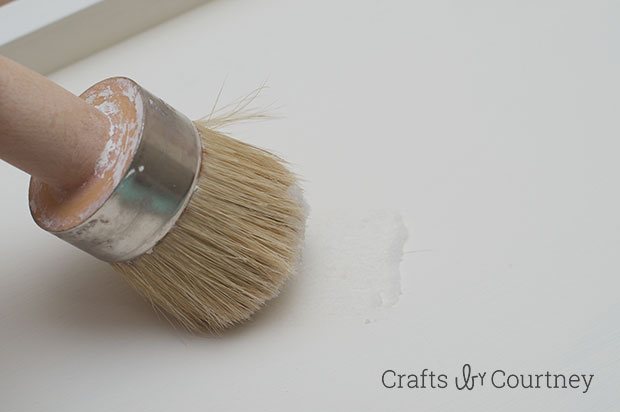
Step 3 – Add Your Wax
Now it’s time to add your wax!
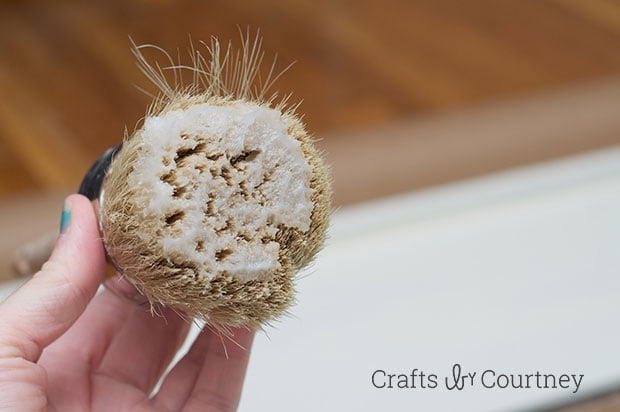
I’ve been using this brush I got at the store where they sold the Annie Sloan paint. But before that I just used an old rag to wipe the wax all over.
Go over the entire piece with your wax and let dry over night. Once your wax is dry wipe down with a new rag, Then your ready to distress.
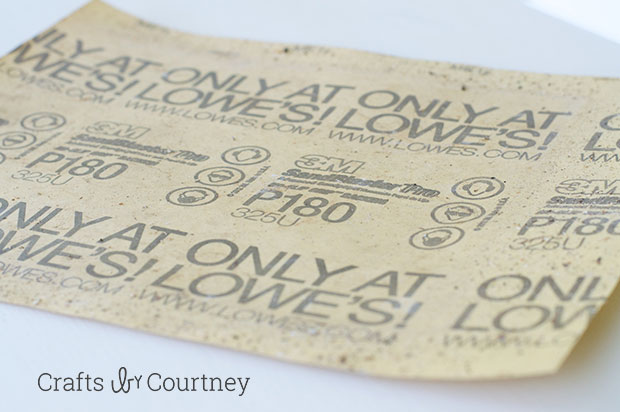
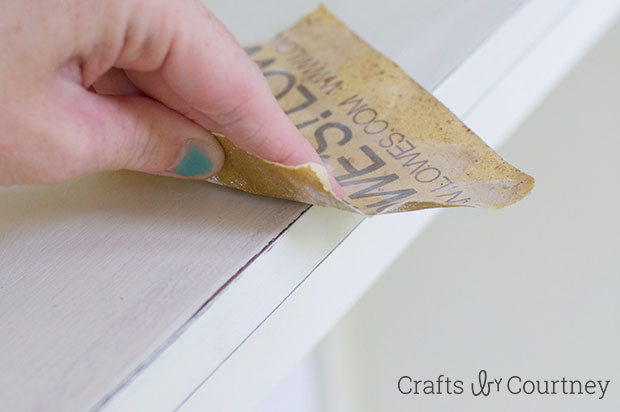
Step 4 – Distress Your Piece
Let’s do some distressing!
I started off with a 180 grade piece of sandpaper but after a while I switched over to a 80 grade sandpaper. It worked a lot faster to get the distressed look I was going for. I went over all the edges with the sandpaper and a couple spots in the middle.
As I always say you can distress as much or as little as you like. There’s no wrong; ;-)
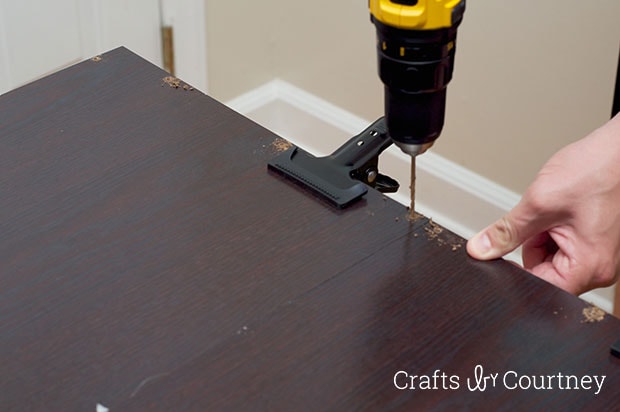
Step 5 – Add Your Bead Board
I had to call for my hubby’s assistance again. It was time to add the beadboard. We laid the piece over top of the beadboard that came with the bookcases. It already had the holes in the perfect spot.
After we drilled our holes and screwed the beadboard to the back of the bookcases. I just love that beadboard!!


Step 6 – Finishing Touches
Finally I went over the entire piece again with a final coat of wax and let it dry over night. Then I gave it a good wipe down.
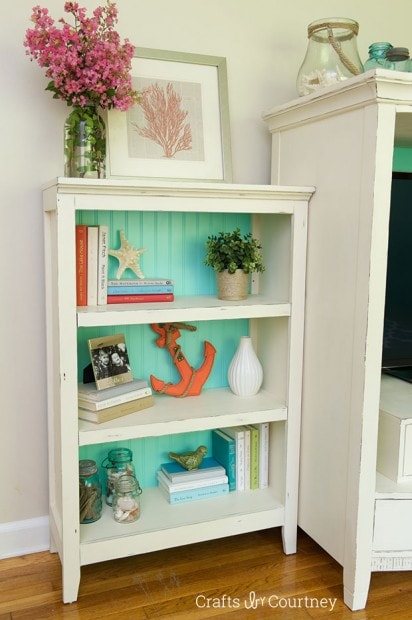
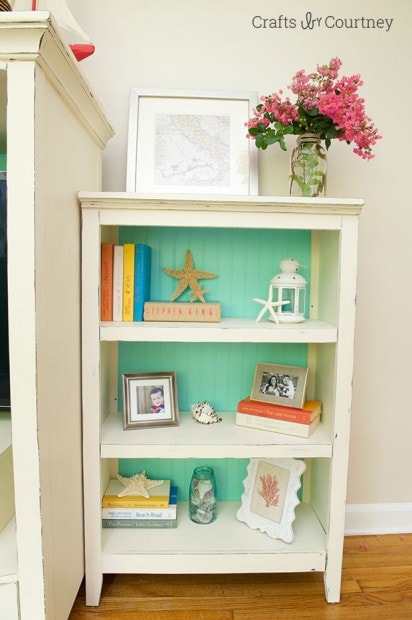
Now my favorite part, decorating!!
I have been browsing all my extra accessories trying to find the right stuff to put inside. I also had a couple successful trips at HomeGoods and TJMaxx for some nautical themed items. Gotta love those stores!
Now that I’m finished with the makeover, I will post the entire entertainment center makeover soon!! I can’t wait to show you the completed look.
to be continued…
Love, Courtney