Today, I’m proud to present part 3 of my living room makeover!
I started off with my sofa table redo and then my side table makeover. NOW, it’s on to the entertainment center.
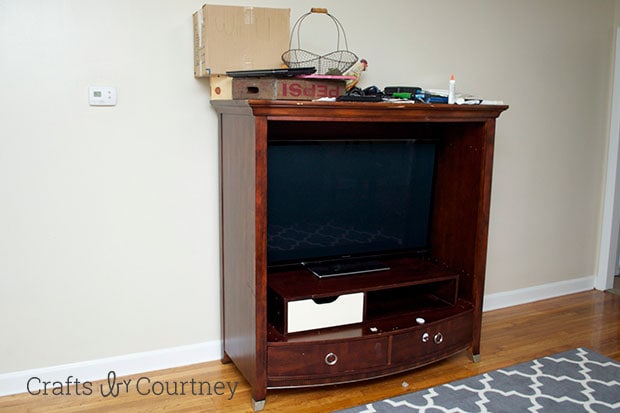
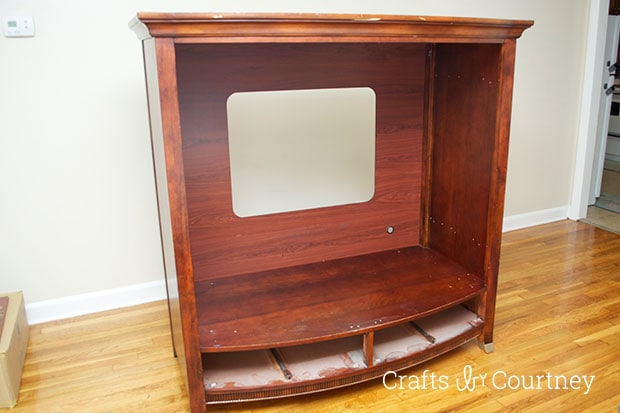
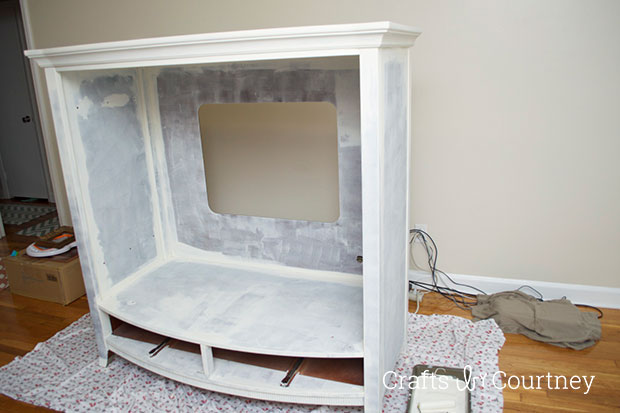
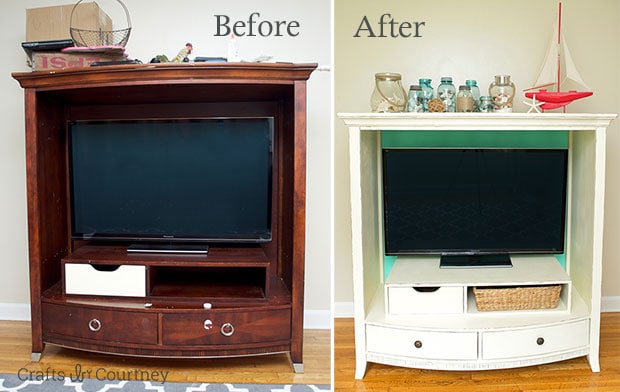
I’ve had this piece for 10 years now and it has seen better days. I was really debating on having the trash guys come pick it up BEFORE the move and buy something new (I’m so glad I didn’t)!
I’ve had this piece for 10 years…and it has seen better days.
But after looking at some price tags on entertainment centers and TV stands, I wanted to give my piece another shot. Since the sofa table and side table tuned out GREAT, I decided to paint this piece.
With this one, I thought I would invest in the real Annie Sloan chalk paint. I didn’t want to JUST PAINT my entertainment center. I wanted to give it a whole new look.
Spoiler Alert: Everything turned out AMAZING!
So with this project, I’ll have two posts. The first being my entertainment center. The second, the side shelves.
Getting Started
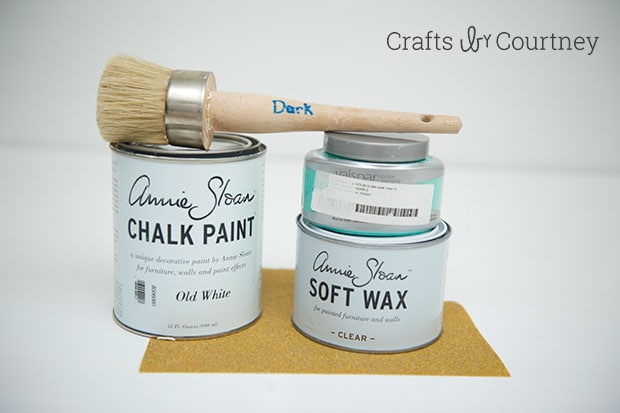
Like I said earlier, I really wanted to try Annie Sloan chalk paint. My mother and sister are OBSESSED with it so I wanted to see what all the fuss was about.
The one drawback…it’s kinda’ expensive. I paid $40 a can for the paint and $35 for the wax. But doing this was WAY cheaper than buying a whole new entertainment center.
…I wanted to see what all the fuss was about.
I wanted the back board to POP, so I stopped by Lowe’s and found this beautiful Fresh Mist color. Time to get started!!
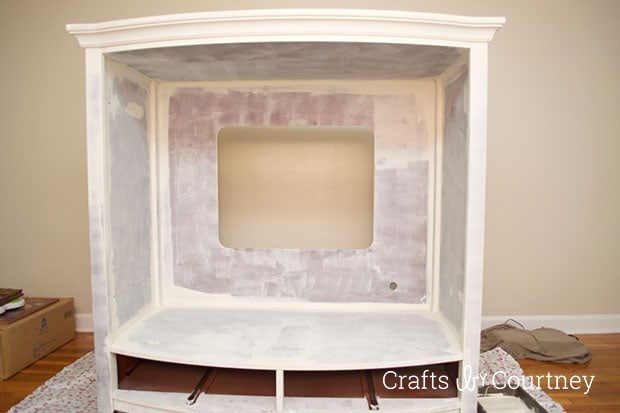
Step 1 – Prep Your Piece
The great thing about chalk paint, you don’t have much to prep!
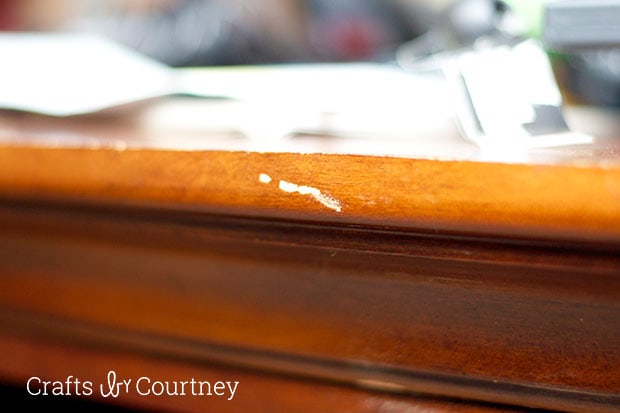
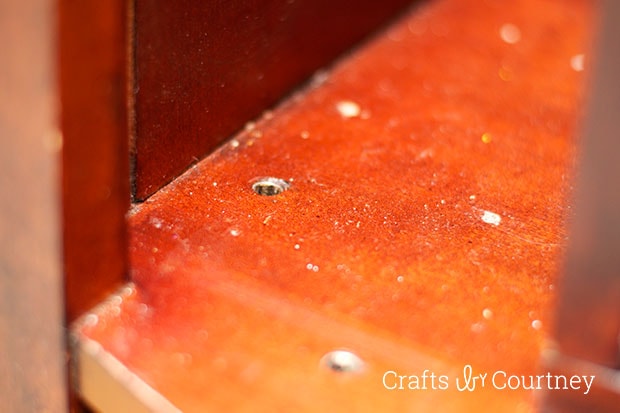
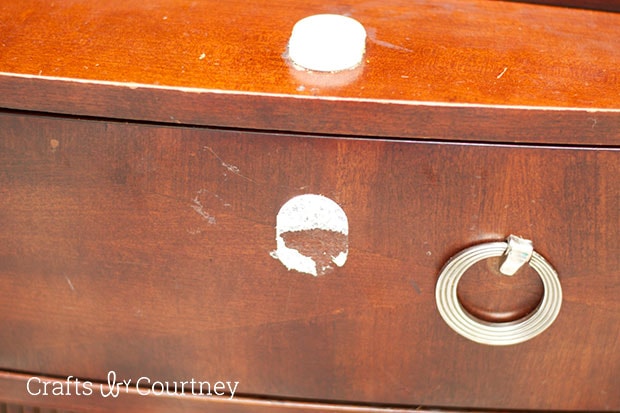
The entertainment center HAD doors on the front at one time, but when the kids started walking, I took the doors off (so they wouldn’t fall into them). So I had all these holes to fill with wood filler.
Then, I had child safety locks on the front to keep our DVDs protected. The kids did their best to destroy those too…so I decided to put the DVDs somewhere else and remove what’s left of the safety locks.

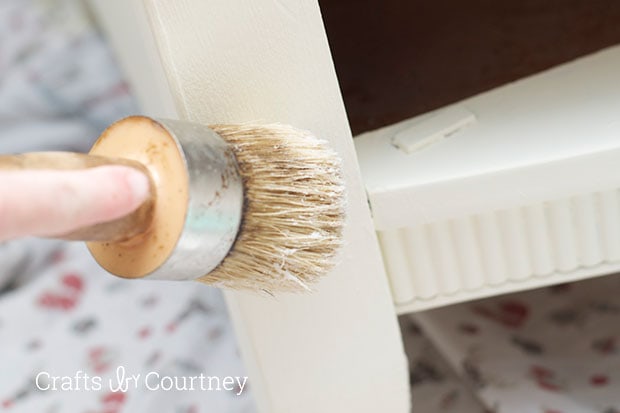
Step 2 – Add Your Chalk Paint
Now the fun part…adding your paint!! I painted a total of 3 coats on this piece. I used almost two cans.
Wait at least 2 hours per coat. This was a two day project for me. I added my FIRST coat before bed and the next morning I added my SECOND. Then finally after lunch, I added my THIRD and final coat.
Step 3 – Paint Your Backdrop
I wanted a “Pop” of color for my back board. I taped it off and painted two coats on. Let each coat dry an hour.
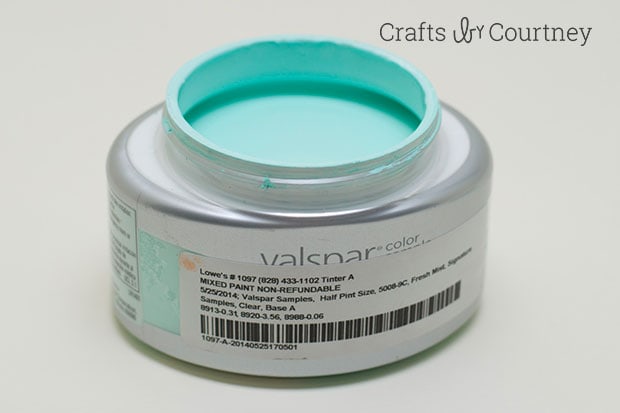
I forgot to take a picture of me painting the backdrop. But this is the beautiful color I used.
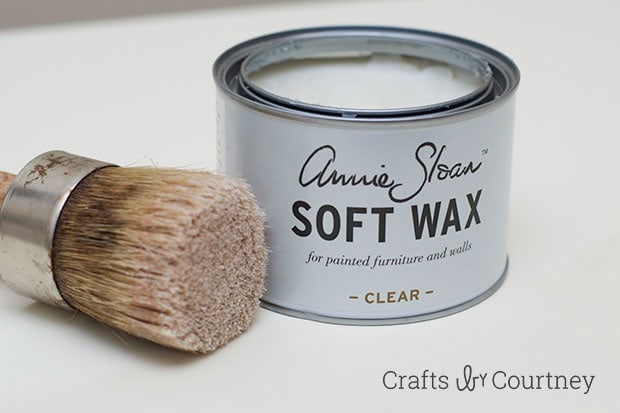
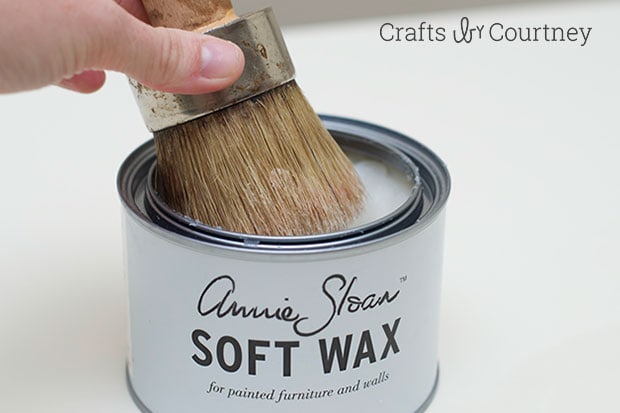
Step 4 – Add Your Wax
With chalk paint, you have to SEAL IT by adding a coat of wax.
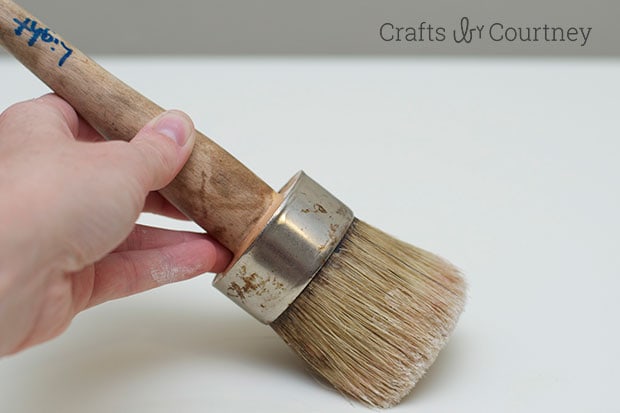
I used a brush (I got at the store where they sold Annie Sloan paint), but using an old rag can work just as good. This is what the lady told me at the store that sold the Annie Sloan products.
When adding your wax, let it dry overnight. Then, wipe off any excess BEFORE sanding (if you want to distress it).
Step 5 – Distress Your Piece
For this piece, I wanted to go for a distressed look. I used 80 grade sandpaper and went around all the corners. You can distress as MUCH or as little as you want.
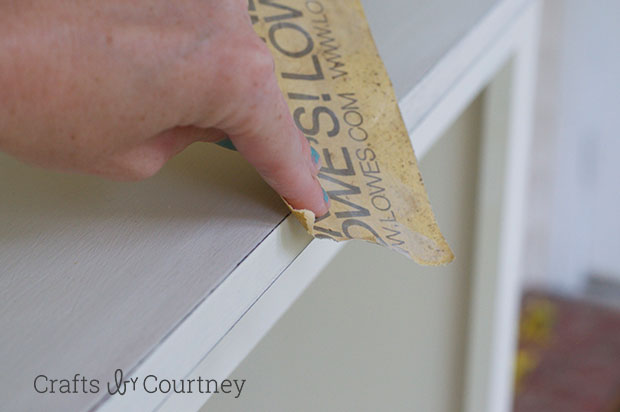
I like the distressed look because even if the kids scratch it, it looks like it was suppose to be that way.
Step 6 – Finishing Touches
Finally, you need to go over all the edges that you just distressed with one LAST coat of wax. After I gave the entertainment system a final wipe down, I was ready to add the TV.
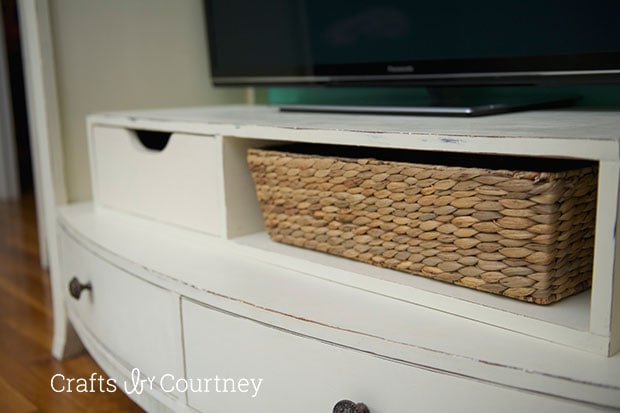
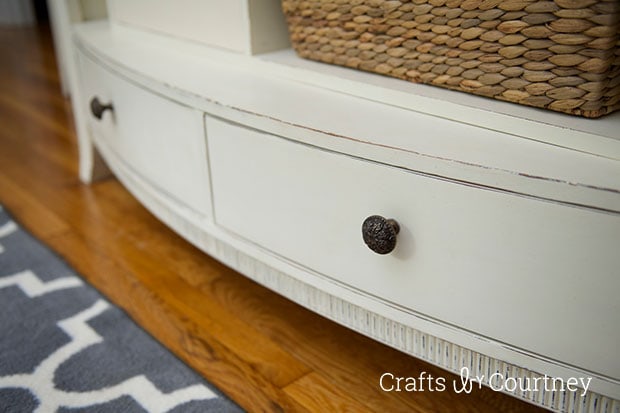
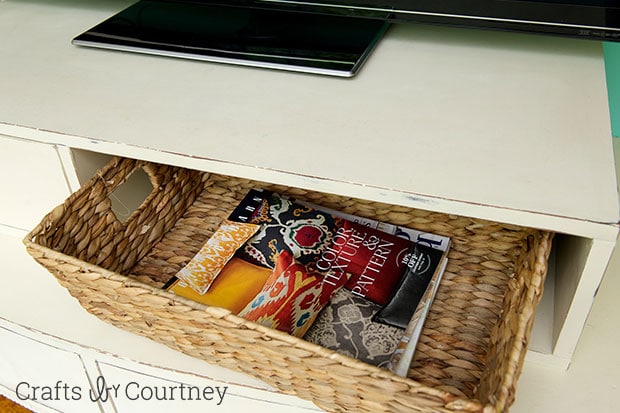
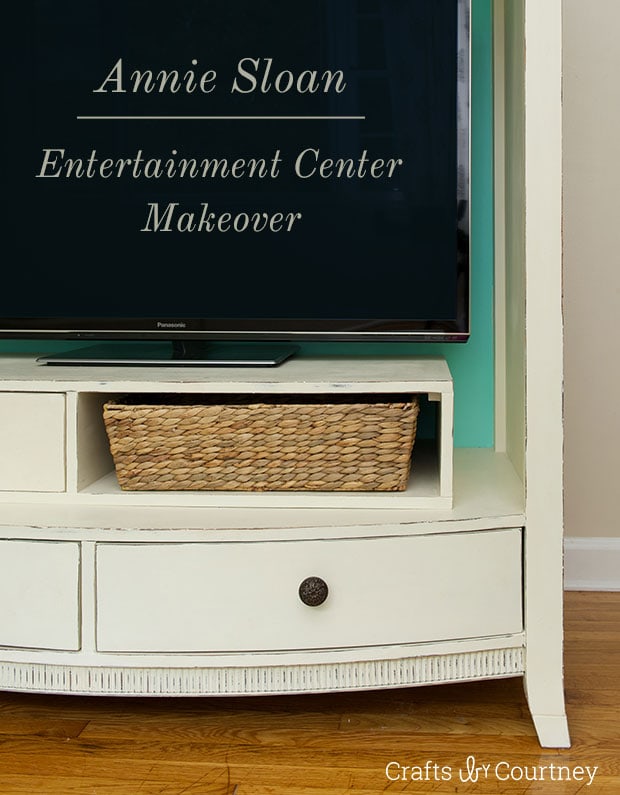
It’s amazing what a few coats of paint can do. I found these great new knobs at Hobby Lobby for $2.50 each (they were 50% off) and the basket at TJMaxx that fits perfectly in the middle.
Now I just wish my TV was a lighter color! Do you think my husband would mind if I chalk painted the TV to a lighter color?
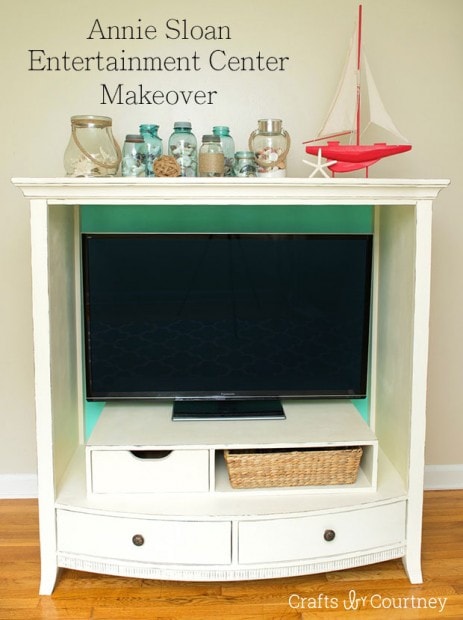
I can’t believe the transformation of this entertainment center. I’m so glad I decided to KEEP IT!
…I just wish my TV was a lighter color!
Now for the next project…these two shelves I got from Target. They’ll go on the sides of my entertainment center.
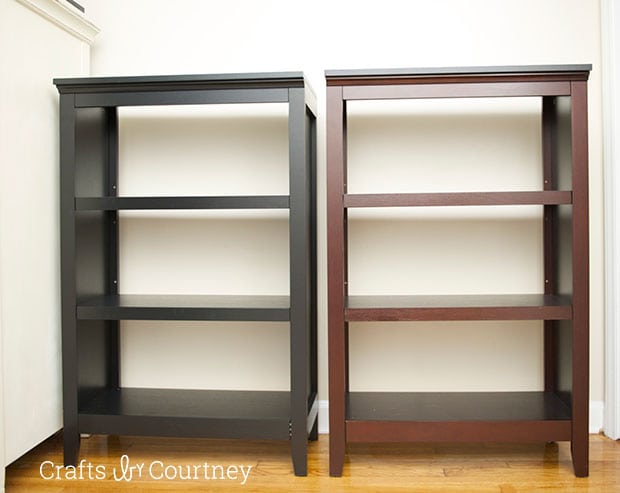
I’m so excited to show you what I did with these pieces!!
Love, Courtney