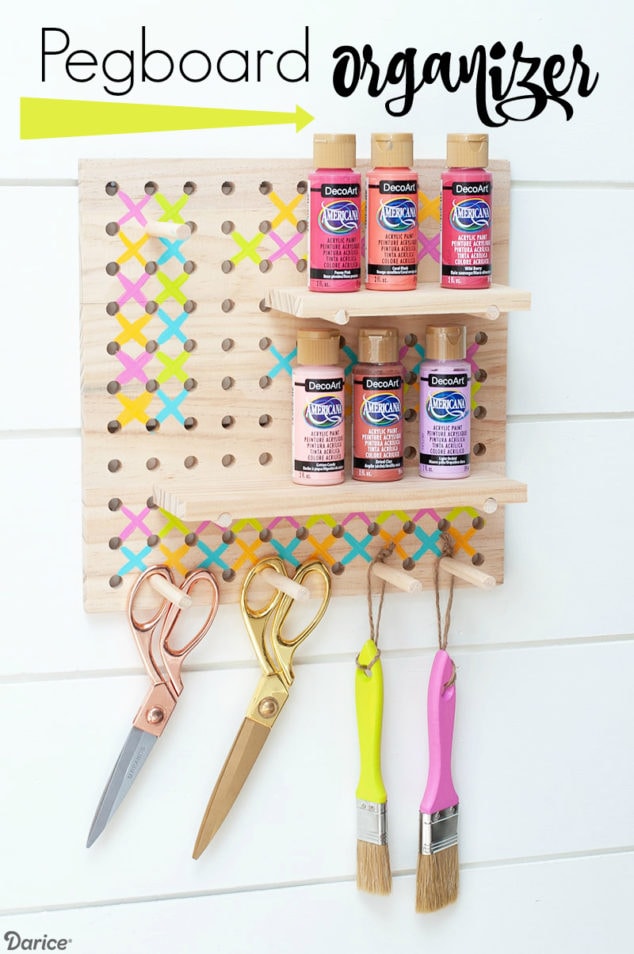
Let’s talk Pegboard Organization! Pegboard projects are super popular right now, just search Pinterest and you’ll see. We use them in so many ways, so today I wanted to show you how to use this 12×12 pegboard to help organize your craft supplies. I originally made this over at the Darice Blog last month.
I found this awesome Pegboard on the Darice site. If you search the term pegboard, then a ton of different styles will POP up.
So let’s get started!
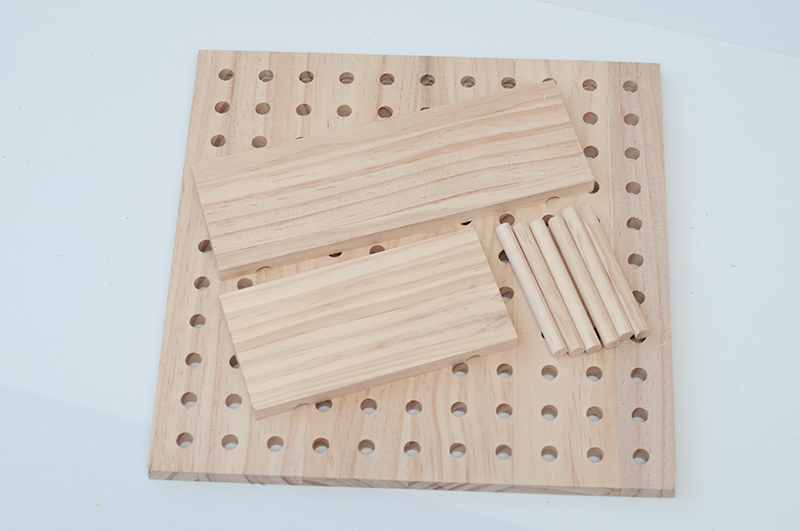
Pegboard Organization Supplies Needed:
- Wooden Pegboard Kit
- Wooden Dowels
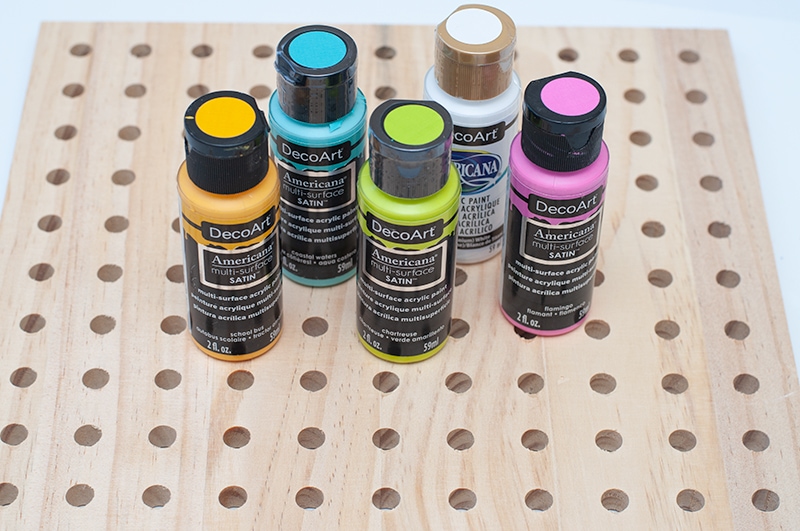
- Acrylic Paint
- Paint Brush

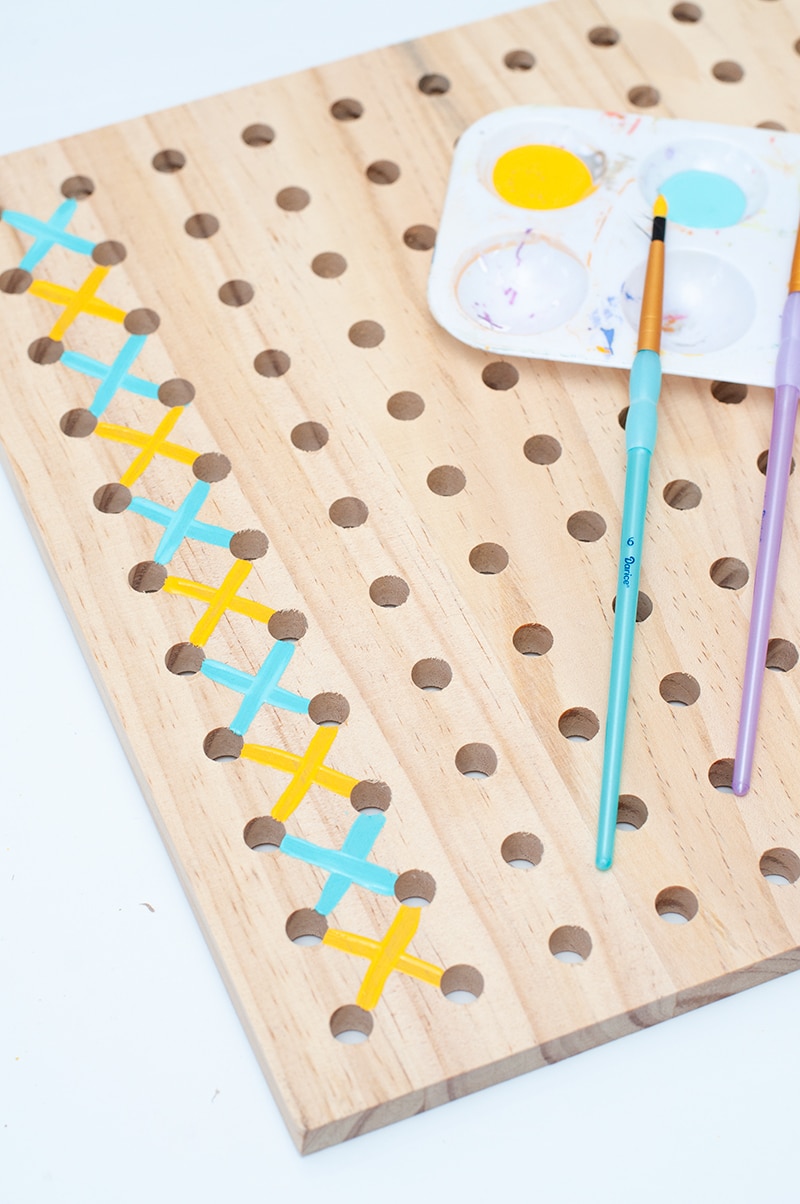
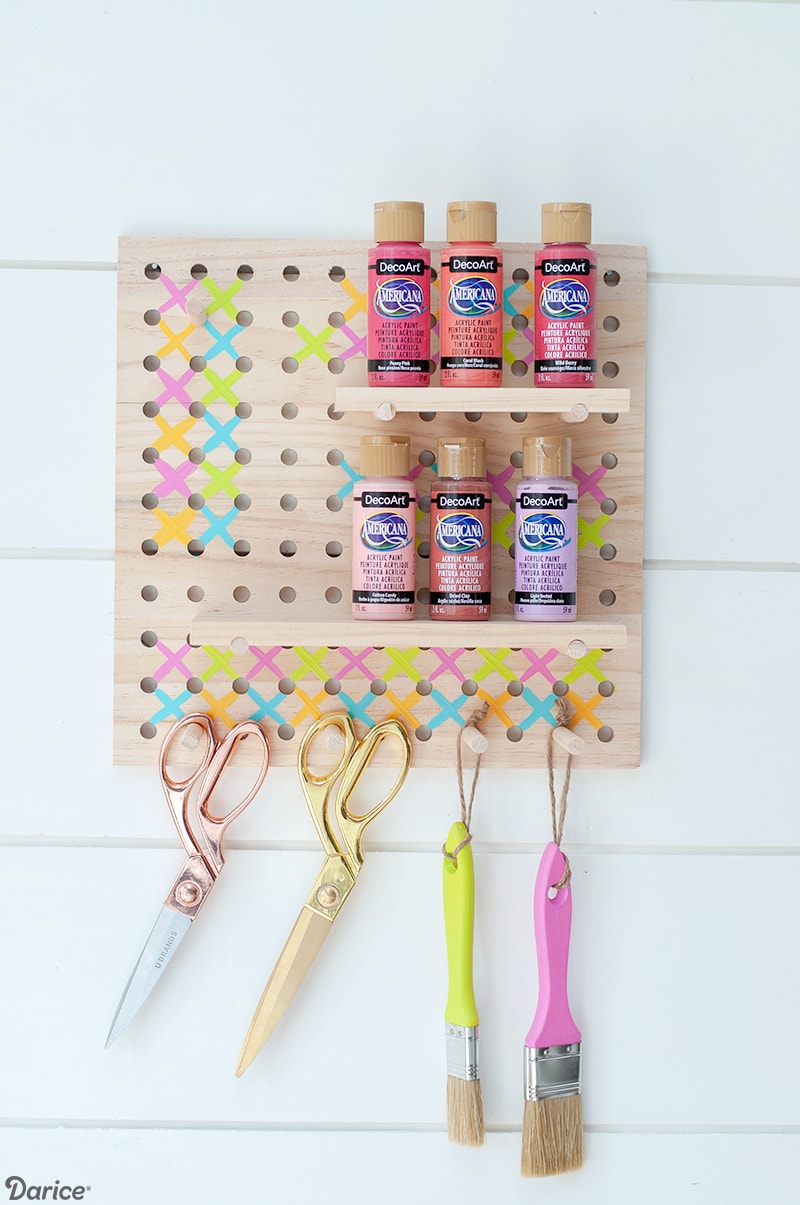
I really like the natural look of the wood already, I just wanted to add a little POP of color and embellishment to this pegboard.
So I pulled out some fun colors that I already have throughout my craft room.
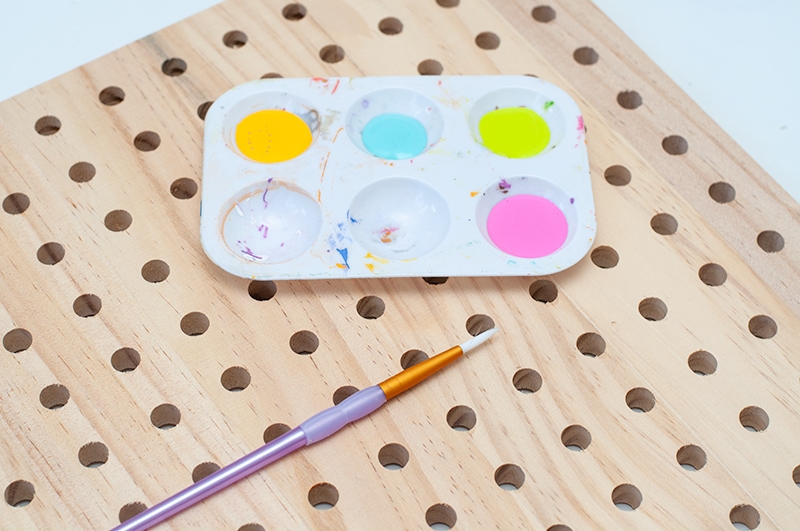
I really wanted to create a cross stitch look with this pegboard. So I pulled out a thin paint brush to be able to create that look the best.
Since this is a 12×12 pegboard I wanted the pattern to be simple, but if you plan on grouping multiple pegboards together you can get more detailed with your design.
I laid out my shelves to see where exactly I wanted the design to go.
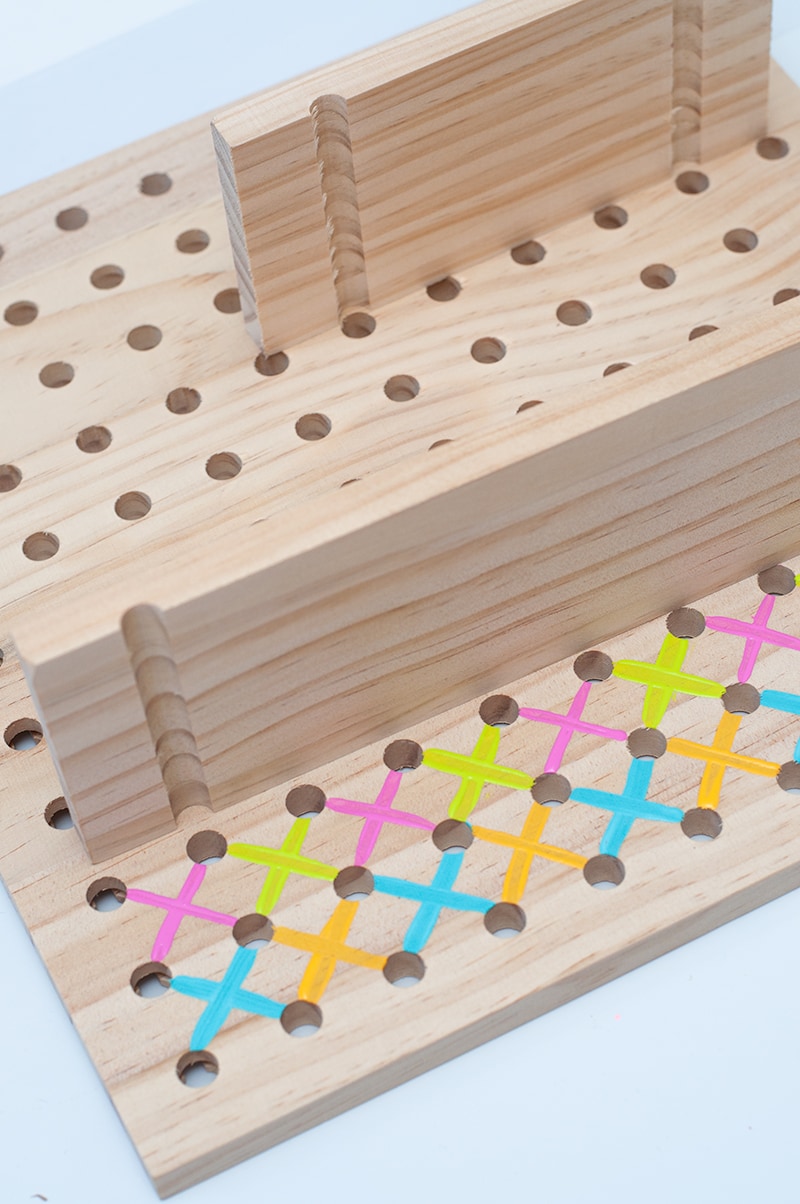
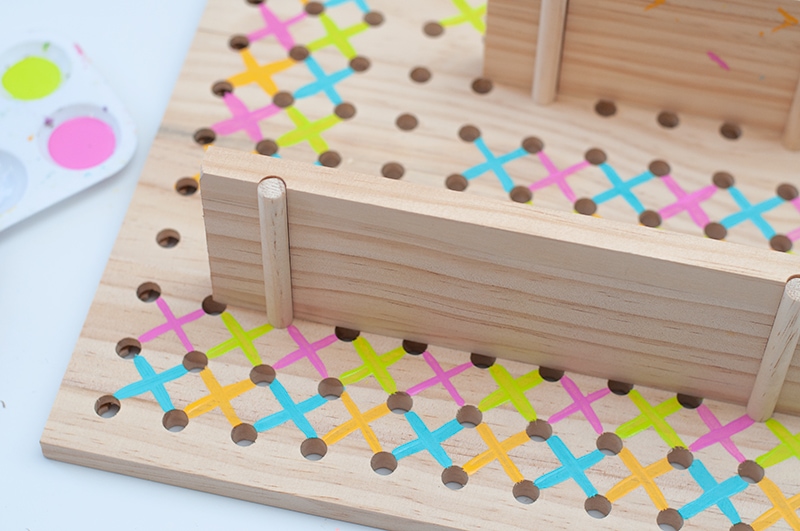
Now that is a fun and simple design to make!
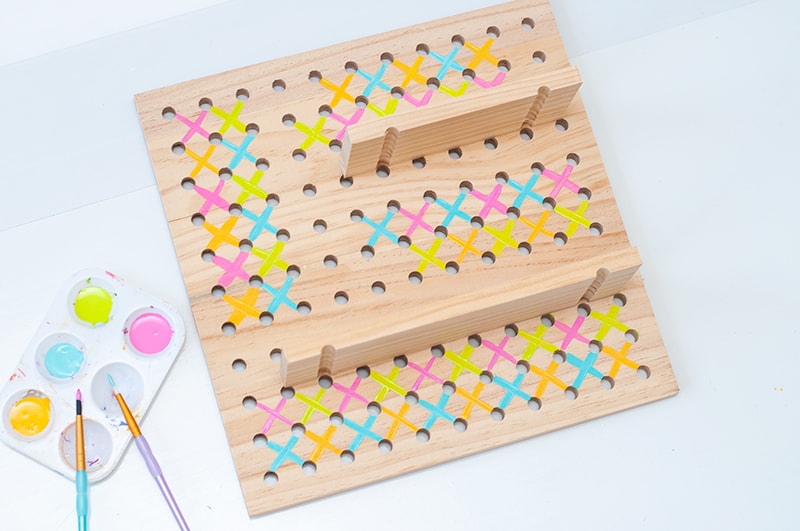
Once your paint has dried you can add your wooden dowels. I bought an extra pack of dowels so that I can hang some more items on the bottom, like my paint brushes and scissors.
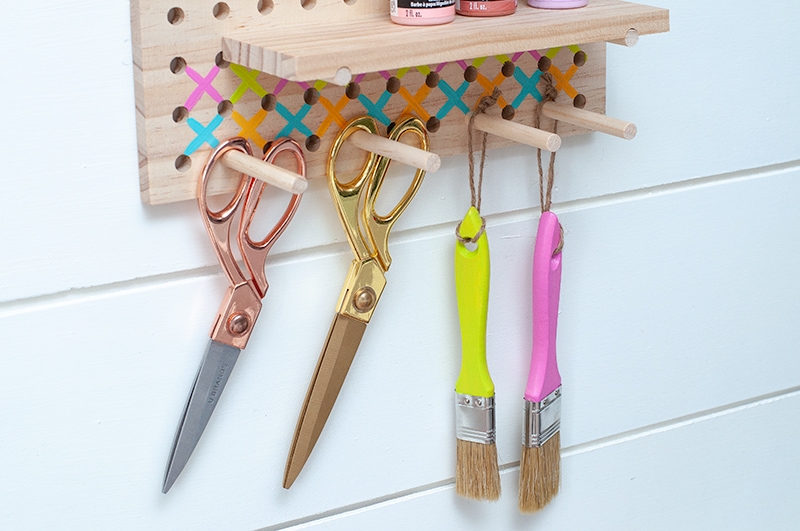
I only added a couple bottles of paint for the photos, but you can add a lot more on each shelf.

As always, thanks for stopping by!
I hope this project can inspire you to get some of your craft supplies organized! If you’re looking for another craft room organization project, then check out my Farmhouse Art Caddy I made back in the summer for my craft room. It still get’s used everyday!
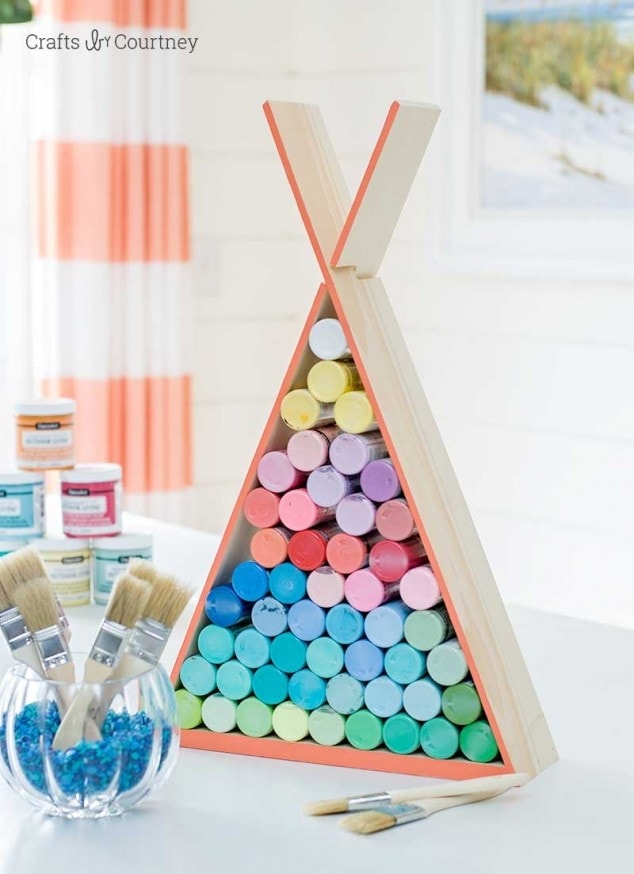
I think this Craft Paint Storage will fit in perfectly with the Pegboard too, don’t you?!
Love, Courtney