
Today I’m sharing a Neon Halloween Sign I made for the Darice blog. I’ve made a couple neon Halloween projects this year like these Gingerbread Zombies and these Pastel Halloween Decor for DecoArt, but I think this one is my favorite by far! Plus I got to pull out my Silhouette cutting machine for this project, which I always love!
I love how the neon colors really POP against the black paint. What do you think?
So let’s get started, and I can show you how to make one yourself!
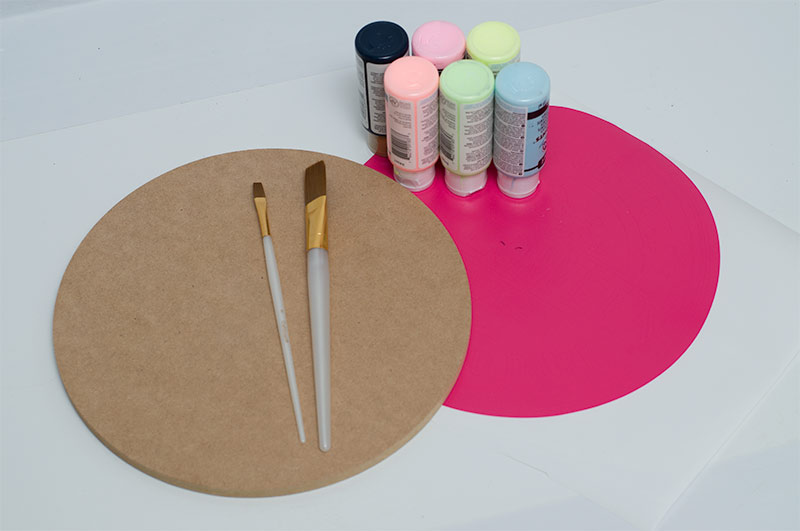
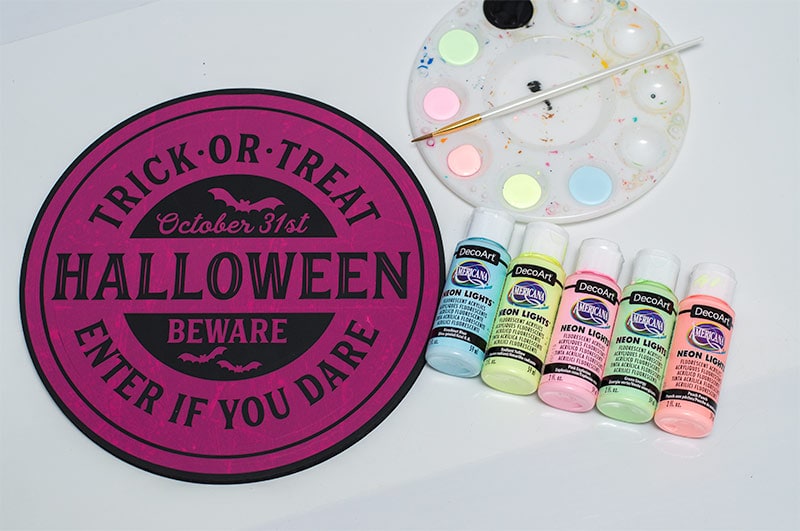
HALLOWEEN SIGN SUPPLIES
- MDF Wood Plaque
- Cutting Machine
- Vinyl
- Neon Paint
- Transfer Paper
- Paint Brush
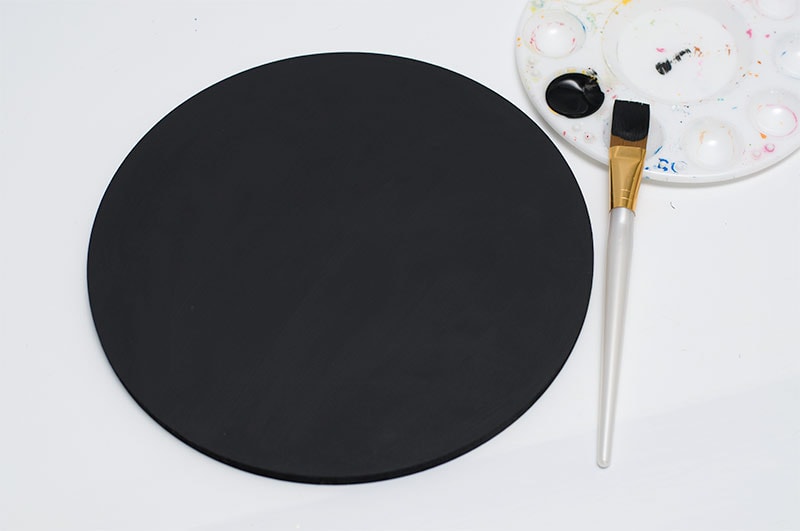
Step 1 – Paint Board
I started off painting my wood plaque black. I knew the neon colors would really POP against it!
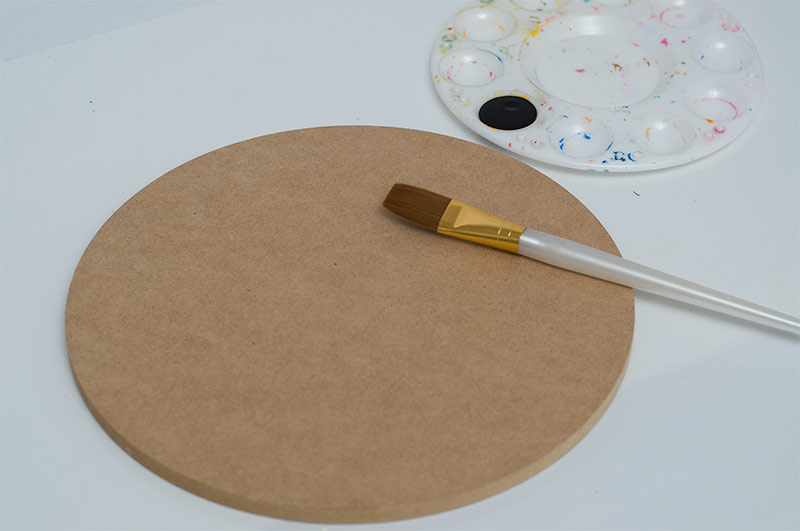
You only needed to add one coat of black paint. Let dry 20 minutes.
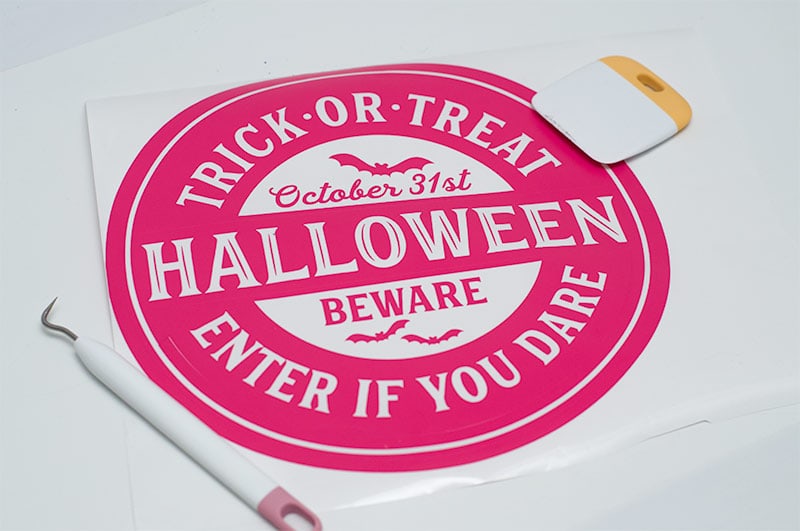
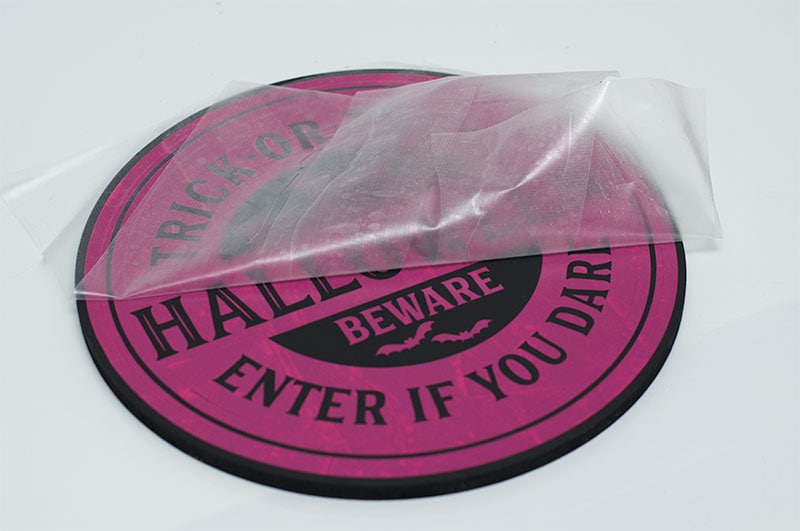
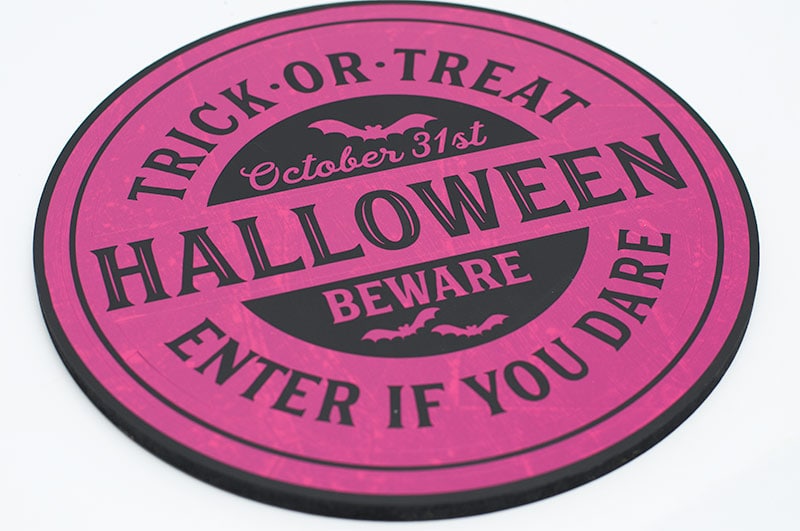
Step 2 – Cut and Weed Stencil
Now it’s time to cut our stencil. I found this great image in the Silhouette library. They have a TON of Halloween options for projects like this. Once the image was cut, I went through and weeded it. Now it’s a PERFECT stencil!
Step 3 – Add Stencil
Once you have weeded your stencil it’s time to add the transfer paper. This will help transfer your stencil to the wood plaque perfectly.
Just make sure to smooth out any bubbles.
Step 4 – Paint Sign
Ok, now this is my favorite part…. PAINTING! I was really excited to try using this neon paint against the black paint for this sign.
I did have to go over the sign with each color three times.
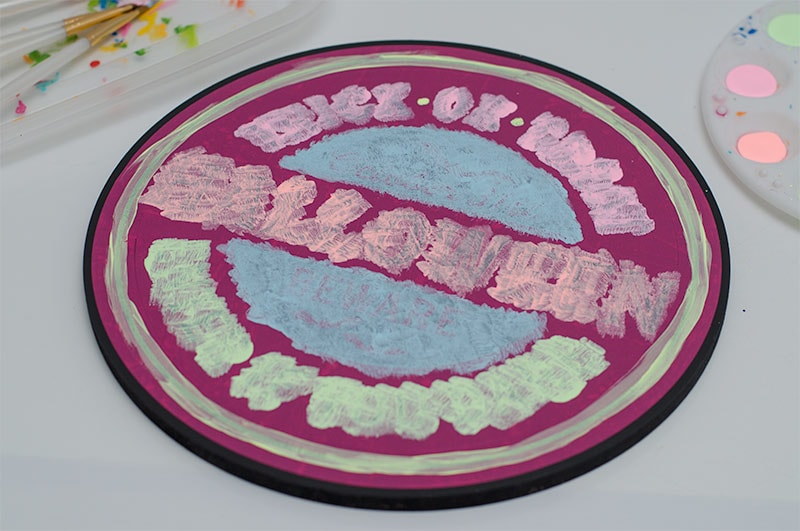
Once all your paint has dried you can start peeling up your stencil, using your weeding tool again.
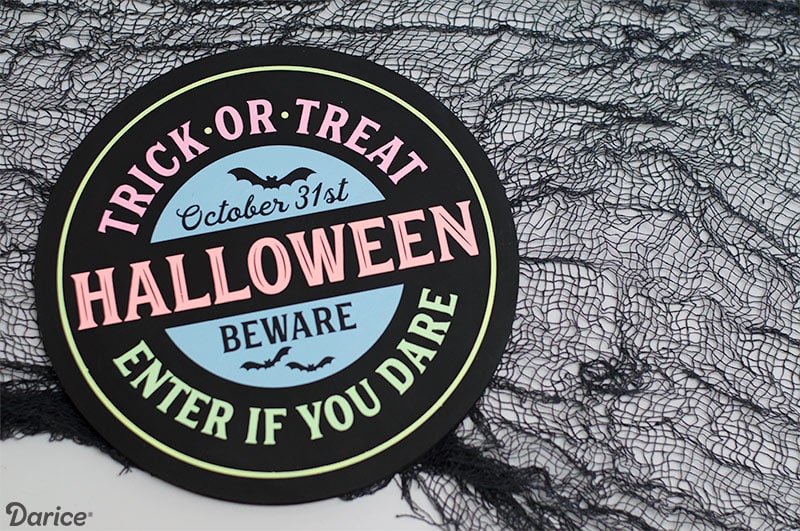
Finishing Touches
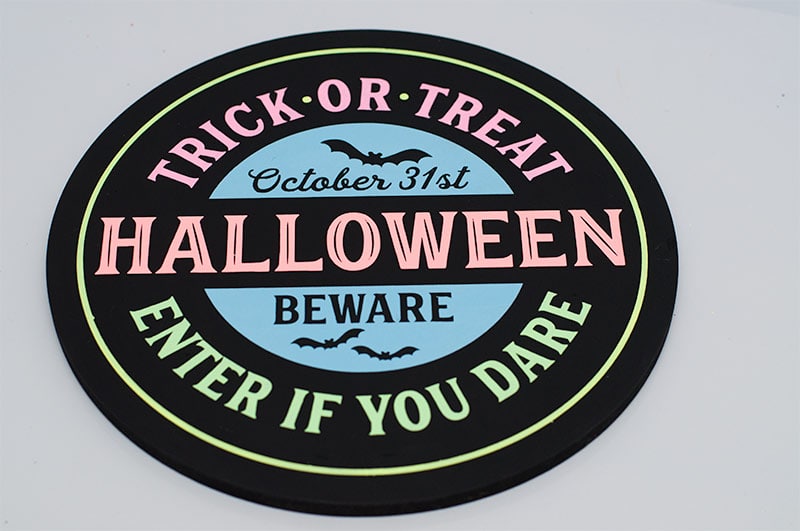
Now you have the perfect neon Halloween sign!
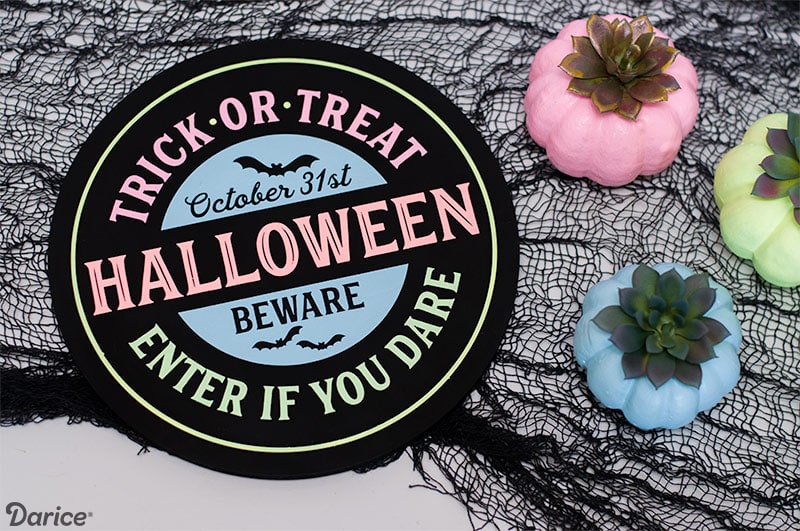
Add some ribbon to the back and you can hang it up, or just lean it up against your mantel!
As always thanks for stopping by and checking out my latest Halloween project!
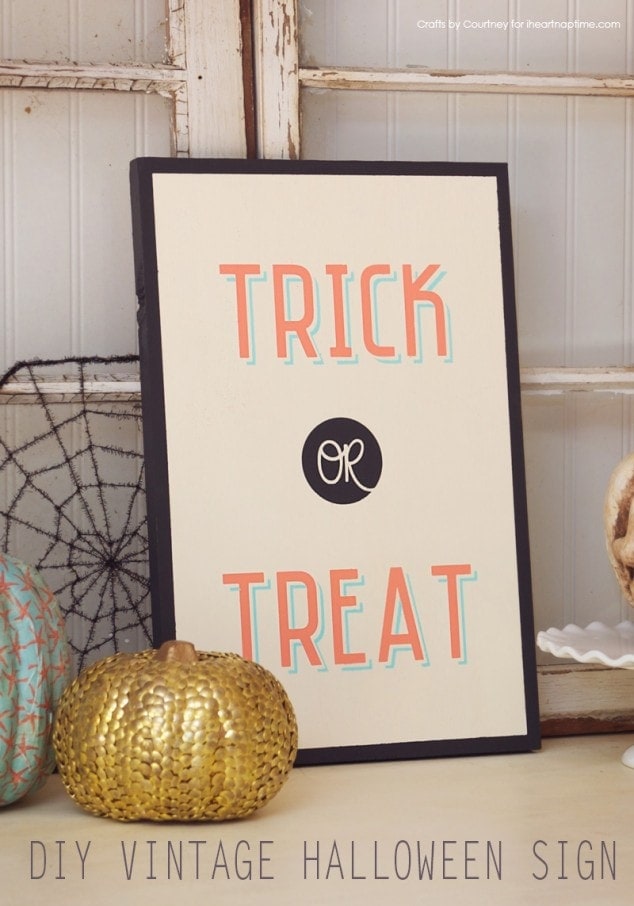
Looking for another DIY Sign project? Here’s a Halloween Sign a made a couple years ago, that I still pull out every year!
Love, Courtney