Sponsored Post: Financial compensation was received from FloraCraft® for this post. Project idea and any opinions expressed here are our own.
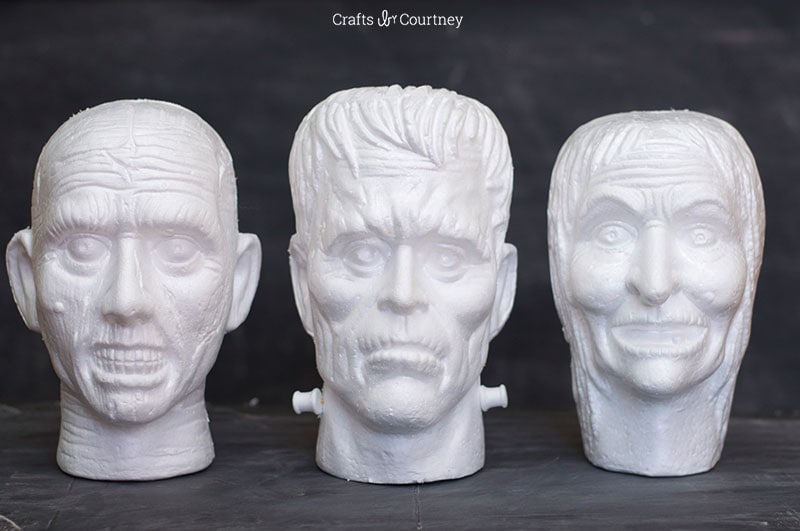
It’s that time of month again the Make It Fun Crafts Team challenge!! This month our theme was Fall/Halloween. They sent us a box of foam heads, a skull and some pumpkins.
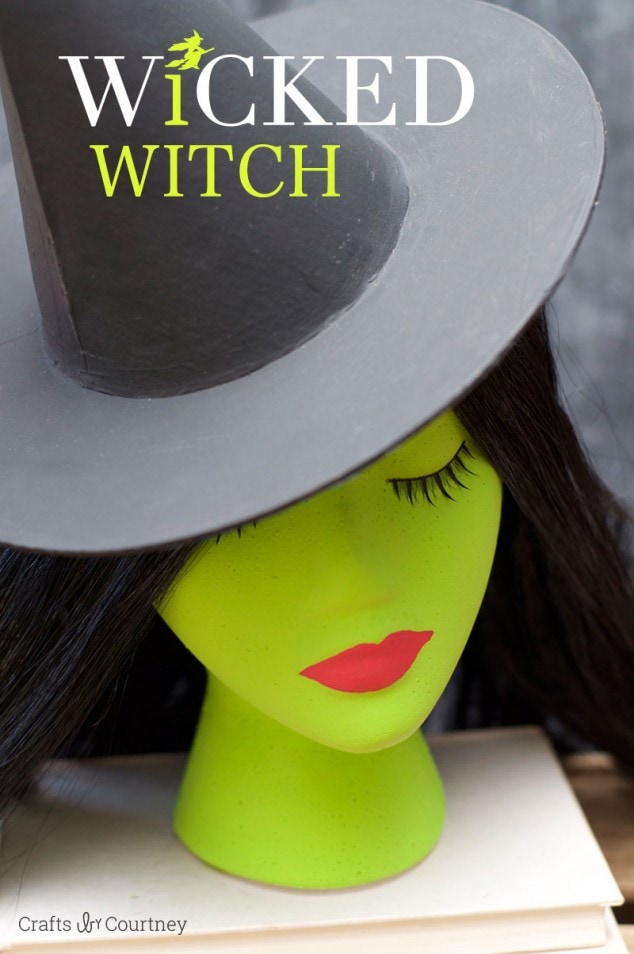
This challenge was a hard one for me because I loved everything in the box. I didn’t know if I wanted to go with a Halloween project or Fall with the pumpkins. I had all the heads sitting on my kitchen counter for a couple days to get inspired. I was really leaning towards the witches head, but I really wasn’t sure what I wanted to do with it. I knew I didn’t want to make anything scary for the house. Then I got the idea of making the Wicked Witch, so I started going with that.
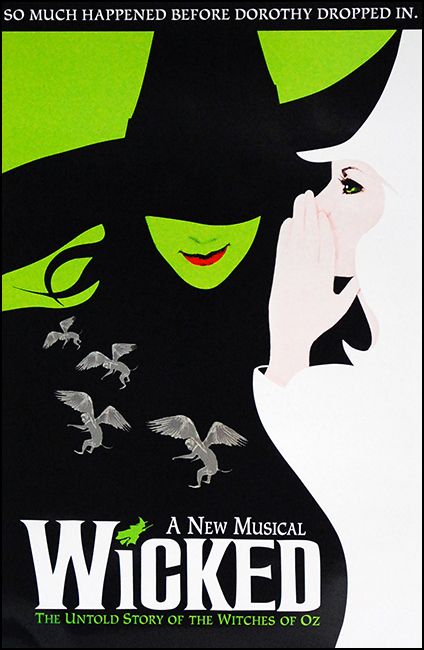
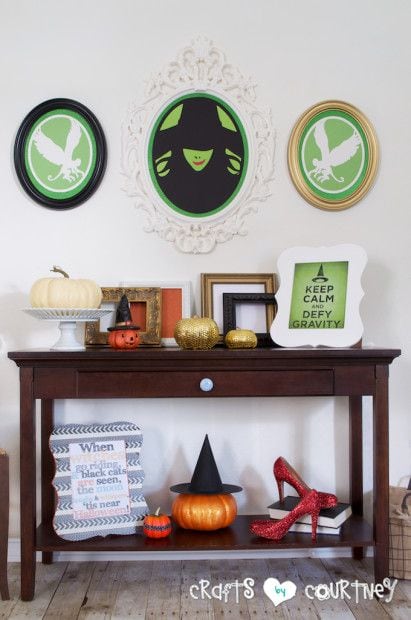
Then I thought why not make my all time favorite witch. Elphaba from the Musical WICKED!! I LOVED that idea, I went through the box again and I found the perfect head. I did a another WICKED project a couple years ago and I still have it hanging up on the wall.
These are some of the other cool heads that I got in my package of goodies!!
Getting Started
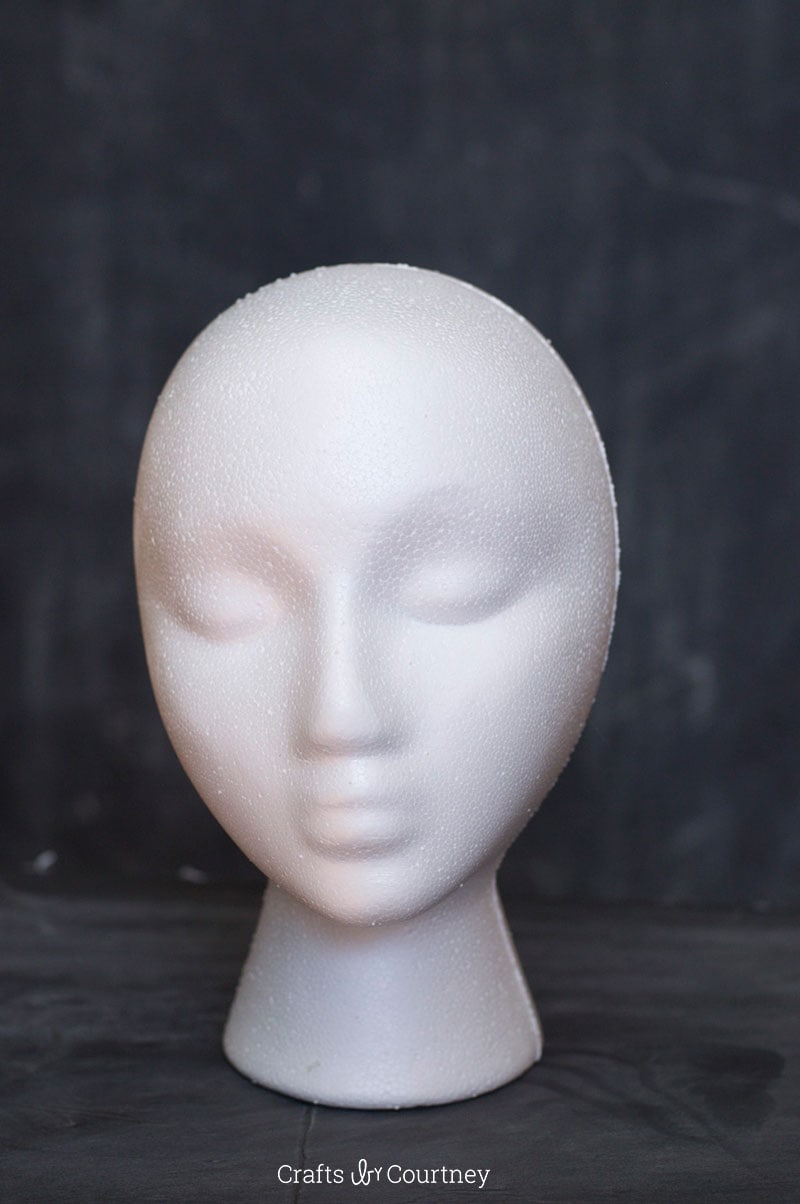
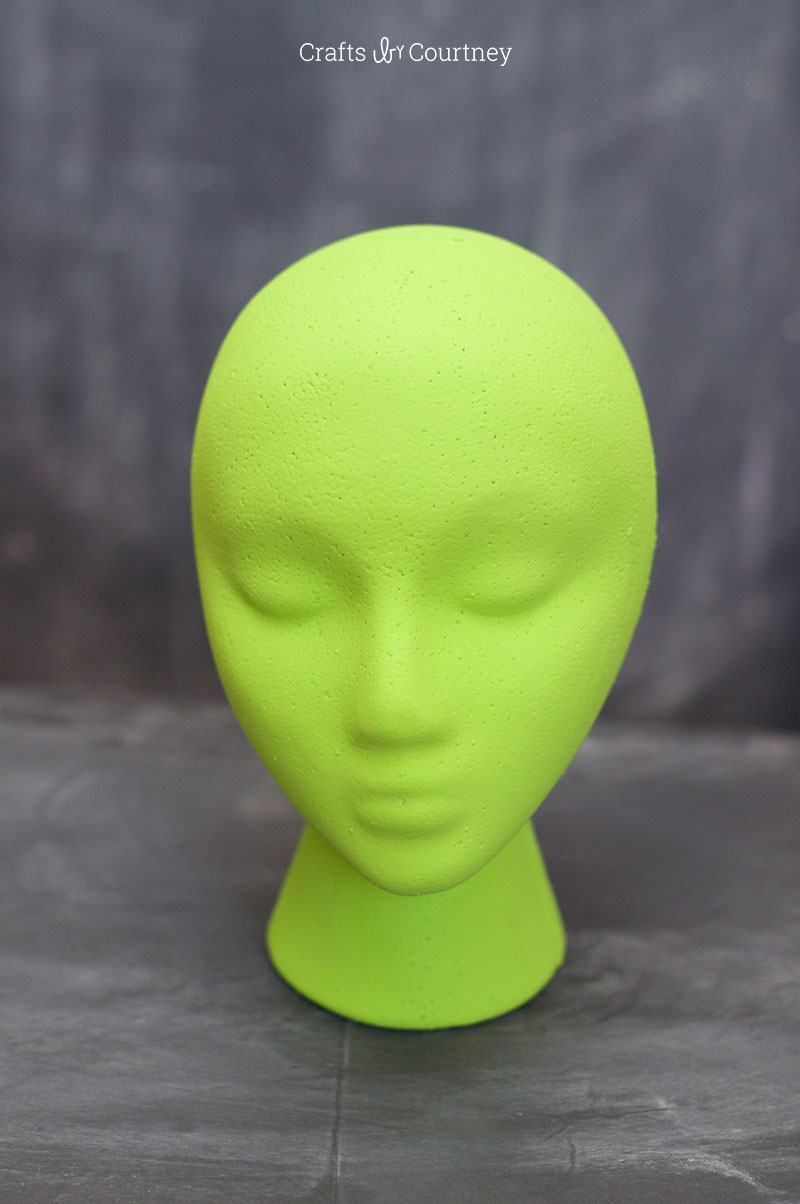
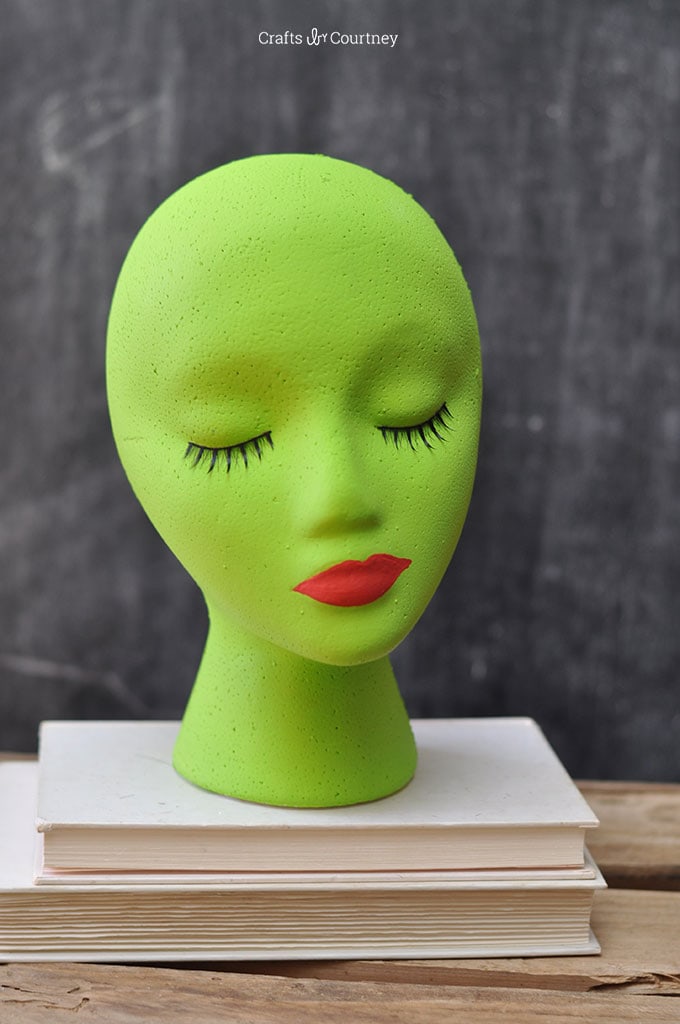
I decided to use the regular female head for this craft project. It worked perfect for the project I wanted to do.
I was really inspired now to get crafting on my Wicked Witch!
Step 1 – Paint Head
I found the perfect shade of green at Wal-Mart (lime tree). I painted on three layers, letting each coat dry 20 minutes. I was really excited when I saw the paint dried pretty fast on these heads.
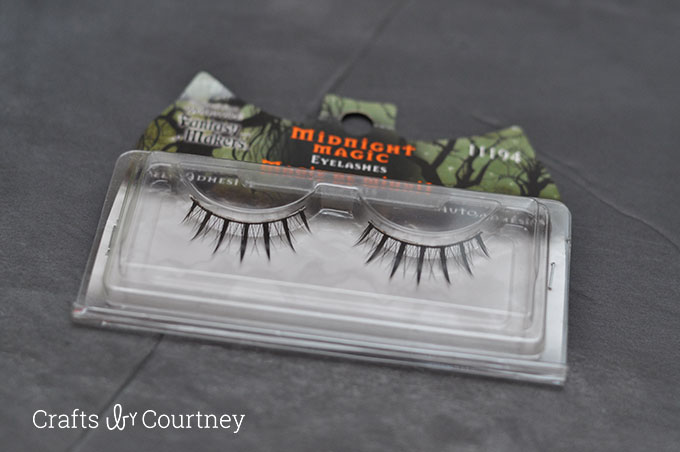
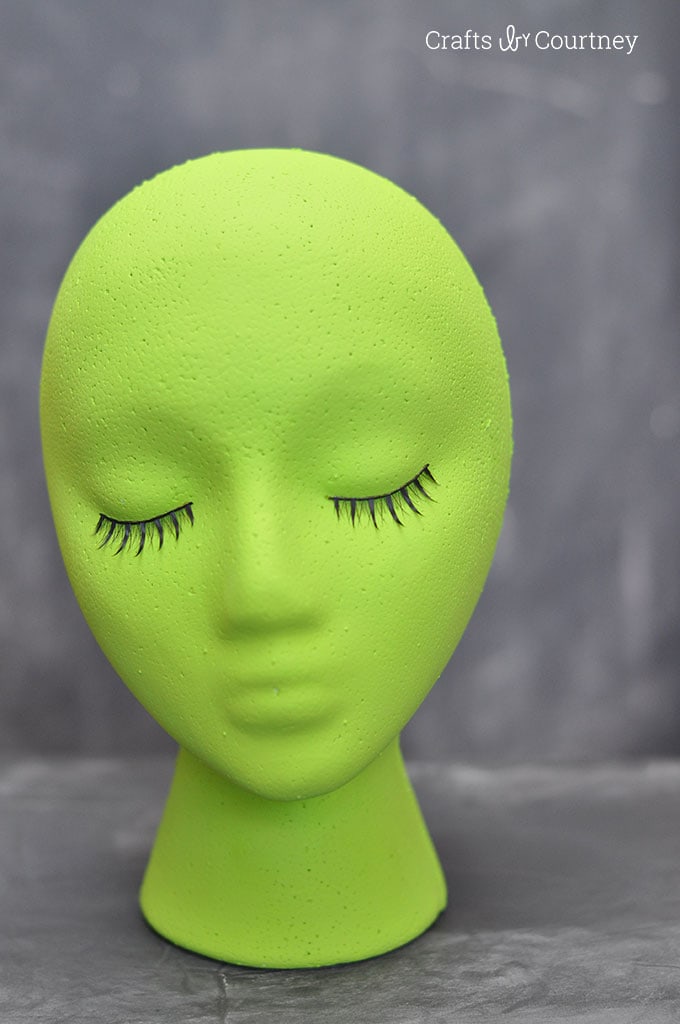
Step 2 – Add Lashes
While I was at my local Mighty Dollar I found these eyelashes for only $1.00. I know in the poster they don’t show her eyes but I really wanted to add this touch. I’m so glad I did.
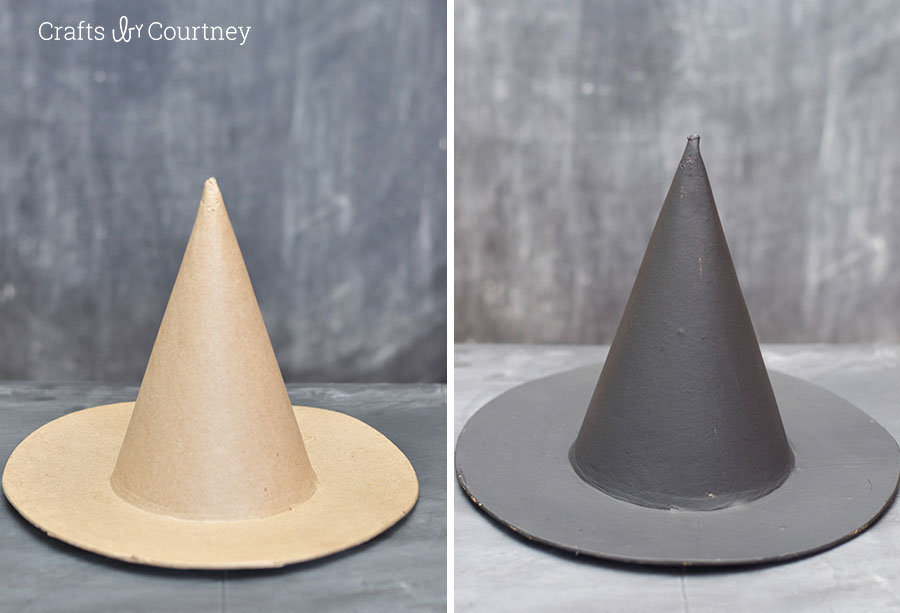
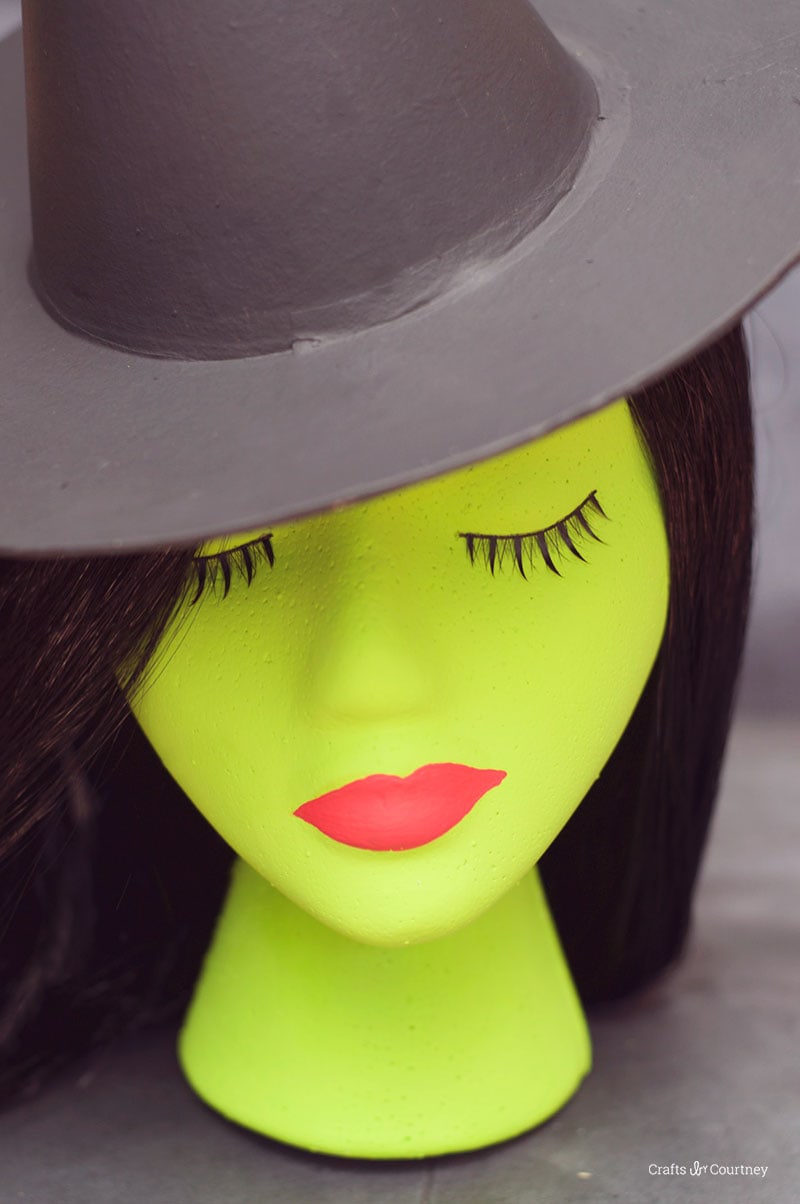
Step 3 – Paint Your Witch Hat
A couple years ago I got a TON of these cardboard witch hats for .25 cents each at Michael’s. Gotta LOVE a bargain!
I painted on two coats of black paint and kept the hat simple.
Step 4 – Paint on Lips
Now I had to add the red lips. For this step I had to freehand them on. I’m not the best at this part, but I don’t think it turned out too bad. I’m no makeup artist that’s for sure!
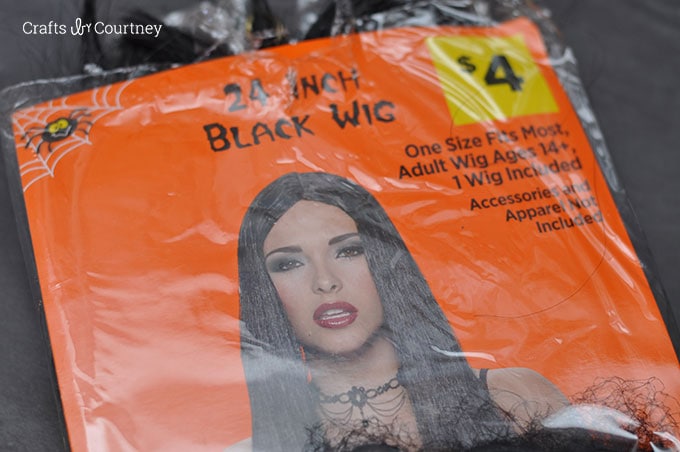
Step 5 – Add Wig
The hair was probably the hardest part for me. I didn’t know exactly what I was going to do with it. Should I get crafty or just go out and get a wig. I ended up just getting a wig. It was only $4.00 so that wasn’t too bad, right!?!
Finishing Touches
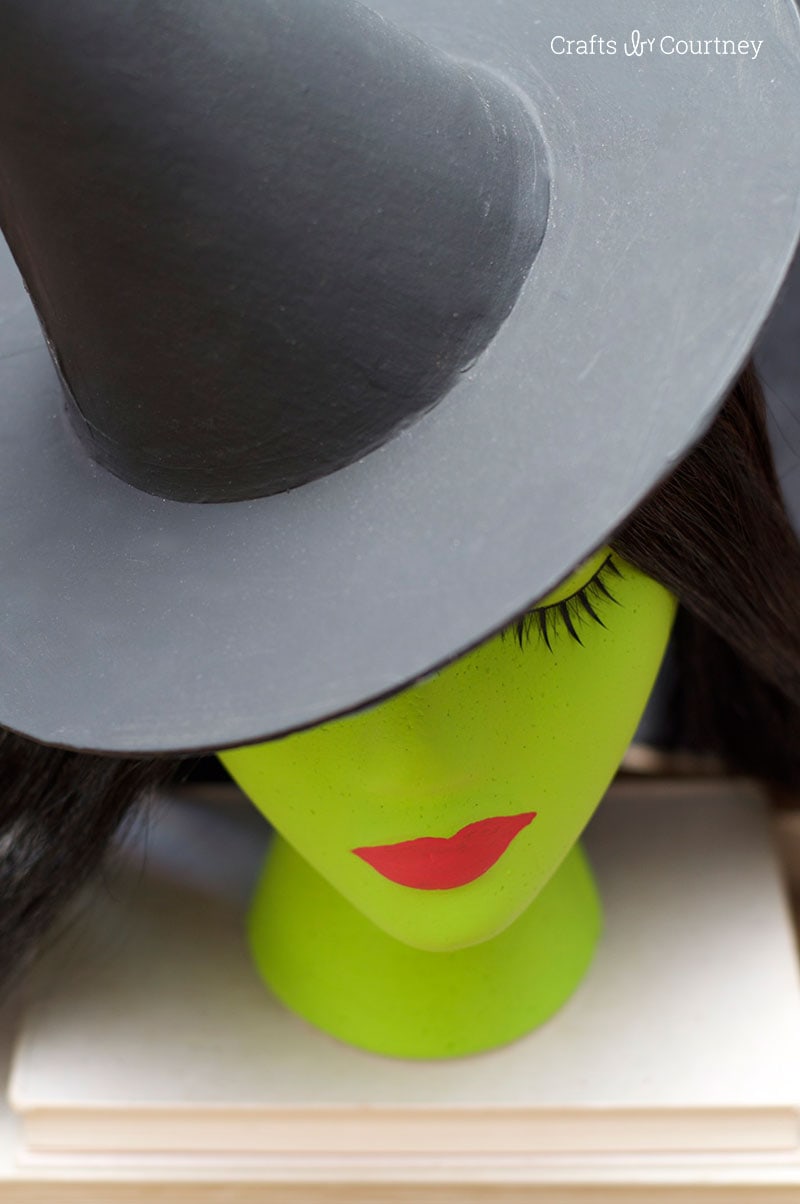
I added the wig and witches hat to complete my look!! Now I’m ready to display it for Halloween!!
I think my Elphaba turned out pretty good, especially for one of those crafts that came out of no where. When I opened my box of heads I never would have expected I would have ended up using this one. But I’m really glad I did.
I’ve read the book and have even had the privilege to see the musical in person, so this is also a pretty personal craft for me. I’m a BIG fan of WICKED. If you haven’t read the book I highly suggest it!!
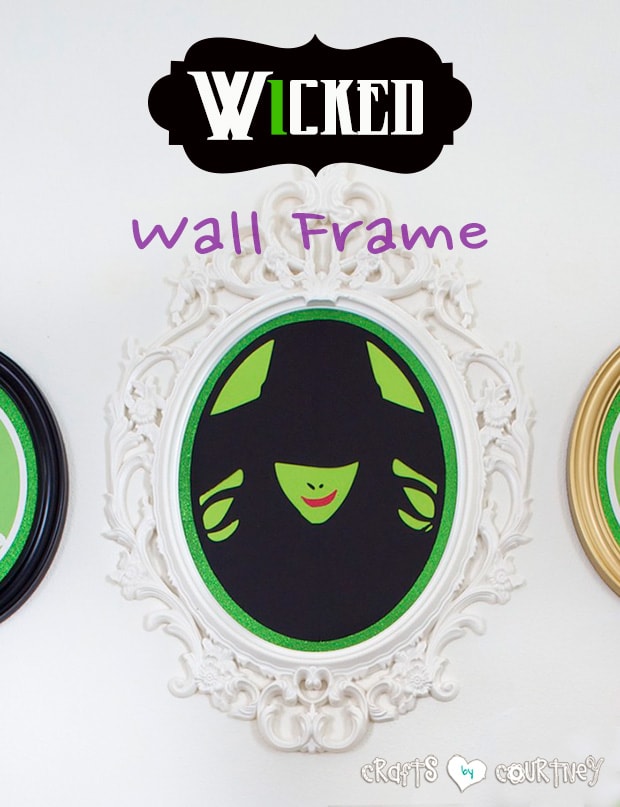
Here’s the WICKED craft I did a couple years ago using my Silhouette. I had a complete WICKED display in my living room! I really need to make the whole display again since I just did my new craft!
Love, Courtney