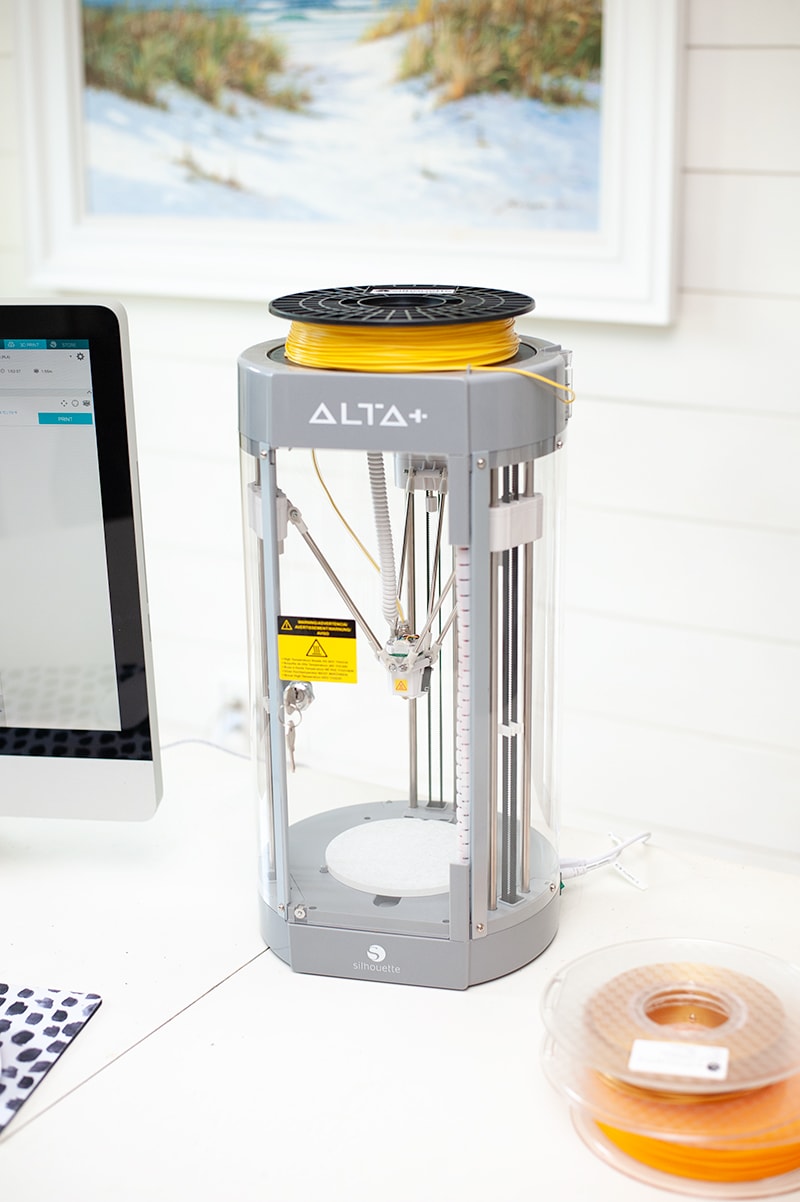
Hello everyone, I’m at it again teaming up with Silhouette to talk about the new Silhouette Alta Plus 3D Printer. My last post I did an unboxing of the Alta Plus and showed how easy it is to setup your machine. This post I wanted to show how to make your first project.
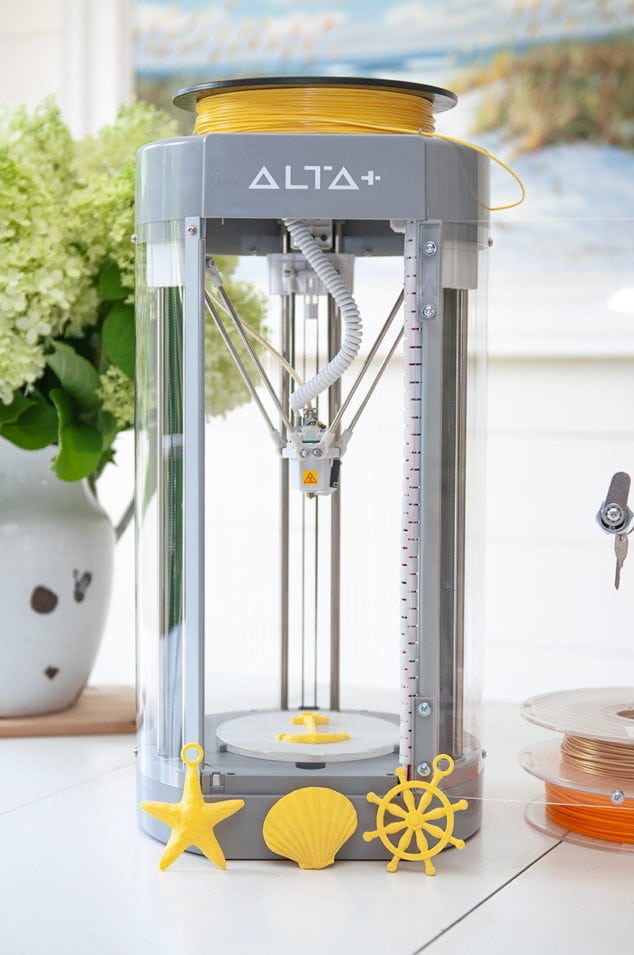
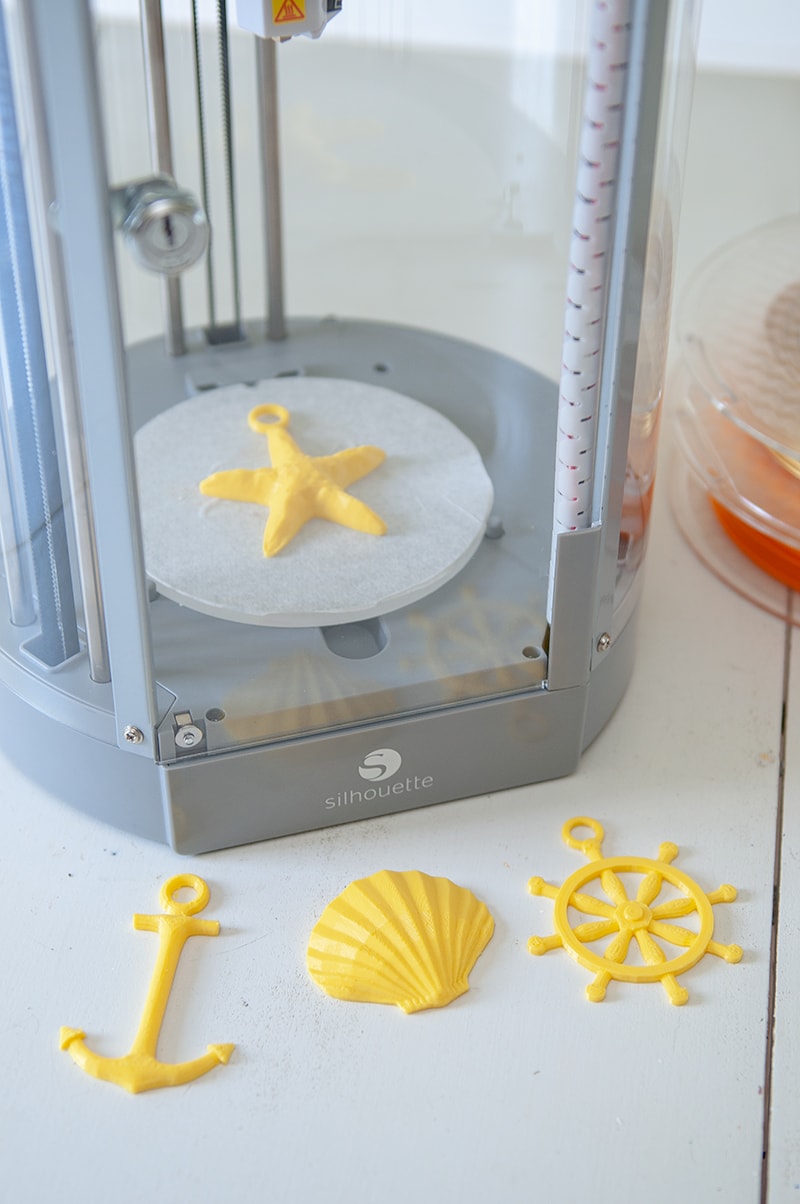
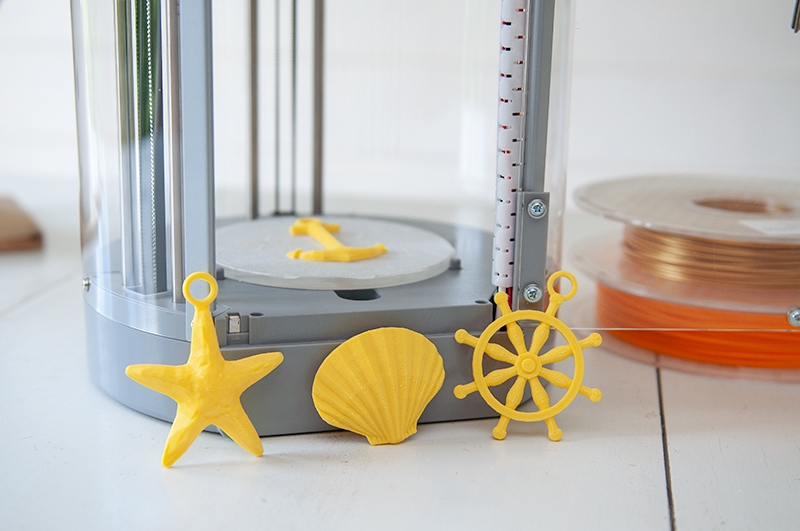
I decided to keep it simple for my first project and make some coastal items. If you know me then you know I’m all about a coastal crafts.
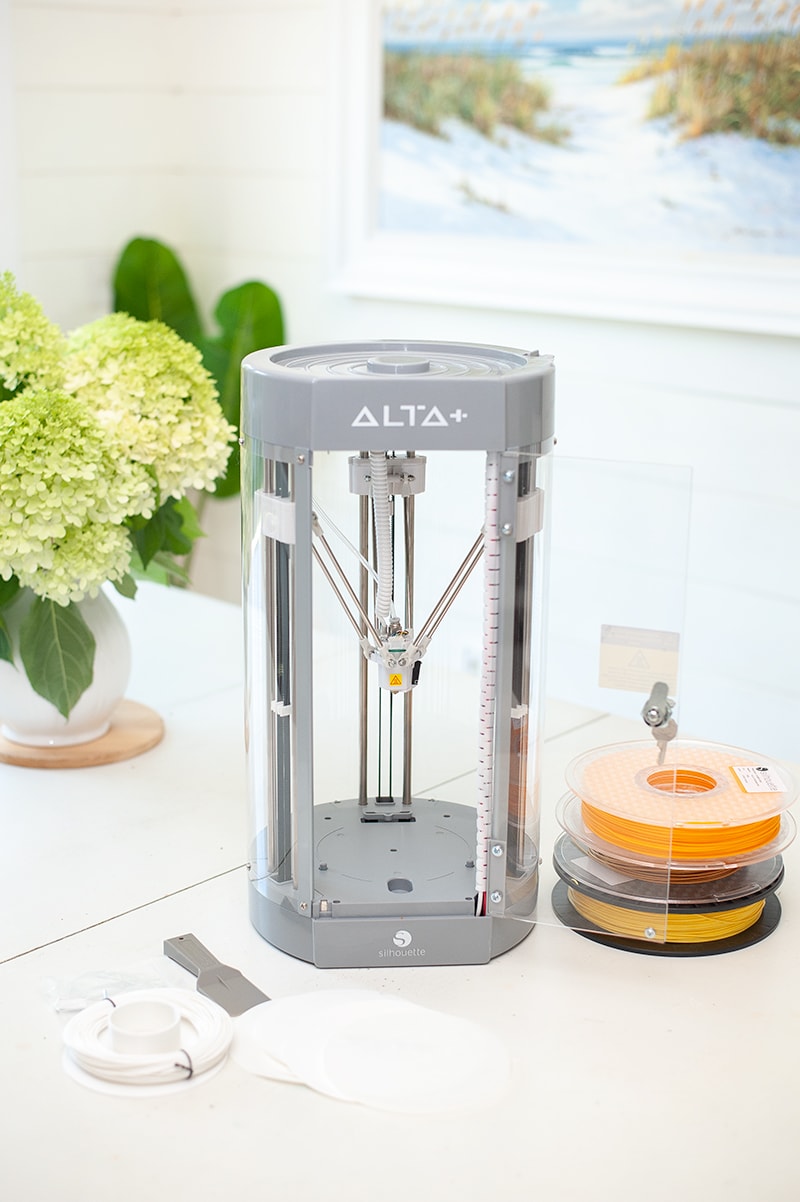
So let’s gather up our machine and supplies and get started!
Alta Plus 3D Printer Project Supplies Needed:
A big thank you to Silhouette for sponsoring this post! This post contains affiliate links, which help to support this site at no extra cost to you.
Getting Started
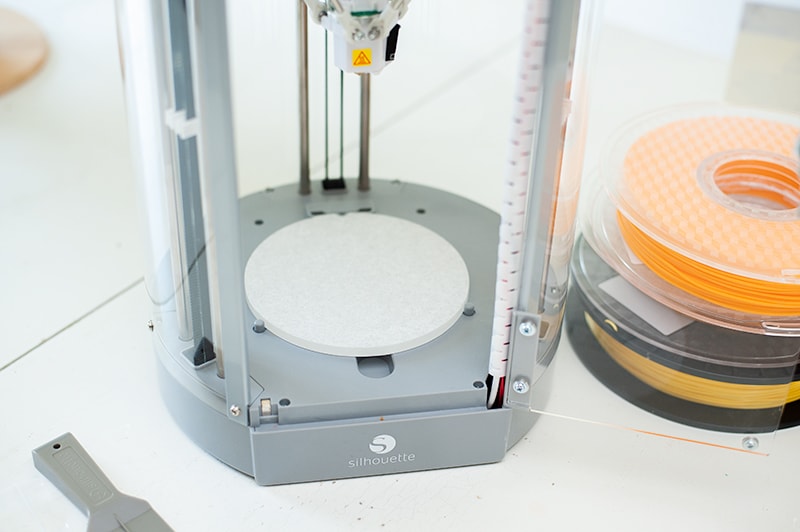
Step 1 – Add your Platform
With the new Alta Plus the platform already has platform tape on it. But after a couple uses you will need to replace it. Five extra come in the box. But if you need to buy extra platform tape, you can get it on the Silhouette website.
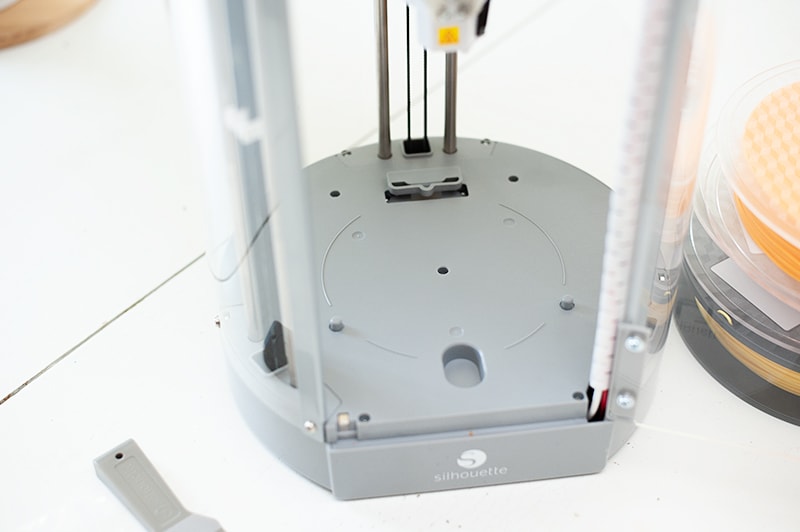
The platform just POPS into place!

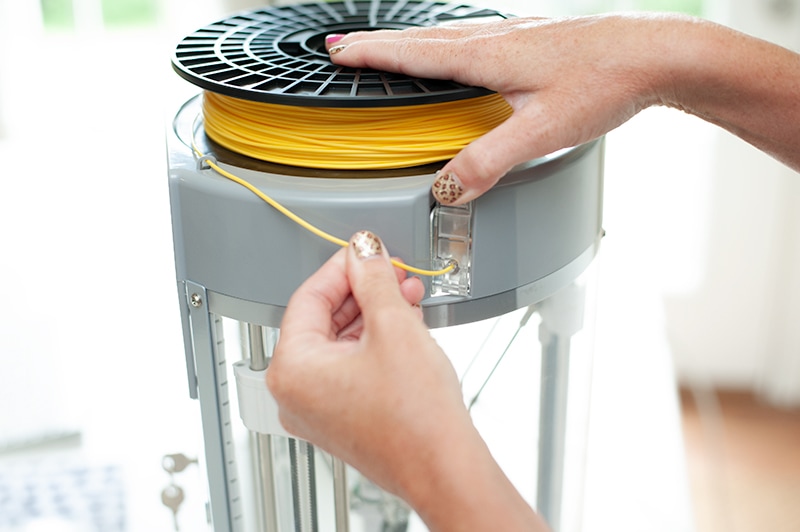
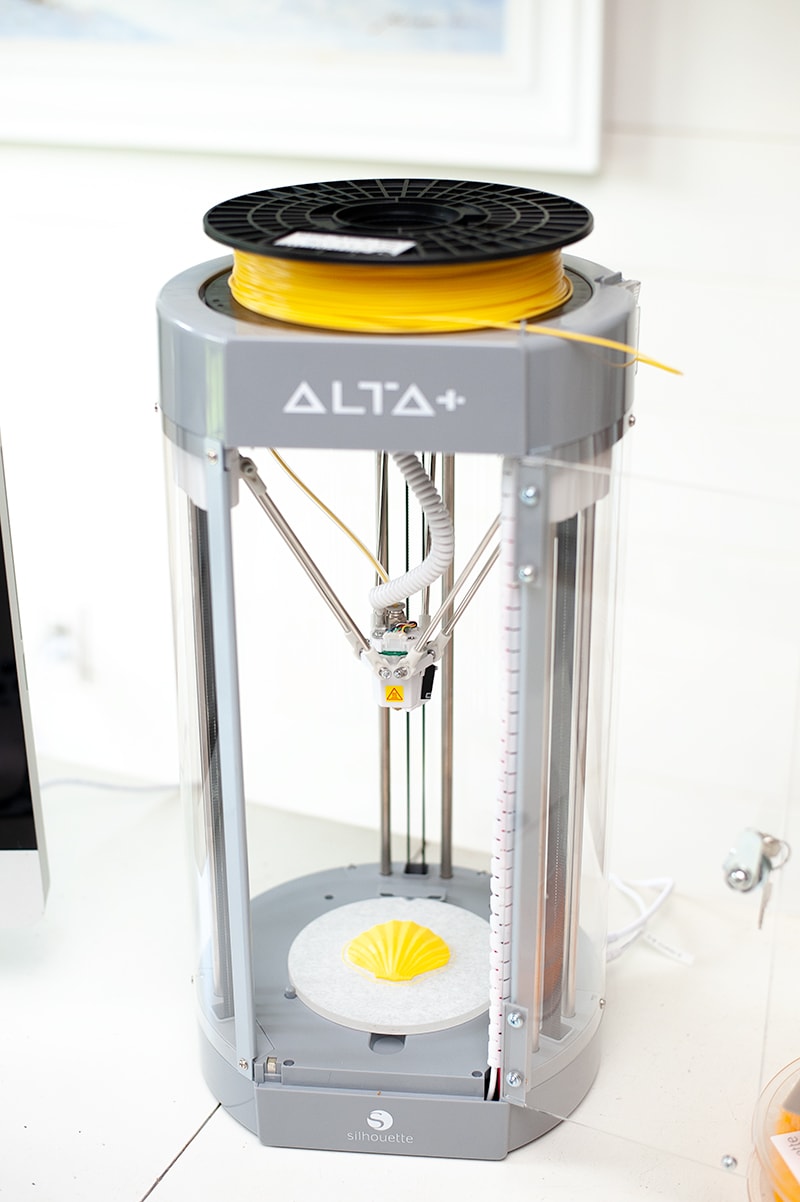
Step 2 – Add Filament
Now it’s time to add your filament! Pick your color and place the tube on top. Feed it through the top loop and pull the lever pushing the filament through until it reaches the print head.
*Step 7 I’ll show you how to heat up the machine
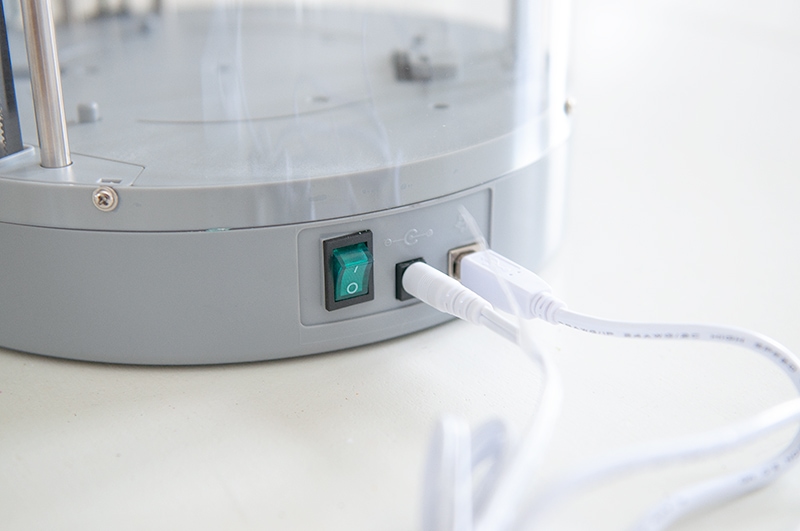
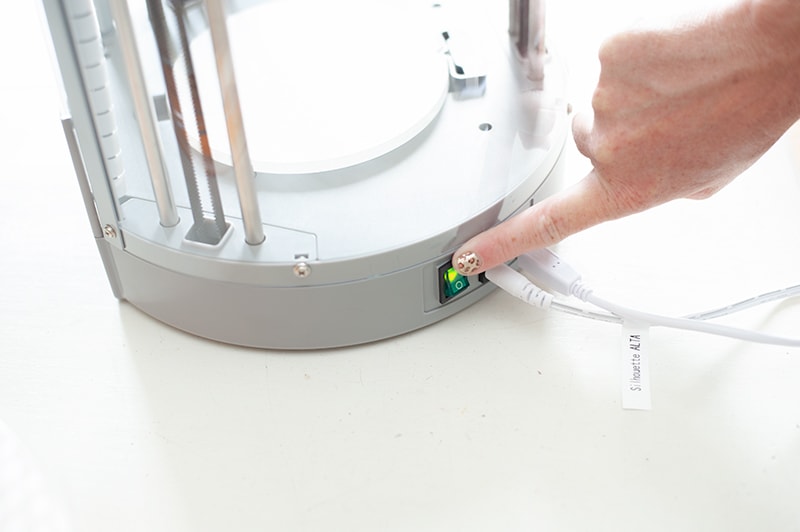
Step 3 – Add Cables and Turn Machine on
Add your USB cable and power cable to the machine and computer. Then flip the green power switch to turn on.
Step 4 – Open Silhouette 3D and Pick Design
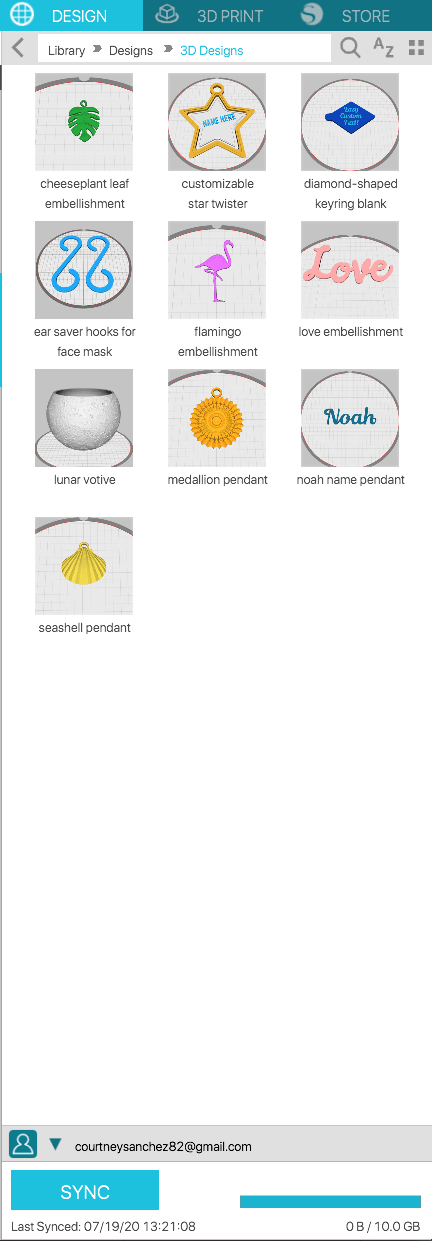
Now we’re ready to pick our design. Silhouette 3D comes with some free designs to start with or you can purchase some in the Silhouette design store.
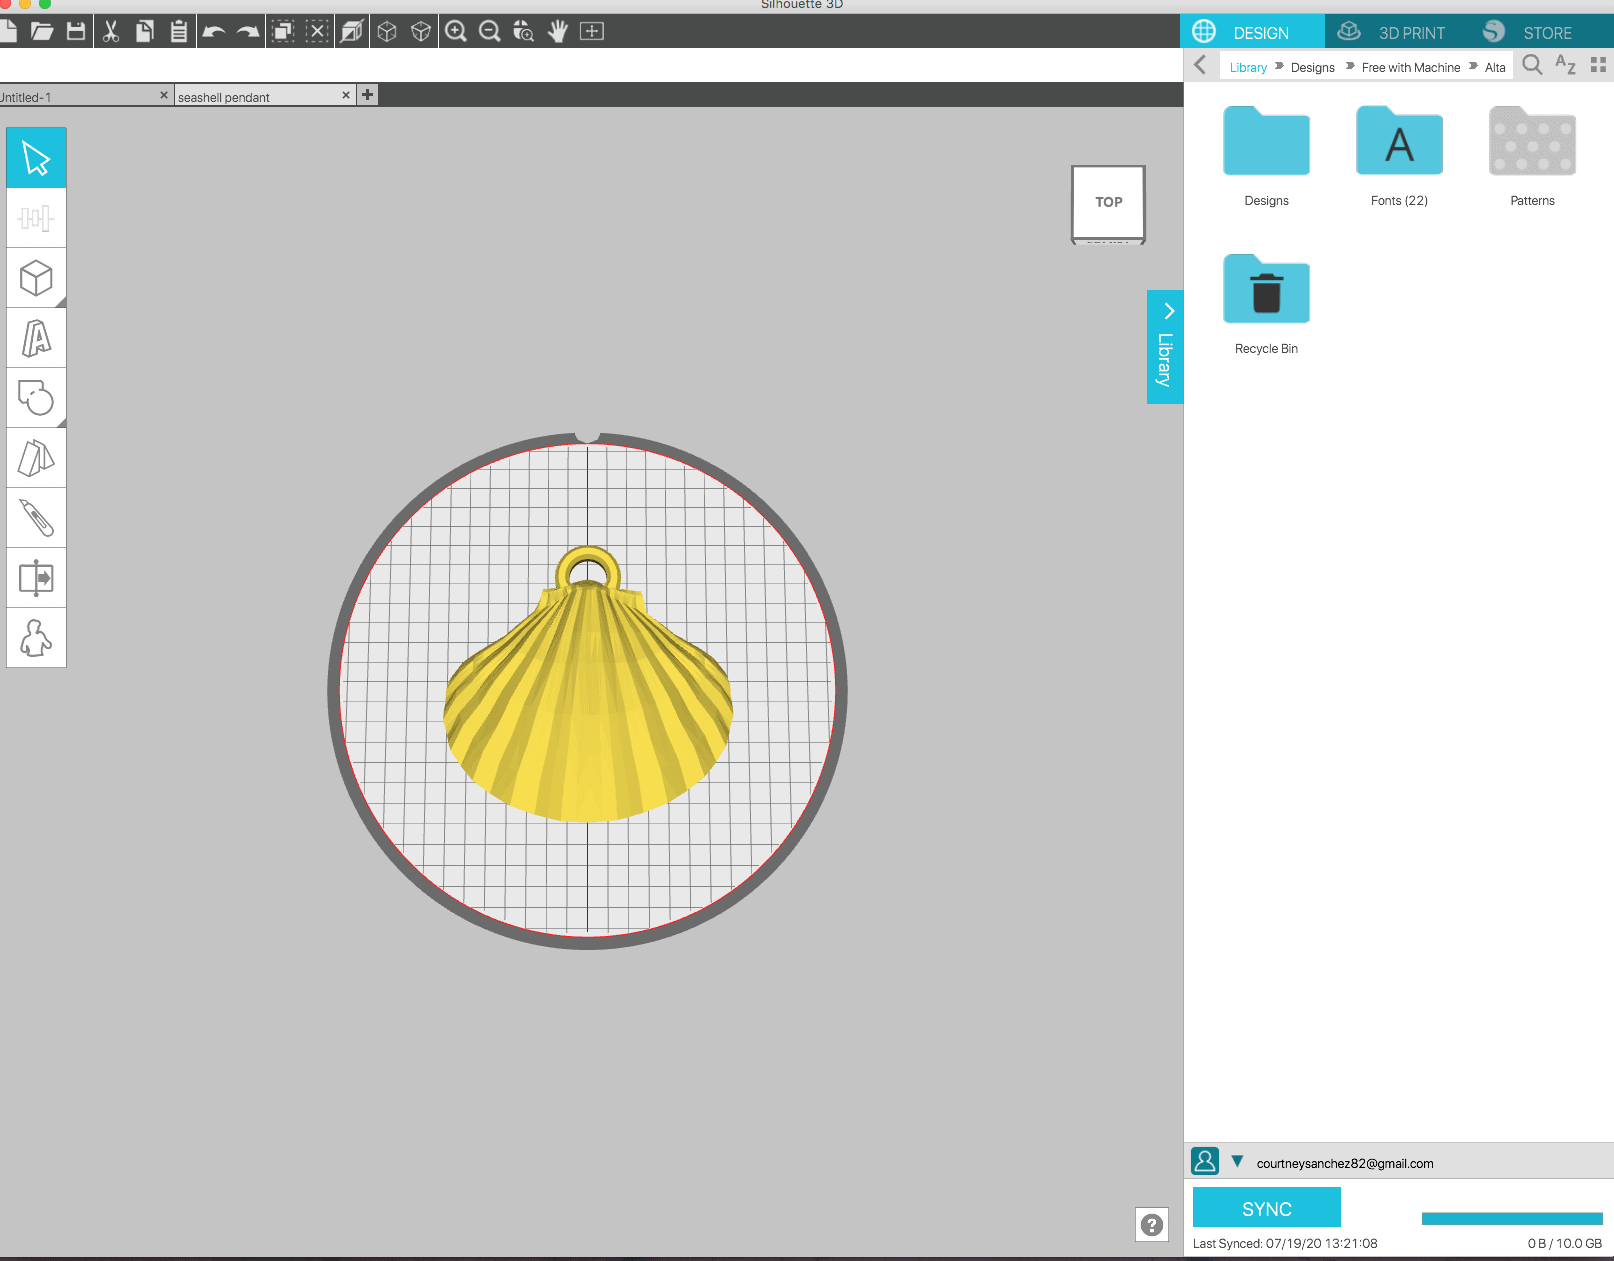
Step 5 – Size Design
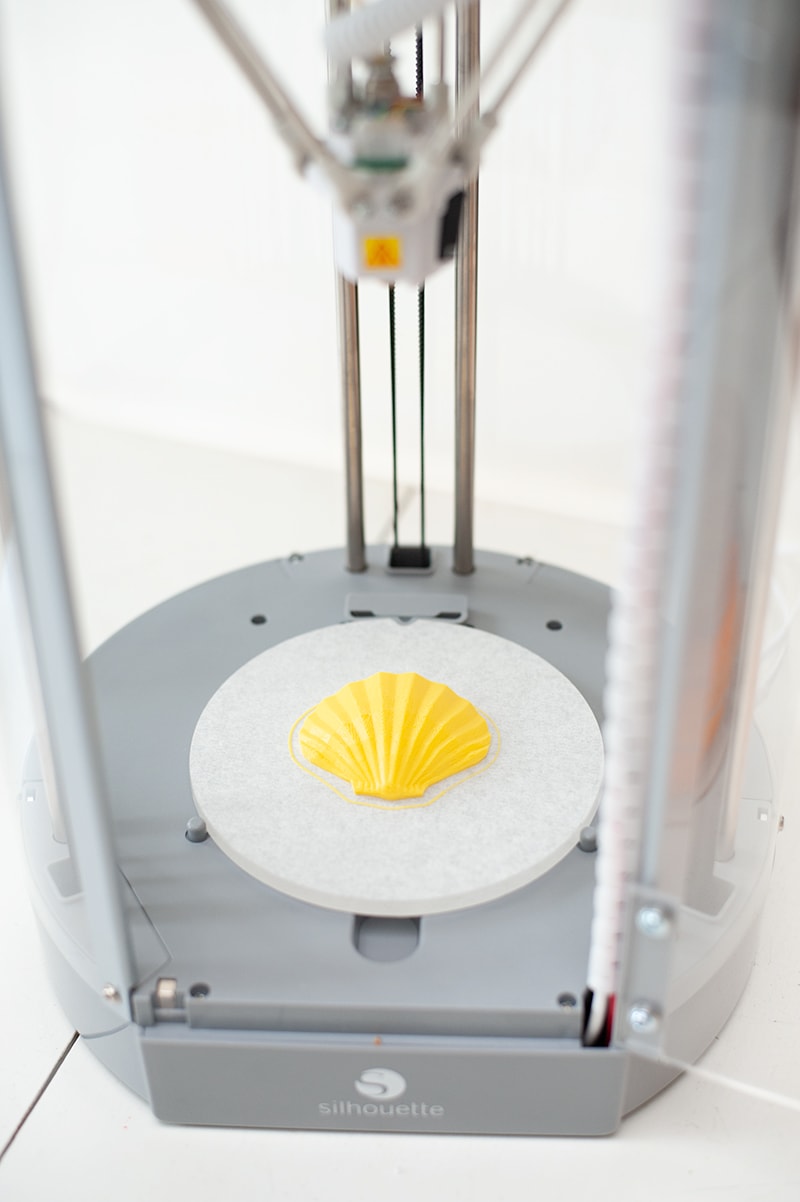
Now it’s time to size our design. I decided to make my shell a little larger for this post.
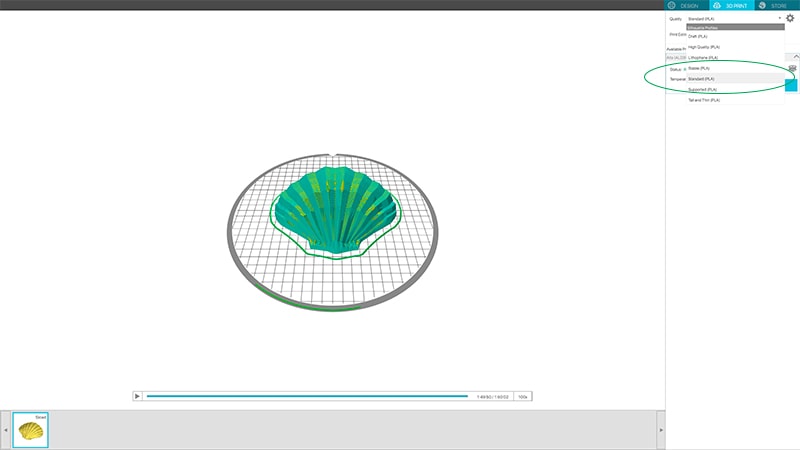
Step 6 – Setup Print
Head over to the 3D Print section of the tab bar and click the quality drop bar. There are several options for print quality, but for this project we will do Standard.
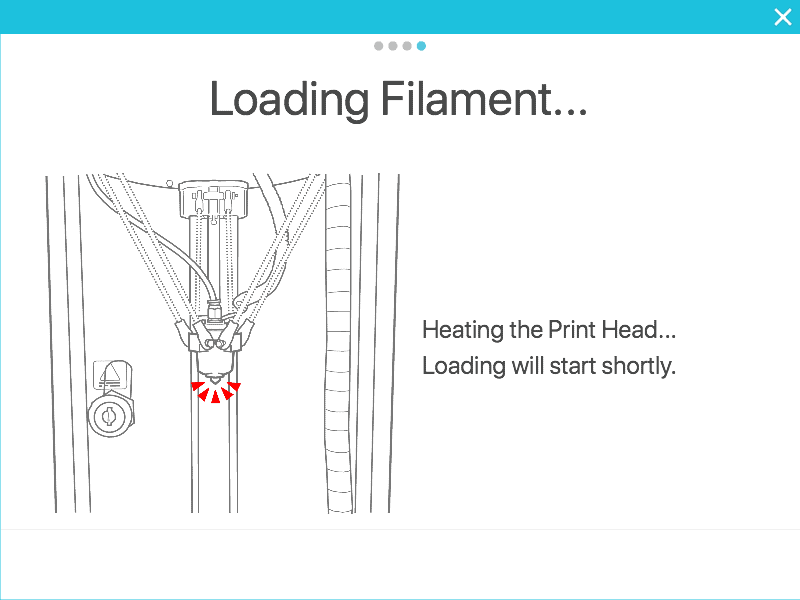
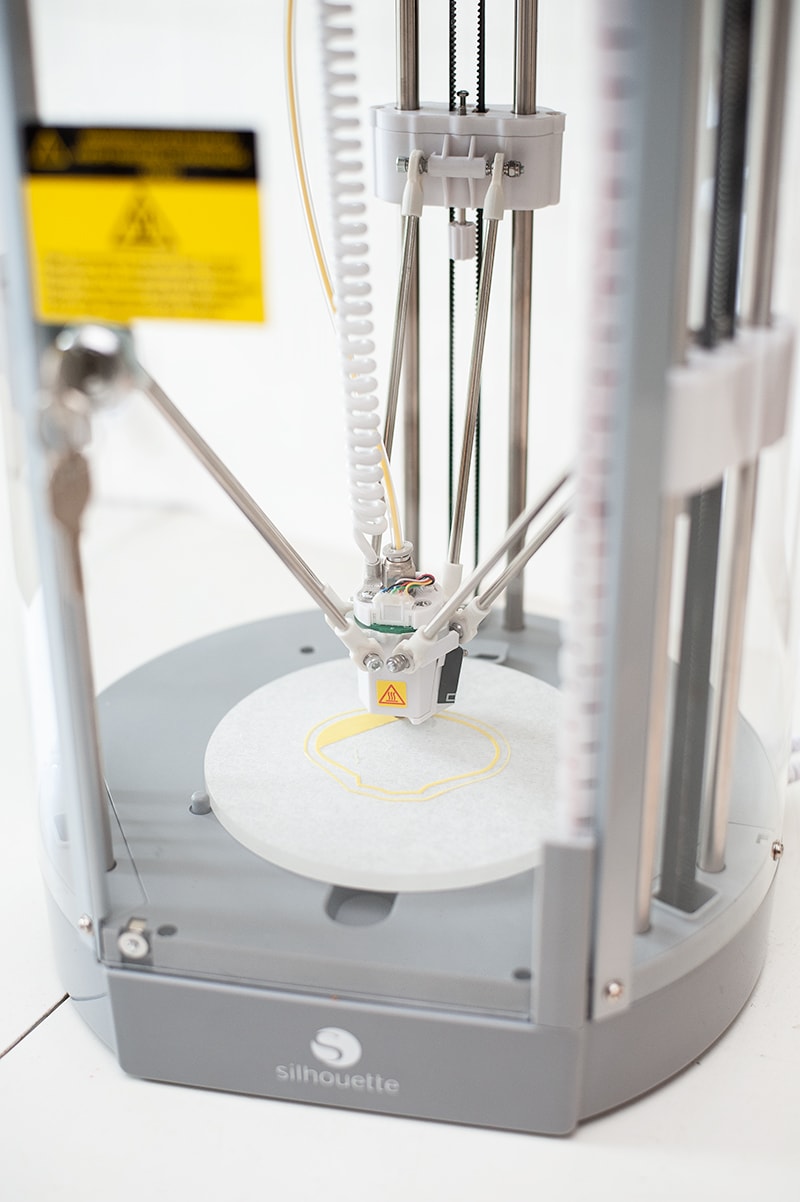
Step 7 – Load and Heat Filament
We’ve already loaded our Filament, but now we want to heat it up to get started printing. Click the spool icon on the right, and wait for the machine to heat up. It takes a couple minutes for it to heat up.

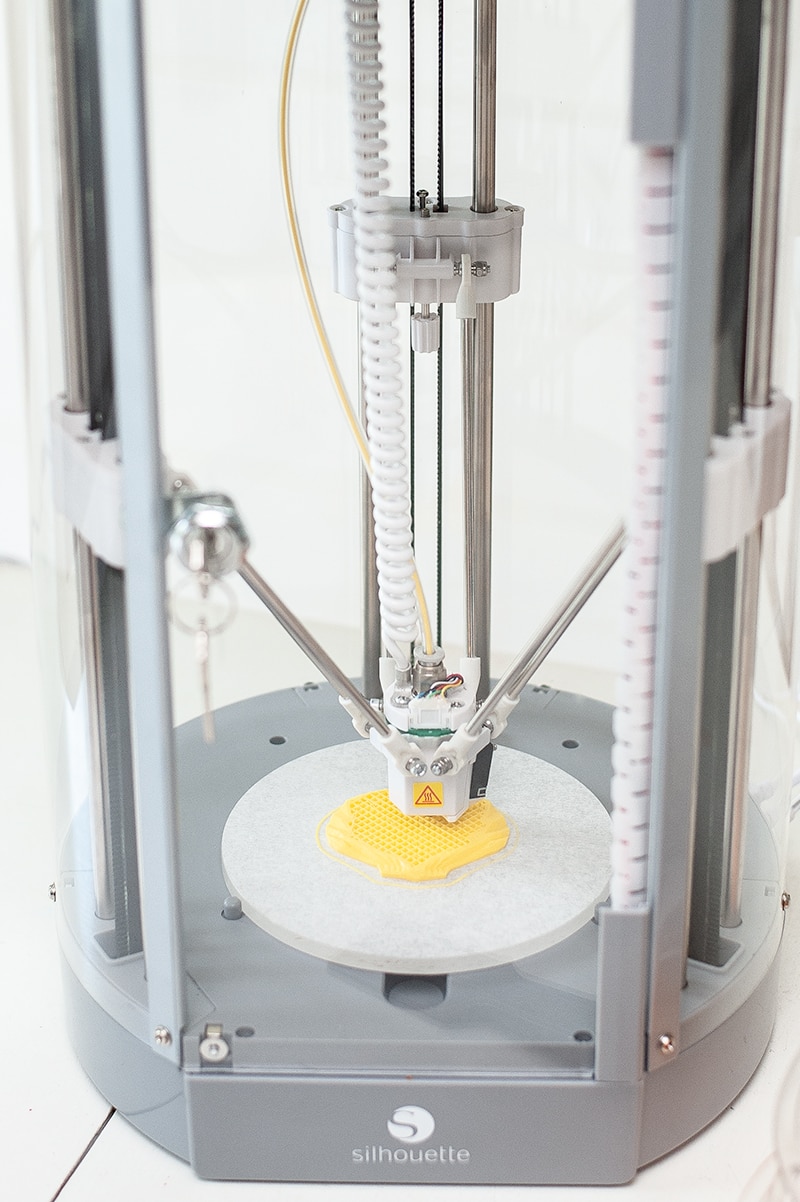
Step 8 – Print Design
Now we’re ready for the fun part, PRINTING!! Woohoo!!
All you gotta do now is click to print button and the machine will start printing.
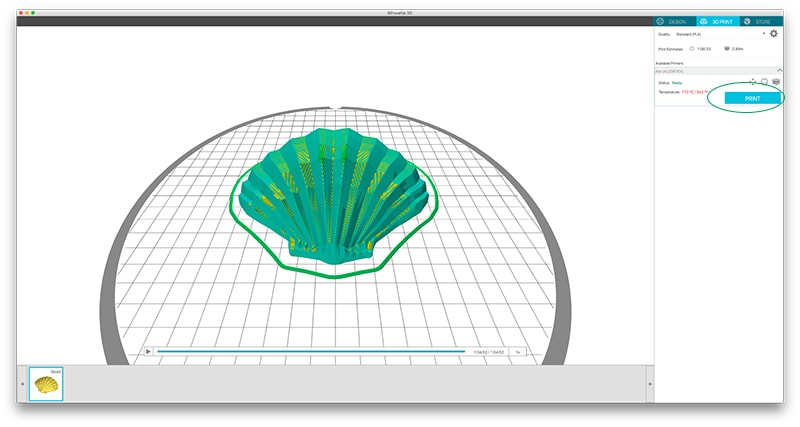
Step 9 – Wait for Design to Print
It shows on the right hand tab side the time it takes to print your design. To print this shell it took and 1 hour and 52 minutes.
It was pretty interesting to see the process it takes to make a 3D design. My boys had a blast watching it and has some ideas of their own as to what they want to make using this machine.
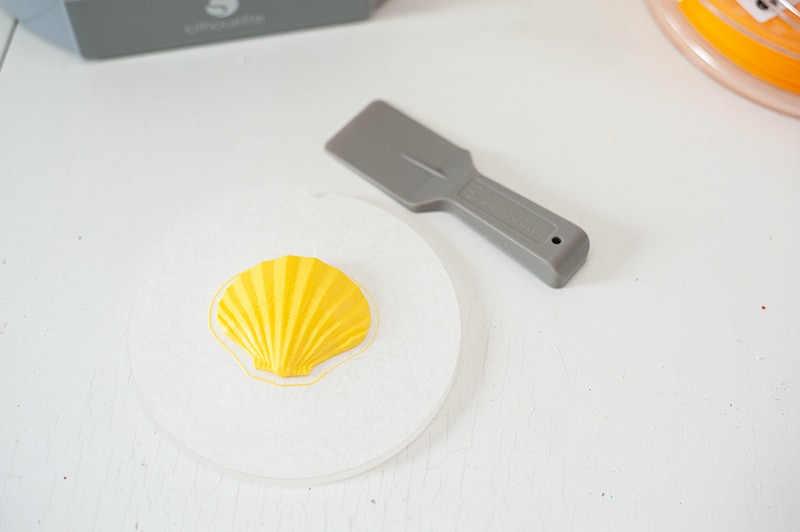
Step 10 – Remove Design
Finally we need to remove the design from the platform. Grab the “hand dandy” spatula and gently remove your design. It takes a few try’s to remove the design from the platform. Alexis over at Persia Lou had a tip about covering the platform with a glue stick to help remove your design. She has some great tutorials on her blog about the Silhouette Alta as well, make sure to head over and check those out!
Finishing Touches
After I finished my first project I had to make some more! It became addicting!
I hope this tutorial was helpful and shows you how easy it is to use the new Silhouette Alta Plus 3D Printer. This was an easier project to do, but my next post I will be trying something new! So stay turned for that!
Toni over at The Sprinkle Factory has a great tutorial on how to make cookie cutters, using the Silhouette Alta that you should check out!
As aways if you have any questions about the new Silhouette Alta Plus please don’t hesitate to ask! I will help answer any questions that I can or find out the answers for you!
Love, Courtney