I love the idea of recycling crayons and using molds to make new ones. That’s why I save ALL my sons’ broken crayons.
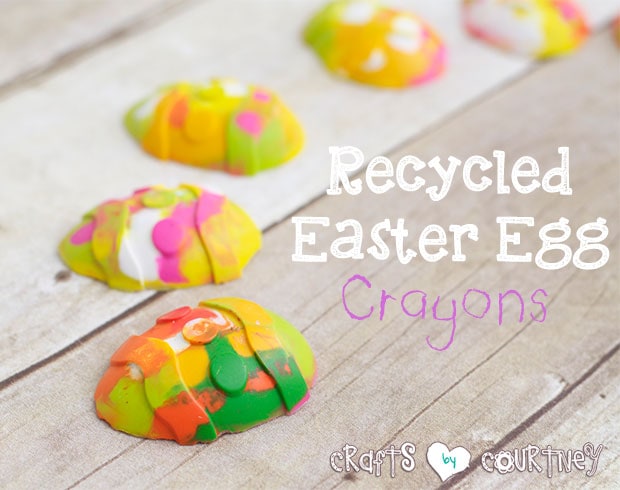
I haven’t seen where anyone has made DIY Easter egg crayons and since it’s Easter time, I thought this would be PERFECT!
These Easter egg crayons would be fun for the kids to use on their next coloring project. Better yet, they would be GREAT as party favors at the kids’ next Easter party.
Getting Started
Since I’ve been saving the kids’ broken crayons, I was ALL SET with that part. While I was a TJMaxx, I found this cute Easter egg mold and knew exactly what I wanted to do with it!

Step 1 – Prep Crayons for Mold
I had/helped my son pull the wrappers off his crayons and break them into pieces. I think he was excited that he was actually able to BREAK his crayons (and not get into trouble).

He was actually having fun breaking crayons!!
Step 2 – Add Crayons to Mold
Then, my son placed ALL the crayons in the Easter egg mold until they reached the top.

Quick Tip: Be careful NOT to overfill the molds, it can end up quite messy!
Step 3 – Bake the Crayons
I preheated the oven to 350 degrees, then baked the crayons for 12 minutes.

Step 4 – Allow Time to Dry
I removed the mold from the oven. Allow the crayons to sit for 3 hours BEFORE pulling them out of the mold.
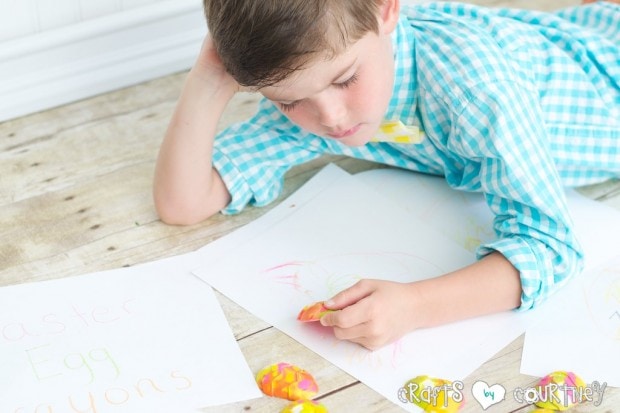
My son was super excited he couldn’t wait to see his crayon eggs!

Side Note: Looking for another fun kids Easter craft? Why not try this plastic Easter egg chicks and paper nest craft?
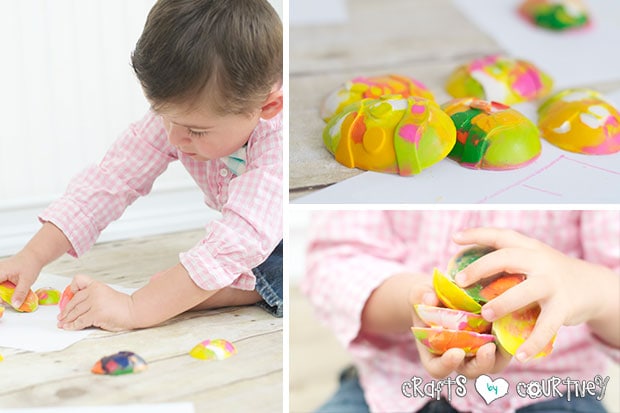
Step 5 – Finishing Touches
When cool, gently pull each Easter egg crayon from it’s mold and VOILA all done!!
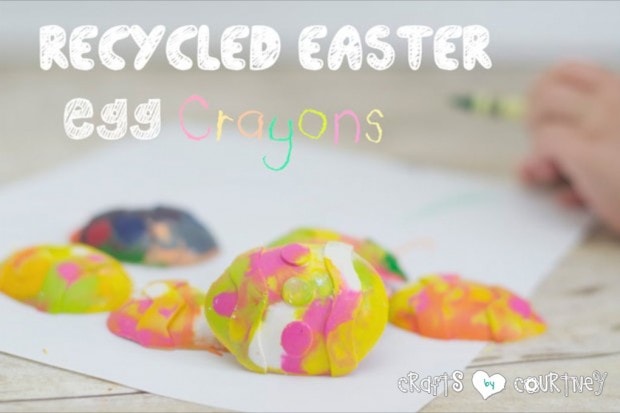
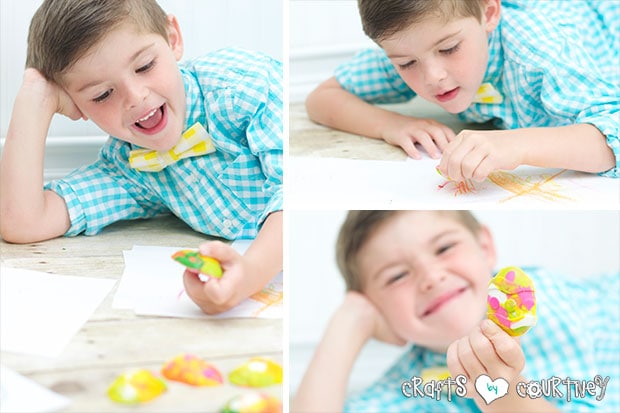
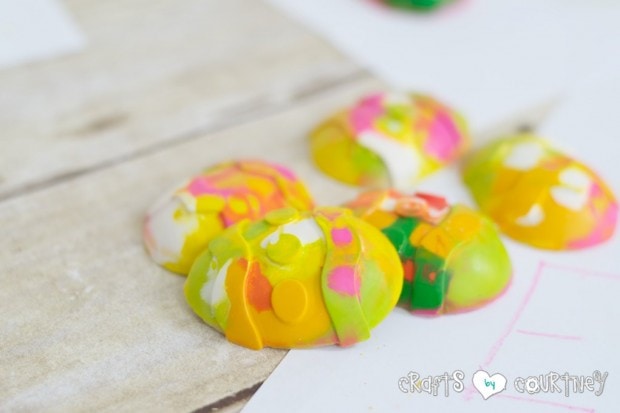
My son thought these were super cute and I think they came out perfect. We had LOTS of fun working on these together. I can’t wait to make more!
They were really an EASY project to MAKE and a perfect way to recycle those broken crayons. Gotta’ love that right?!
Love, Courtney