Crafts by Courtney

How-to Crafts and DIY Parties

  • Home
  • How-to Crafts
    • Home Crafts
      • Holiday
      • Seasonal
      • DIY Decor
    • Kids Crafts
      • Holiday
      • Seasonal
      • Educational
      • Clean
      • Messy
  • DIY Parties
    • Birthdays
    • Just for Fun
    • Holidays
  • Blog
    • My Thoughts
    • Hubby’s Corner
  • About
  • Contact

DIY Wood Sign – Coastal Decor

Create a beautiful DIY Wood Sign - Coastal Decor

I love working on DIY Wood Signs for the house. Their really one of my favorite kinds of projects.  Plus they’re pretty simple when I use my Silhouette Cameo.

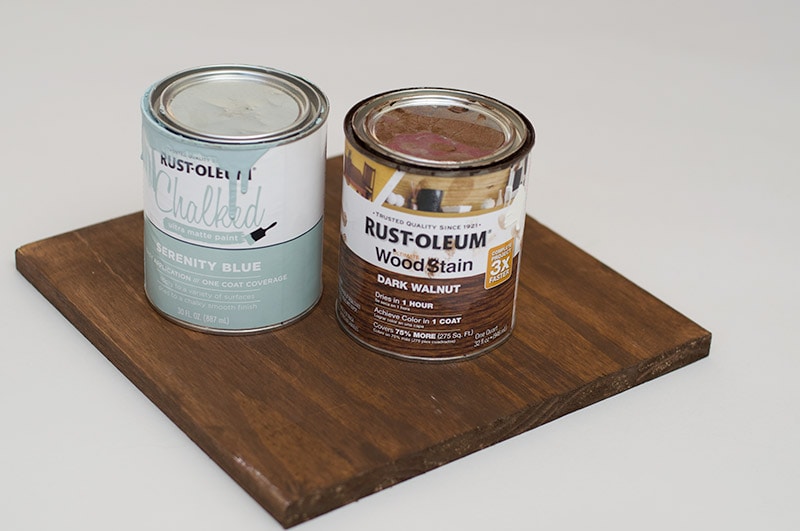
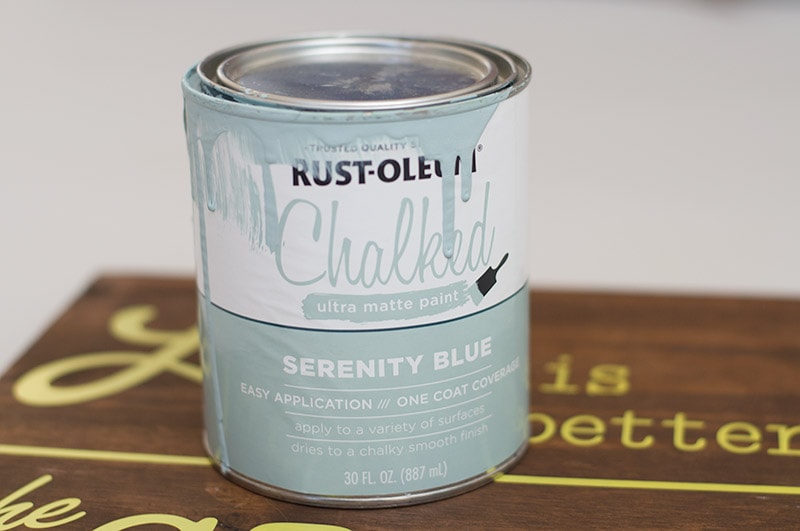
For this project I was part of a Rust-Oleum Blogger Challenge.  They sent me some of their product to use and I was really excited.  One of my favorites was this Serenity Blue chalk paint.  It’s beautiful.

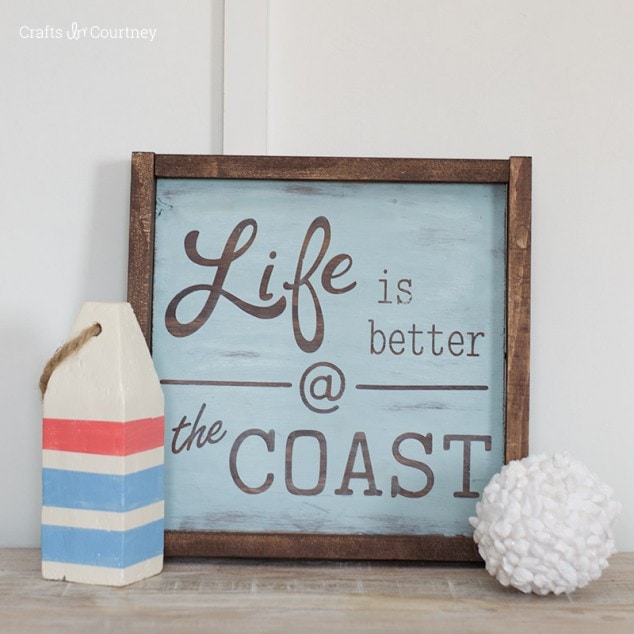
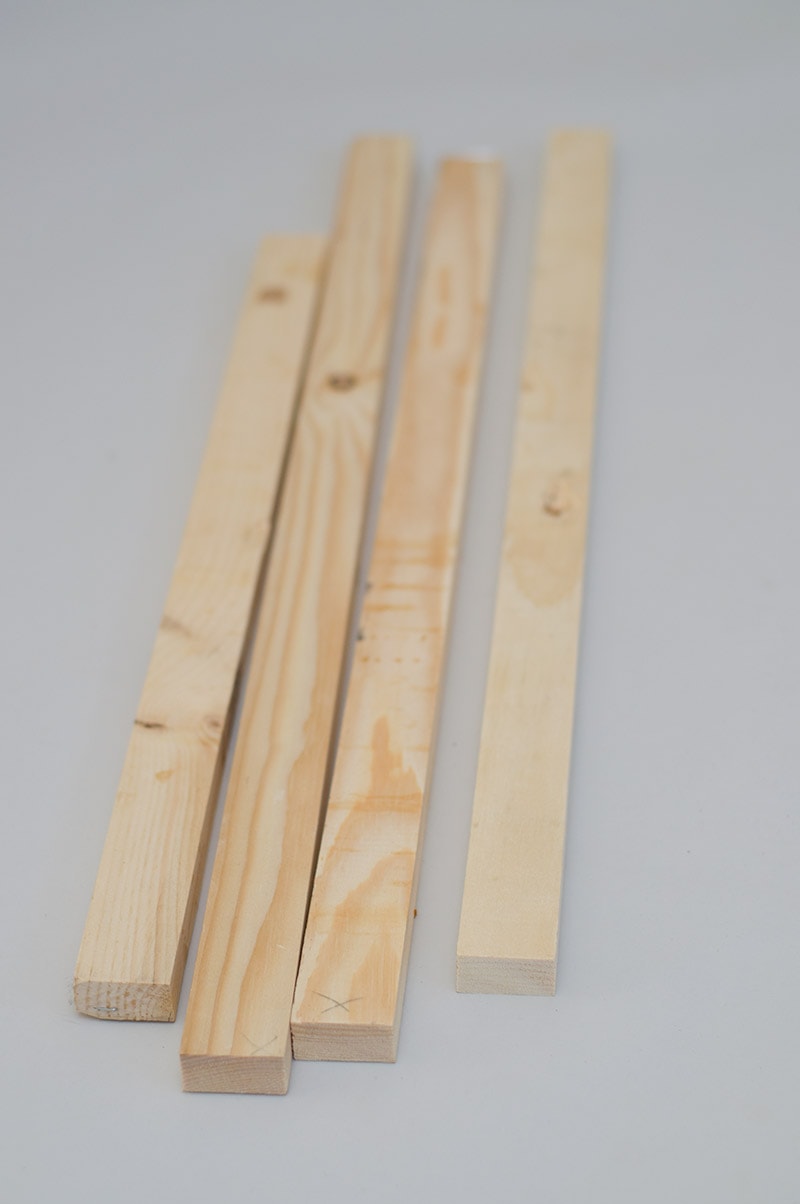
For the challenge I had to do an upcycle project.  So I decided to turn some leftover wood from a closet project into a DIY Wood Sign.  But give it a more coastal feel of course!

DIY WOODEN SIGN

I found my perfect size wood for this project, yay!! So I was ready to get started.
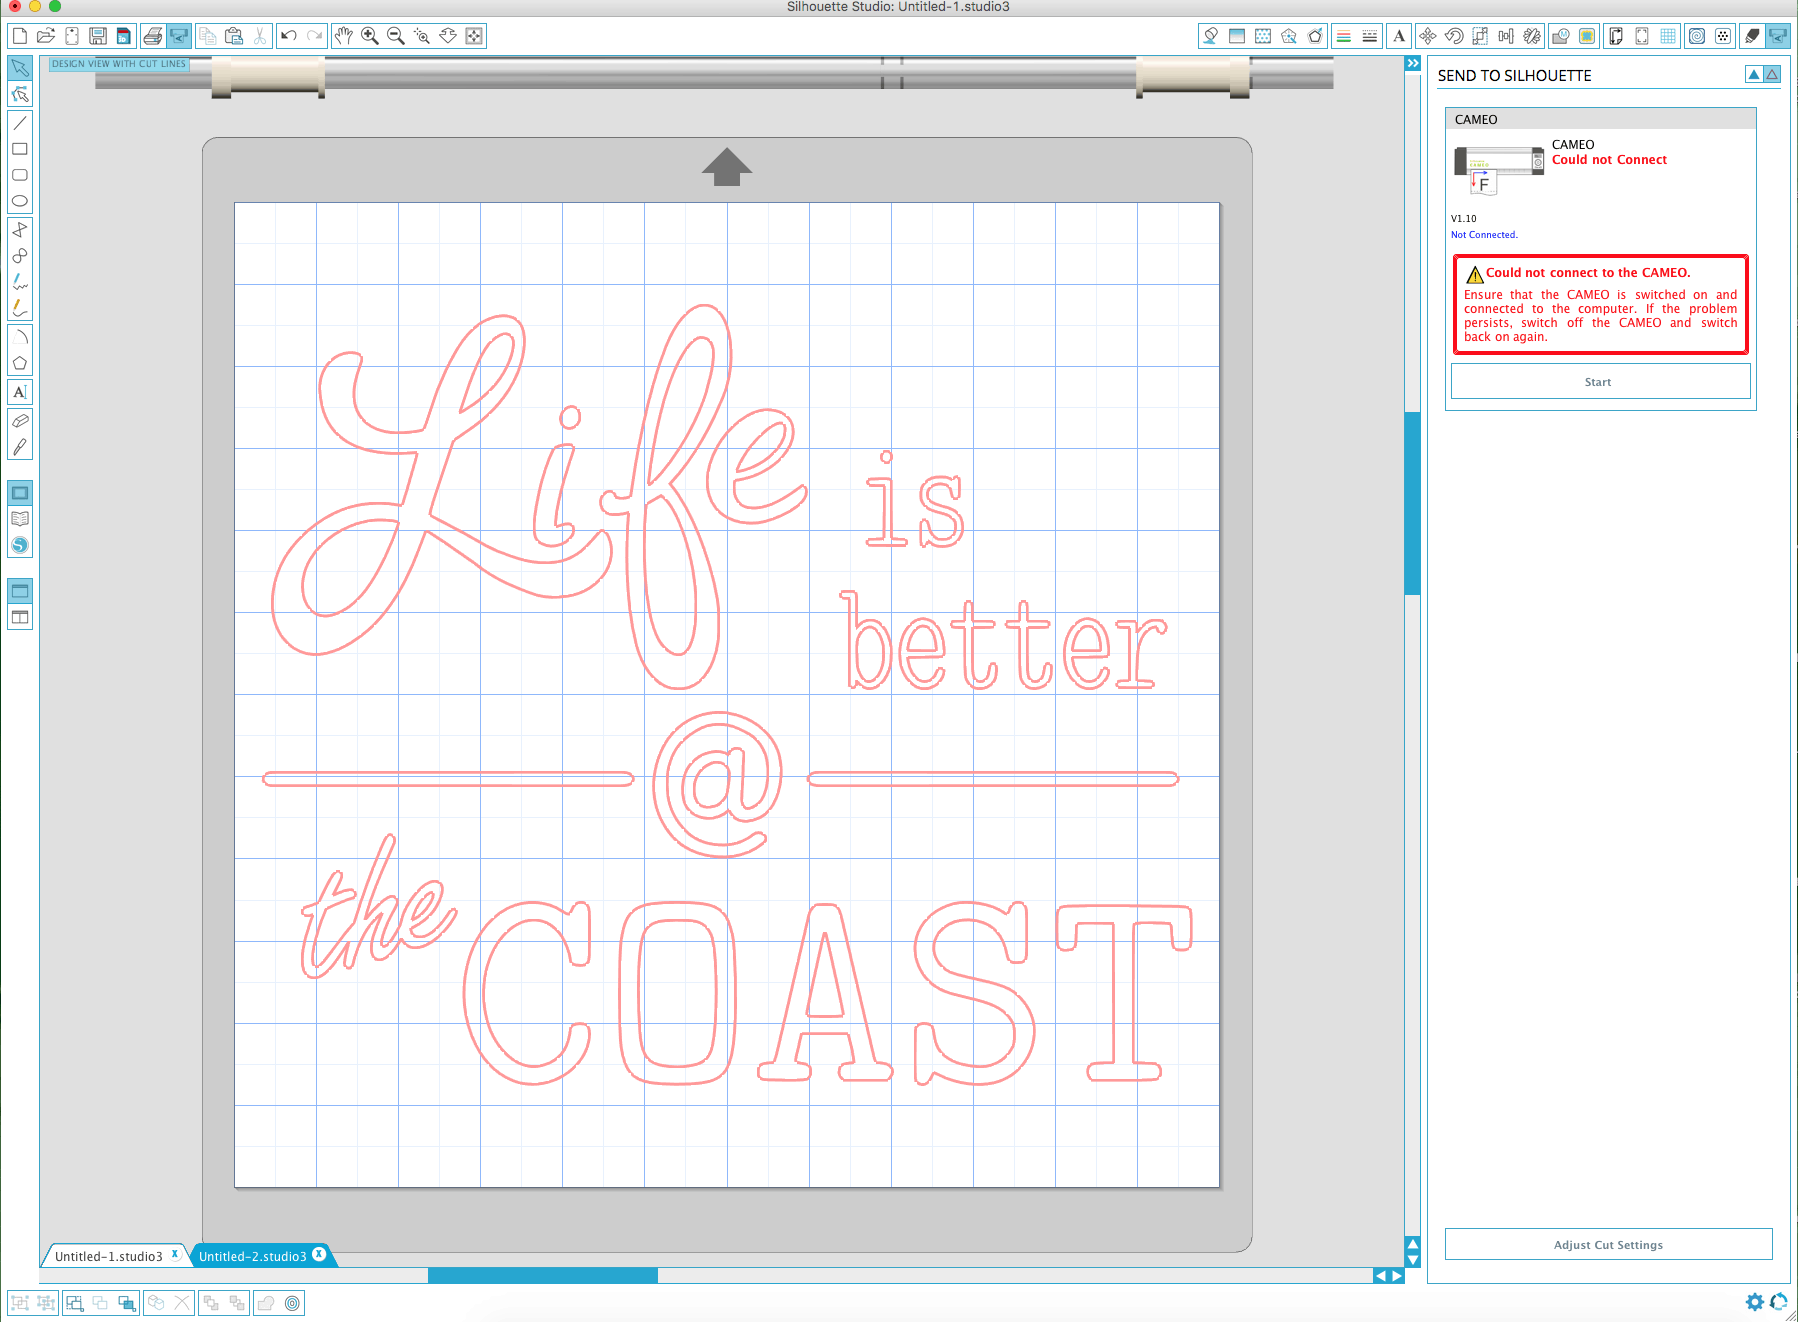
DIY Wood Sign - Coastal Decor

Step 1 – Cut Text

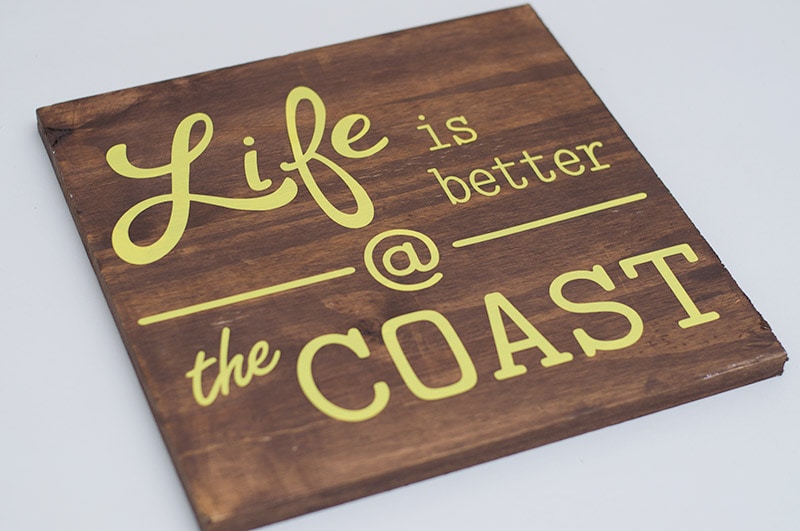
I download this template in the Silhouette library and cut on blade setting 3.

Design ID #43894

Screen Shot 2017-02-20 at 12.50.14 PM

After I cut my wording on vinyl, I weeded the excess vinyl next. So that my text was all that was left.

DIY Wood Sign - Coastal Decor

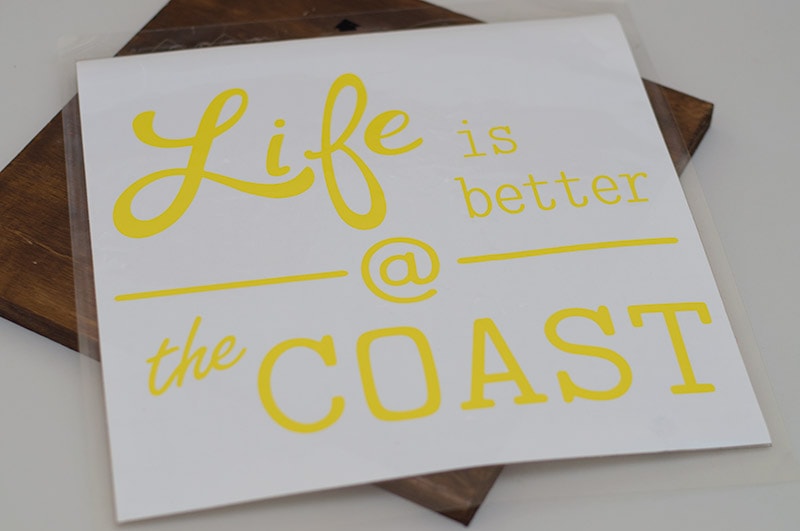
Step 2 – Transfer Text

Now I’m ready to add it to my board.  I used some transfer paper for this step.  Make sure to smooth the vinyl down good so that the paint doesn’t bleed through.

Quick Tip: If you’re looking for a more detailed tutorial on how to transfer your vinyl, then this one is great!

DIY Wood Sign - Coastal Decor

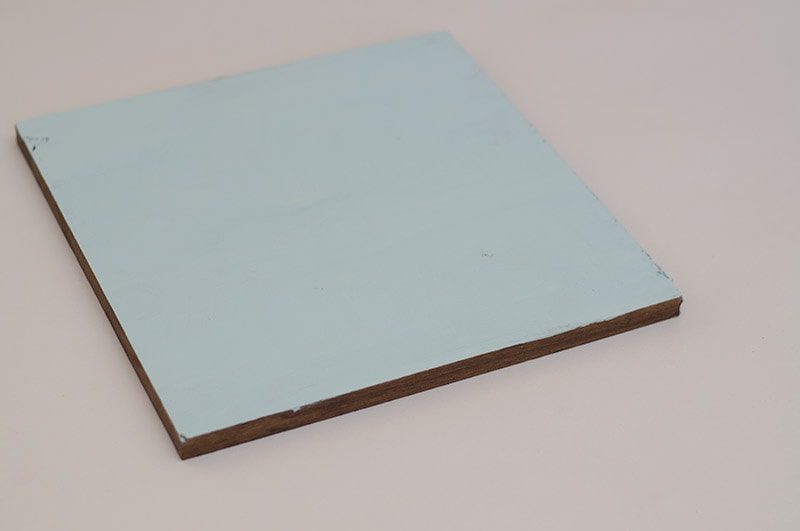
Step 3 – Paint Board

Then I added three coats of paint, letting each coat dry 20 minutes.

DIY Wood Sign - Coastal Decor

DIY Wood Sign - Coastal Decor

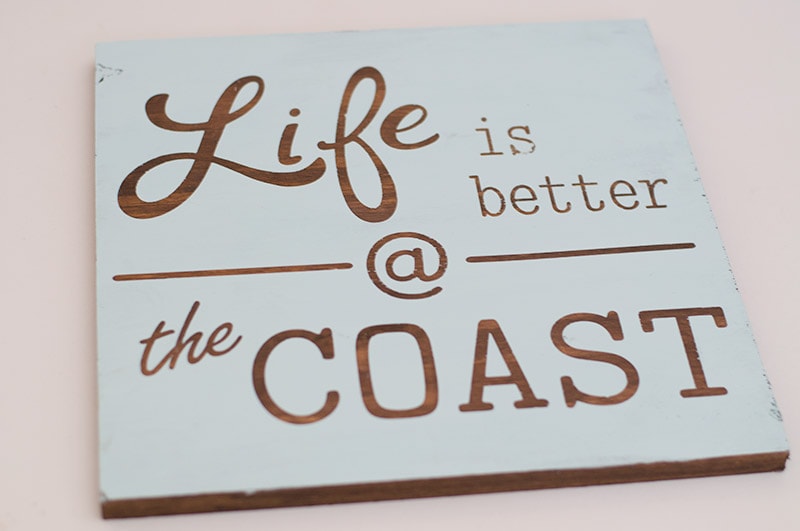
Step 4 – Pull Up Vinyl

I used my handy weeding tool to pull up my vinyl.
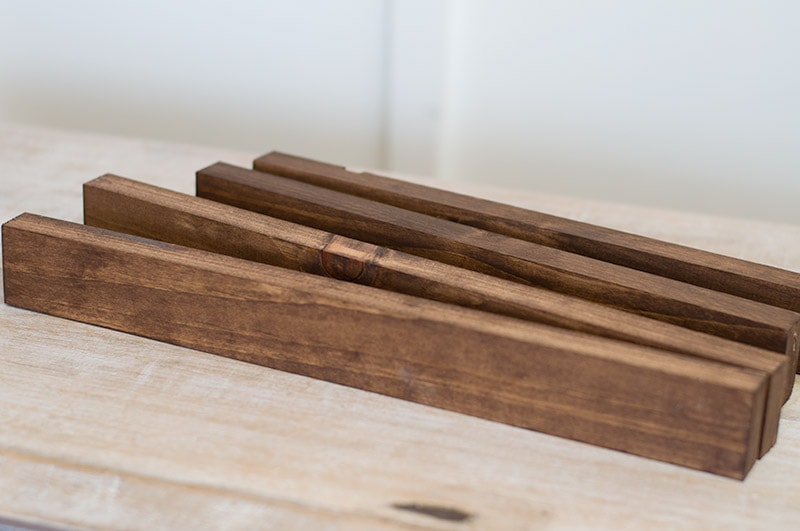
DIY Wood Sign - Coastal Decor

Step 5 – Cut Sides

I went through my wood pile again to find my side pieces.  I cut them to fit the sides and stained them the dark walnut (which is my favorite stain). It takes the stain several hours to dry, so I would wait until they are 100% dry before adding them to the sign.

I used my “trusty” nail gun to put this sign together.
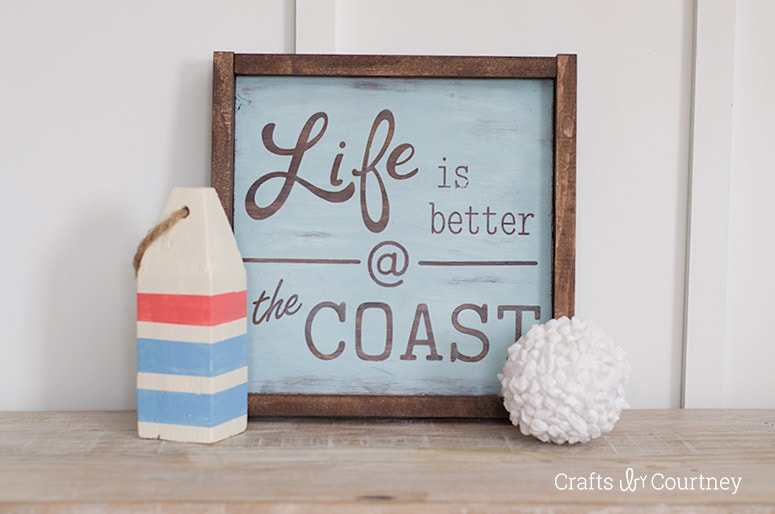
DIY Wood Sign - Coastal Decor

DIY-COASTAL-SIGN-9

Finishing Touches

This sign will fit in perfectly with my coastal decor for the house!  I started this sign around 9:00am and I had it finished around noon.  So this is a pretty fast project to do.

Create and easy DIY Wood Sign with your Silhouette Cameo - Coastal Decor

I still have a TON of wood leftover, so I’ll be making some more projects like this for the house!

If you’re looking for more farmhouse style signs, I made this DIY LOVE sign for Valentines and this Deer Head Christmas Sign for Amy at Mod Podge Rocks.  As you can see these signs are super easy to make and there are so many different styles you can go with!

If farmhouse style, is not your style then these Rustic Beach Signs are another great DIY Wood Sign option from Crafts by Amanda.

Sponsored Post: Financial compensation was not received for this post. A sample product was gifted from Rust-Oleum. Opinions expressed here are our own.

Love, Courtney

About Courtney Sanchez

Hi, I'm Courtney and I LOVE crafting! I am a mommy to 3 awesome boys (who keep me very busy) and wife to a loving husband. Crafts by Courtney is where I like to hang out ;)

Leave a Reply

Courtney Sanchez

Hi, I'm Courtney!

Welcome. Here is where I share the fun how-to crafts I've done with my kids and for my home. I also really love DIY parties too! Read More…

My Socials

  • Facebook
  • Instagram
  • Pinterest

Newsletter

Subscribe to my email newsletter for more craft ideas, tips and valuable resources.

The TOP 4

  • 33 Awesome Birthday Party Ideas for Boys33 Awesome Birthday Party Ideas for Boys
  • Terra Cotta Pot DIY Lighthouse Garden ProjectTerra Cotta Pot DIY Lighthouse Garden Project
  • Create a Colorful Glitter and Gel Sensory BagCreate a Colorful Glitter and Gel Sensory Bag
  • Cardboard Box Craft - DIY DollhouseCardboard Box Craft – DIY Dollhouse

Looking for more?

Over on Instagram

craftsbycourt

I love living in North Carolina, we have beautiful I love living in North Carolina, we have beautiful flowers off the exits the county plants every Spring and Summer.  Right now we have these amazing zinnias off the exit by my boys school.I’ve been wanting to snap a picture the past couples days. Finally I was able to this morning.  Zinnias have recently become a favorite flower of mine.  The blooms last so long.A couple months ago we have poppies and sunflowers off a lot of the exits here.
Sorry a none decor/craft reel for today.My serio Sorry a none decor/craft reel for today.My serious guard dog for sure, barks at a leaf falling on the ground. But that face, love it!
Sharing my favorite light fixture in the house. Th Sharing my favorite light fixture in the house. The one we got from @worldmarket for our master bedroom makeover. Major before and after transformation.I just posted on the blog all the details on the light fixture. Link below 👇
Our busy Summer has come to an end, the boys start Our busy Summer has come to an end, the boys started school today. We've had so much fun and made so many special memories this Summer together. Now it's back to getting up early, sports and homework!
DIY keychains tutorial! I created these using @de DIY keychains tutorial!  I created these using @decoart  Galaxy Glitter paint.  Head over to the blog for full tutorial.
Here’s s another easy DIY Back to School project Here’s s another easy DIY Back to School project!! I used @dollartree clipboards and my @silhouette.inc to make these back to school clipboards. Head over to the blog for tutorial.Link below 👇
.
.
.
#backtoschoolcrafts #backtoschool #schoolcrafts #dollartreecrafts #dollartreecraft #create #diy #silhouette #silhouettecameo #silhouettecrafts #clipboardcrafts #tutorial #diyblogger #blogger
Follow on Instagram

Who I Work With

Crafts by Courtney   ·   Copyright © 2013 - 2022