
Hello everyone, today I’m sharing a new post that I’m super excited about! I’m teaming up with Duck Tape® to share an Easter Bunny Duck Tape Craft with you all!
This is my first Spring/Easter craft of the year. I’ve been working on re-painting and adding new baseboards to the house, so it’s been in chaos for the past month. I’m finally getting everything back in order and I can’t wait to start decorating for Spring.
It was in the 70’s today and I loved it! I had all the window open in the house. This girl is ready for Spring!
Ok back to the craft, let’s get started!
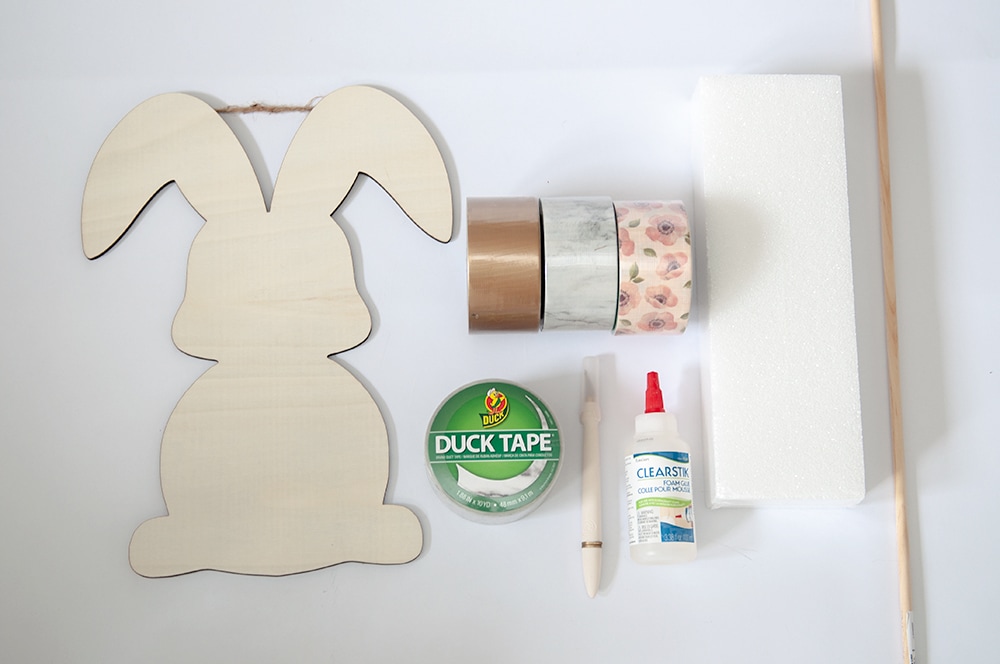
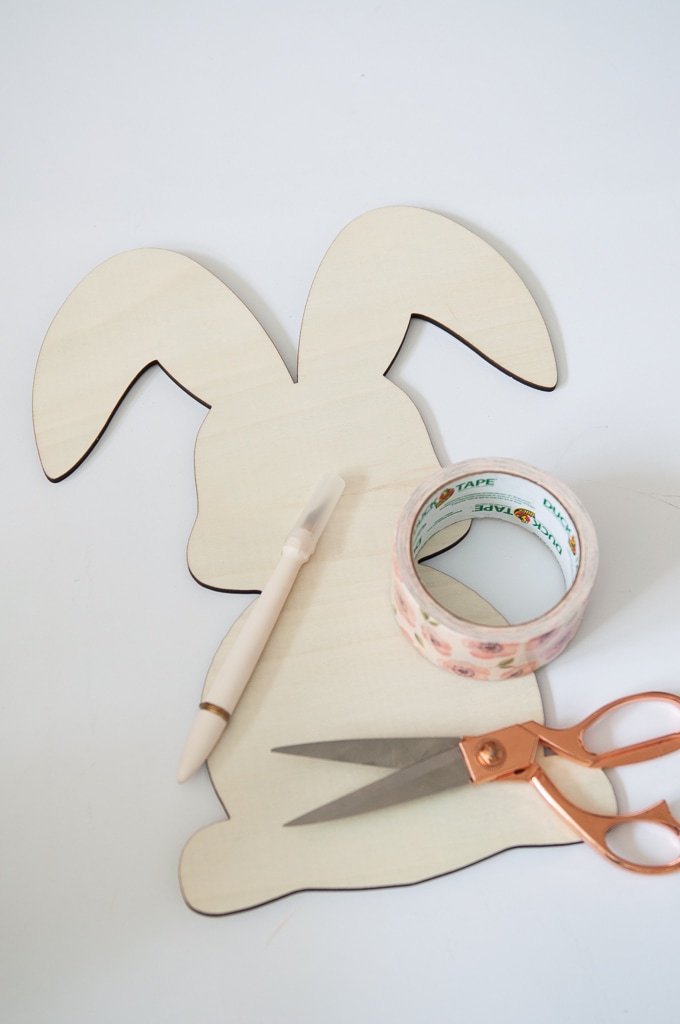
Easter Bunny Craft Supplies Needed:
- Marble Duck Tape
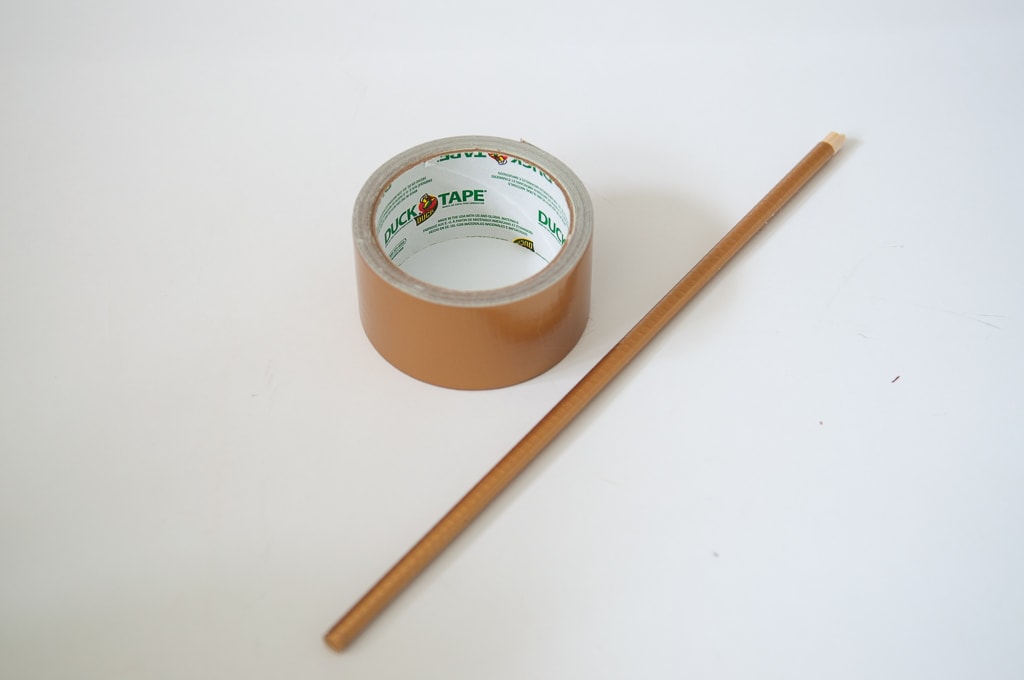
- Gold Duck Tape
- Floral Duck Tape
- Foam Brick
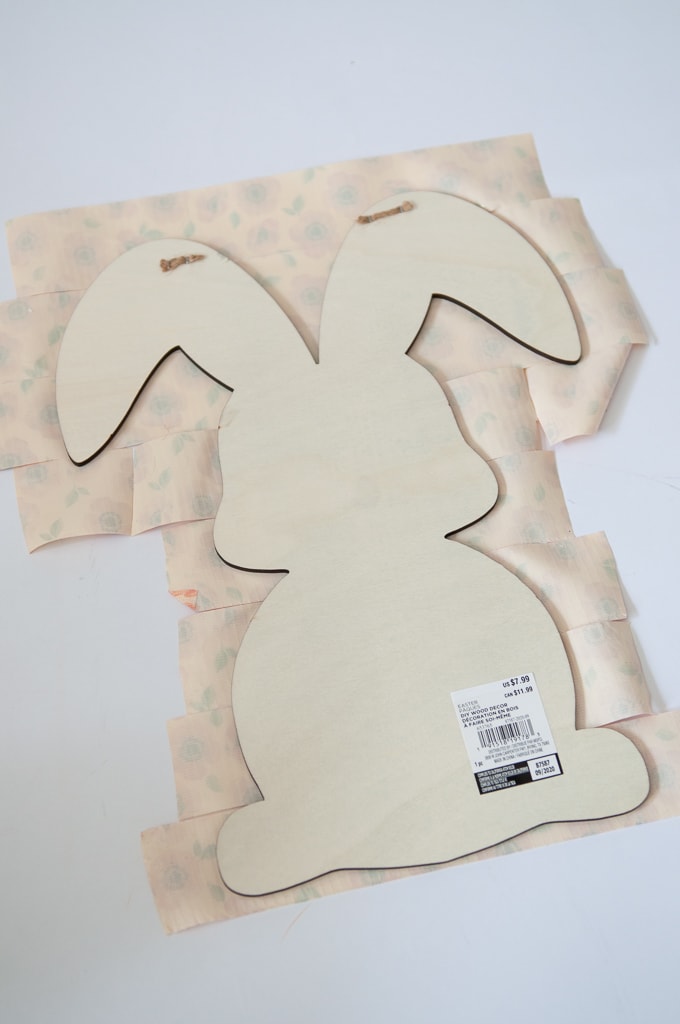
- Wooden Bunny
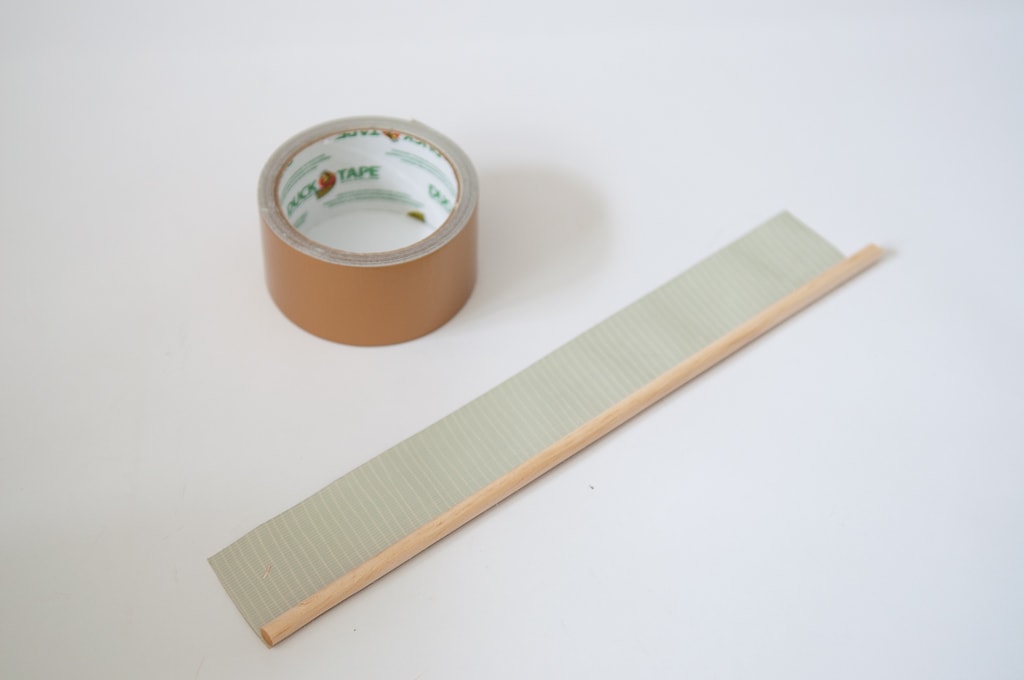
- Dowel Rod
- Foam Glue
- X-Acto Knife
- Hot Glue Gun
- Scissors
Getting Started
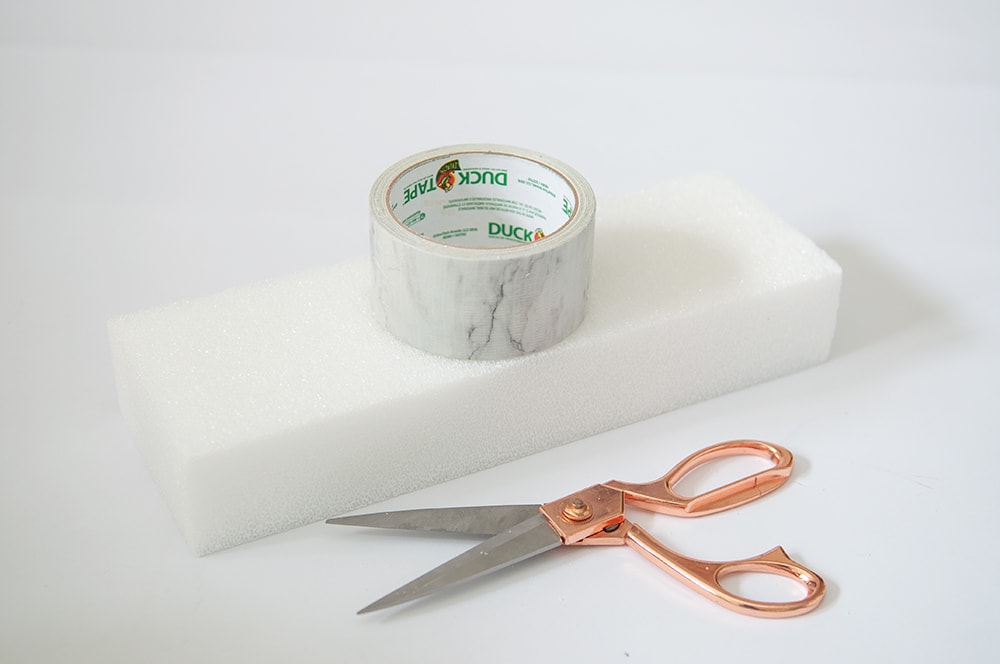
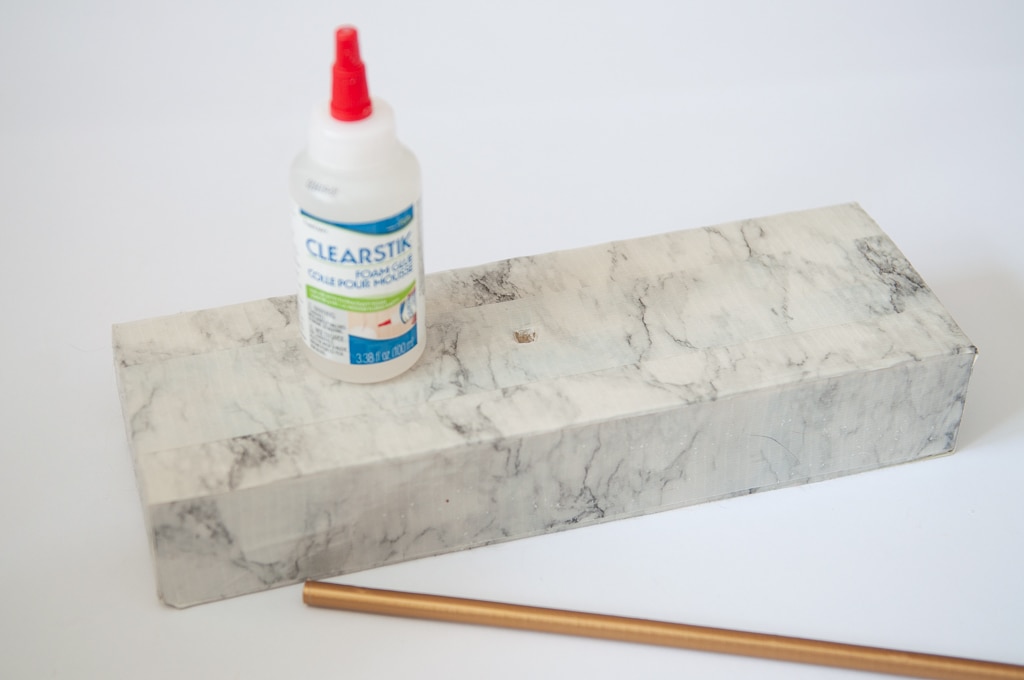
Step 1 – Cover Form Brick with Marble Duck Tape
Start off by covering your foam brick with the marble Duck Tape. I wrapped the tape around the sides first, then covered the top and bottom of the brick.
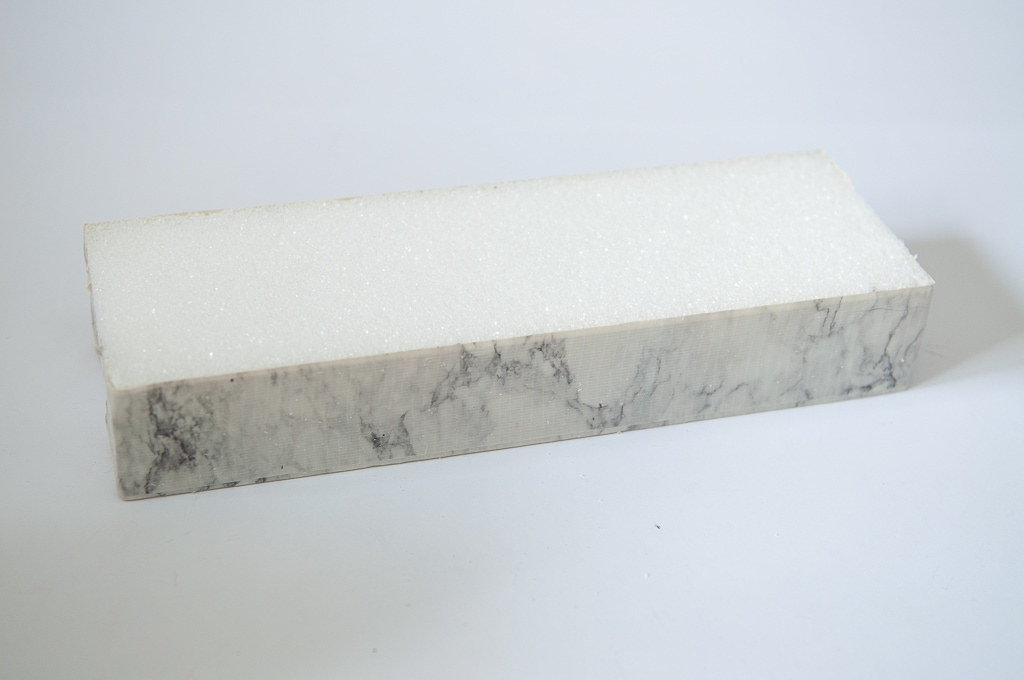

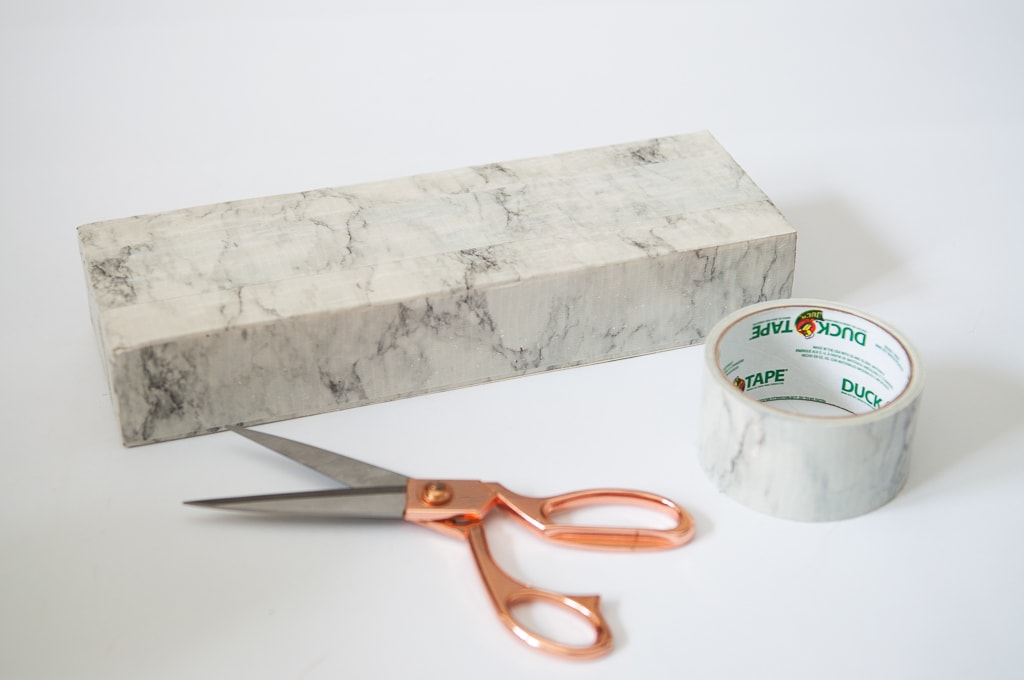
It’s looks like real marble block! I love this design, I’ll be using it more often for sure.
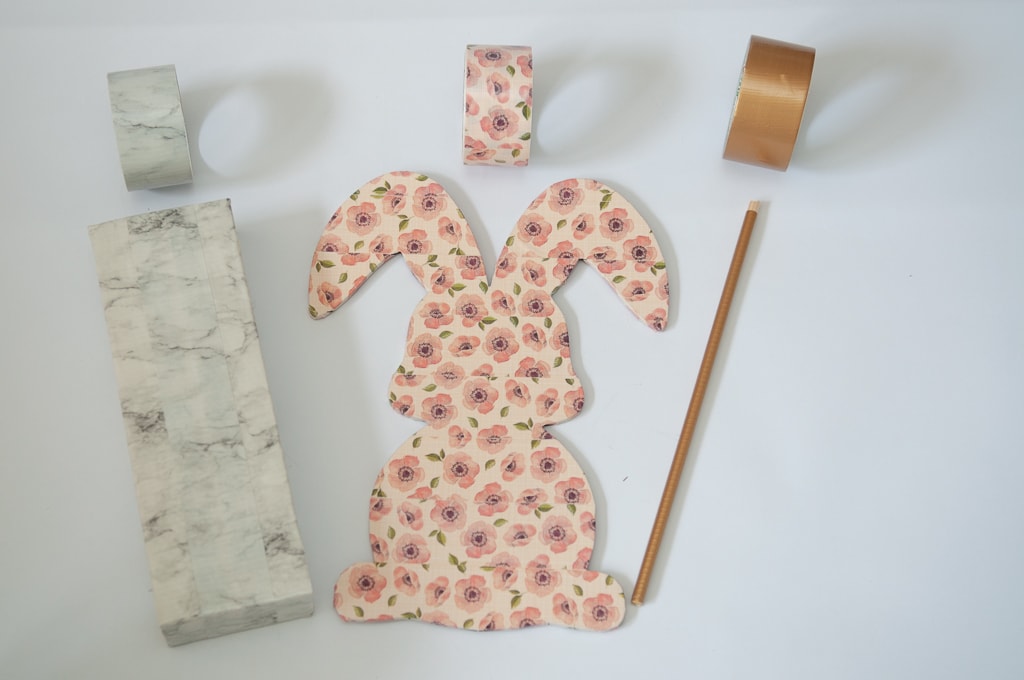
Step 2 – Add Floral Duck Tape to Bunny
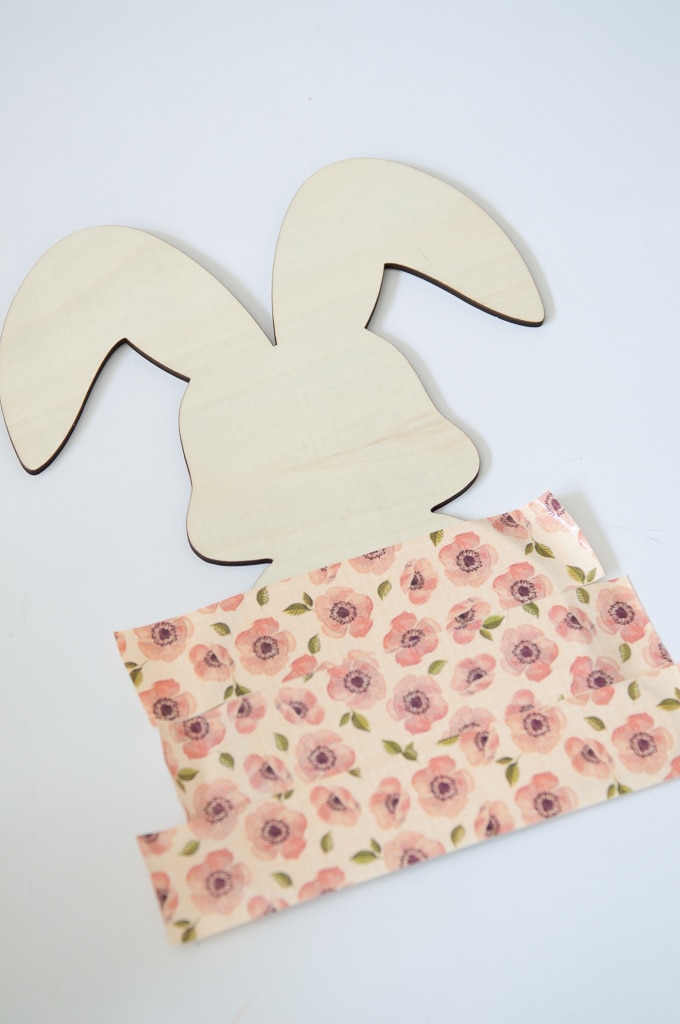
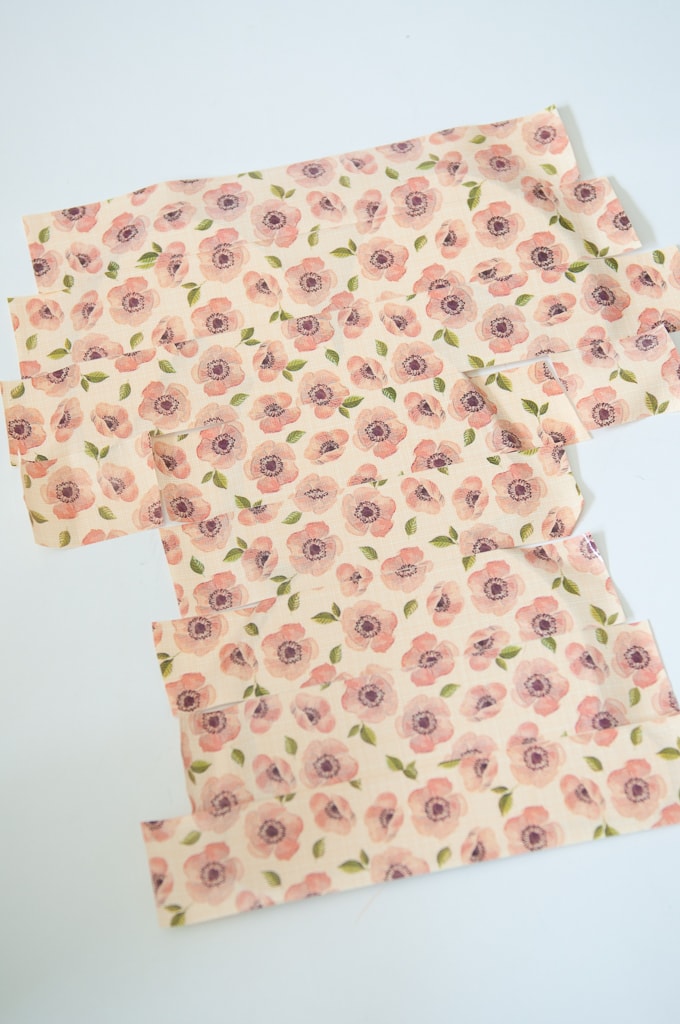
Next it’s time to add the floral Duck Tape! I started at the bottom working my way up the bunny. Super easy right?!
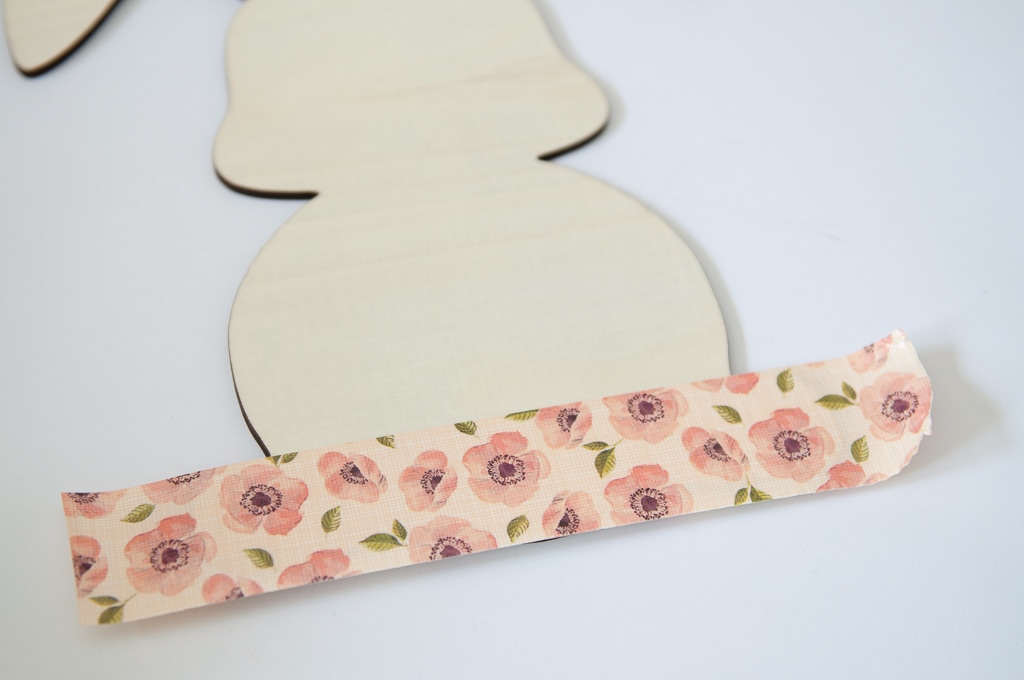
I tried to match the patten up best as I could.
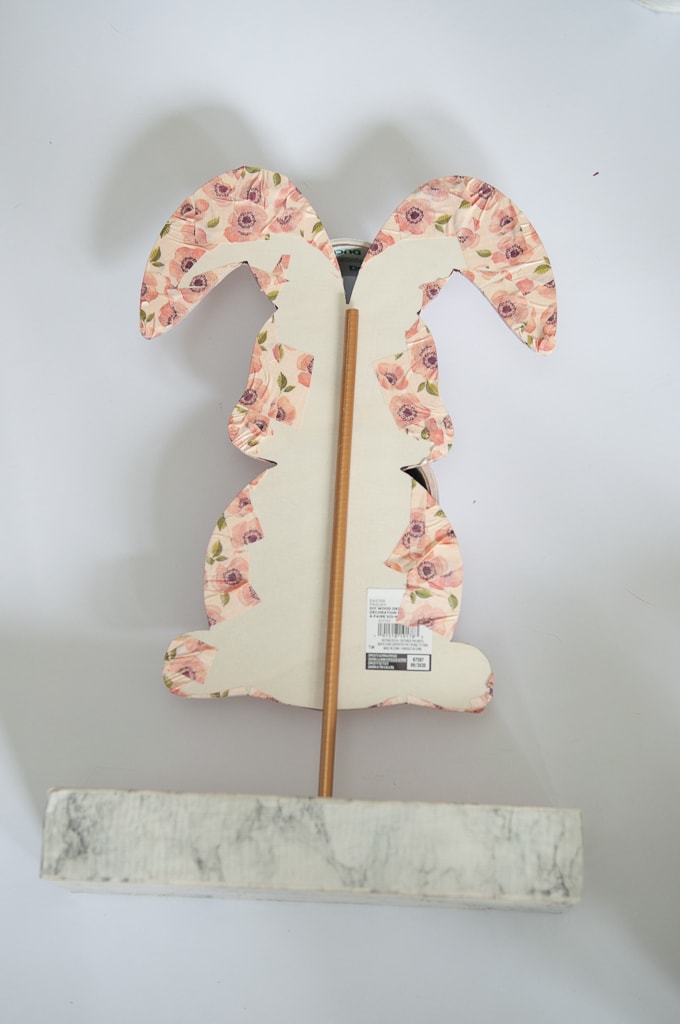
Step 3 – Wrap Duck Tape Around Bunny
Now that you covered the front of the bunny we need to wrap the Duck Tape around to the back.
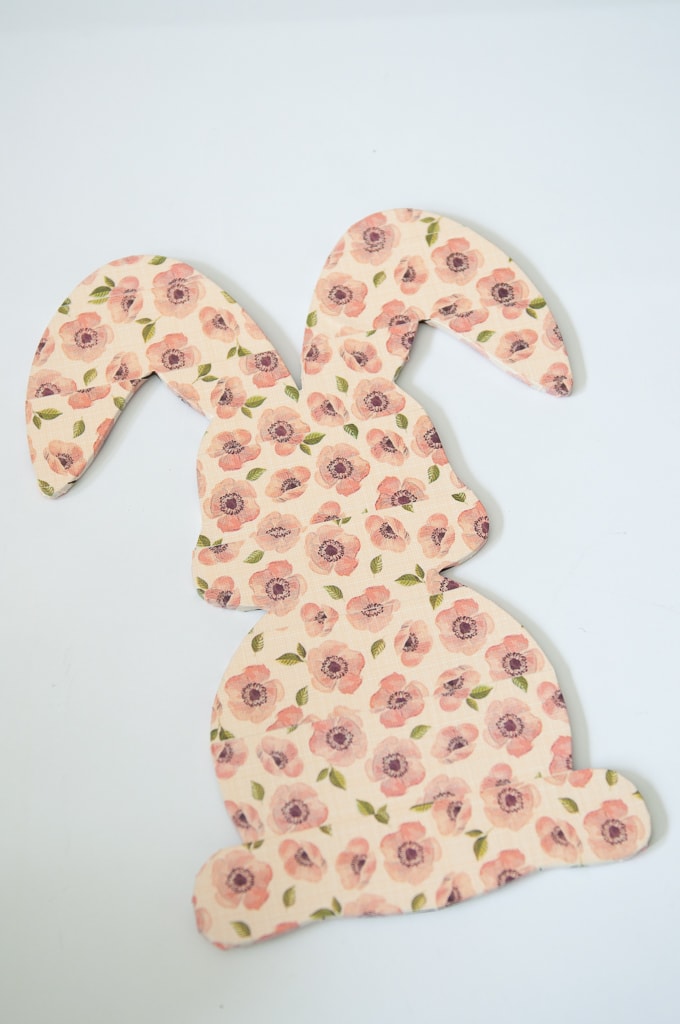
Just pull the Duck Tape tight around to the back. Make sure to smooth out any bubbles or creases with your fingers.
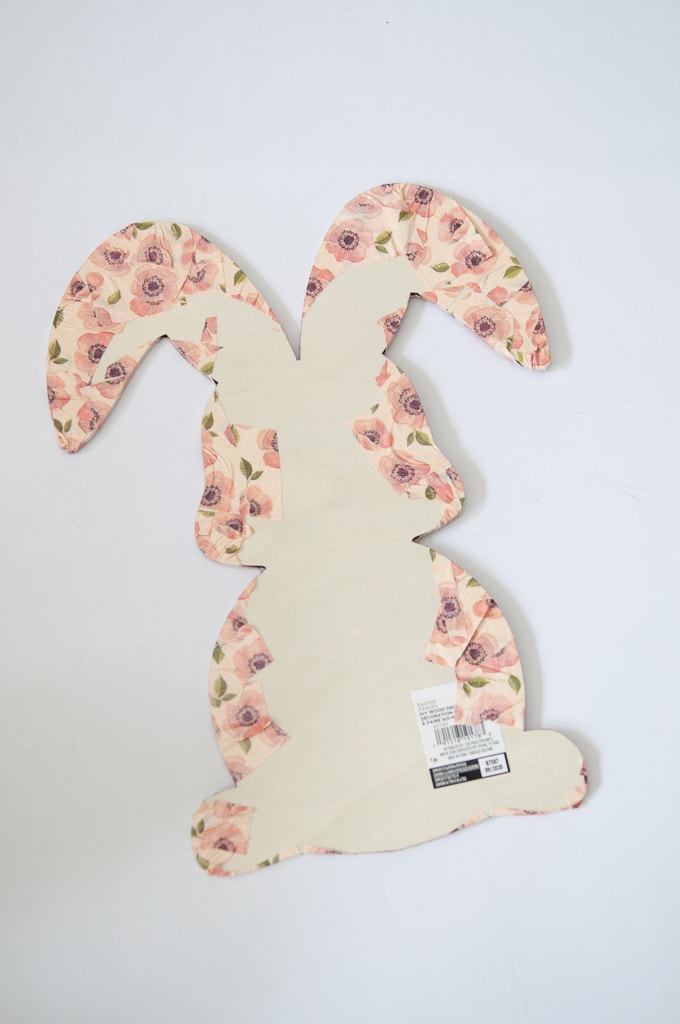
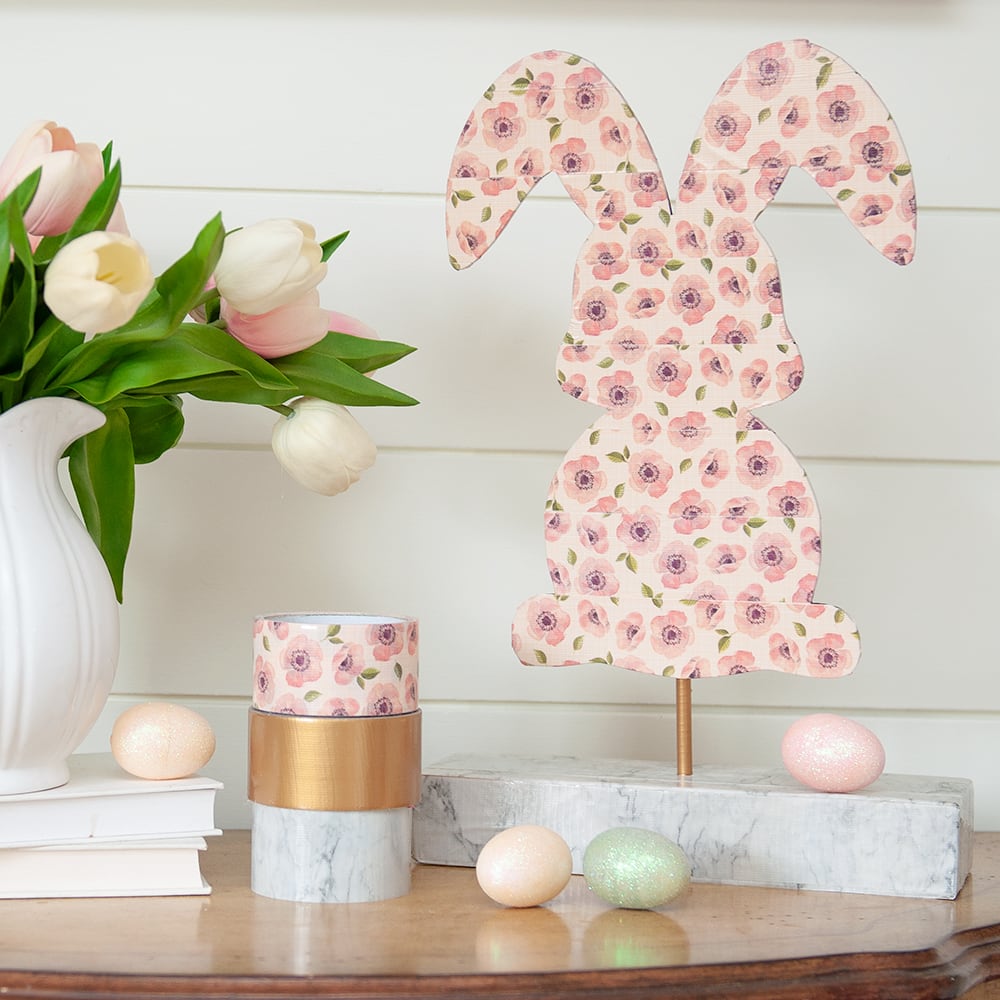
A beautiful floral bunny!
Step 4 – Cover Dowel Rod in Gold Duck Tape
It’s time to cover that dowel rod! The dowel rod size can be whatever your preference is. I used a small hand saw to cut the size I needed.
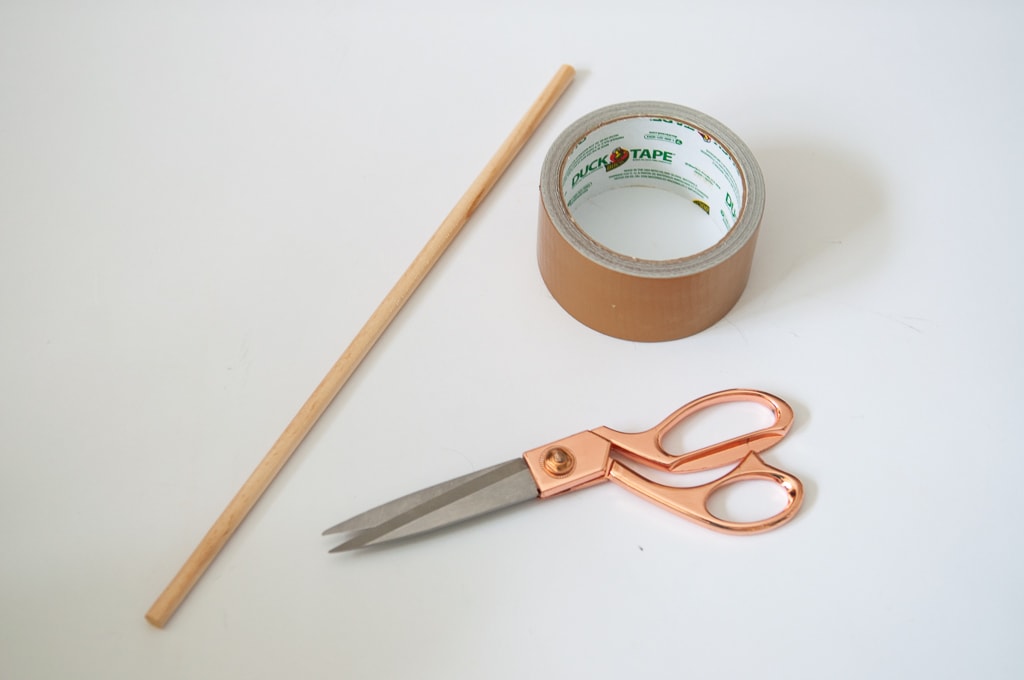
Cut your tape to length, lay the rod at the edge and start rolling!
Now we got a gold dowel rod!
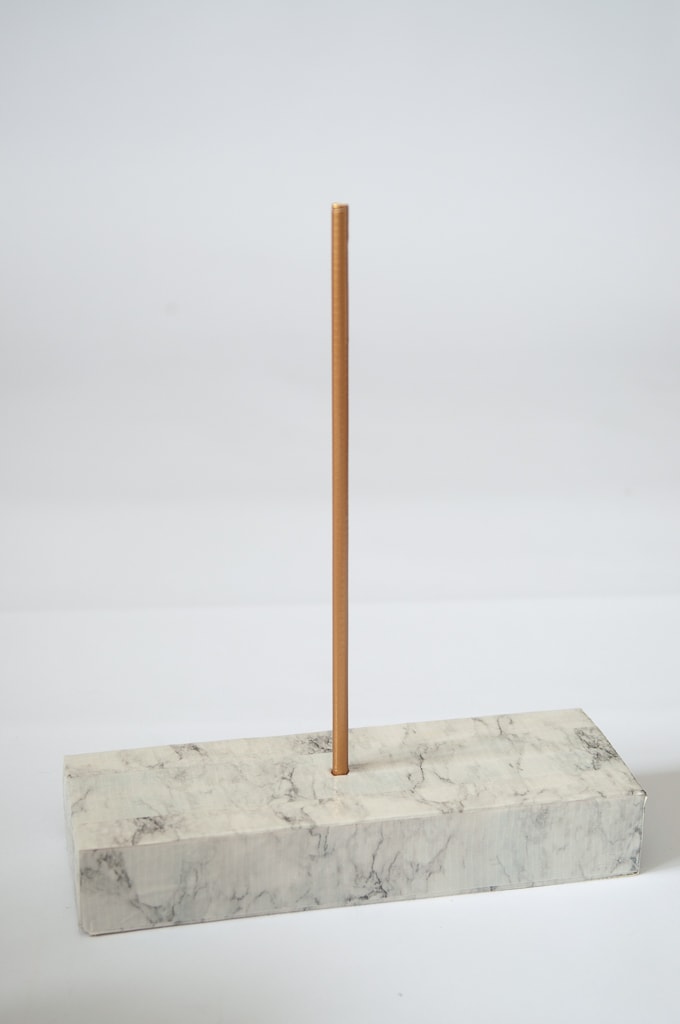
Step 5 – Add Dowel Rod to Foam Brick
Now that we have everything covered in our Duck Tape it’s time to start putting it all together.
Lets add our dowel rod into the foam brick. I used my “trusty” X-Acto knife to add an X into the center of the foam brick.
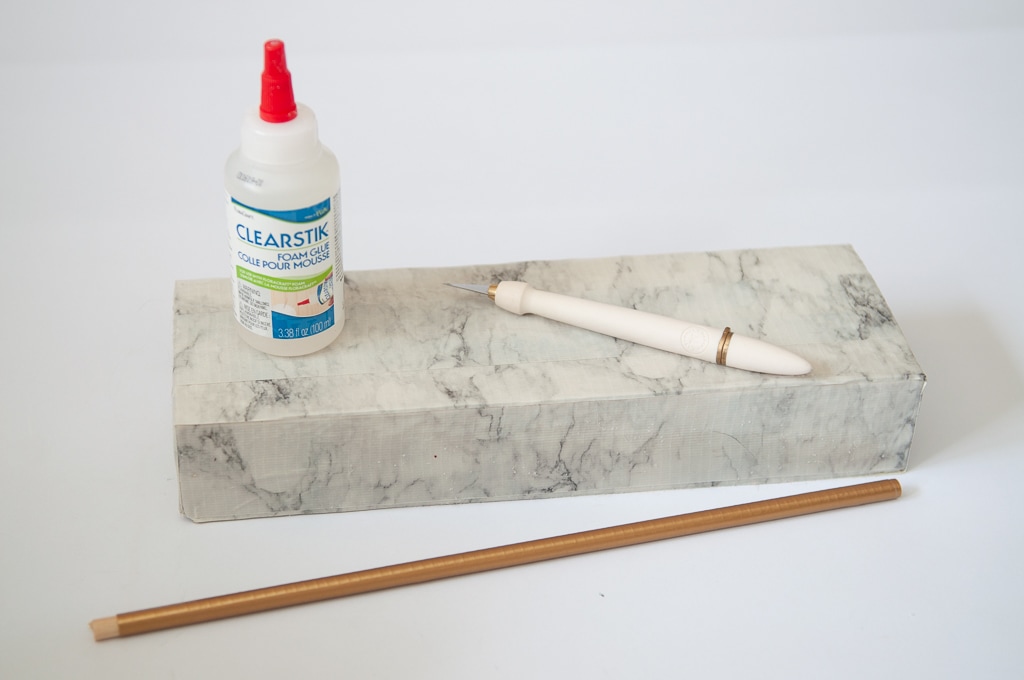
I had some foam glue on hand, but you can use whatever kind of glue you want for this step.
Add a little glue to the center of your X and FIRMLY place your dowel rod inside. Let dry for an hour or more if needed.
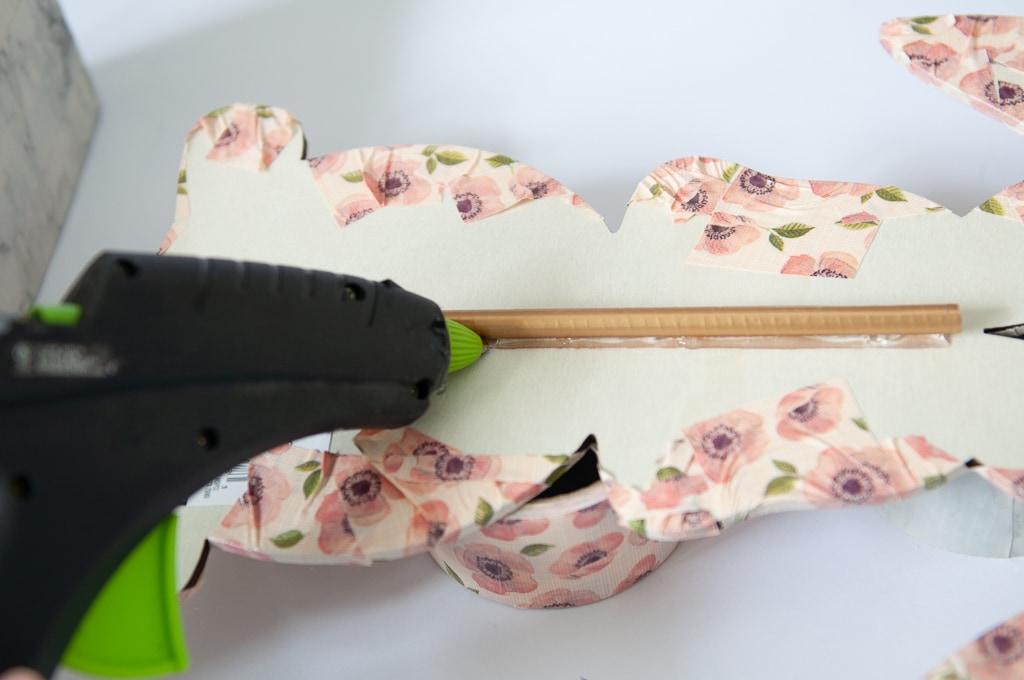
Step 6 – Add Bunny to Dowel Rod
Once your sure the glue has dried for the dowel rod, it’s time to attach the bunny.
Prop the bunny up with some of the Duck Tape rolls. Use your “handy dandy” hot glue gun to glue your bunny in place
Finishing Touches
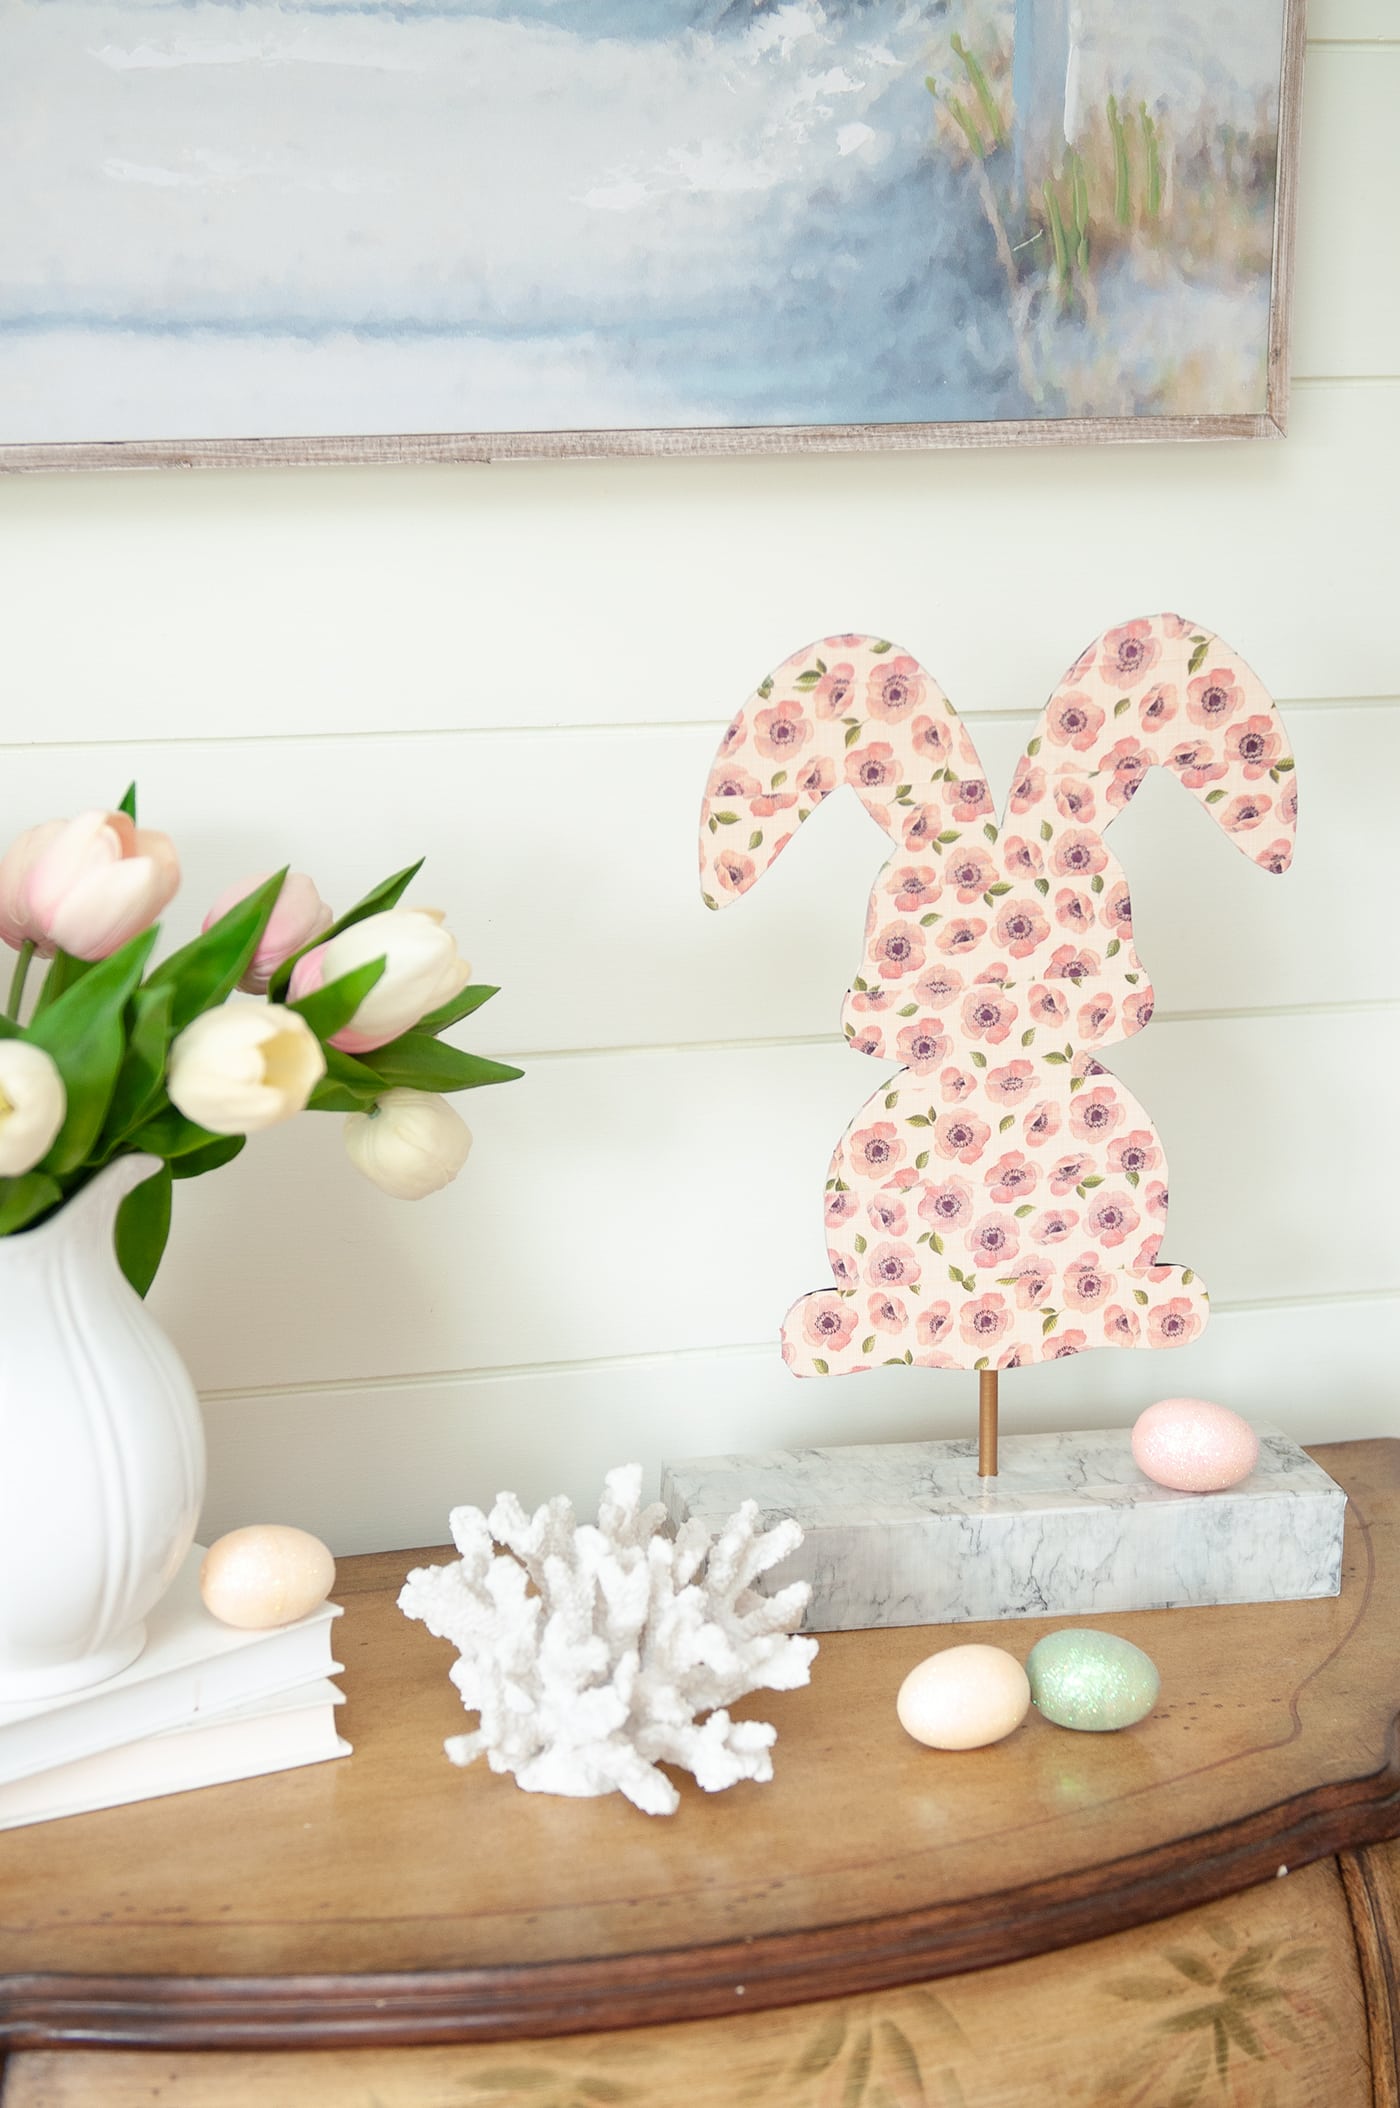
Now that were finished it’s time to display!
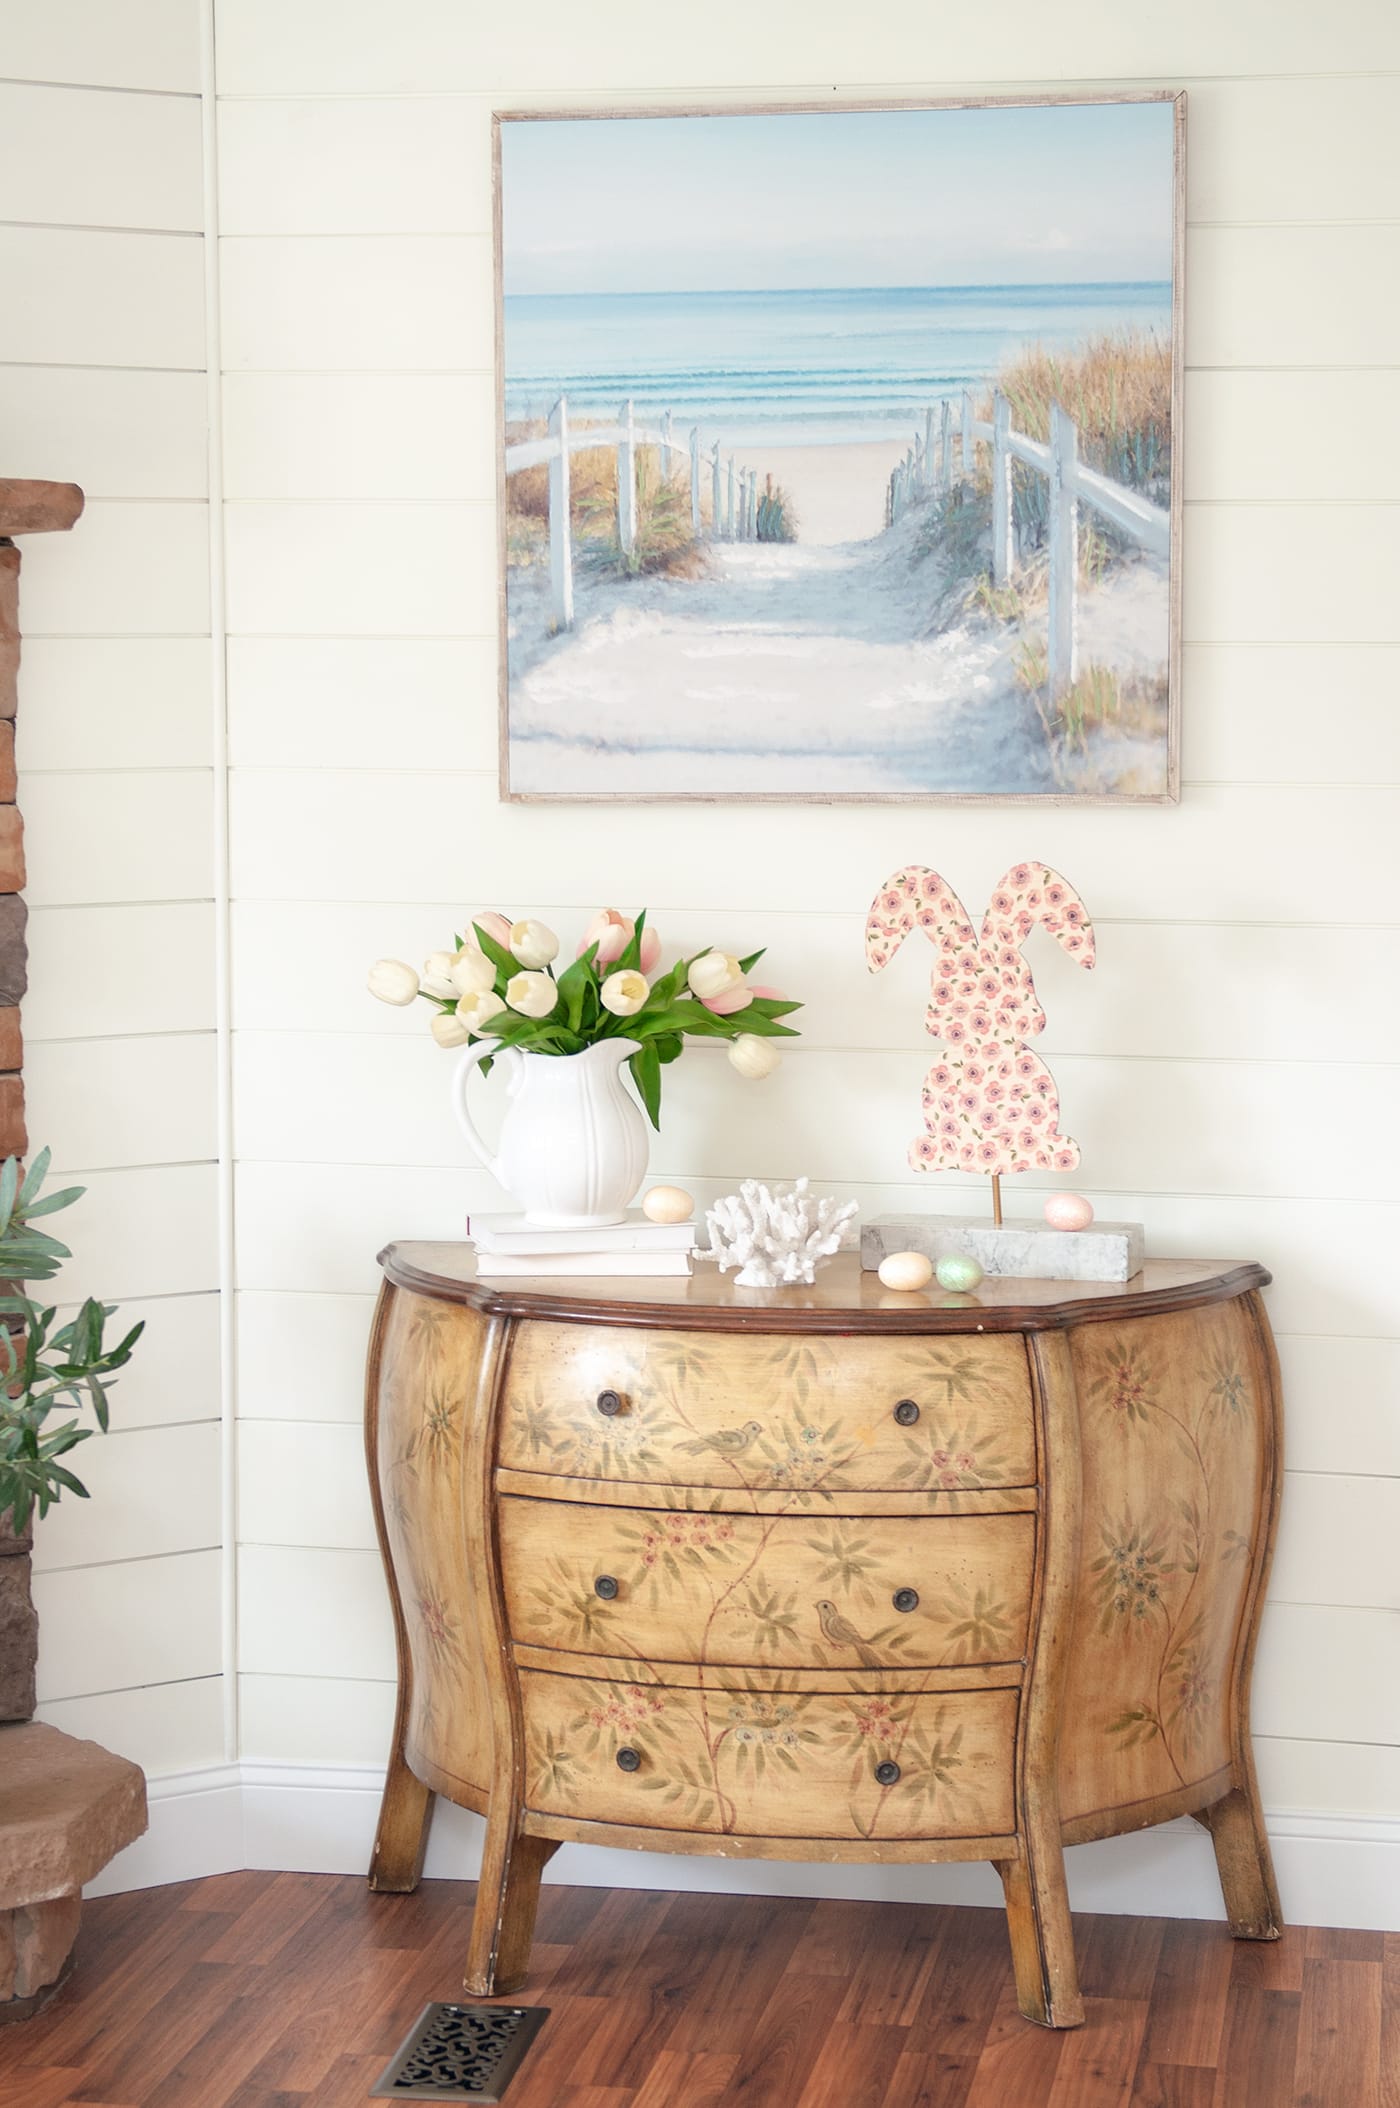
Easter is 3 weeks aways and I haven’t even started decorating. This project will kick me into gear for sure!
This is one of the rooms I repainted and added baseboards!! It looks so bright and airy in here now!
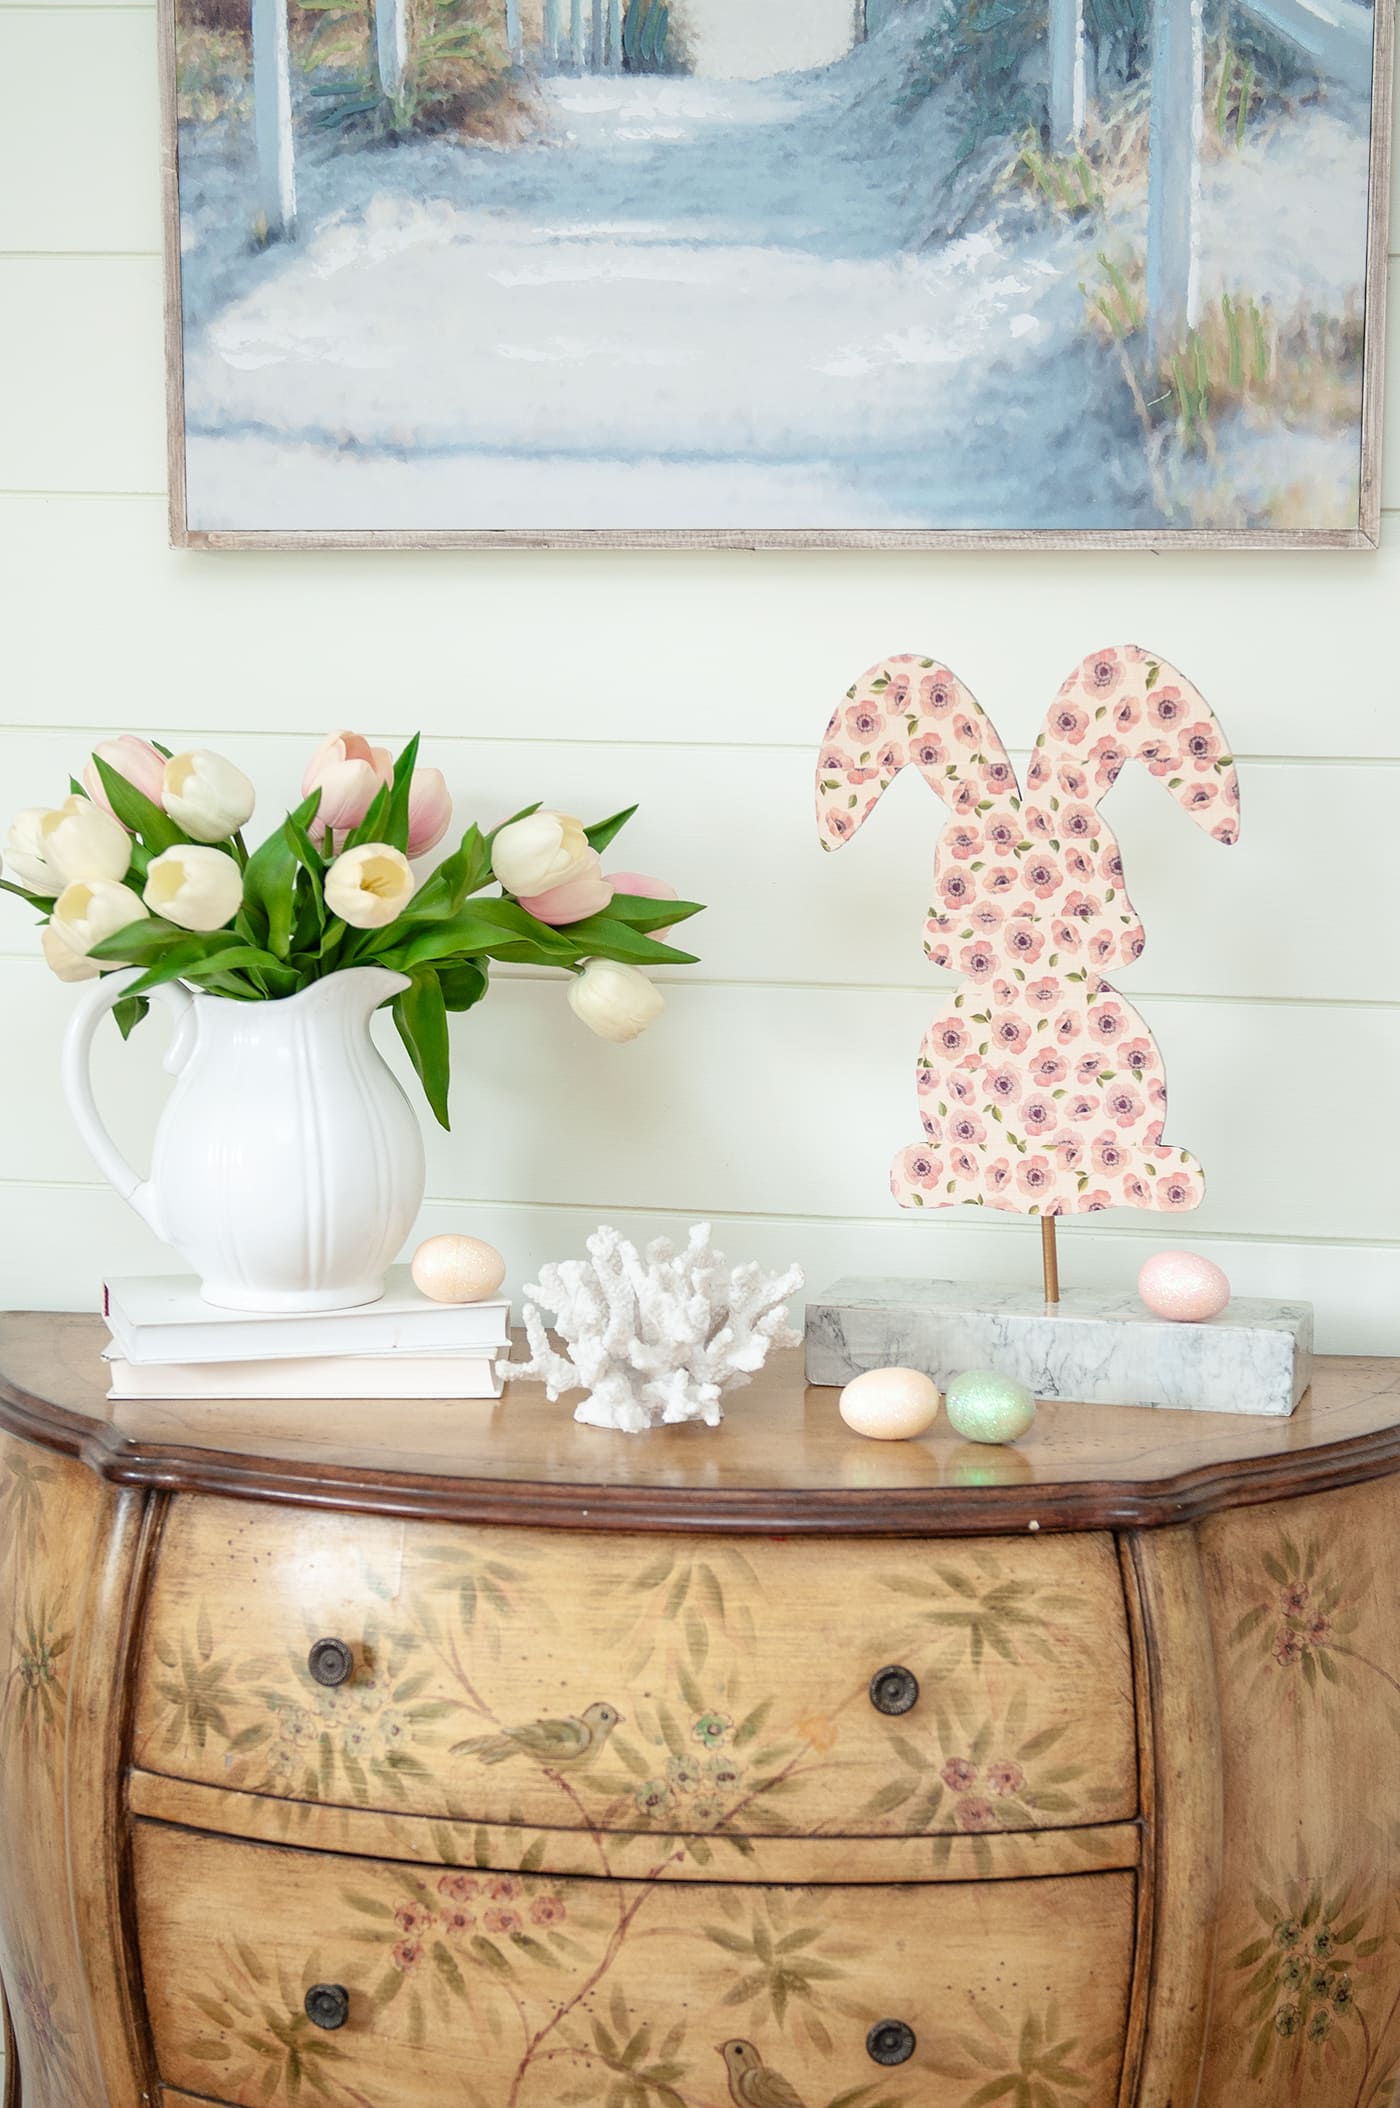
As always thanks for stopping by and checking out my lasted project. This was a perfect project to do with Duck Tape. I loved how it turned out. There are so many possibilities you can do with an idea like this for each holiday or season.
I’m thinking a coastal project like this will be in my future, I’ll keep you posted!
More Easter Crafts
- DIY Easter Sign
- Easter Table Setting Ideas
- Place Cards for Easter
- Easter Cupcake Liner Wreath
- Mod Podge Easter Eggs
- Love Bunny Decoration
Love, Courtney