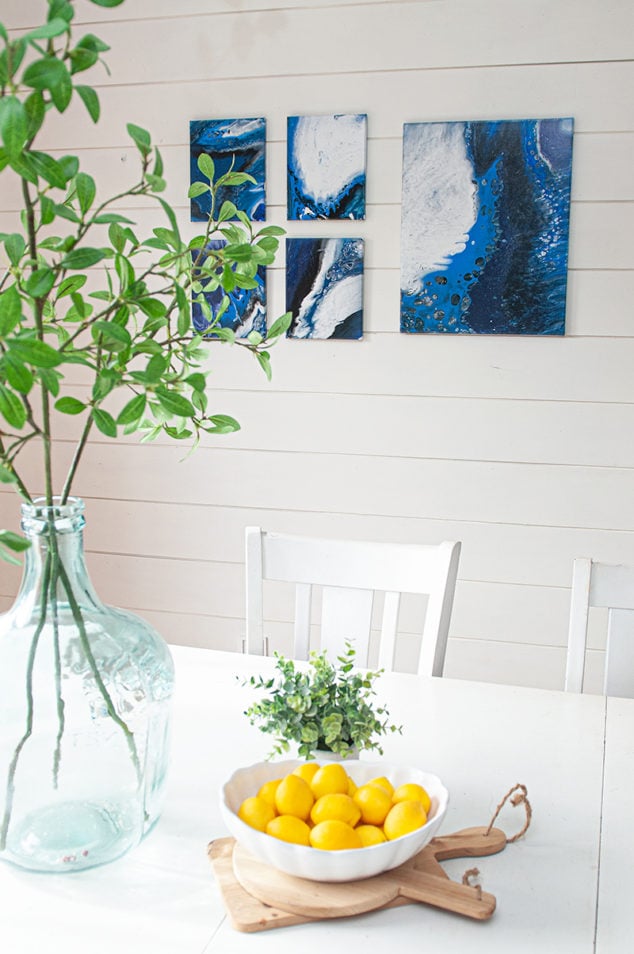
Hey everyone! I’m at it again with another pour painting project, but this time I’m making some Coastal Wall Art. I love doing pour painting projects and I love sharing them with everyone.
The effect of each paint pour is as unique as you are! You are not going to get two of the same pictures with this project. That’s what I LOVE about pour painting, it’s easy to do and the results are always breathtaking.
Let’s grab our supplies and I’ll show you how to get started!
Pour Painting Supplies Needed:
Step 1 – Pick out Paint Colors
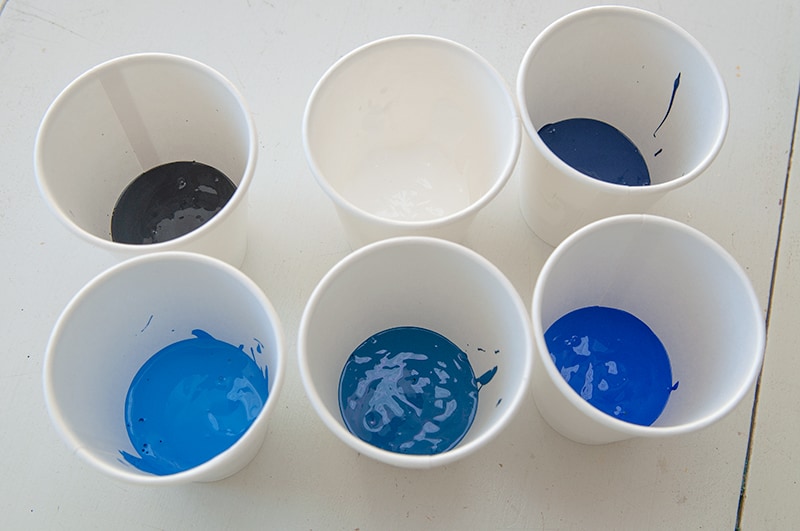
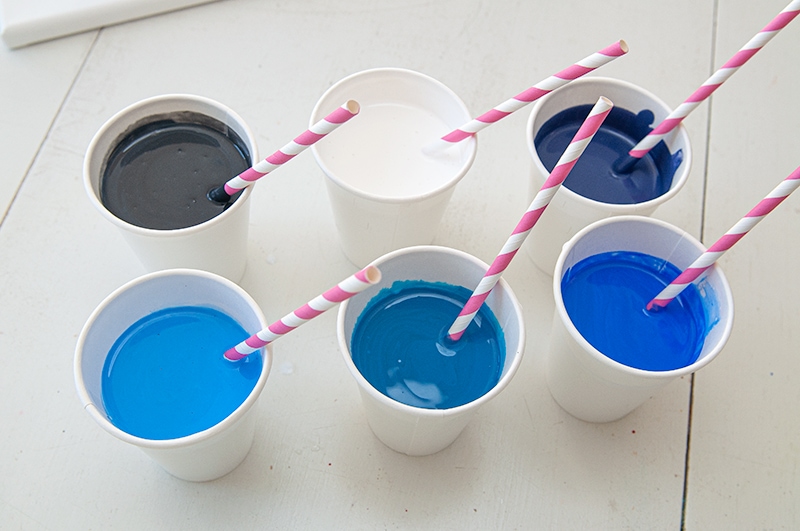
I wanted this project to have a somewhat beachy water vibe, so I picked out mostly blue colors and paired them with white and black.
Step 2 – Add Paint to Cups
Fill up your paper cups halfway with paint. It’s basically the whole 2 oz bottle of paint.
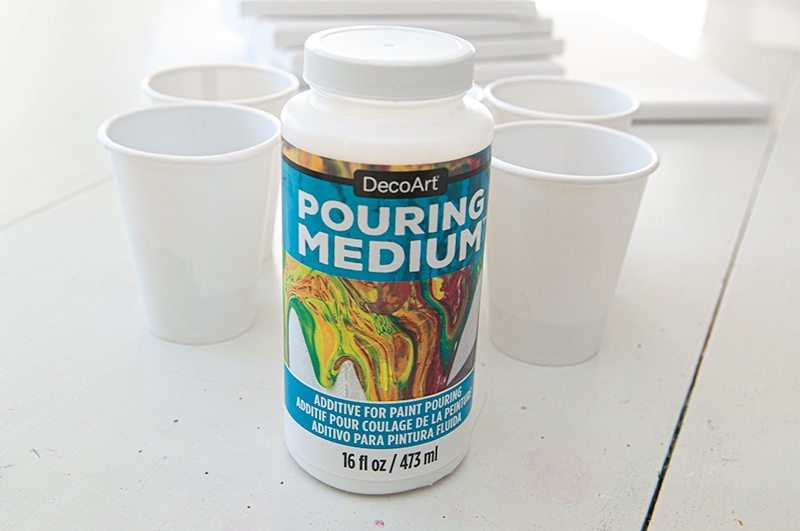
Step 3 – Add Pouring Medium
Now it’s time to add your pouring medium. Fill up the rest of your cup with the pouring medium. 1:1 ratio for this project.
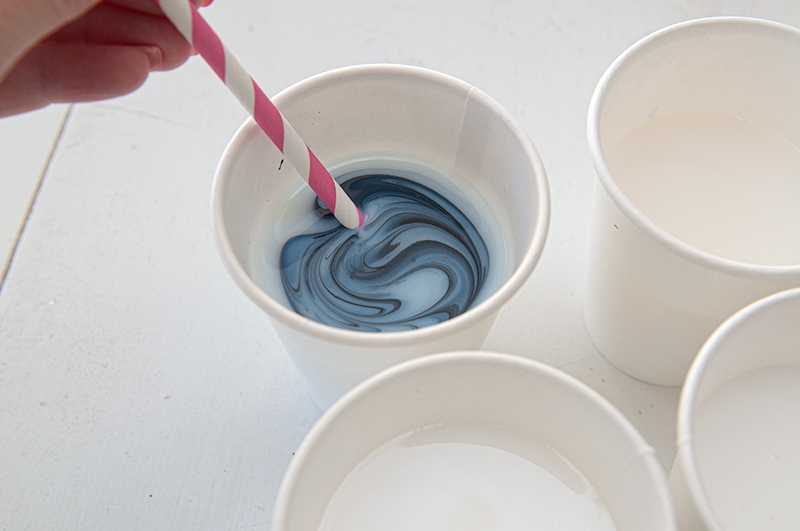
Step 4 – Stir Paint
I always use a paper straw to stir up my paints. Make sure to stir your paint and pour medium together throughly.
Step 5 – Prep Work
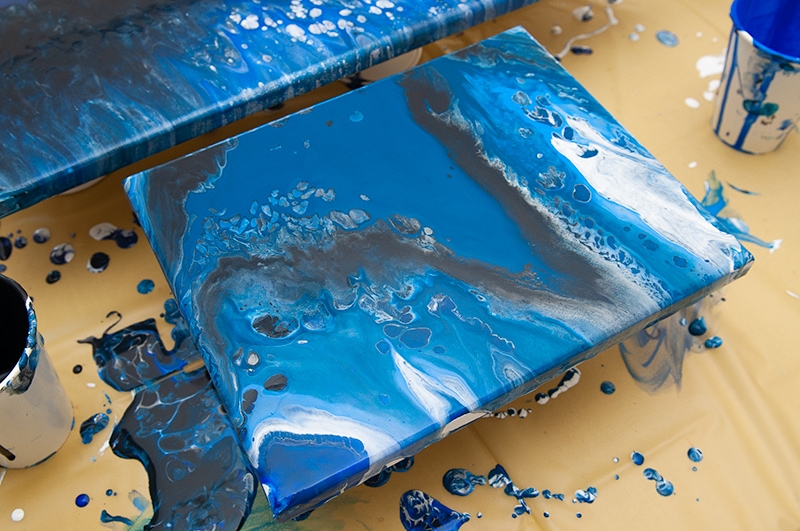
This can be a pretty messy project, so I always lay a table cloth out for the paint to fall on. Once I’m done, then I can just toss it in the trash.
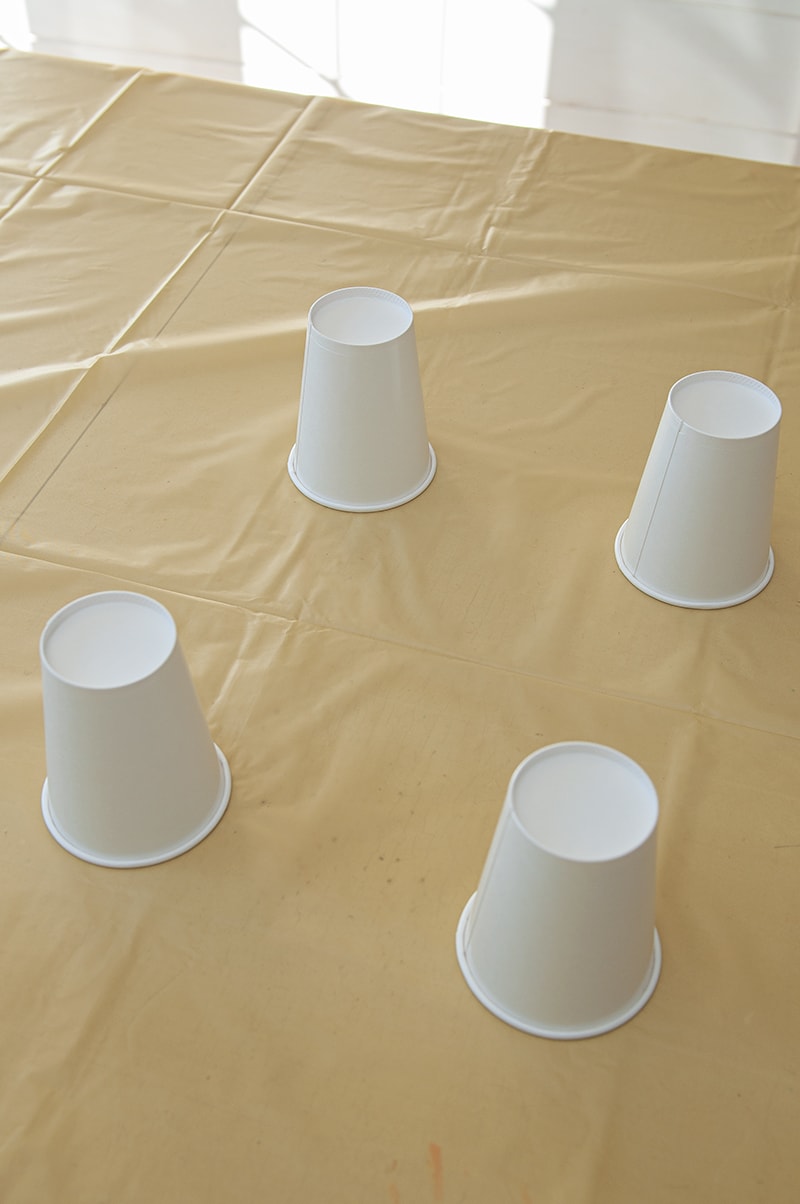
Sit your canvases on cups, this way the excess paint can drip off onto the table cloth.
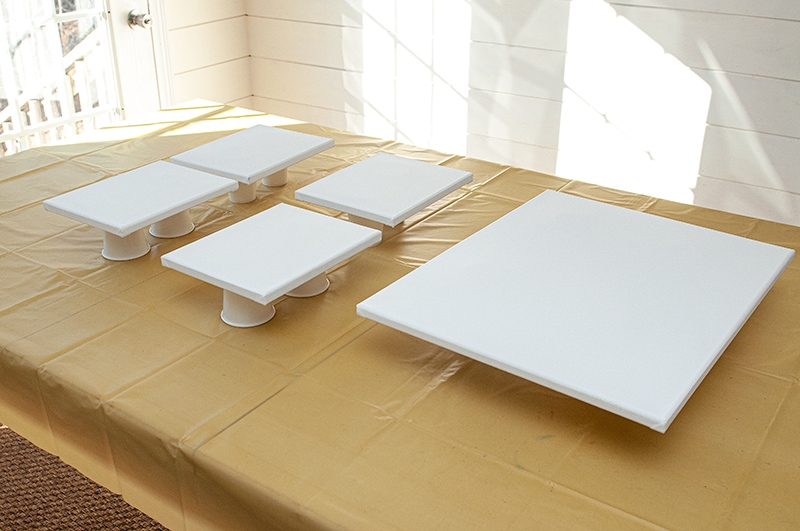
Step 6 – Start Pouring!
Now it’s time to start pouring your paint!
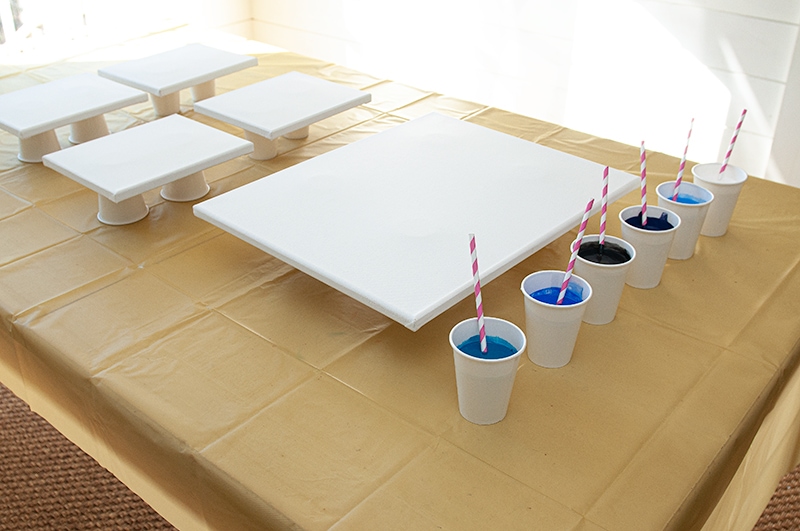
I start in the middle of the canvas and just keep pouring the paint on top of each other. Once I have enough paint I pick up the canvas and start moving it around a little.
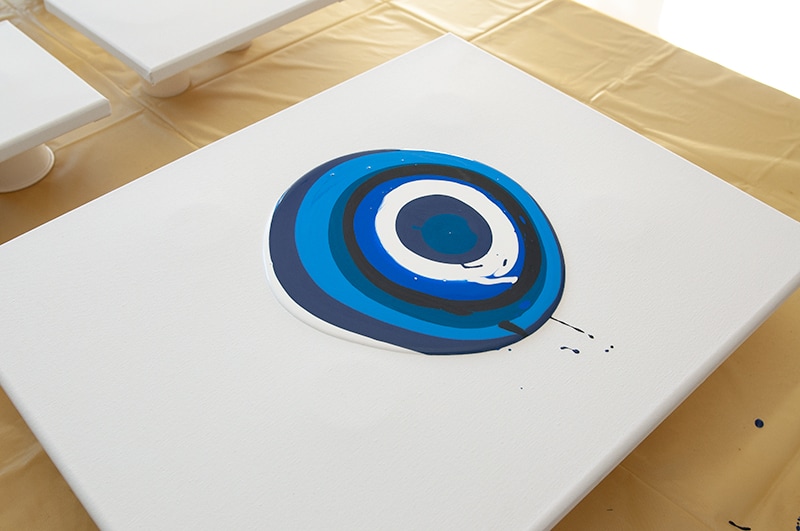
All the excess paint will start pouring off the sides.
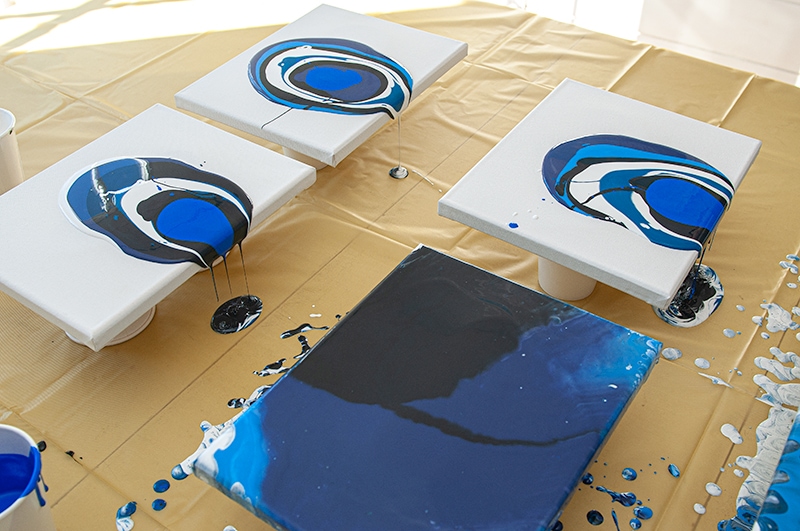
After a couple hours use a paper straw and wipe any paint that is dripping on the sides.
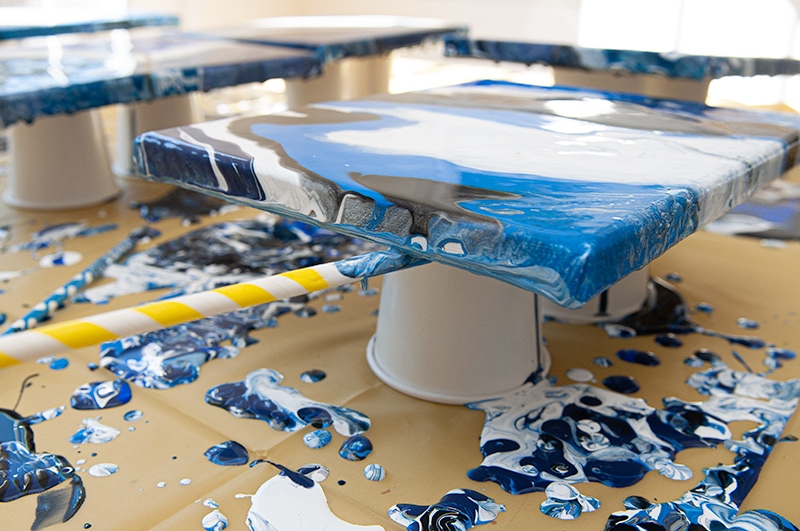
This is VERY important, let paint dry 24 hours. I know you’ll be tempted to touch it and see if it has dried in 10 hours, but it’s not gonna be and your going to leave a finger print. Learn from my mistakes!
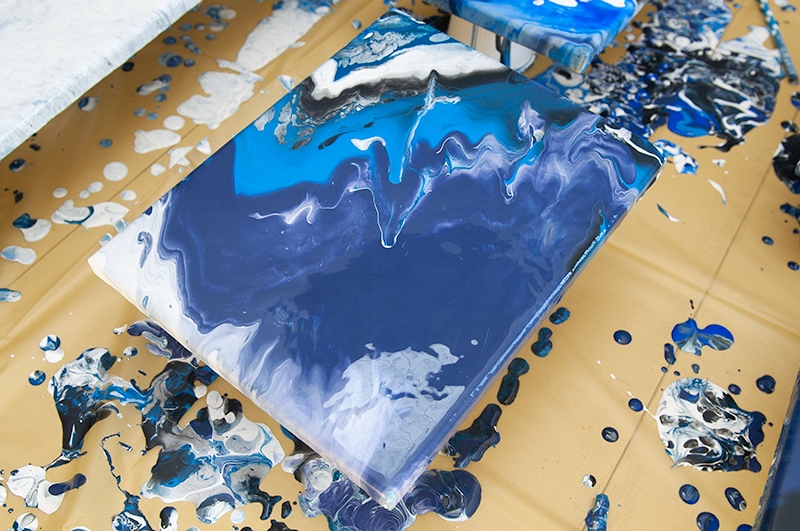
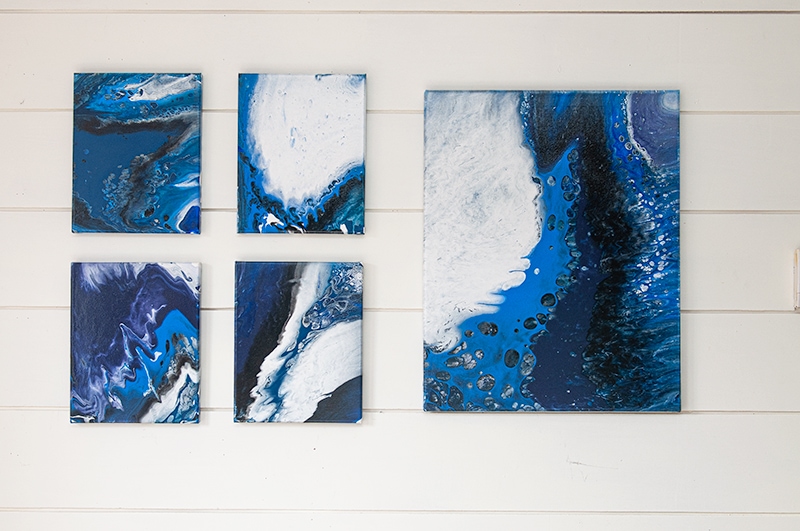
Add some command strips to the back and your ready to hang on the wall!
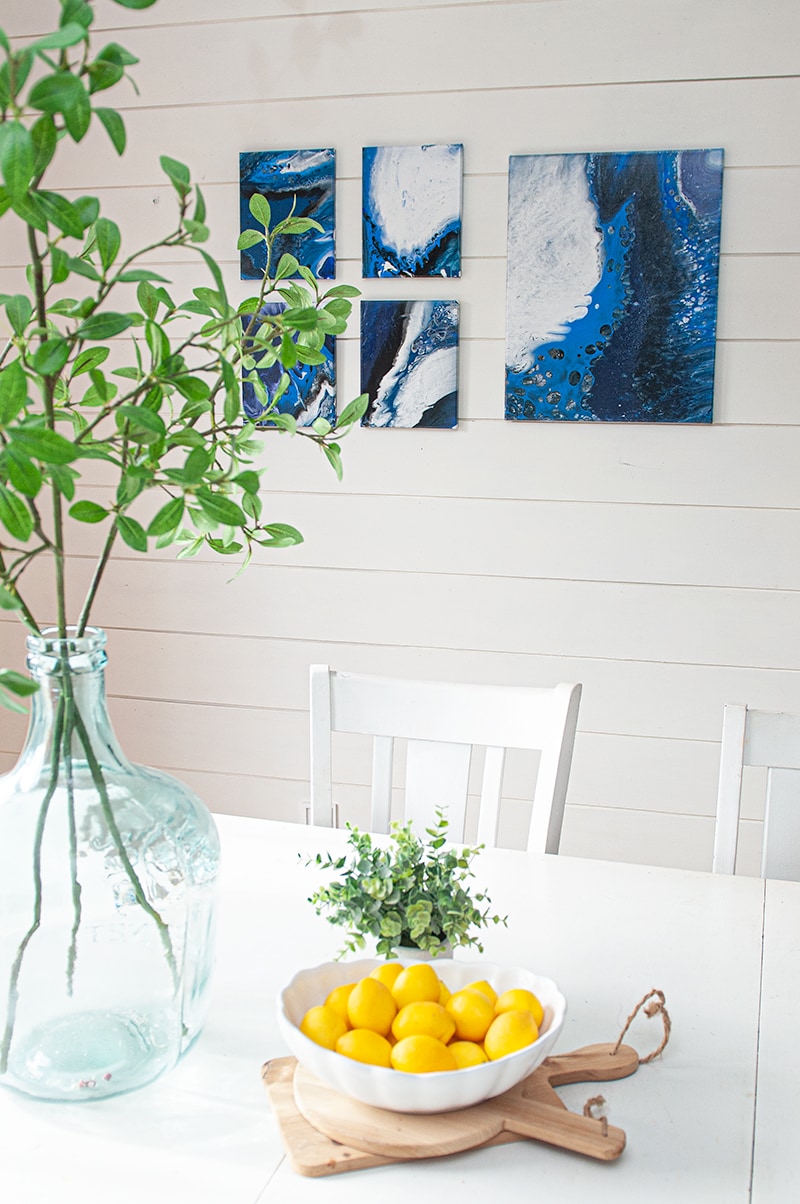
They just look so bright and airy in the kitchen space.
Here is another look with this pieces of art. I added them to my boys gaming room.
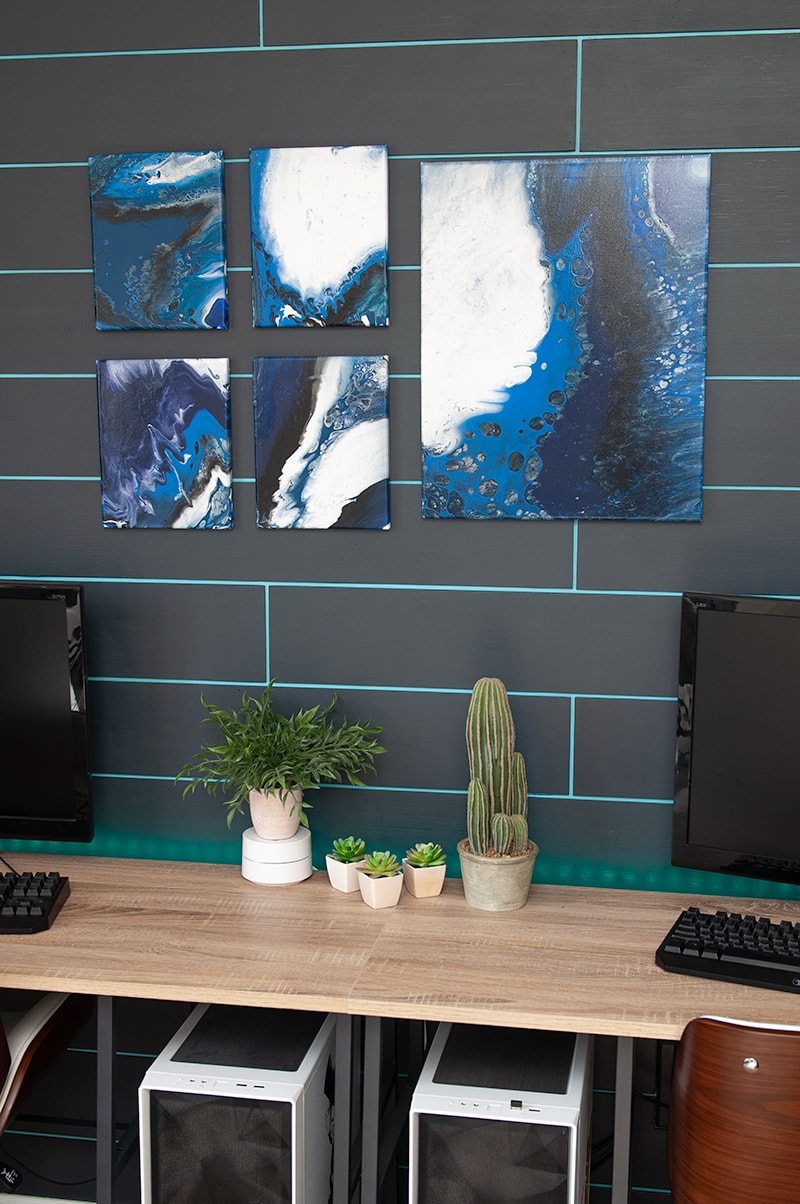
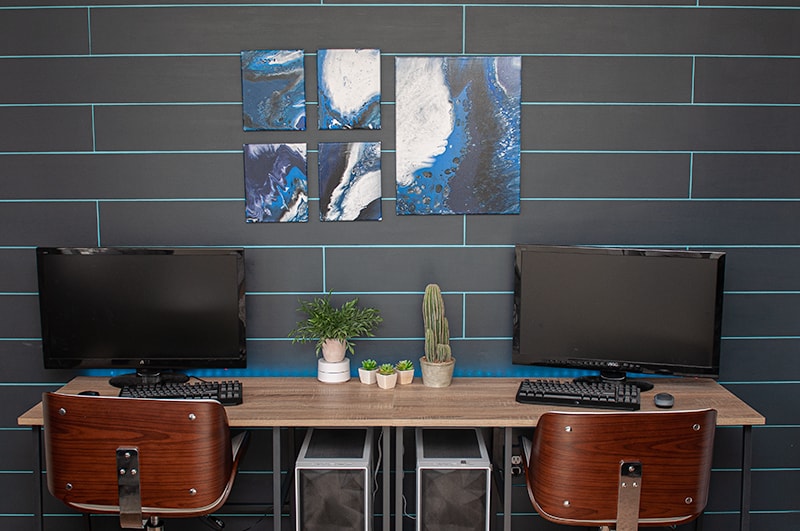
Are these just not beautiful pieces of wall art, that you made yourself! Just a couple supplies and you have your own custom work.
As always thanks for stopping by, if you have any questions please don’t hesitate to ask!
More Painting Ideas
Love, Courtney
