Hello friends, the holidays are over and I’m finally able to share some projects I did with my art club this Fall. I will be sharing several projects I did over the next couple weeks. Our first project was Pour Painting!
Pour painting is a little intimidating on it’s own as an adult, but add 24 kids to the mix… Grades 1st – 6th. With this post I’ll show you how to prep for a project like this and have success! One thing I LOVE about pour painting, the finished product ALWAYS looks amazing. That’s why I knew this would be a perfect kids craft project for my art club. They were so excited to work on this project. I think this one and galaxy painting were their favorites!
Let’s get started!
Pour Painting Supplies Needed:
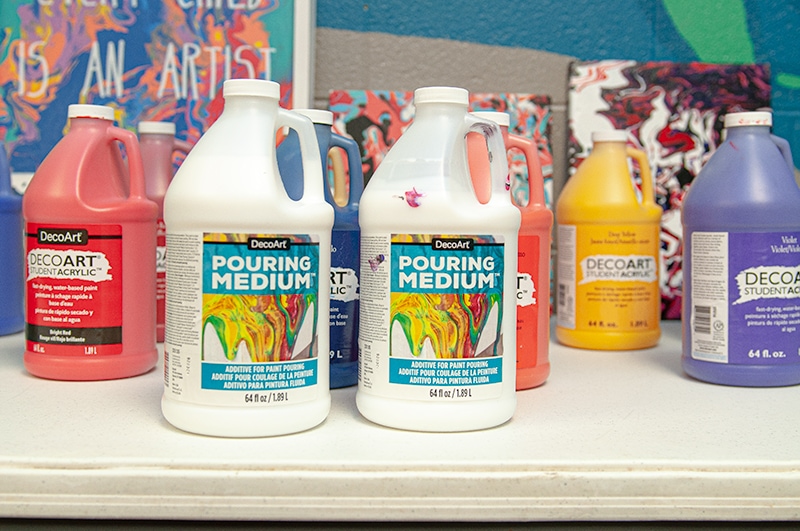
- DecoArt Student Acrylic Paints
- DecoArt Pour Painting Medium
- Canvas
- Plastic Cups
- Plastic Tablecloth
- Popsicle Sticks or Paper Straws
- Turkey Pans
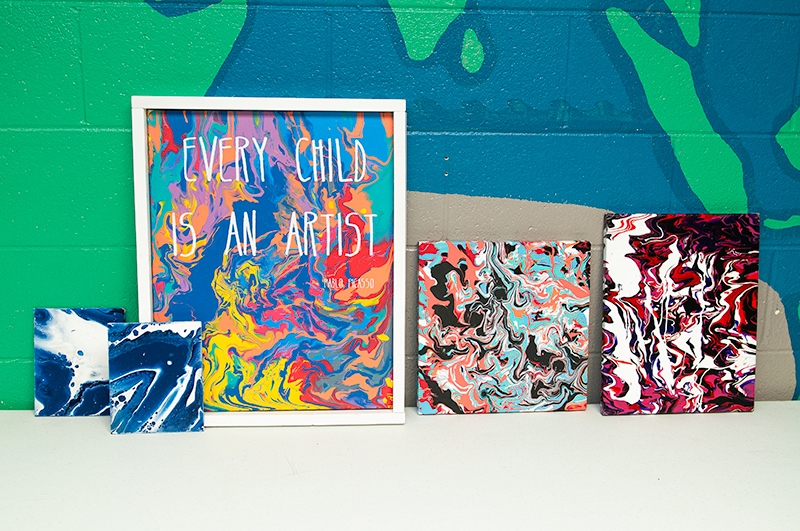
Inspiration for the kids
Here are a couple Pour Painting Projects I’ve done on the blog in the past.
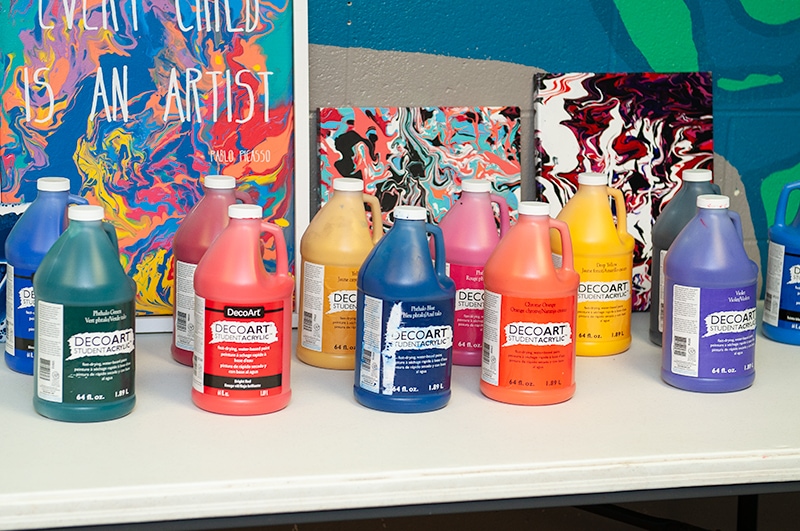
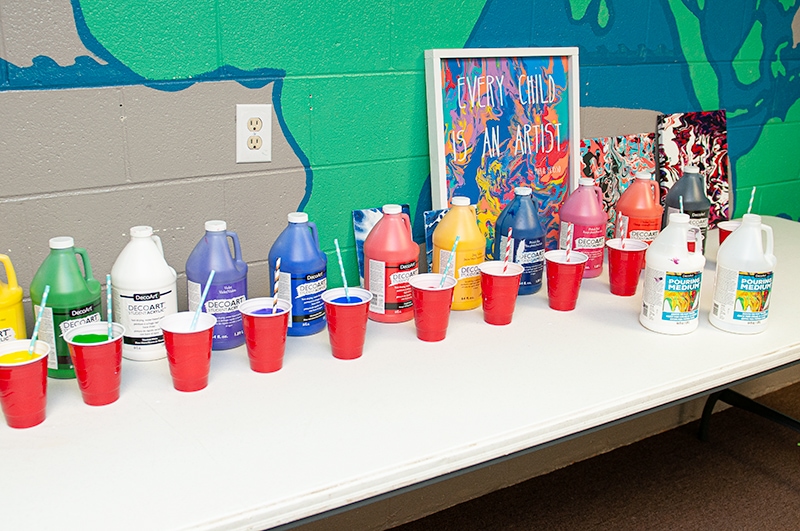
Step 1 – Pick out Paint
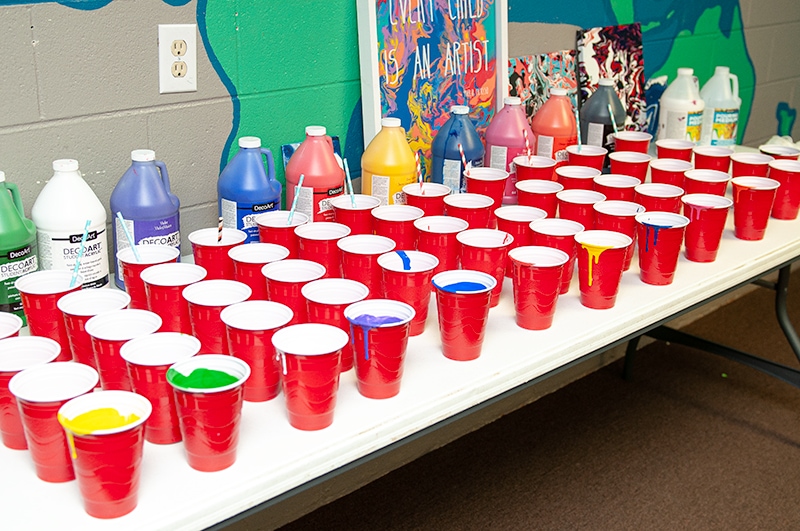
I was able to get all these bottles of Student Acrylic paint from DecoArt for these posts. They have 24 different colors to choose from. I pre-selected colors for this project, besides black I tried to pick light and airy colors.
Quick TIP: Have the kids write their names on the back of the canvas before getting started.
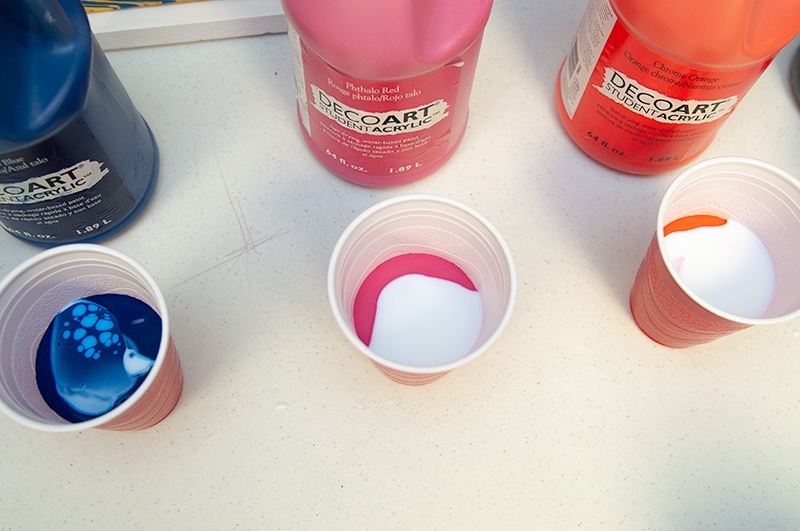
I prepped everything before the kids arrived. I started off by adding my paint colors to the plastic cups. I filled the cups halfway with paint.
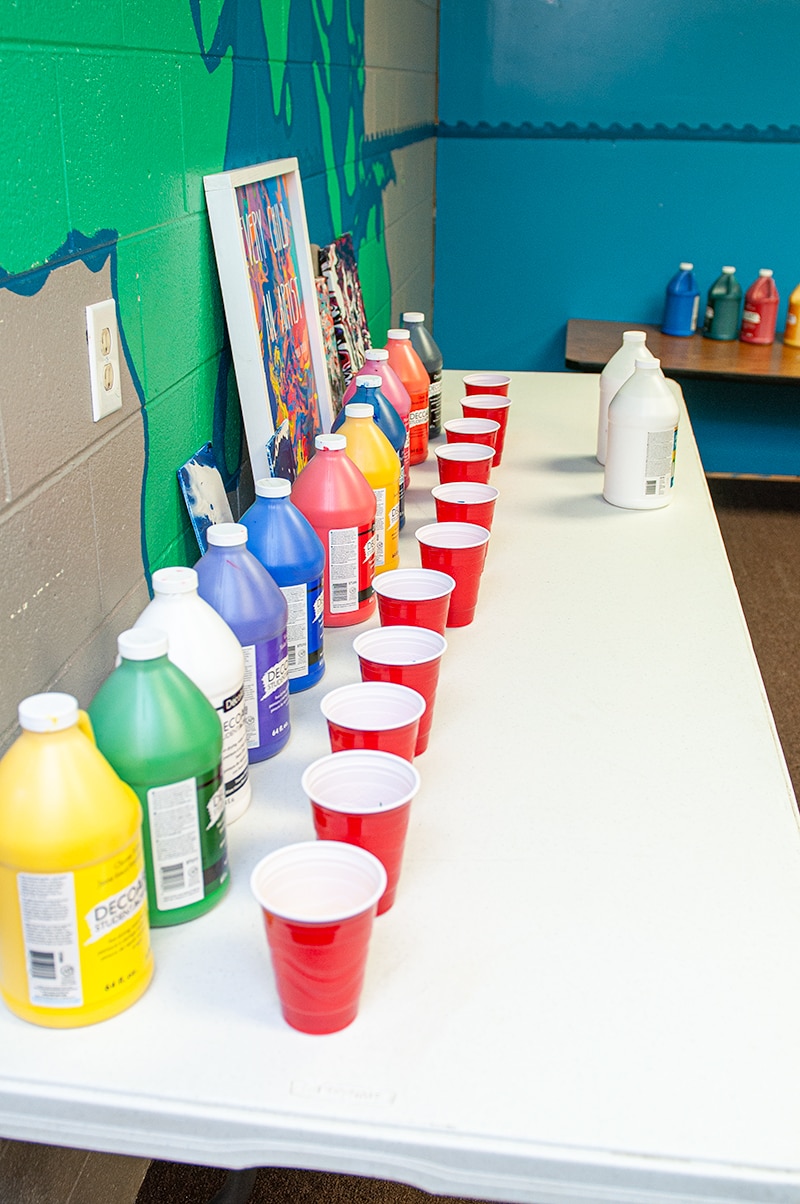
Step 2 – Mix Paint and Pouring Medium
Next I filled the cups with the Pouring Medium. Craft acrylics: 1:1 Paint to Pouring Medium.
Step 3 – Mix Paint
Stir well. I used paper straws to stir the paint.
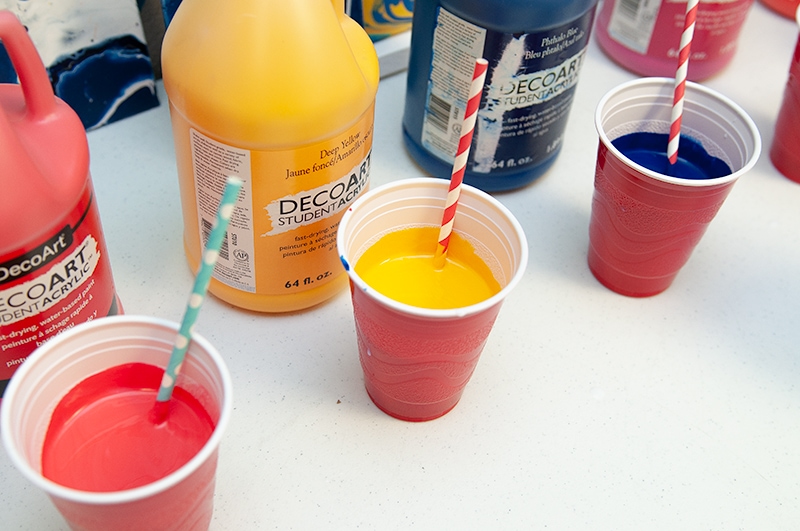
Step 4 – Prep Pouring Paint
Then I poured the paint into several more cups. I added about 20% to each cup. If you add too much paint to each cup, the kids will pour it ALL onto the canvas. Let’s set them up for success not failure!
Step 5 – More Prepping
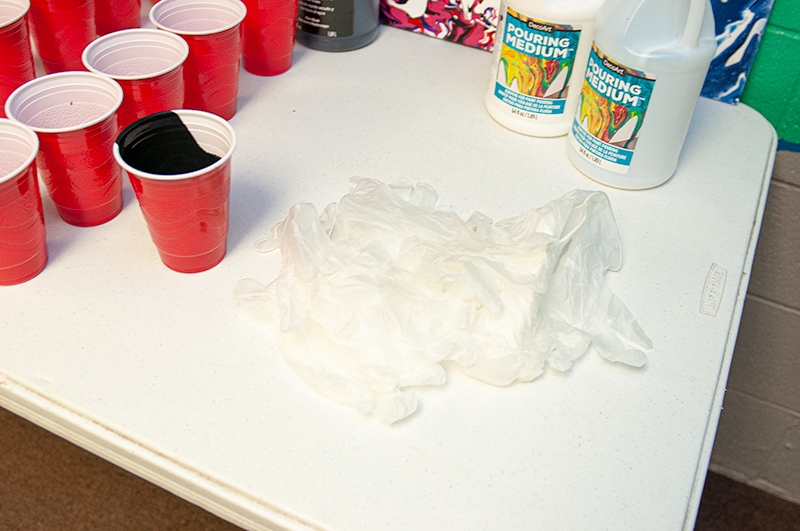
For the younger kids I made sure to have gloves available, but honestly the 1st and 2nd graders were cleaner then the older kids. Go figure!
Step 6 – Canvas
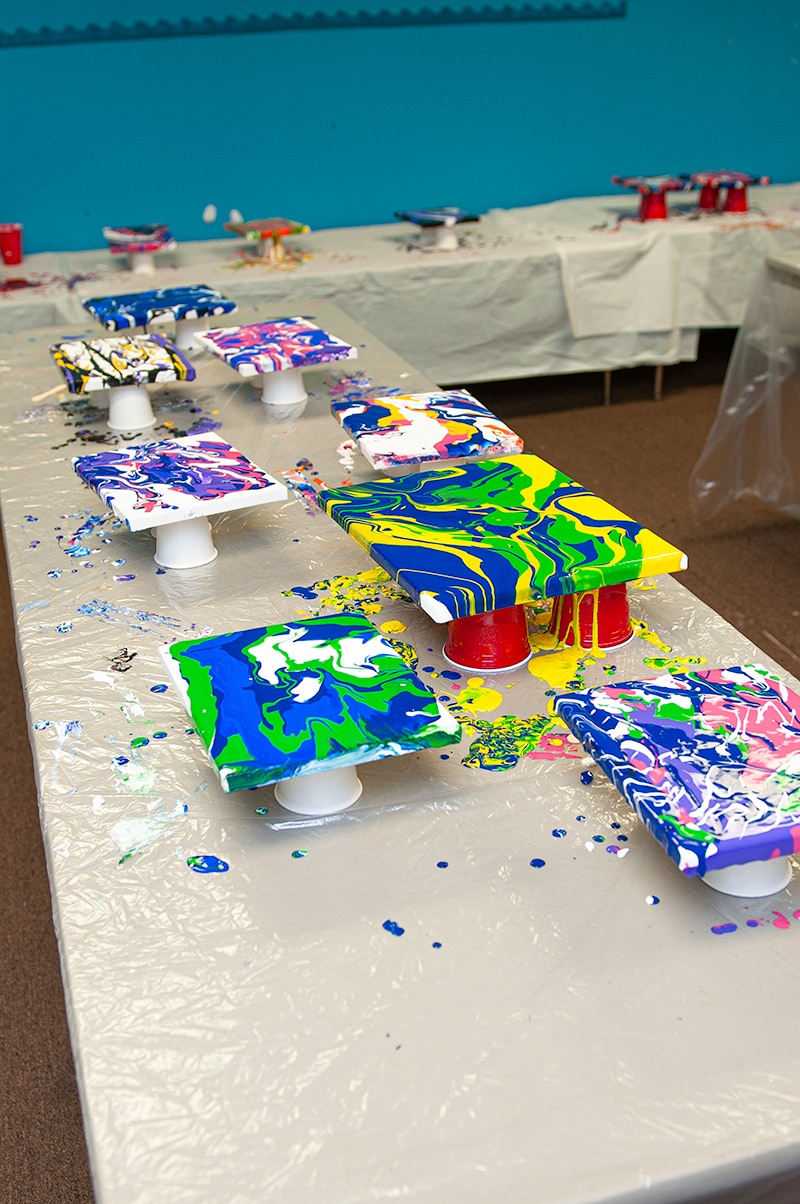
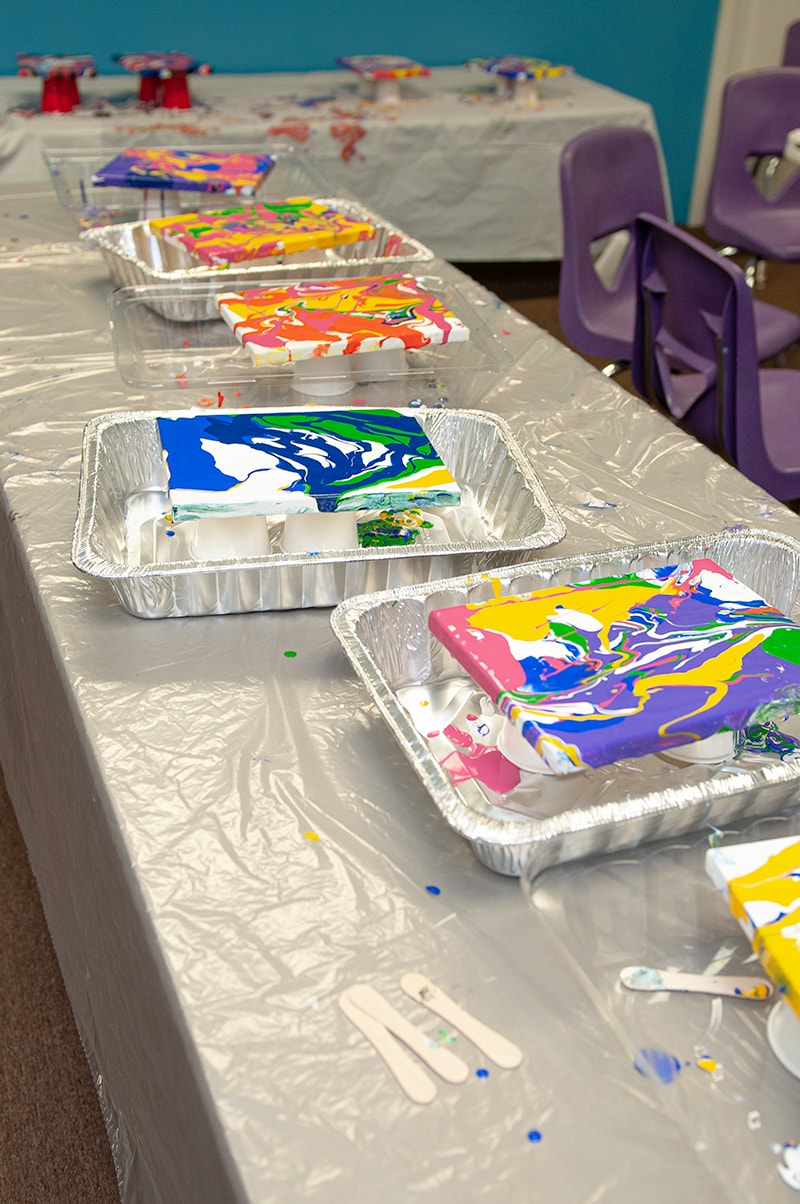
Canvas prep time! I laid the canvas on paper cups. Then again for the younger kids I grabbed some turkey pans from the Dollar Tree. Any paint that would spill over would just fall in the pans, super easy clean up there!

For the older kids I covered the tables with plastic table clothes. Set the canvases on top of paper cups . Once the kids are finished I just toss the table cloths with the mess!

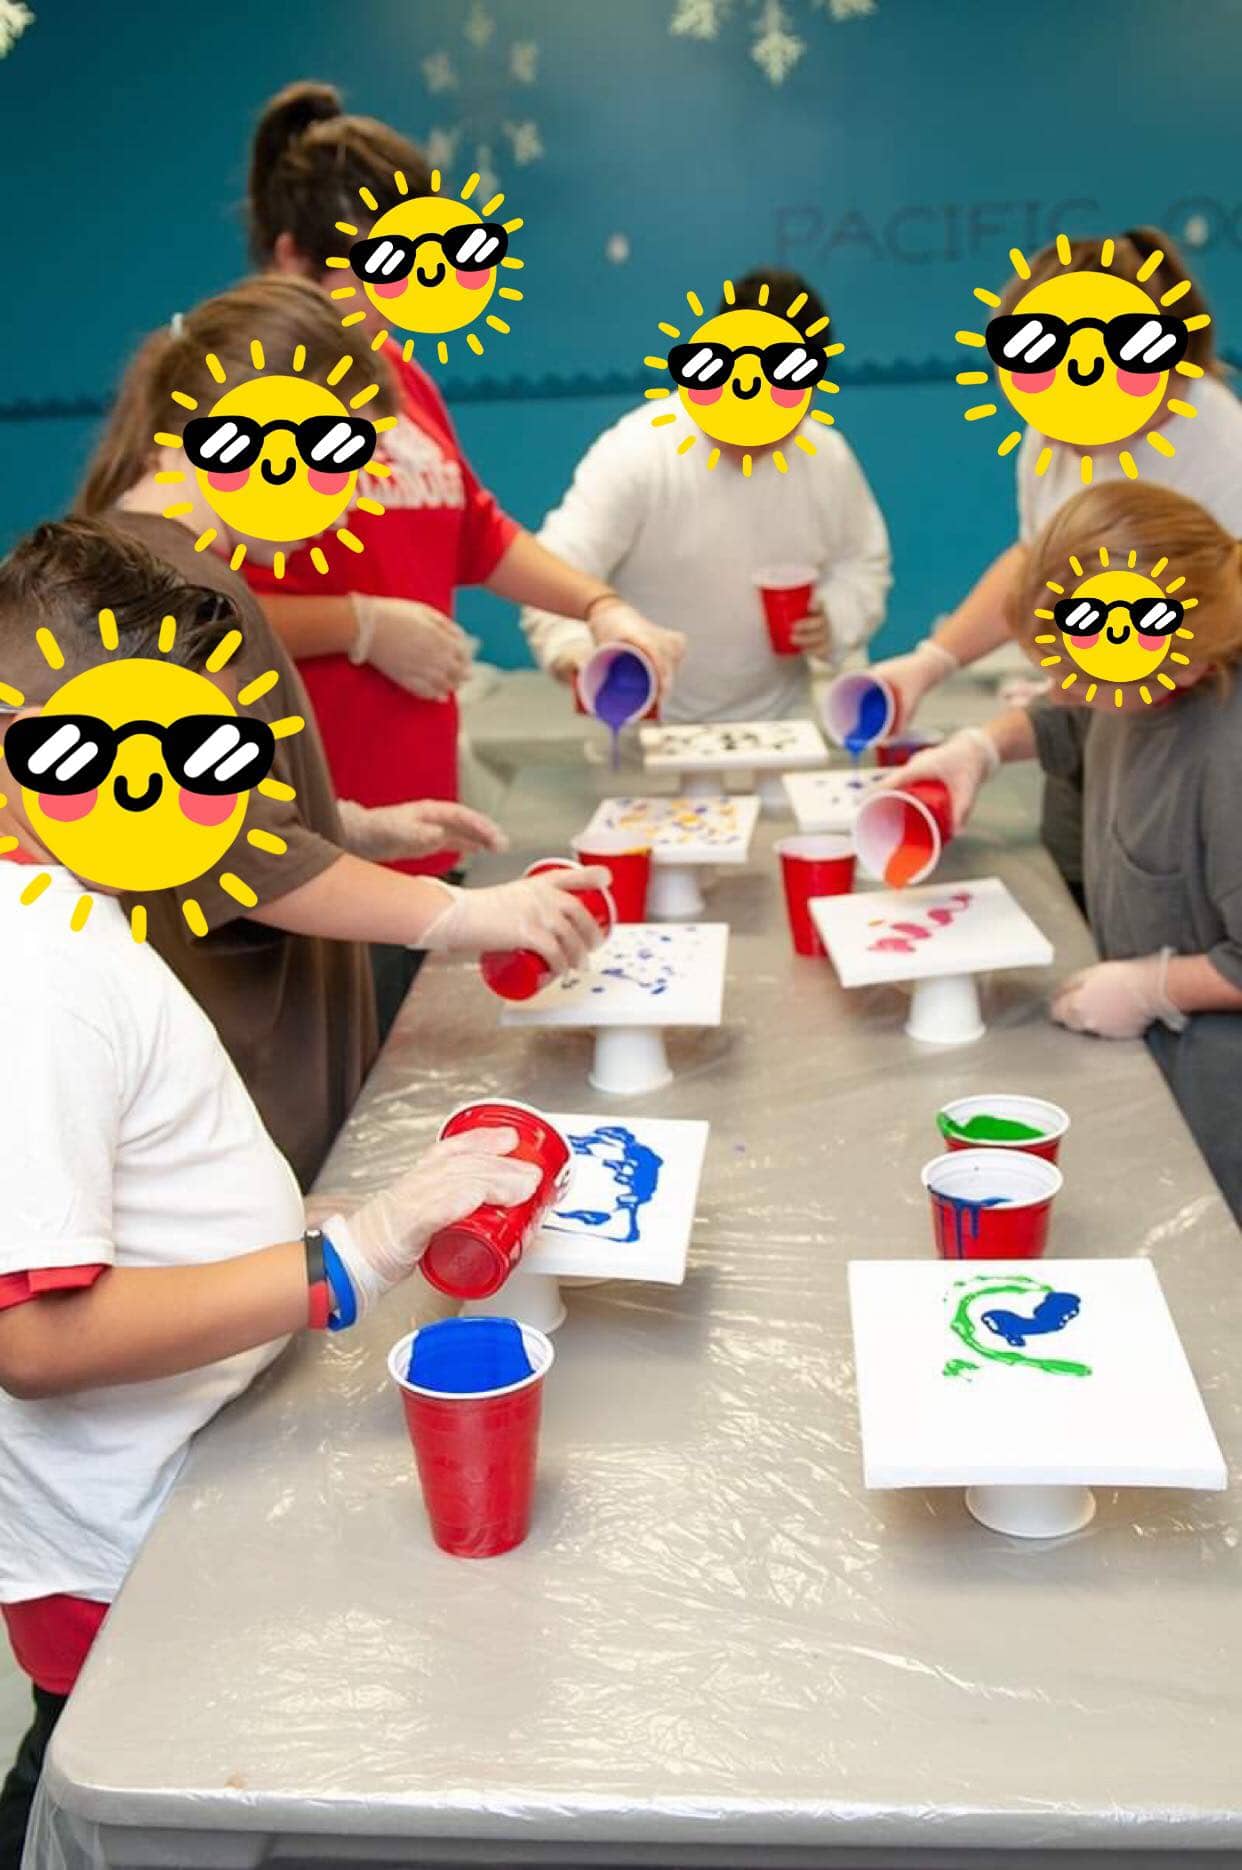
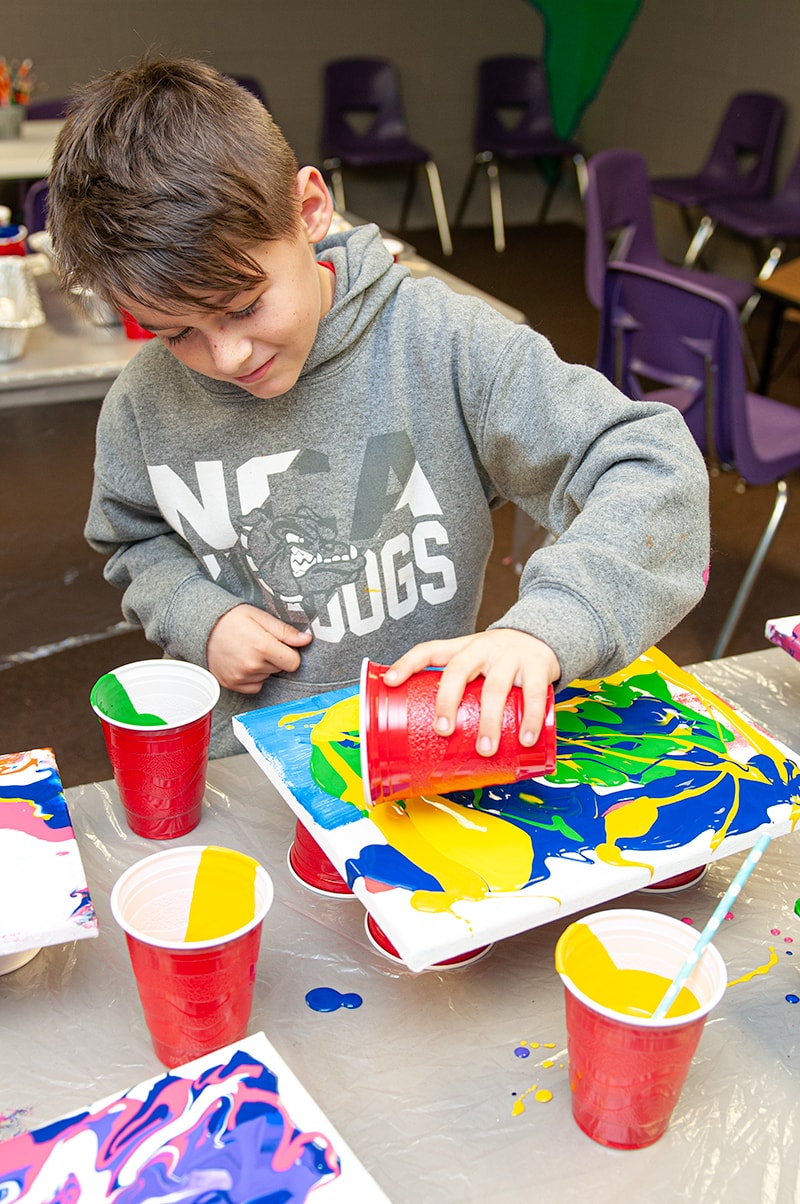
Step 7 – Get to Pouring!
Now we’re ready to start! I did the older kids first and let the younger kid sketch for awhile.
Let each kid pick out 4 colors. They could share with one another as well. Then just start pouring the paint around the canvas. It’s as simple as that!
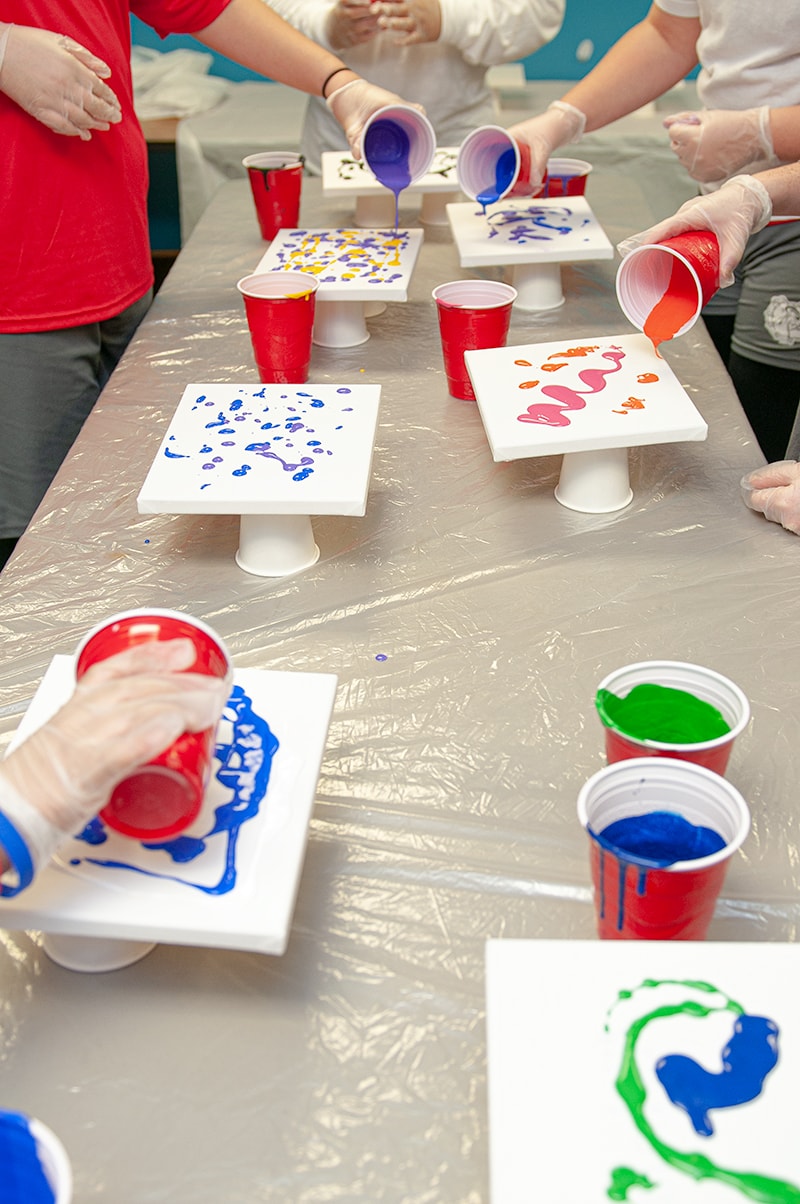
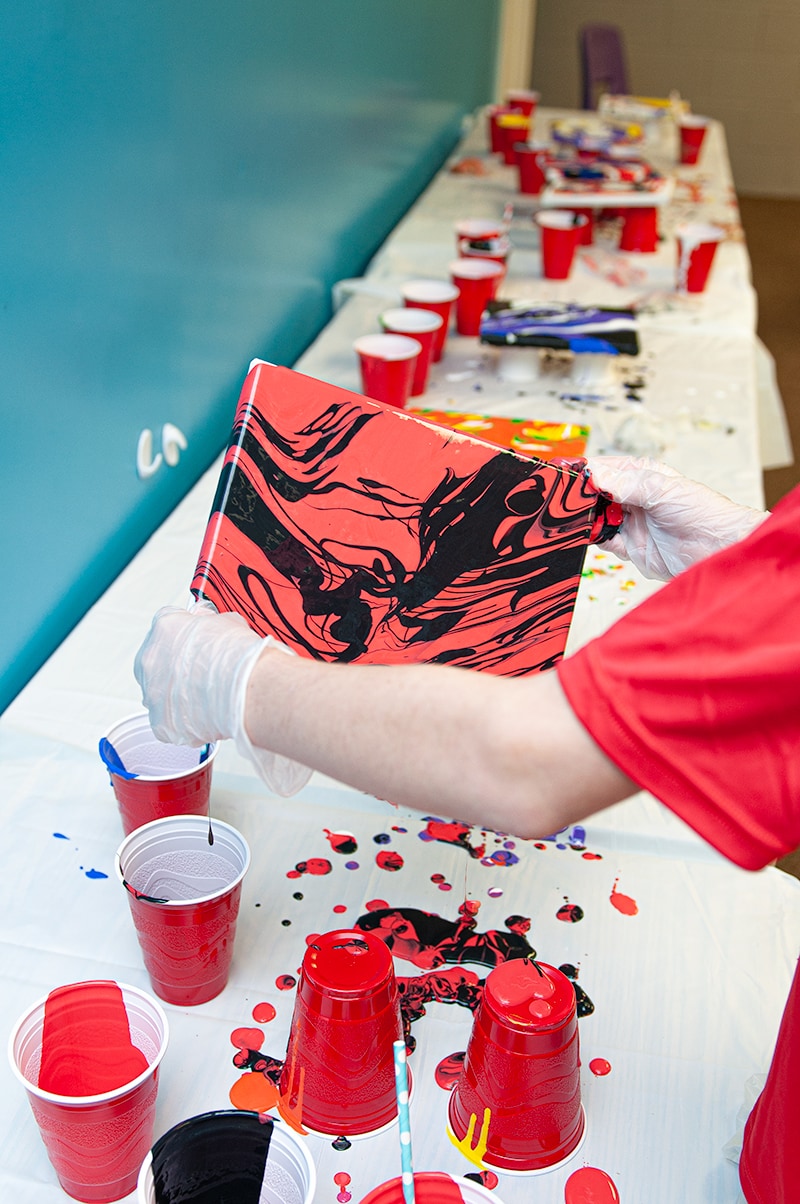
Step 8 – Move Canvas Around
Once they added all their paint, they can start moving the canvas around. This is the part where the gloves are nice to have. You wont have to send 24 kids to the bathroom to wash their hands, just toss the messy gloves in the garbage once their finished.
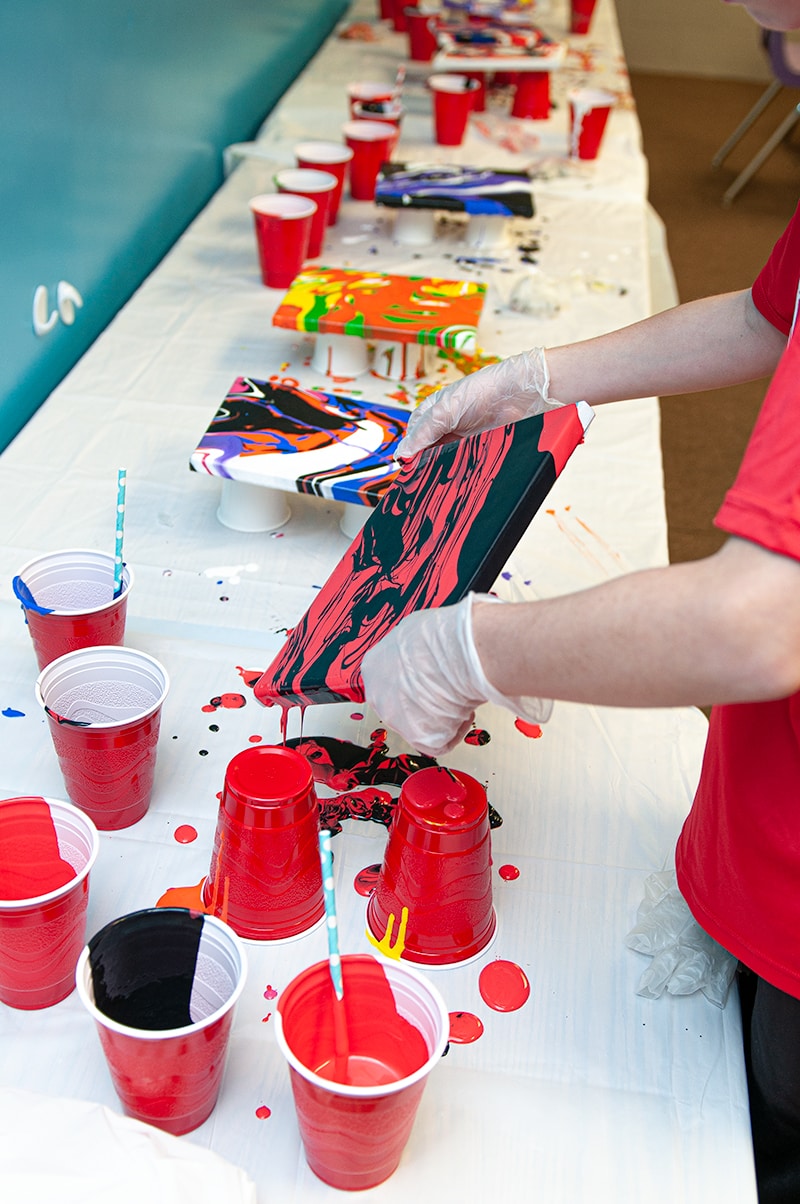
Let the excess paint drip onto the plastic table cloth. If they need to add more paint in spots they can.
Step 9 – Let Dry
Now the final step, let the canvases dry for 24 hours. Don’t touch them, I know you’ll be tempted to touch them after 10 hours or so to see if it’s dry yet. Believe me, it’s not dry and your gonna leave a fingerprint. I’ve learned the hard way from past experience.
After all the kids left I went around each canvas with a popsicle stick to remove any dripping of the paint.
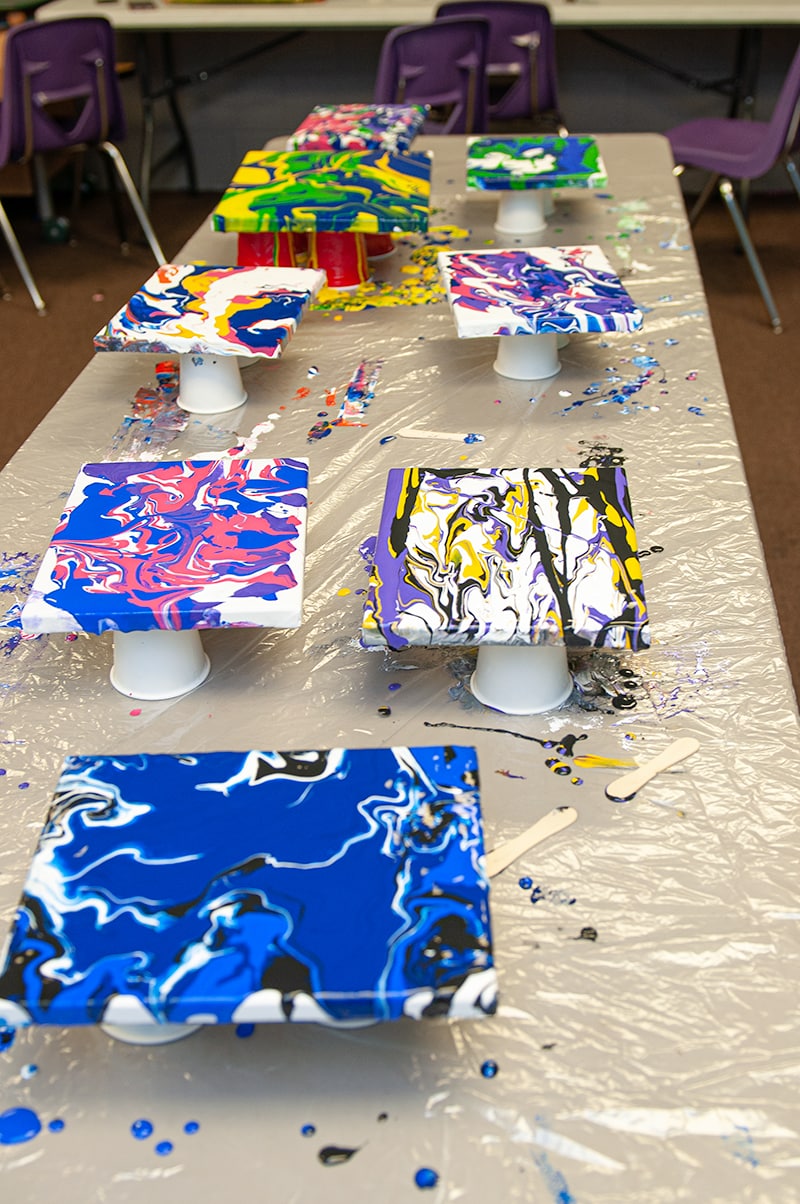
Step 10 – Enjoy!
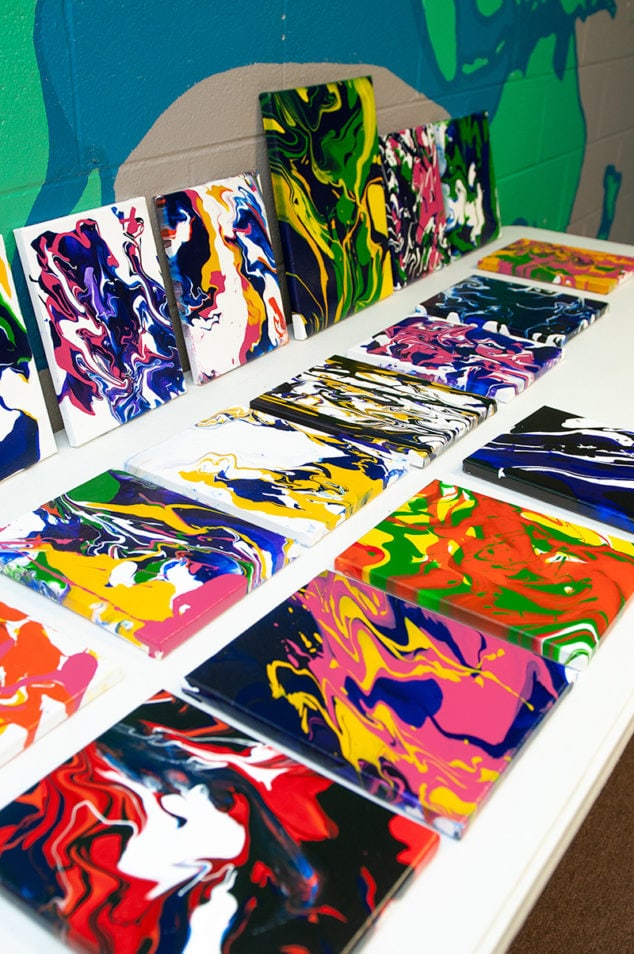
When the little artist come back for the next art club they can take their masterpieces home!
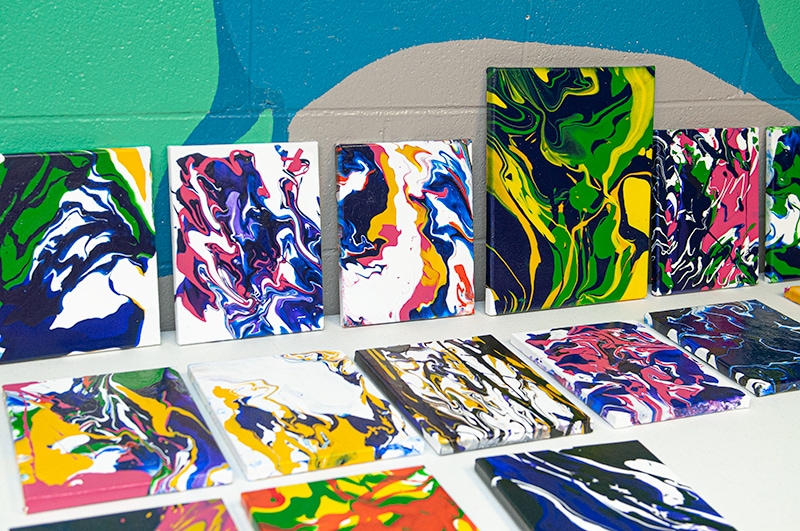
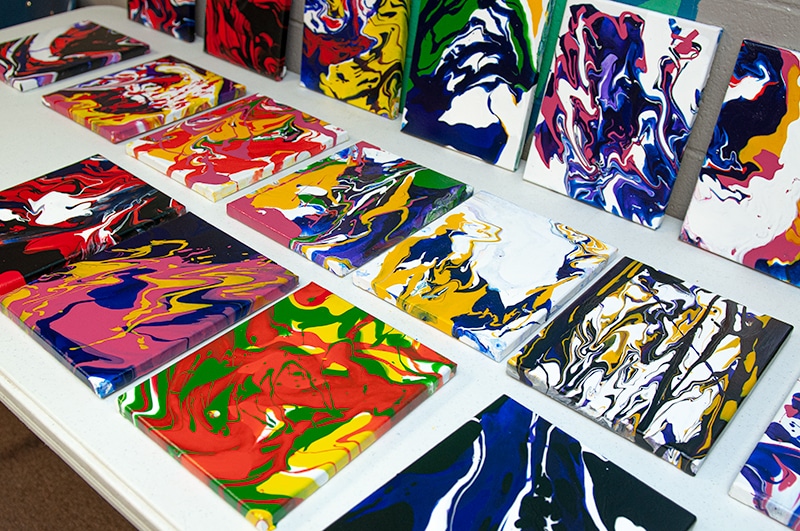
As you can see there is not a bad one in the group. They all turned out perfect, and these kids picked some great color combinations.
If was so nice seeing all their excited faces walking into the classroom trying to find which one they made. So proud to take them home and hang on the wall.
Stay tuned for more projects I made with the kids using the Student Acrylic paints!!
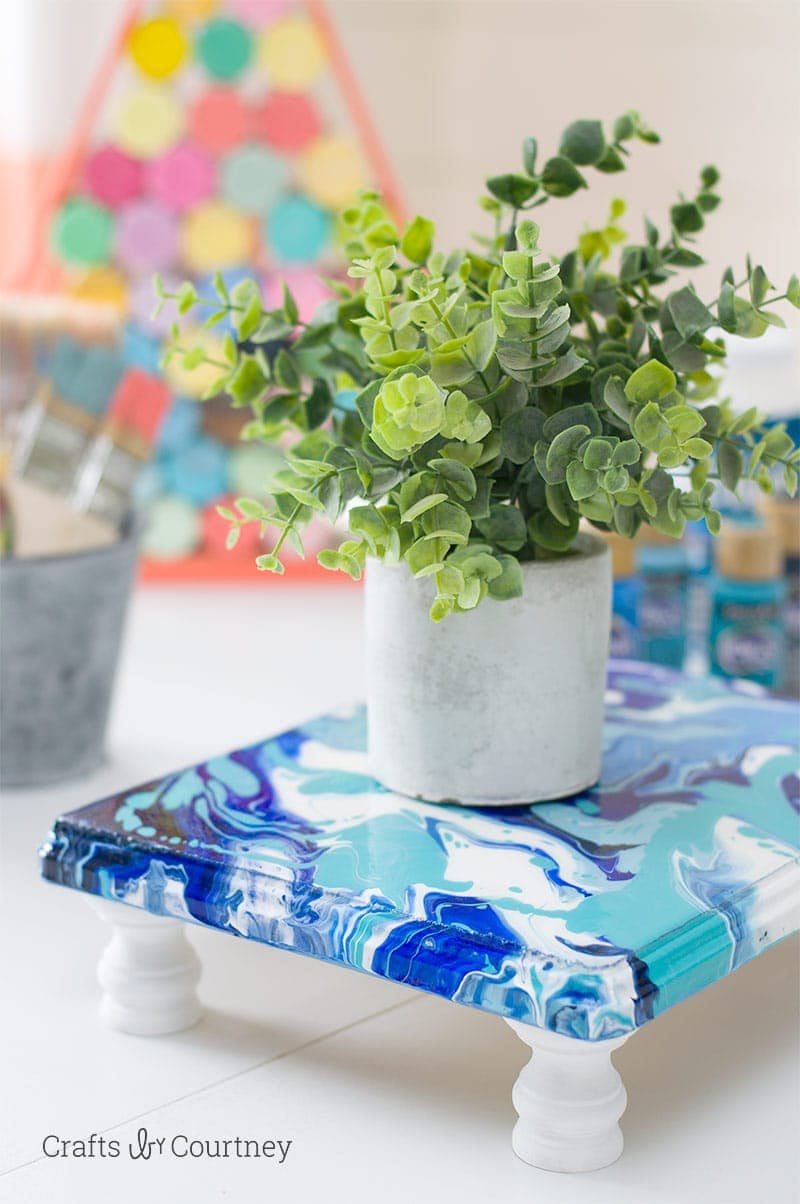
Looking for an adult Pour Painting craft, check out this tray I made over at DecoArt last year.
More Art Club Projects
Love, Courtney