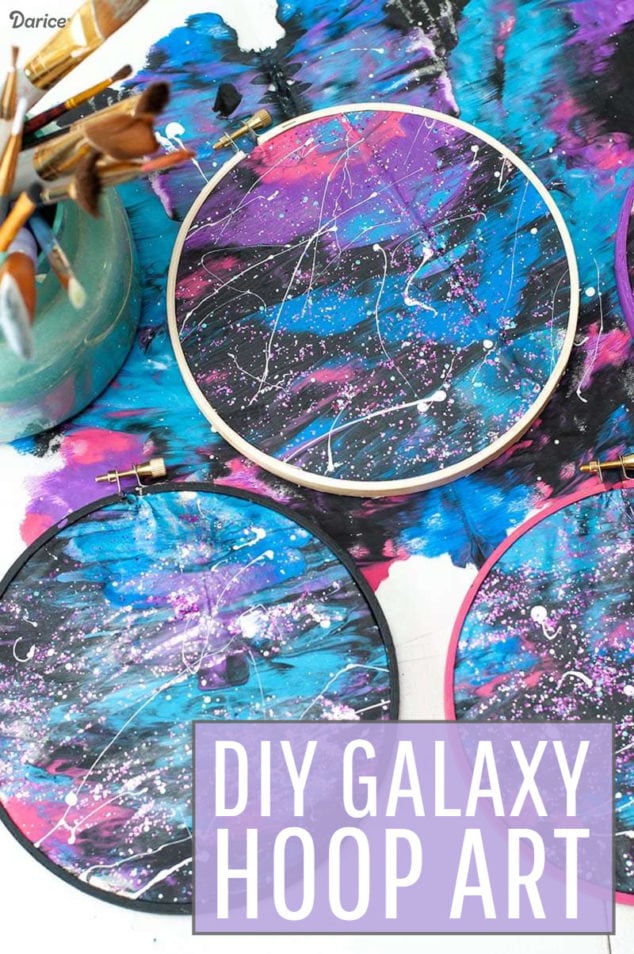
Today’s craft is literally out of this world, far far into the galaxy! Galaxy Painting for Kids!! What I love about this project, it’s a perfect kids craft for any age.
I did this project over at the Darice blog for a fun VBS or Summer Camp craft, but I think this project is perfect for anytime of the year! I had a little helper today, my 6 year old son. I wanted to show that this is a fun yet pretty simple craft to make!
So let’s get started!
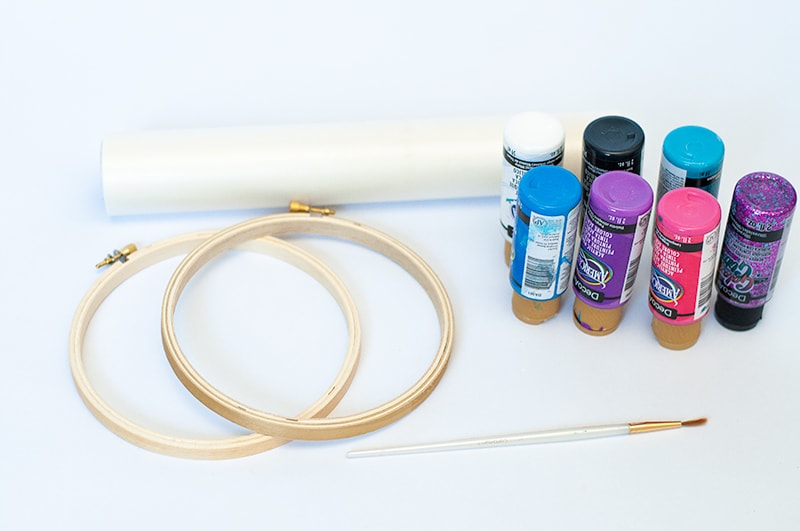
Galaxy Painting Supplies Needed:
Step 1 – Wax Paper
Now let’s tear off some wax paper. The wax paper size needs to be bigger then your embroidery hoop.
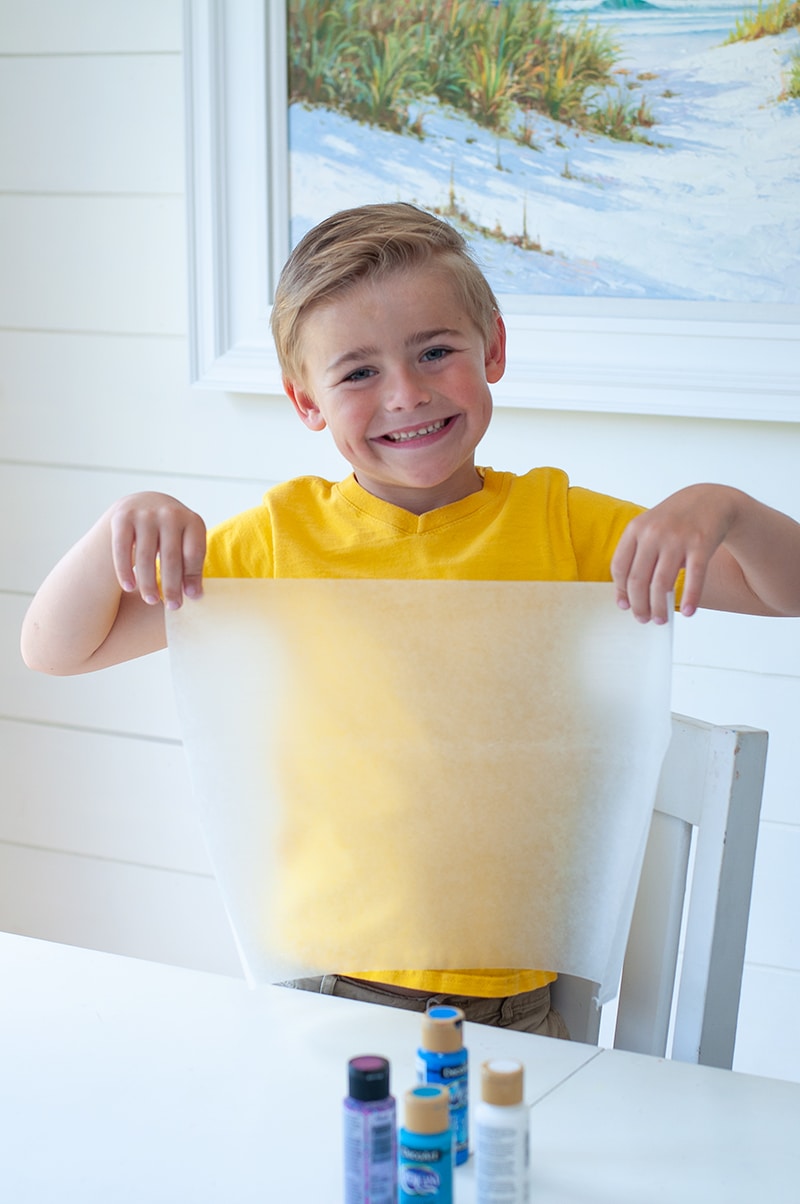
Fold wax paper in half to create a line the kids can work off of.

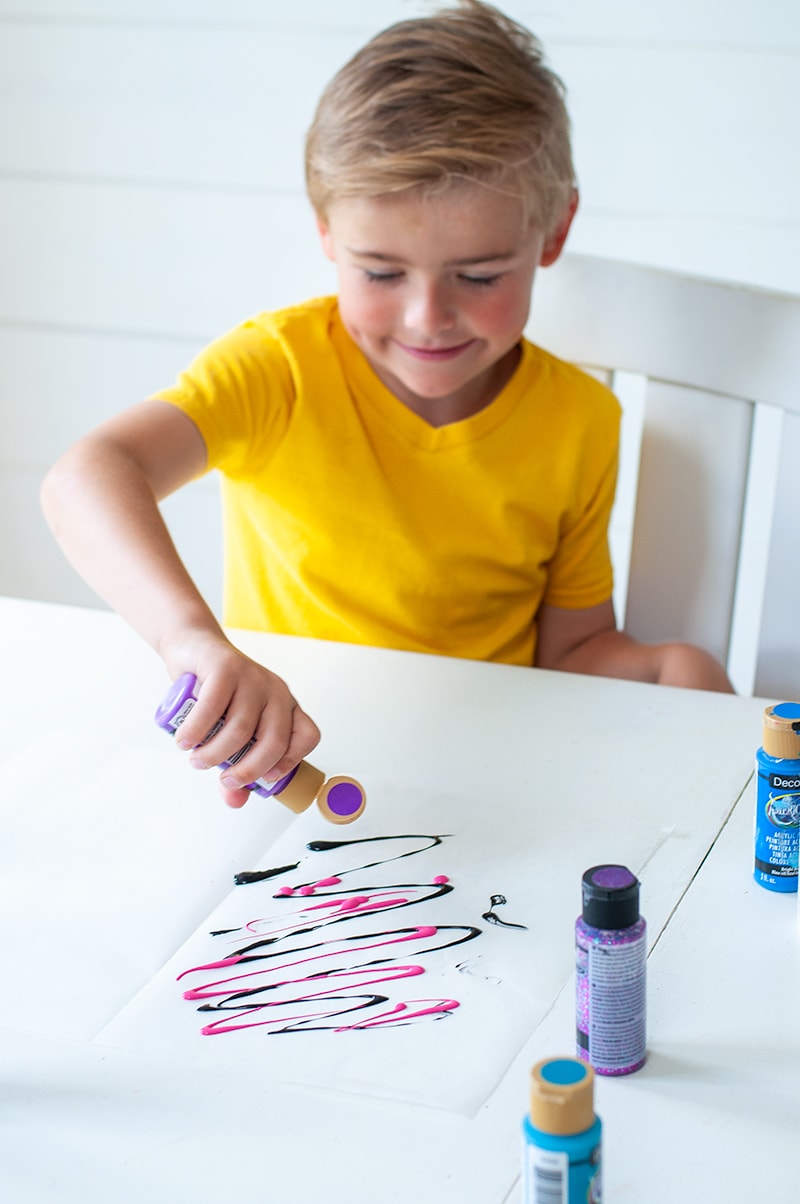
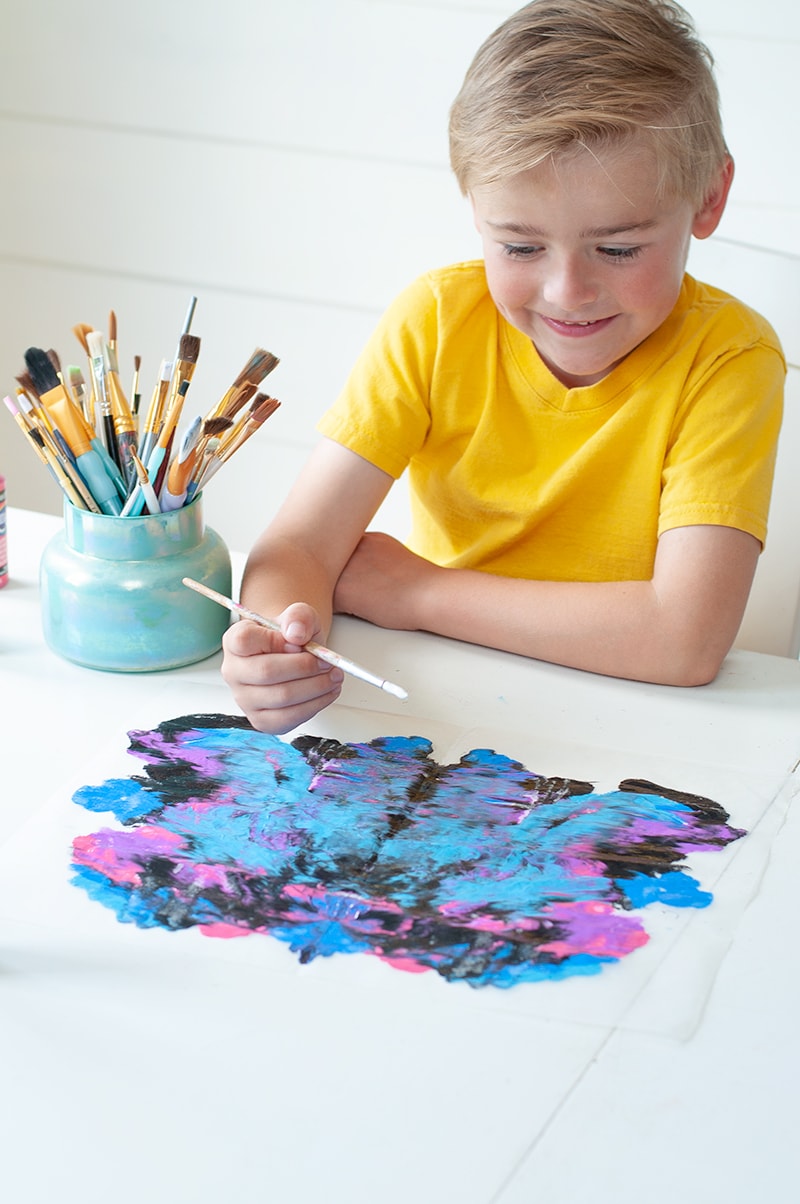
Step 2 – Adding Paint
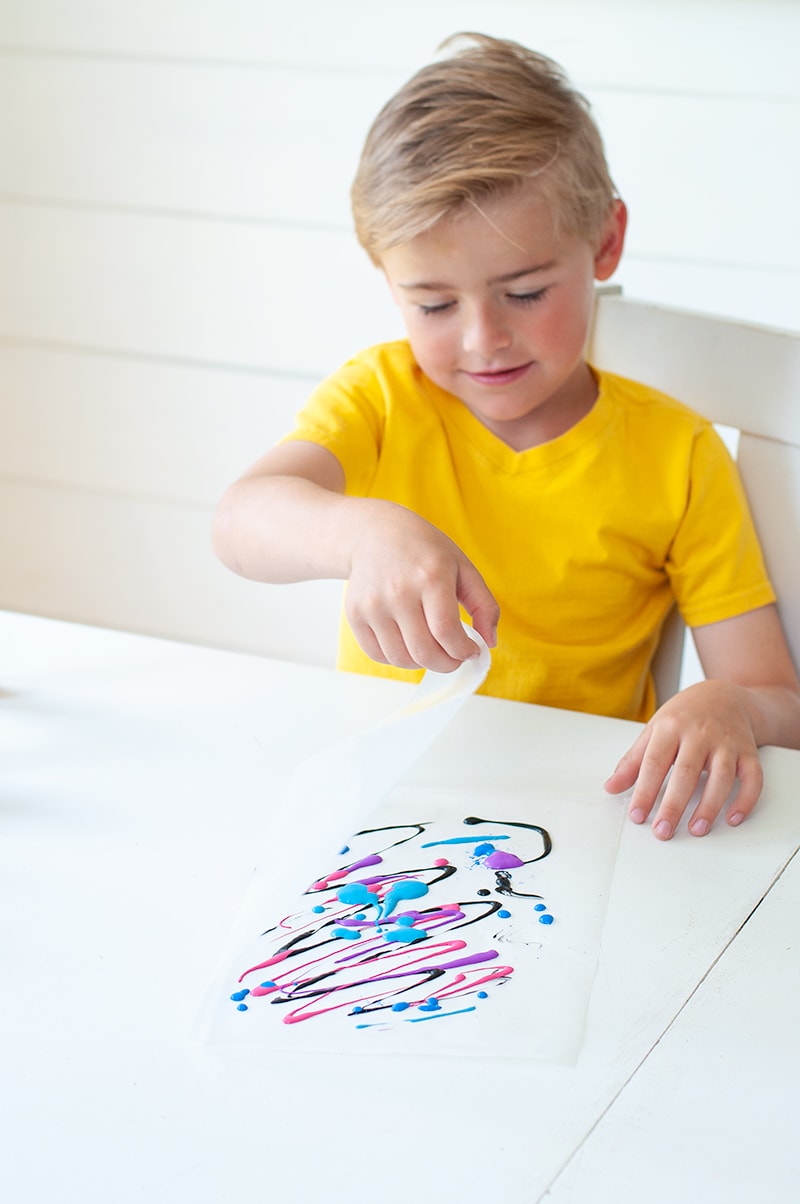
Now that they have folded the paper over and created a line down the middle, next start adding their paint. We used basic craft paint in black, purple, blues, and pink.
Tell your little explores they will need to keep their paint on the left side of the wax paper. Make sure to tell them, they need to spread the paint out like the picture below.
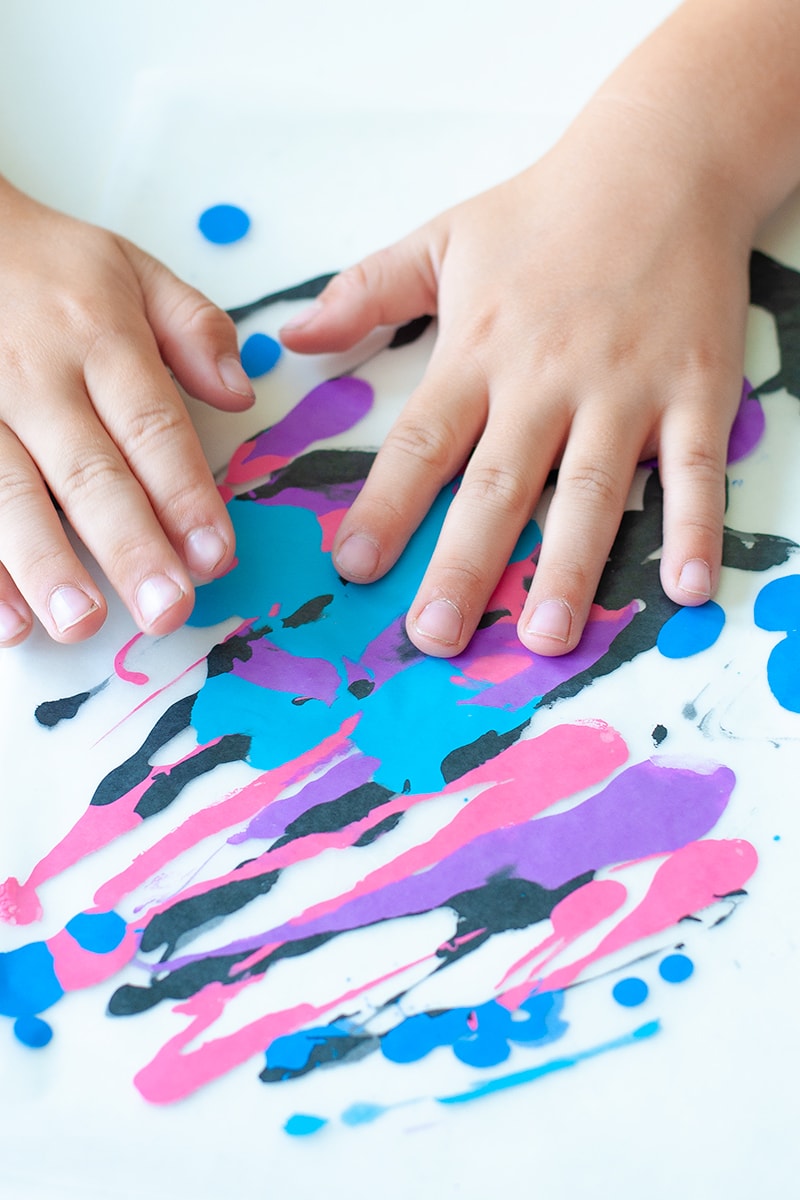
Step 3 – Fold Your Paper
Next let’s fold the wax paper over again. Be sure to have them rub their hands all over the folded piece, so the paint will cover nicely.
Great job little explorer!!
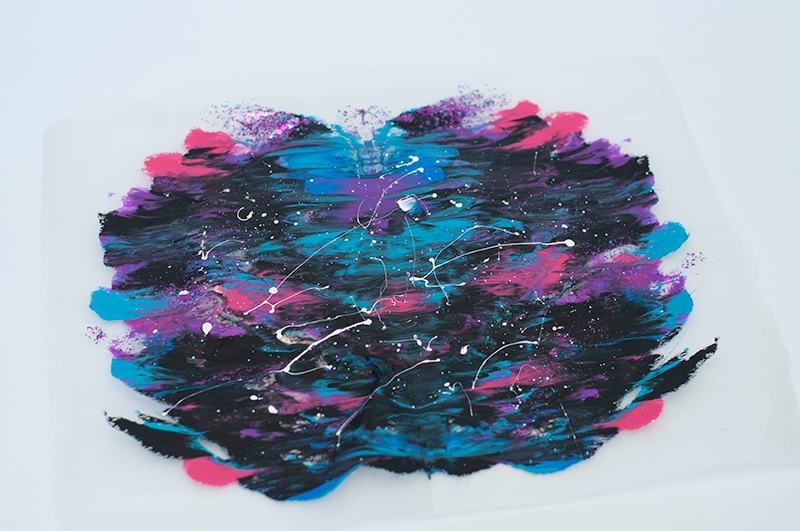
Step 4 – Open the Wax Paper
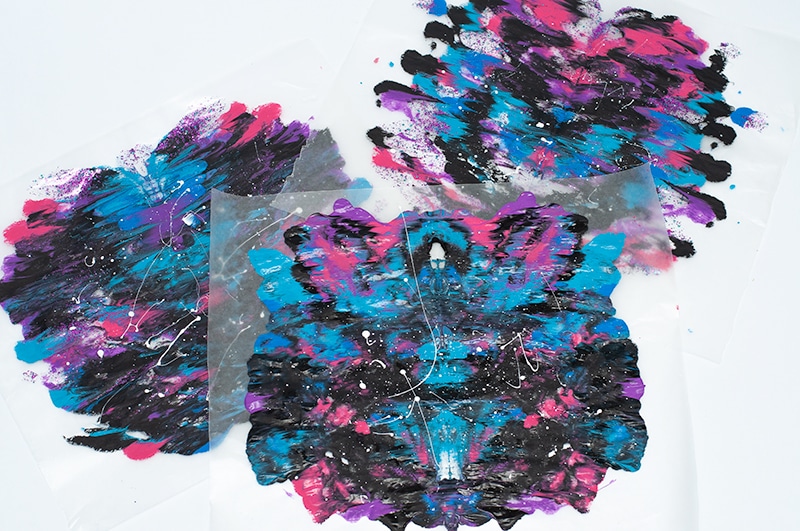
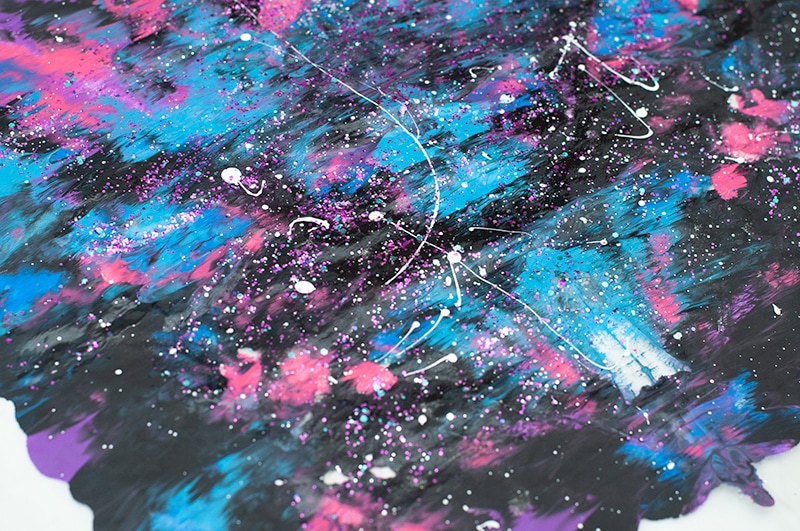
Once they have spread their paint out it’s time to carefully open the wax paper back up and see their design!
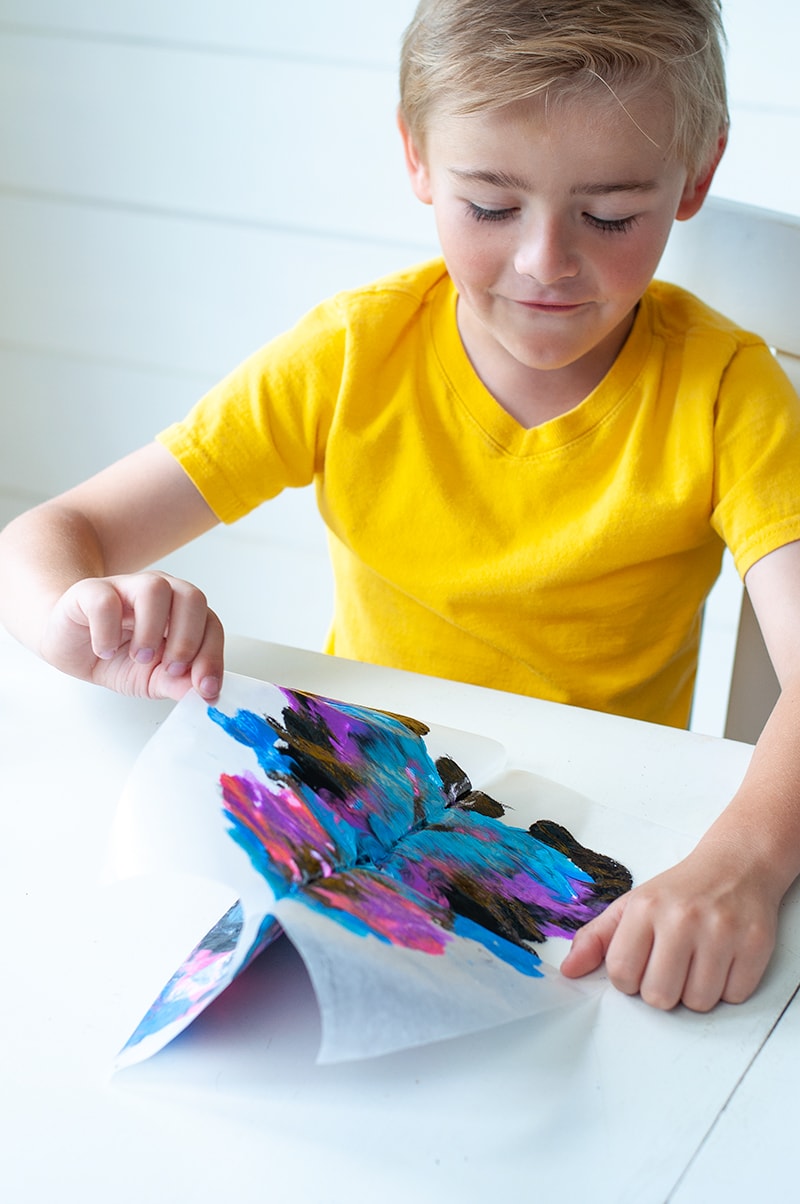
That’s look amazing, such a simple galaxy painting project.
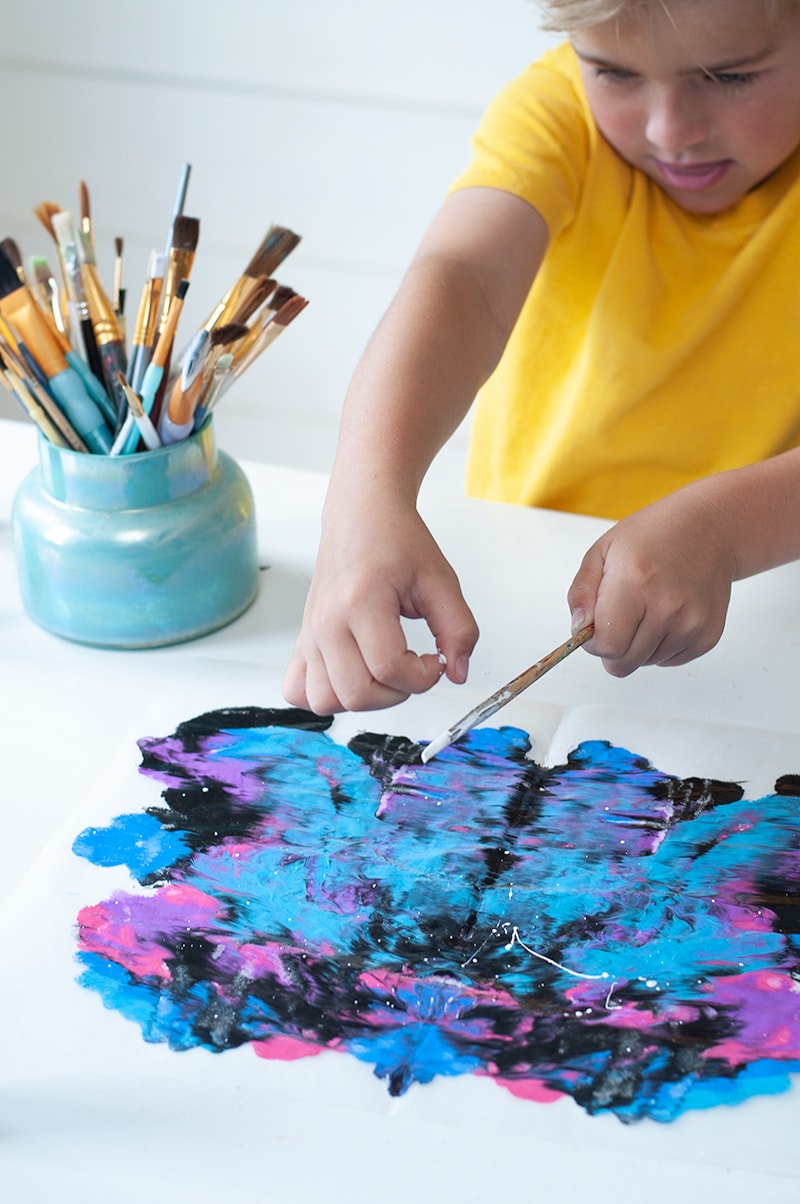
Step 5 – Add Shooting Stars
Now have them dip their paint brush in white paint, then splatter the white paint onto the wax paper. This will create little stars for your galaxy.
Flicking the paint brush with their fingers create a great effect as well!

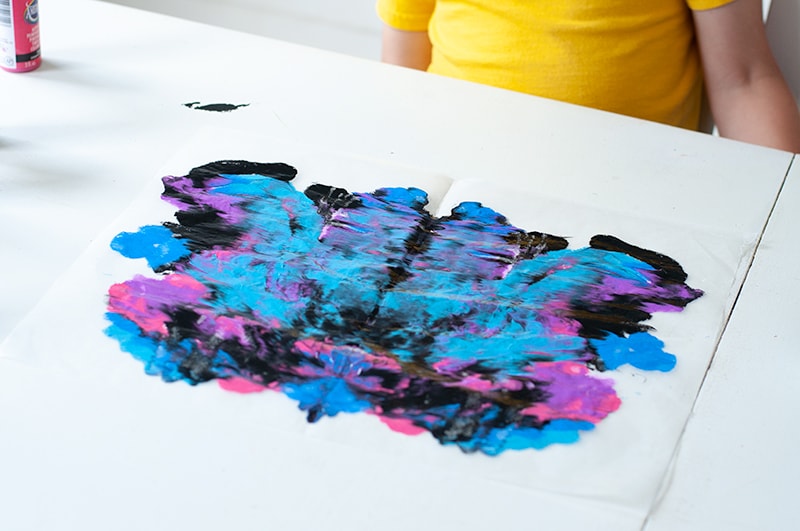
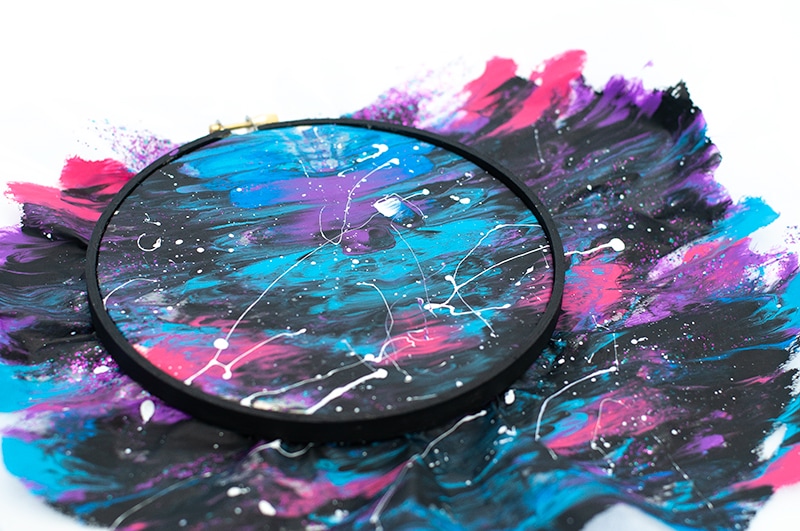
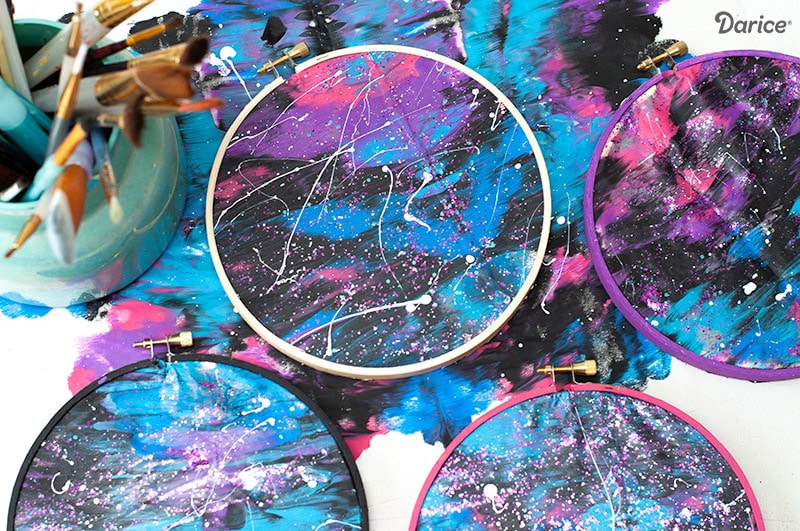
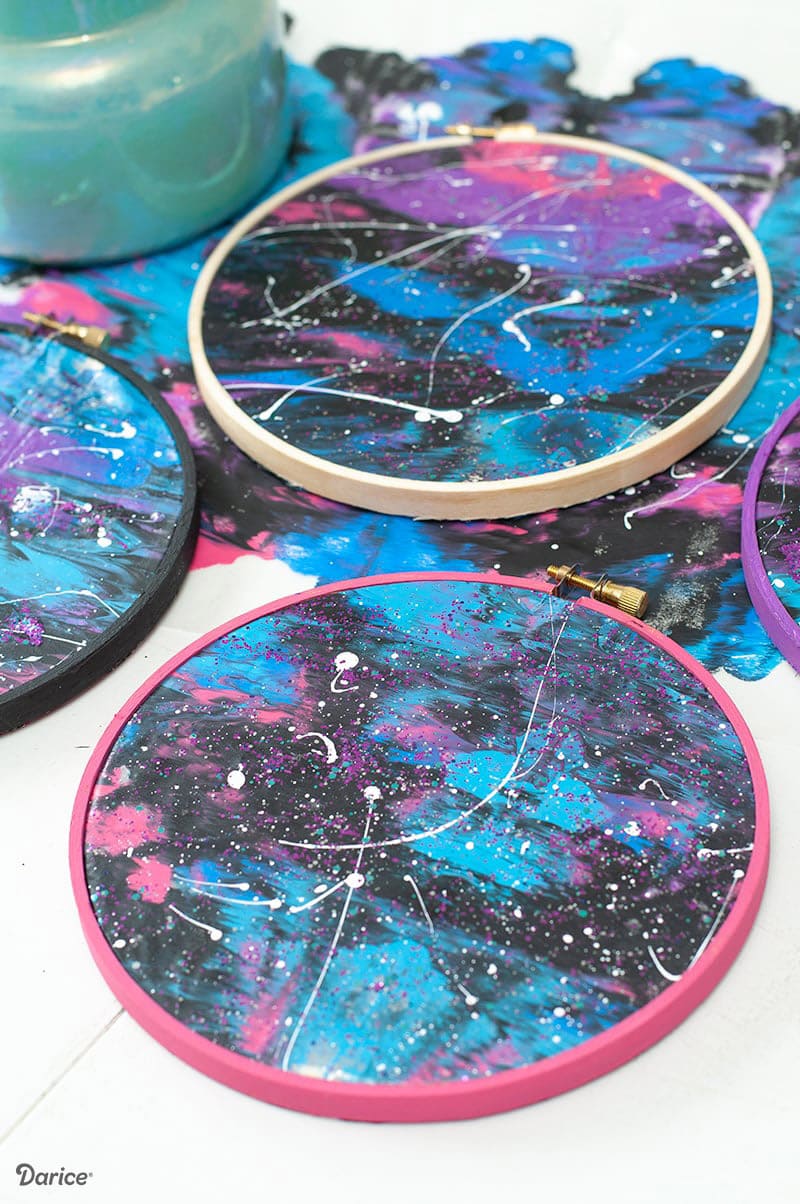
Look at all these amazing galaxy’s we have created for this project! The best part, none of them will look the same, they’ve created their own little pieces of art!
It takes about an hour to dry.
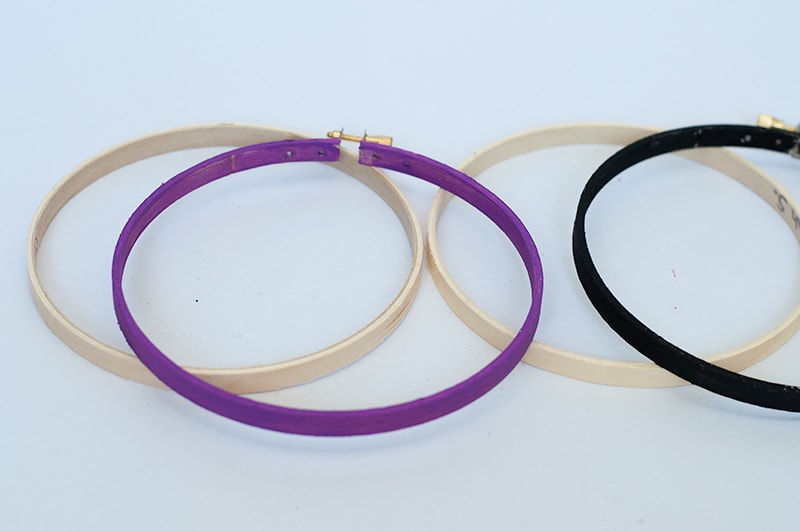
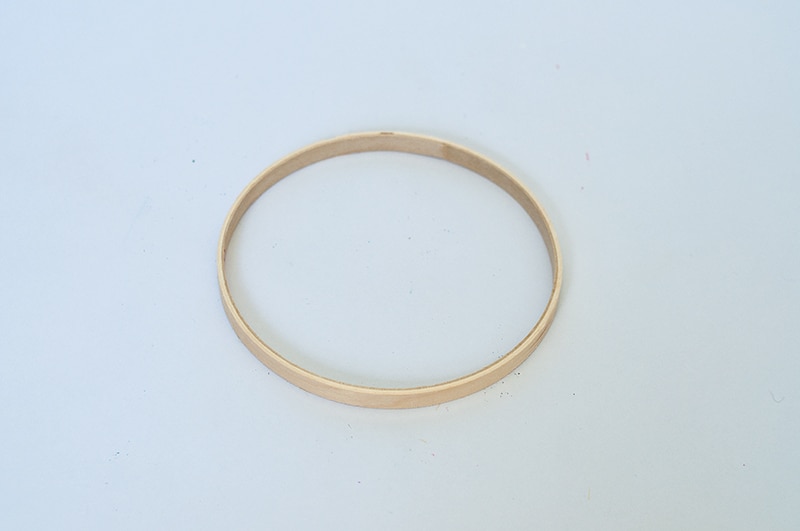
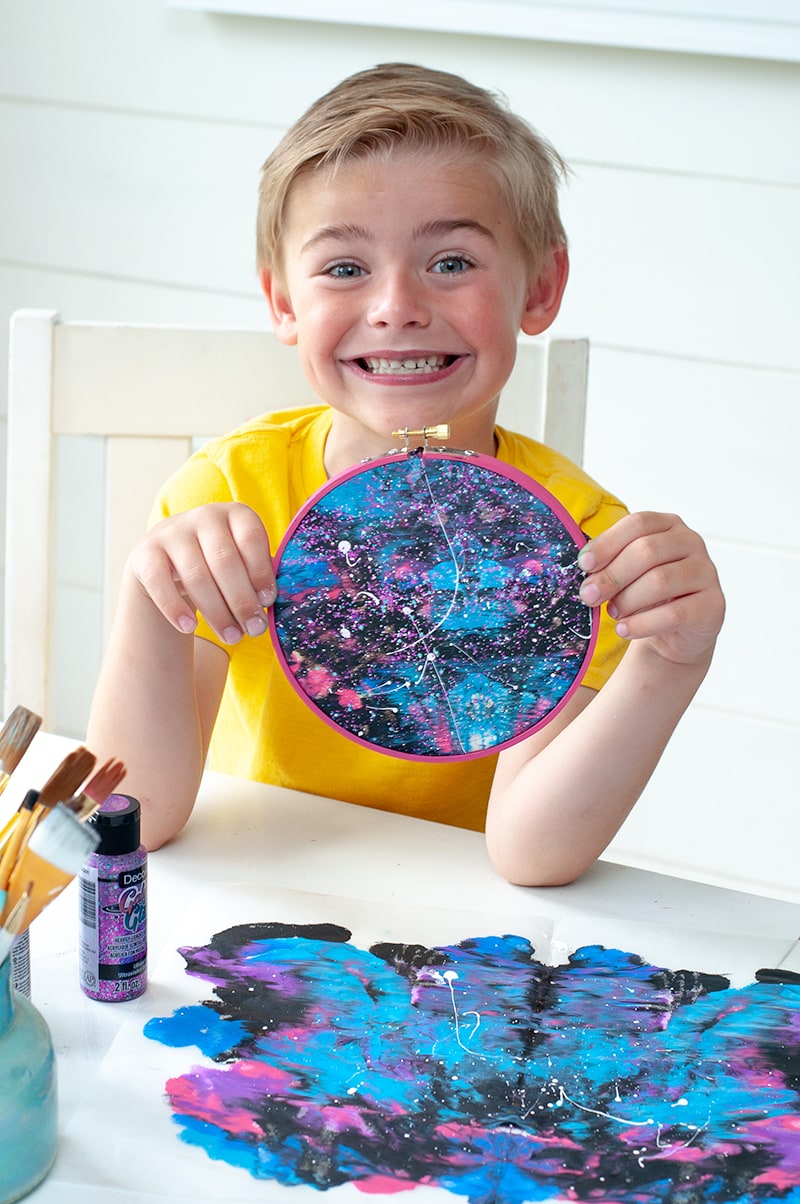
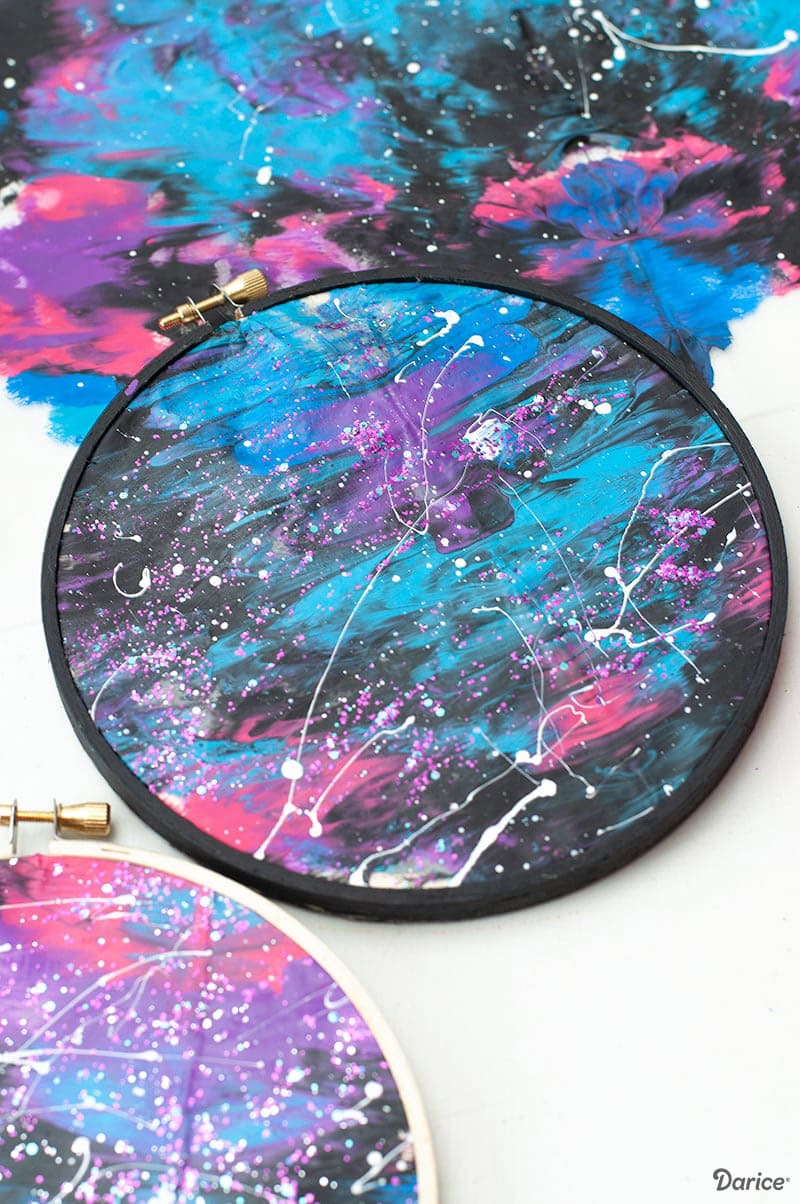
Step 6 – Paint Embroidery Hoop
If you want to take this a step further with the older kids and you have time, you can have them paint their embroidery hoops. I just love the look and really think it’s a great touch.
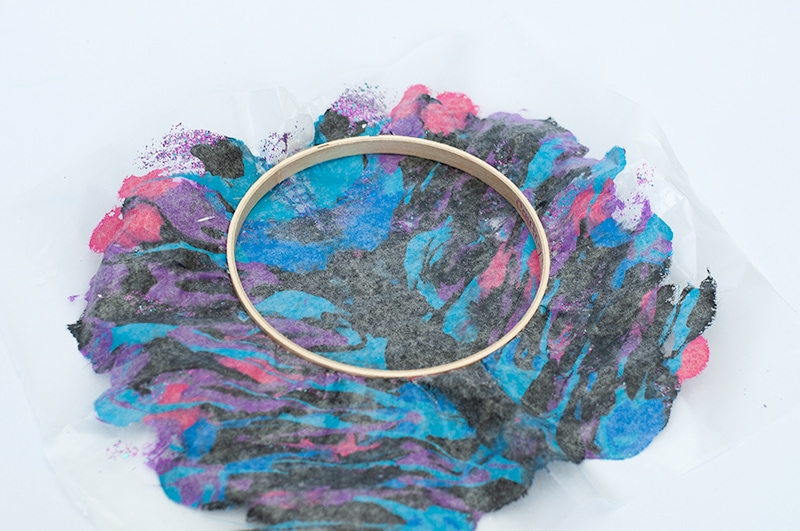
Step 7 – Add Your Galaxy Paper
Ok you’ve let your galaxy paint dry, it’s time to finish this craft up!
Lay the second piece of your embroidery hoop down, then…
Place your galaxy wax paper on top.
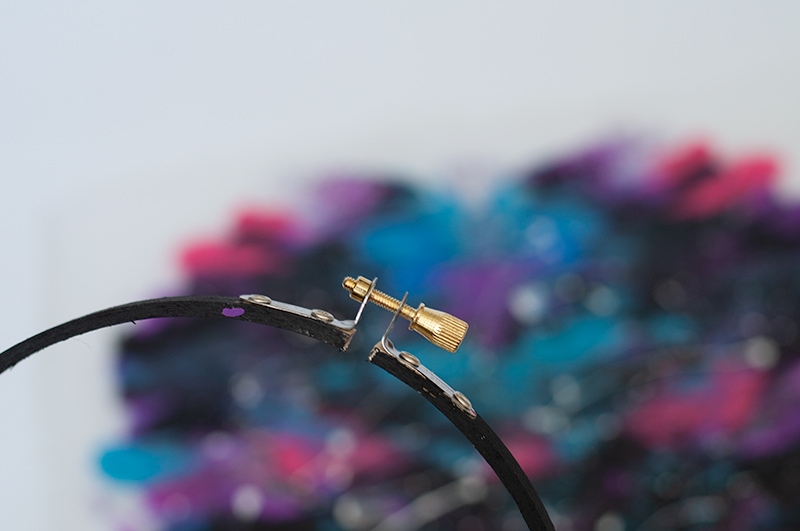
Unscrew the top of your embroidery hoop so it will fit over the second piece easily.
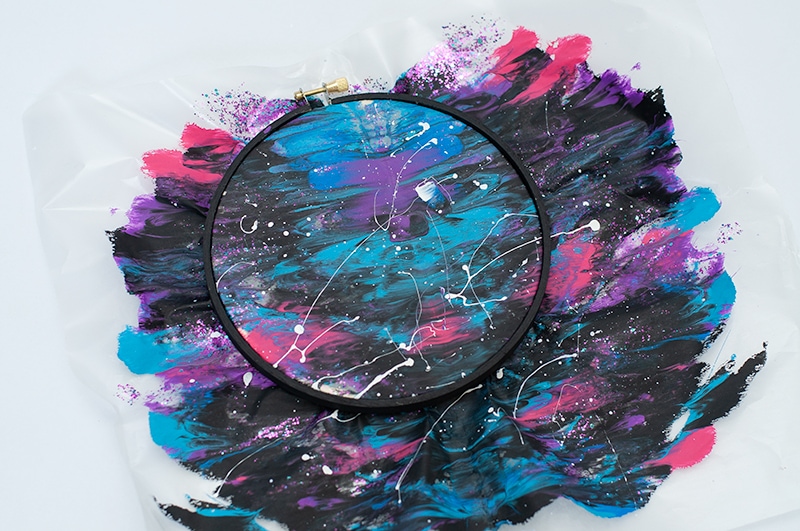
Make sure to push it down tight over the wax paper!
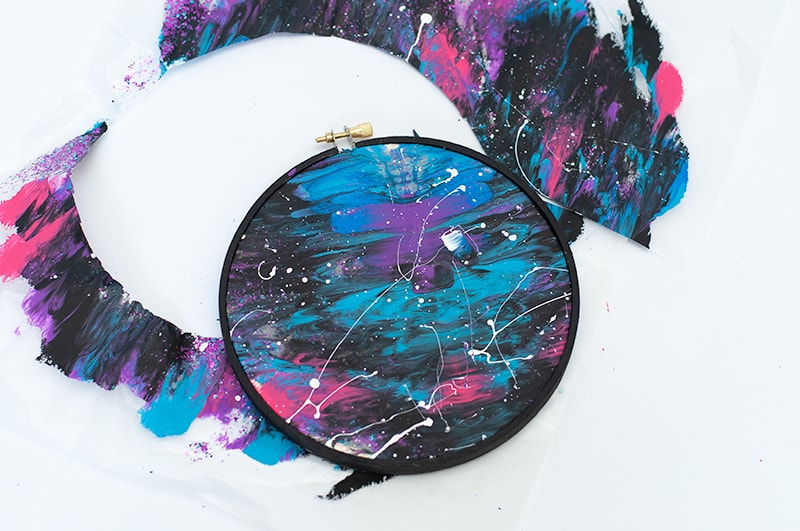
Flip over and cut off the extra wax paper.
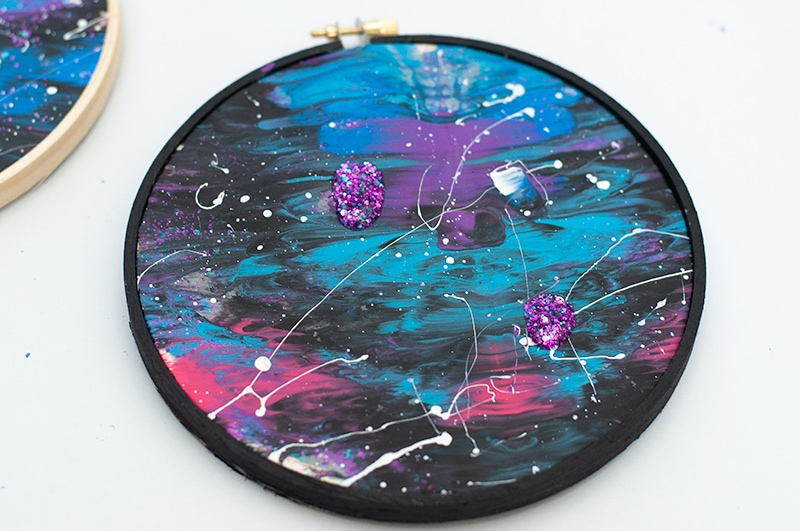
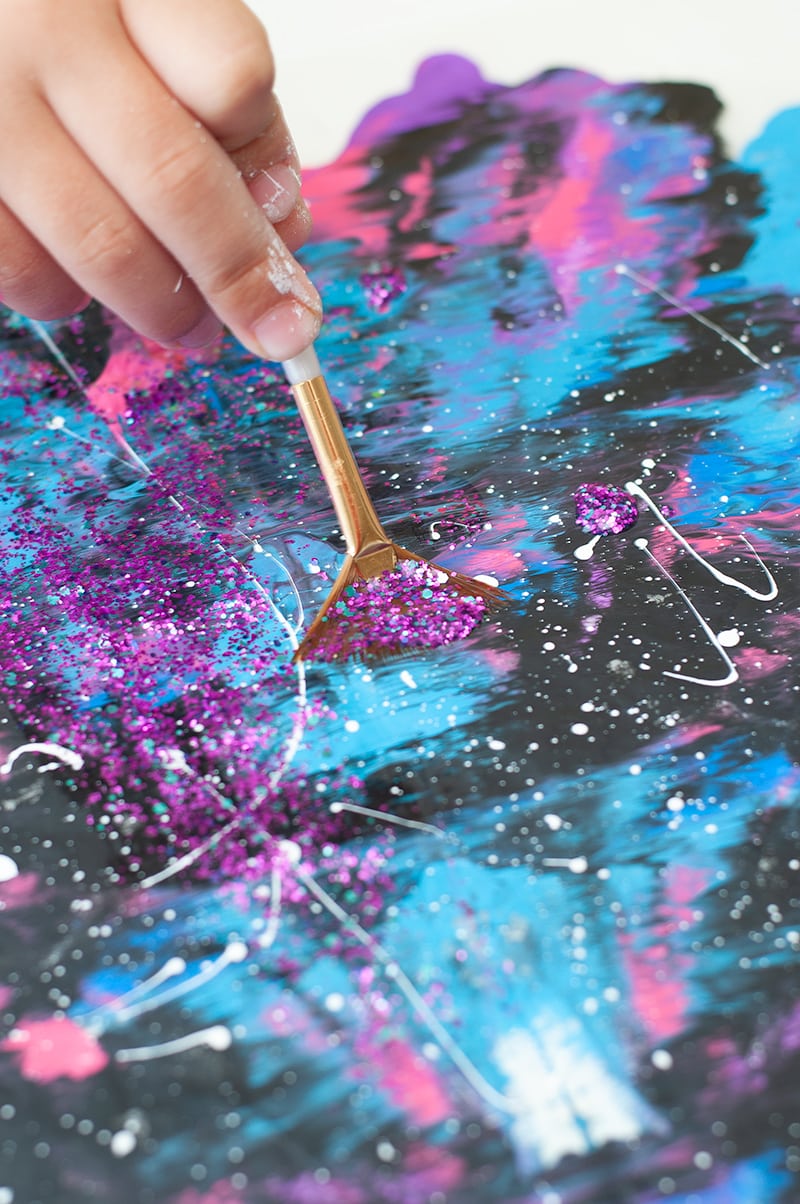
Step 8 – Galaxy Glitter Time
Let’s add one final touch, some sparkle! We used some galaxy glitter paint from DecoArt for this step.
Look at that face, he’s super proud of his project! He’s created his own little galaxy!
If you’re looking for another fun embroidery hoop craft, then check out this DIY dream catcher project I made last month!
More Art Club Projects
Love, Courtney